DIY projects

in my car it's the rear bushings... the center console as long as the brackets are still around, it's basically quiet...

the other alternative.. change a downpipe, midpipe and a large exhaust... those noises are basically nothing anymore.... :)
 
got anyone try install super charge inside rotary?:driver:

Bump: got anyone try install super charge inside rotary?:driver:
 
Not likely in Malaysia. Such mods are very expensive here. In oz, there is a Motec employee who built a super-turbo-charged FD. Not sure how that went though. Supercharger helps spool the turbo, reduces lag but the price is expected to be quite high - especially if attempted in Malaysia with our ridiculous weak ringgit and stupid excise duties.

Rotaries are ideal for turbocharging due to the "pulsing" nature of the exhaust. With a weak low end, adding a supercharger may not have much benefit. Furthermore, superchargers run very hot - apparently. Since rotaries already run very hot, adding both would mean seriously uprating the cooling system.
 
When can i see the super turbo charge fd pic?u got the website?those rotary can make it more low temp went runs the rotor?anyone make it b4?:driver:
 
Dear Keisukesan,

you ask a lot of questions that are best answered by your best friend... google.com

And please read my post properly, your questions already answered.
 
Haiya i not good in english tats why many people also say tat to me,hope u dun mind... :wavey:
 
As I said, I dont know how that worked out. A Motec technician told me about it - apparently, the electrical harness is made here in Malaysia.

Rotaries run hot, turbos just soak up the heat and superchargers are worse. There is no way to make a low heat rotary in that configuration. Unless you have multiple radiators and multiple pump systems.
 
just to share with you my self-made carbon fibre side step for fd.. ha ha.
 

Attachments

  • P9120008.jpg
    P9120008.jpg
    67.7 KB · Views: 290
this the late pic of how to strengtern the inner door handle,, 1st pic has the inner door cup strengterned with metal plate at the friction area.. i drilled it to become bigger hole to allow the screw to go thru. 2nd pic has additional screw into the part of metal very close to the pulling part.. i also had to make a little drill..
 

Attachments

  • Photo0048 (Medium).jpg
    Photo0048 (Medium).jpg
    25.7 KB · Views: 309
  • Photo0049 (Medium).jpg
    Photo0049 (Medium).jpg
    36 KB · Views: 258
Last edited:
Anyone interested in porting the intake & exhaust holes for FD?

Anyone wanting their RX to sound as if U're running high cams....blaa...blaa...bla....bla....

Work done on precision CNC machining center, all "LEFT-RIGHT" porting will be equal & symetrical...guarantee!! Only a balance porting job can bring out the full potential of your rotary monster.

Will upload photos of a complete FD engine we just completed....

Engine will be assembled & dynoed next week...

wwns@hotmail.com / 012-283-3635
 
AvanT This is awesome!! It is so important to have ports match balanced.
 
Anyone interested in porting the intake & exhaust holes for FD?

Anyone wanting their RX to sound as if U're running high cams....blaa...blaa...bla....bla....

Work done on precision CNC machining center, all "LEFT-RIGHT" porting will be equal & symetrical...guarantee!! Only a balance porting job can bring out the full potential of your rotary monster.

Will upload photos of a complete FD engine we just completed....

Engine will be assembled & dynoed next week...

wwns@hotmail.com / 012-283-3635


Our CNC porting includes machining of 4 intake ports & 2 exhaust ports.

INTAKE:
FRONT housing (1-port)
MIDDLE housing (2-ports)
AFT housing (1-port)

EXHAUST:
2 ROTOR housings (1-port each)

See pics for better understanding.....ENJOY =D

---------- Post added at 11:40 PM ---------- 6 hour anti-bump limit - Previous post was at 11:31 PM ----------

INTAKE:
FRONT, MIDDLE, AFT housing
IMG_0936.jpg


EXHAUST:
2pcs ROTOR housing
IMG_0944.jpg


wwns@hotmail.com / 012-283-3635

---------- Post added at 11:51 PM ---------- 6 hour anti-bump limit - Previous post was at 11:40 PM ----------

Closeup pics of the INTAKE ports, notice the equal & symmetrical shape & dimension of the FRONT, MIDDLE & AFT housing.
IMG_0927.jpg


IMG_1004.jpg


IMG_0991.jpg


---------- Post added 09-25-2011 at 12:04 AM ---------- 6 hour anti-bump limit - Previous post was 09-24-2011 at 11:51 PM ----------

Closeup pics of the EXHAUST ports on the 2 ROTOR housing, also see the already machined, but unpolished surface inside of the port
IMG_0950.jpg


IMG_0956.jpg


wwns@hotmail.com / 012-283-3635
 
Last edited:
CNC precision machining the seal slot to fit the thicker & better quality SuperSeal on the 2 rotors. The new SuperSeal is 1mm thicker than the standard apex seal.

IMG_1041.jpg


IMG_1054.jpg


IMG_1069.jpg


IMG_1070.jpg


wwns@hotmail.com / 012-283-3635
 
I hope those are not your finished ports in the pics. If they are , I would suggests that you do not sell them as is. There are a few points to take note of.

1. All the ports be it exhaust or intake need to be chamferred/beveled out. Those area are important as there are opportunitiess for the seals (corner or side ) to get caught on the closing / side edges of the port.

2. Chamfering / Beveling out those area allow for less chatter as the seals have a smoother transition from the from the opening of the ports to the closing of the ports.


A 2mm border with a 20 to 40ish degree bevel / chamfer would be sufficient. No need to be all gungho about it and make it and exact angle.


U're right about the importance of smooth transition when the seals rub pass the ports, but I think the correct process here is blending "radius", not "chamfer", chamferring normally creates a sharp 45 or 30 degree angle. See below for what we did....

...HAND POLISH
Untitled.png


wwns@hotmail.com / 012-283-3635
 
Last edited:
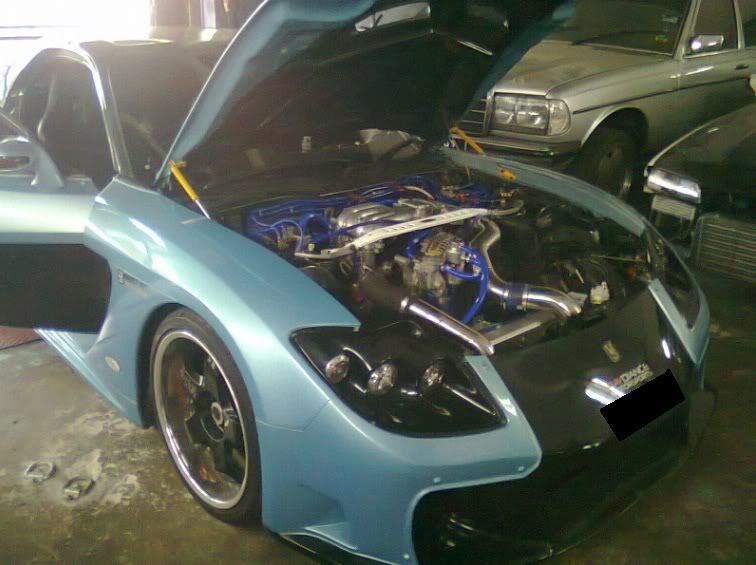
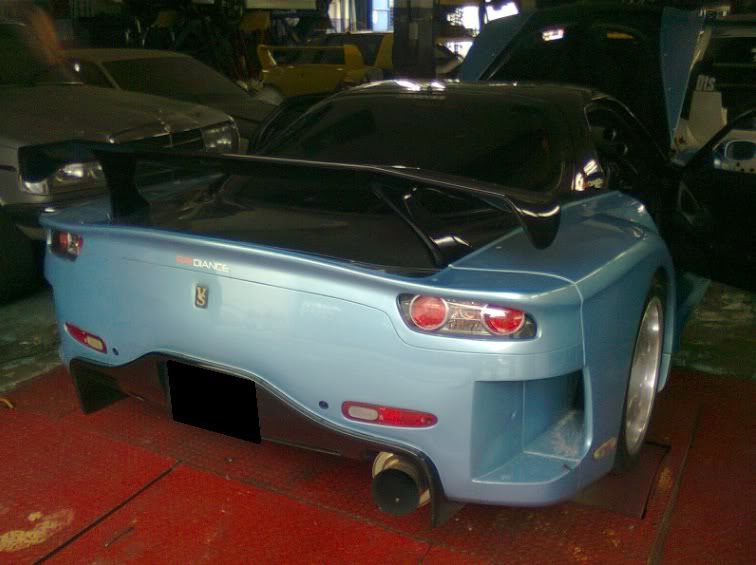
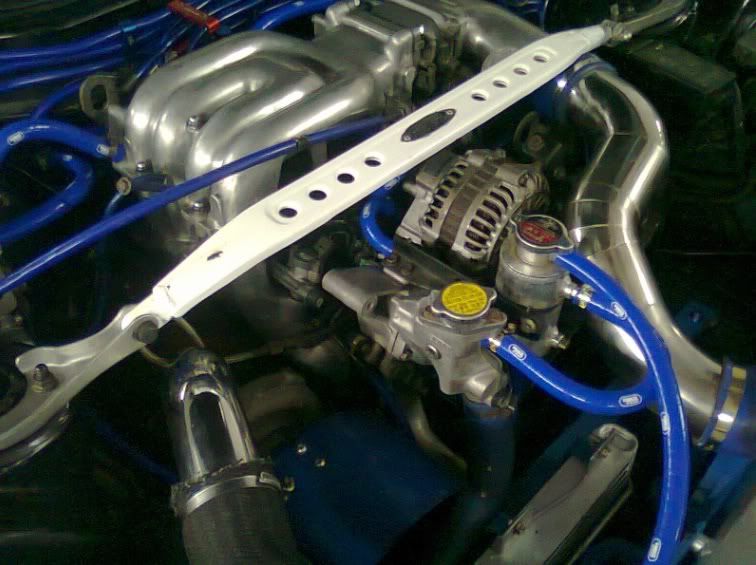
Finally have the engine in the car & running-in after much delay.
See followings pics for car on dyno for fine tuning....bllaang...blaaang...blaang...bllaang...
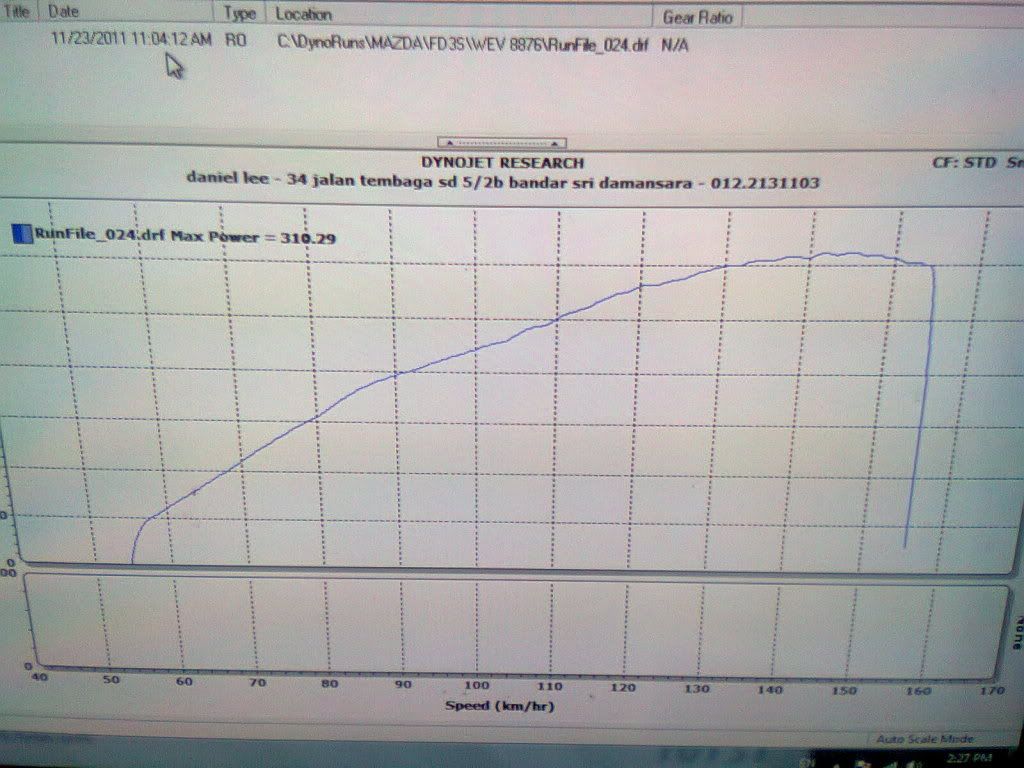
Boost was set at 0.6bar max for run-in period... result....310+ WHP at 0.6bar boost!!!
 
Last edited:
Dyno chart for RX7 with CNC porting of intake+exhaust, max boost set at 0.6 bar

Photo0105.jpg


wwns@hotmail.com / 012-283-3635
 
due to shortage of parts,, started this project for modifying master power window switch,, due to poor response towards the previous posting ,, i would make long story short,, connect the wire (easy la plus minors electric points bla bla) then make bigger hole or reduce size of switch then voala,, ready..
if you think it is easy it is because you havent tried it hands on till whole biji(assembly) is produced.. if you need more info could pm me.. welcomed.
 

Attachments

  • PC220066.jpg
    PC220066.jpg
    37.8 KB · Views: 270
Last edited:


Write your reply...

Similar threads

Posts refresh every 5 minutes


Search

Online now

Enjoying Zerotohundred?

Log-in for an ad-less experience