Earlier this week i was approached by a friend and colleague to help detail Sanjay. Who is Sanjay? Well, it is this blue Saga BLM. I know. A sexy bollywood name right? This baby got hit and scratched while being parked. Not knowing how bad was it through the phone, I told her I'll see what I can do.
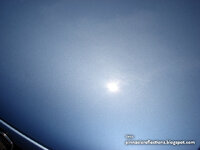
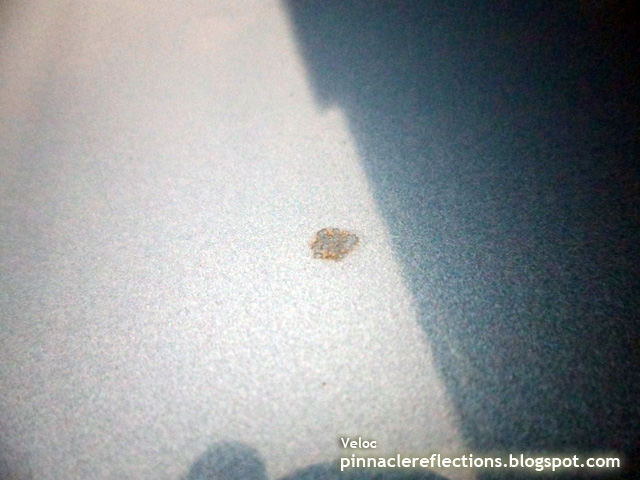
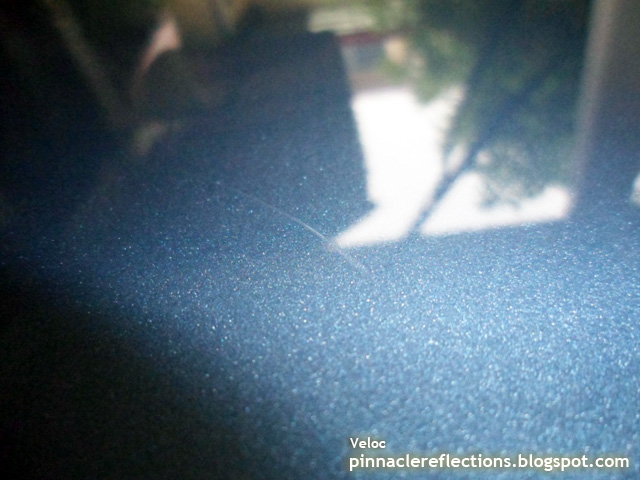
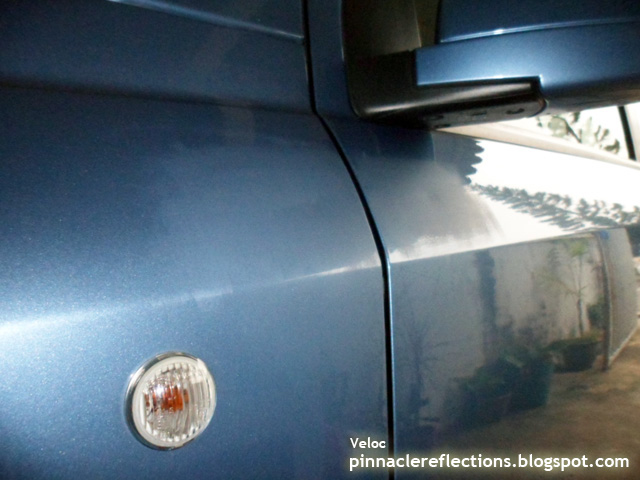
Look...

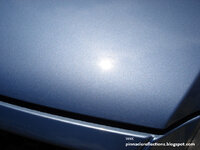
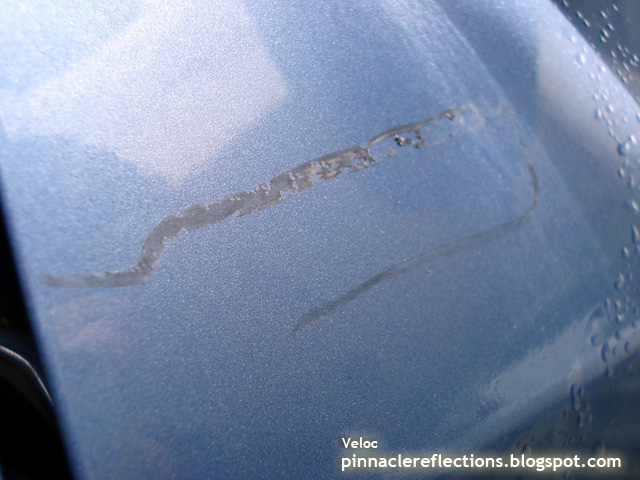
Closer look...
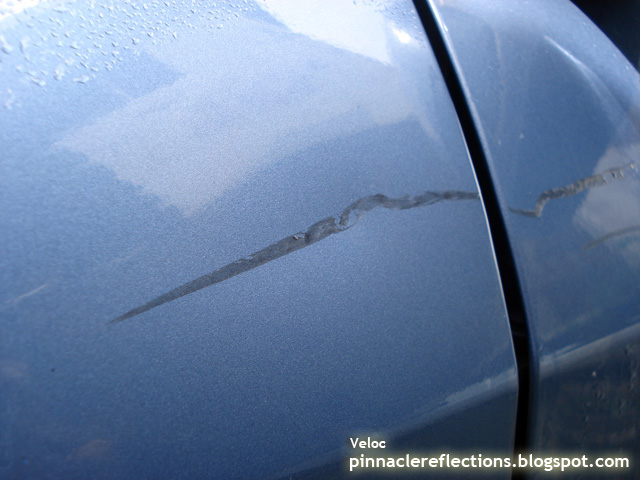
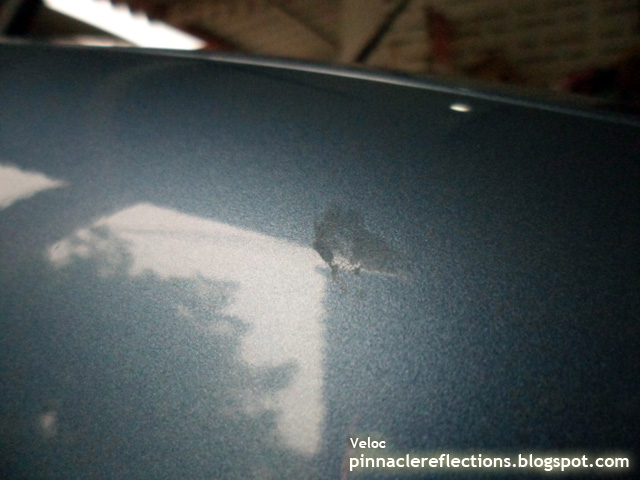
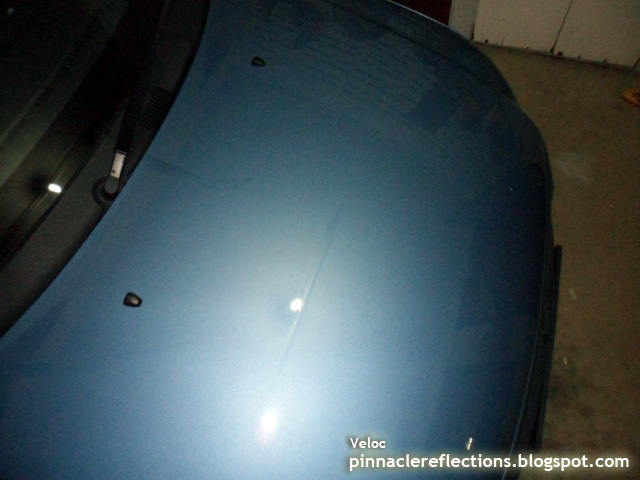
Looks like a simple paint transfer huh? Wait till you see how tough this thing it :)
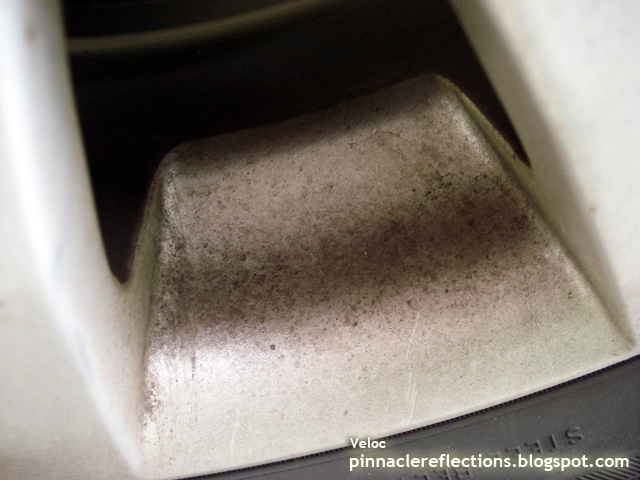
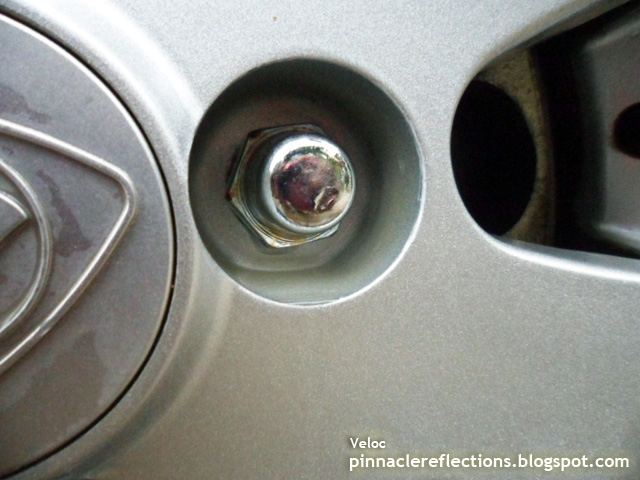
For a close look, first of all, a good cleaning! Started with the wheels...
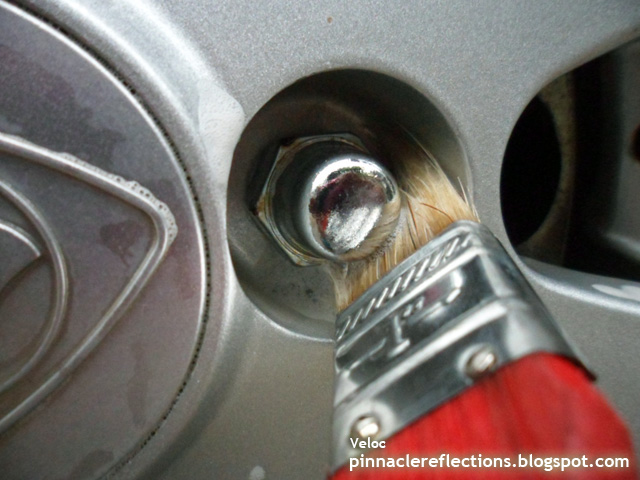
Lug nuts... Neglected areas as it takes time and not many will notice it...

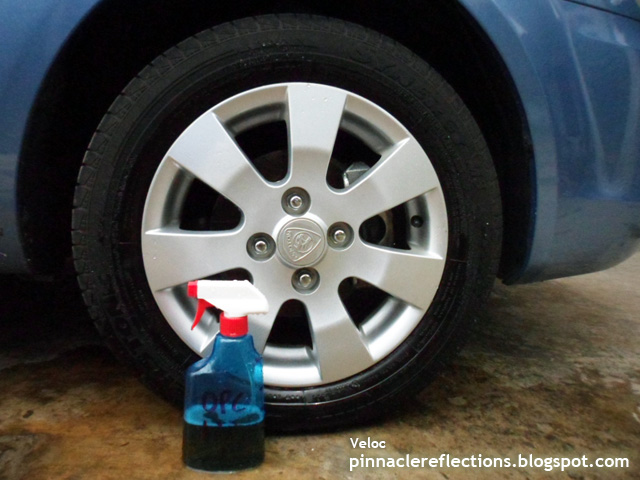
Spray on Optimum Power Clean diluted 1:3. Watch the dirt just start to wilt away...

Take some time...
Done... Not that good yet. If one zoom in, there is still dirt in the inner part of the wheels. But for the time given, I can;'t spend too much time here. Got to move on.
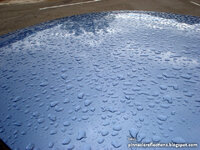
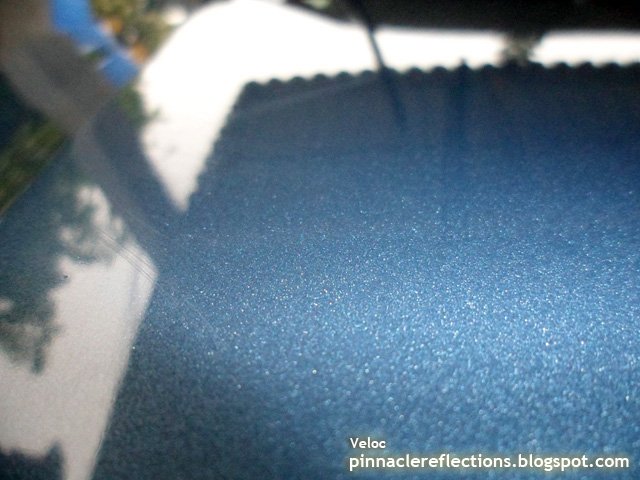
Now for the bath... Generally, not many serious contaminations. Just some traffic film and dirt plus one or two bird poop...
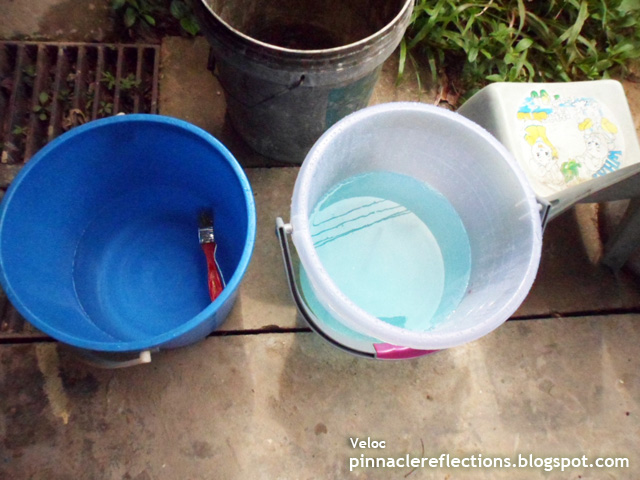
Optimum No Rinse. Just use 2 buckets of water. This is all you need. To wash the whole car. Yes you heard me correctly.
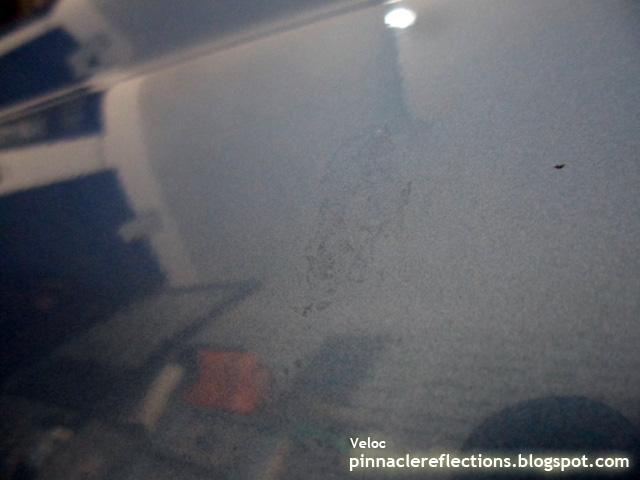
After the wash, surface damages are finally brought up to light... Let's see... Look at this mark. This is a late treated bird poop. Can't be removed by regular wash no more...
Another horrible scratch... Same side as the black one. Maybe by the same culprit...

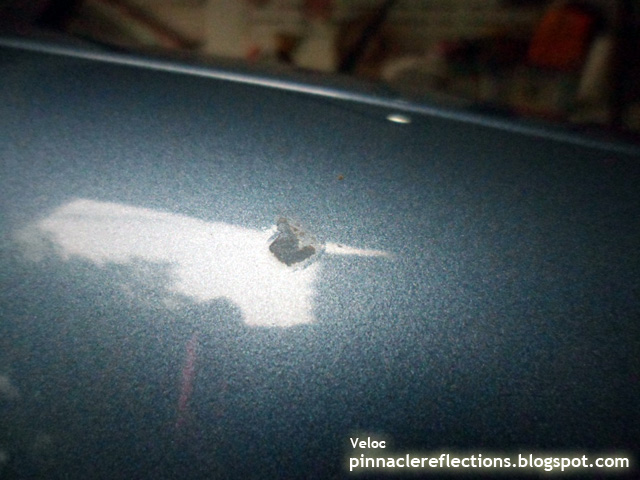
Serious thing here... Looks like the bird poop even removed part of the clear coat. I couldn't believe my eyes. Maybe i am mistaken. Because no matter how bad, I don't think bird poop can cause a chip like this???
An unremovable mark that I do not know caused by what...
Same... Loss of clearcoat...
Fine scratches...
Random Isolated Deep Scratches...

Aftermath of poop bombardment...
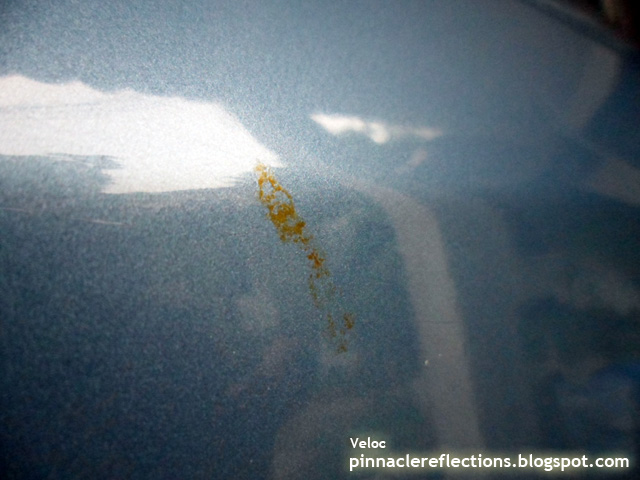
Then I see this on the other side. The driver's side.... Sigh...
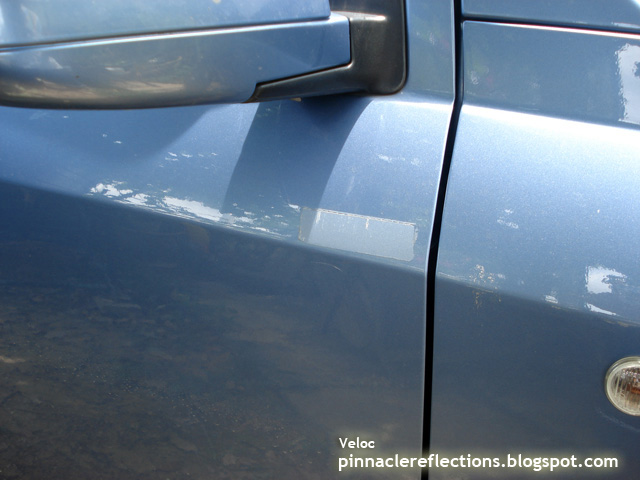
You will see later why do I hate tapes and stickers on cars... See their destructive power....

Bumper scratches...


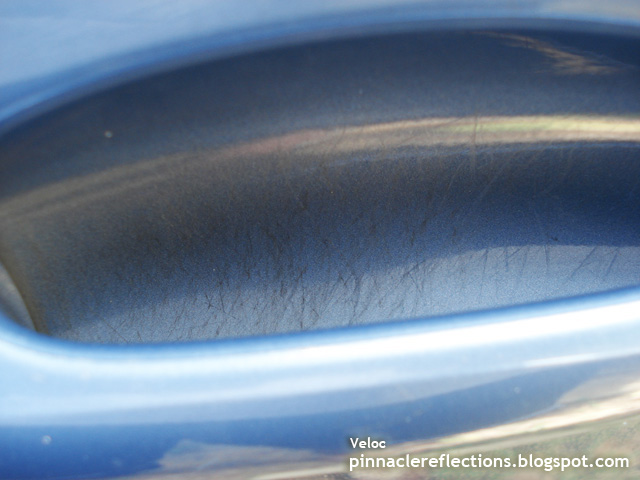
In the door handles... Lady passengers???
And now the treatment... For that bad black scratch, I thought it was a light paint transfer that careless bikers inflict by their handle knocking on the paint. Started with Optimum Power Clean 1:5. No effect. Okay... OPC 1:3. No effect... Fine... OPC concentrate.... No effect. What the... Paint cleaner polish. No effect...
Just to test (Don't try this at home), I tried to scrap a bit on the black part with my nails... No effect...
I had to resort to the thing that I always want to avoid most... Wet sanding... Drove out all the way to buy some fine grit sandpaper.... Started with 1000 grit, followed by 1500, then 2000. Lubricated with ONR clay lube dilution.
Here is after the sanding... I have to say I feel Sanjay's pain, but this is for his good...
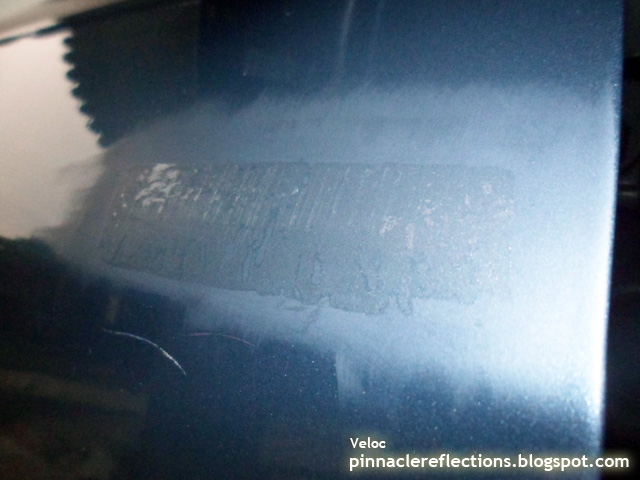
For the part where the dried tape was, OPC had little effect. I tried little amounts of organic solvent, no effect as well. I didn't want to put more on it. Why is it so tough? I found that, sticker like these have a concrete effect. It is composed primarily of 2 things. Gum, and paper. Organic solvents and OPC dissolves gum but leaves the paper. Scraping can remove paper, but the gum reinforces the paper making it tough. Plus it will bound to scratch. Just like a concrete, the cement is reinforced by the stone fillings and vice versa. For each cleaner you chose, it can only target a specific target. Paper, or gum. The other will just stay intact and reinforces the whole thing...
So I resorted to wet sanding.... Same process. 1000, 1500 then 2000 grit... This is just to show you, how this tape is resistant even to sanding!!!
Sanded.
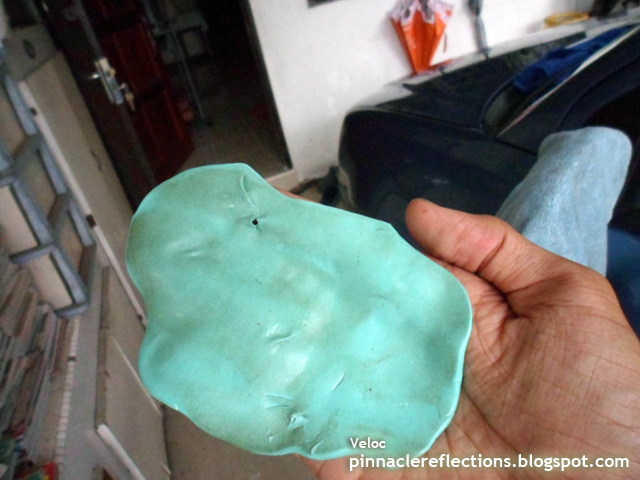
After all that, claying... Look at the dirt that bypasses washing... It won't bypass the clay...
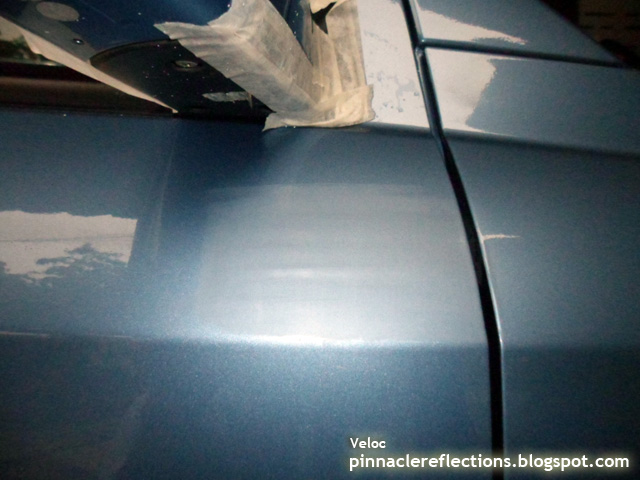
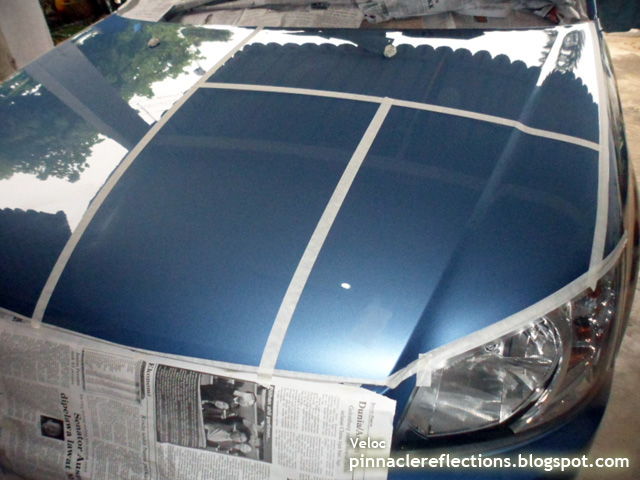
Masking for the compounding process... Besides, revealing some and hiding some makes it sexier XD

Test spot... Started with OHC with Optimum polishing pad, then OHC with Optimum wool pad. Results showed that wool pad is inevitable here...
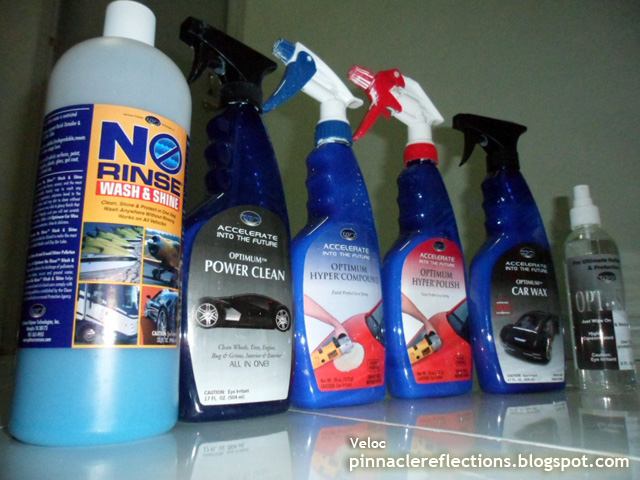
All in all, the treatment done was:
- Wash with Optimum No Rinse
- Thorough cleaning with Optimum Power Clean
- Wet sanded with 1000, 1500, and 2000 grit with ONR clay lube as lube
- Optimum Hyper Compound with Optimum wool pad (Speed 1 to spread, 2 to work, back to 1 to finish)
- Optimum Hyper Polish with Optimum polishing pad (Speed 1 to spread, 2.5 to work, back to 1 to finish)
- ONR between all compounding and polishing to remove products.
- Optimum Opti-Seal to seal the paint (It blings badly as well XD)
- Optimum Car Wax to protect
Lets see the before and after...
Before...
To this...
Done...
Before...
To this...
Done...

Next day, in daylight...

Before...
Done...
Before...
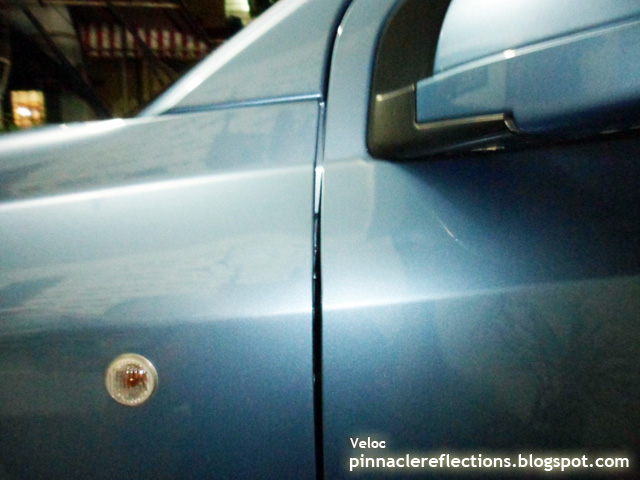
Done... That whitish lines are polishing residue...
Done... Took 7 hours... Hope I had time to do the whole thing... But for the time given, I got to fix what has to be fixed first! Corrected the front half of the car...

Checking for marrings...
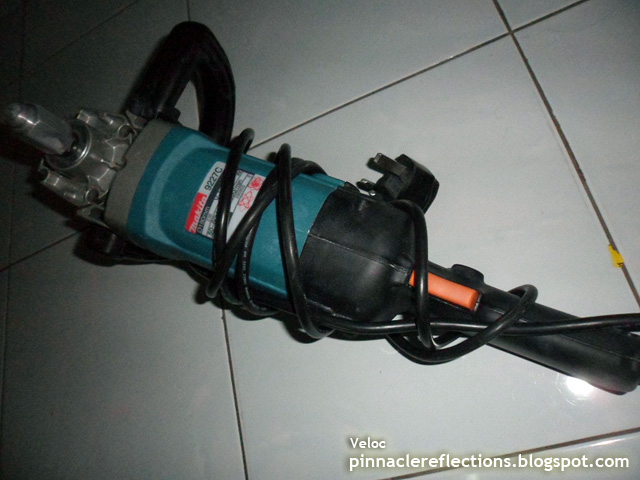
Thanks to General Makita
And these commandos...
Thank you for viewing another detailing journey of mine...
Look...
Closer look...
Looks like a simple paint transfer huh? Wait till you see how tough this thing it :)
For a close look, first of all, a good cleaning! Started with the wheels...
Lug nuts... Neglected areas as it takes time and not many will notice it...
Spray on Optimum Power Clean diluted 1:3. Watch the dirt just start to wilt away...
Take some time...
Done... Not that good yet. If one zoom in, there is still dirt in the inner part of the wheels. But for the time given, I can;'t spend too much time here. Got to move on.
Now for the bath... Generally, not many serious contaminations. Just some traffic film and dirt plus one or two bird poop...
Optimum No Rinse. Just use 2 buckets of water. This is all you need. To wash the whole car. Yes you heard me correctly.
After the wash, surface damages are finally brought up to light... Let's see... Look at this mark. This is a late treated bird poop. Can't be removed by regular wash no more...
Another horrible scratch... Same side as the black one. Maybe by the same culprit...
Serious thing here... Looks like the bird poop even removed part of the clear coat. I couldn't believe my eyes. Maybe i am mistaken. Because no matter how bad, I don't think bird poop can cause a chip like this???
An unremovable mark that I do not know caused by what...
Same... Loss of clearcoat...
Fine scratches...
Random Isolated Deep Scratches...
Aftermath of poop bombardment...
Then I see this on the other side. The driver's side.... Sigh...
You will see later why do I hate tapes and stickers on cars... See their destructive power....
Bumper scratches...
In the door handles... Lady passengers???
And now the treatment... For that bad black scratch, I thought it was a light paint transfer that careless bikers inflict by their handle knocking on the paint. Started with Optimum Power Clean 1:5. No effect. Okay... OPC 1:3. No effect... Fine... OPC concentrate.... No effect. What the... Paint cleaner polish. No effect...
Just to test (Don't try this at home), I tried to scrap a bit on the black part with my nails... No effect...
I had to resort to the thing that I always want to avoid most... Wet sanding... Drove out all the way to buy some fine grit sandpaper.... Started with 1000 grit, followed by 1500, then 2000. Lubricated with ONR clay lube dilution.
Here is after the sanding... I have to say I feel Sanjay's pain, but this is for his good...
For the part where the dried tape was, OPC had little effect. I tried little amounts of organic solvent, no effect as well. I didn't want to put more on it. Why is it so tough? I found that, sticker like these have a concrete effect. It is composed primarily of 2 things. Gum, and paper. Organic solvents and OPC dissolves gum but leaves the paper. Scraping can remove paper, but the gum reinforces the paper making it tough. Plus it will bound to scratch. Just like a concrete, the cement is reinforced by the stone fillings and vice versa. For each cleaner you chose, it can only target a specific target. Paper, or gum. The other will just stay intact and reinforces the whole thing...
So I resorted to wet sanding.... Same process. 1000, 1500 then 2000 grit... This is just to show you, how this tape is resistant even to sanding!!!
Sanded.
After all that, claying... Look at the dirt that bypasses washing... It won't bypass the clay...
Masking for the compounding process... Besides, revealing some and hiding some makes it sexier XD
Test spot... Started with OHC with Optimum polishing pad, then OHC with Optimum wool pad. Results showed that wool pad is inevitable here...
All in all, the treatment done was:
- Wash with Optimum No Rinse
- Thorough cleaning with Optimum Power Clean
- Wet sanded with 1000, 1500, and 2000 grit with ONR clay lube as lube
- Optimum Hyper Compound with Optimum wool pad (Speed 1 to spread, 2 to work, back to 1 to finish)
- Optimum Hyper Polish with Optimum polishing pad (Speed 1 to spread, 2.5 to work, back to 1 to finish)
- ONR between all compounding and polishing to remove products.
- Optimum Opti-Seal to seal the paint (It blings badly as well XD)
- Optimum Car Wax to protect
Lets see the before and after...
Before...
To this...
Done...
Before...
To this...
Done...
Next day, in daylight...
Before...
Done...
Before...
Done... That whitish lines are polishing residue...
Done... Took 7 hours... Hope I had time to do the whole thing... But for the time given, I got to fix what has to be fixed first! Corrected the front half of the car...
Checking for marrings...
Thanks to General Makita
And these commandos...
Thank you for viewing another detailing journey of mine...

 ?
?