Murugen ON!

Enthusiast

500 RPM
Senior Member
Joined
Oct 10, 2005
Messages
588
Points
5,018
Before Pics :

http://img404.imageshack.us/img404/8086/cimg4193sk3.jpg

During DIY :

http://img264.imageshack.us/img264/4823/cimg4203zn7.jpg

After completed :

http://img227.imageshack.us/img227/2567/cimg4241lu0.jpg

After Pasang :

http://img513.imageshack.us/img513/978/cimg4243ec3.jpg

After 2 Rempit 1st-2nd Gear :

http://img474.imageshack.us/img474/7804/cimg4244xc4.jpg

Extractor : rm1200

Drill and Wire Brush + sand paper + Miscellaneous : rm170

Satisfaction : Priceless :regular_smile:


Also included is my apex'i N1 purple about to go on :

http://img260.imageshack.us/img260/7812/cimg4225pm8.jpg

And Fake HKS 304 replica selling for rm80.....2.5".....come with quarter piping for ek 4 door (Hint : Good way to annoy neighbours!) :

http://img398.imageshack.us/img398/2521/cimg4246hk3.jpg

A special Thanks to Mr Shiroitenshi for the great DIY guide, Ah heng exoz in usj 1 for lending me their machine to polish for free and to my GF who help me sandpaper the header AHAHAH!!
 
Last edited:
Nice work... the gold gleam is really satisfying the first time seeing it.

Anyway.. RM170? Was everything that expensive? (O_o)

I recall the only stuff I bought was the sandpaper.. which came about 5 bucks or so I think.

In my case, the rest are all shop equipment, so no prices for that.

Enjoy your shiny headers man..

Oh, did you have to really photo your legs? Hehehehe..
 
i thought i saw "muruku on" :D

anyway nice stuff and a very ... don't know how to explain one of a kind gold colored cam cover.
 
hehehh it was Diy-ed myself....juz wanted something diff......not the usual blackredyellowblue colour......

but it was a rushed job so i didnt sand it properly - _ -


rm170 was including the bosch drill....tat alone was rm150......and my legs sexy marr hahahhaha!
 
Haha.. rush work or no rush work, it's a good job for a first try..

My first try took me 3 months.. lol.. I used sandpaper all the way, no wire brush/grinder/etc.

Then again.. it paid off really well.
b16.jpg
 
very nice.....very clean!

i used wire brush at first.....no matter how much effort i put in i just couldn't get rid of the oxidation spots on the top part.....the drill not enuff rpm lol.....hence went to ah heng to do.....it got shiny in a mere 30 minutes......gave it a polished effect.....
oh and the butt dyno feel is superb hahhah...wonder how it will do on the dyno......will install a fpr meter and bump up fuel pressure first....:regular_smile:

The drill is only for the parts like the welds, or the badges. The angle grinder does it quicker for the flat surfaces.

Before doing that, check the plugs.. if your setup is like mine (a.k.a stock B16a with the P30 ecu, 2.25inch exhaust piping with either stock R exhaust or Border304s) You should see the same results I had.

To check the plugs, rempit one time, then immediately slow down and stop, then take out the plugs. You will see that the plugs should have whitish tips (aka lean), if it's brownish already, then expect little performance difference when you bump up fuel pressure, as from the latter signs, it doesn't seem like you're not getting enough fuel.

I suggest about 3 bar with vacuum reference (means connected to vaccuum port on the intake)
You can try 2.9 or 2.8 too, depending on how much additional or lesser fuel gets you the best power. Personally I think 2.8/2.9 is a good spot, but depends on your engine also. The stock regulator on the B16a is 2.5bar with vacuum reference.

3.5 bar is a bit too rich, and you'll feel it.. but if you gatal tangan want to try for the sake of finding out what it does, no problem.. it fouls the plug a bit, but that can be easily remedied by cleaning the plugs.. it doesn't really foul it quickly either, so the plug life will be a bit shorter, but not drastically.. so you can actually drive it for a month or so (depending on how far you drive) till you feel like it's sluggish.. :P

at part throttle, the tip in will be a bit rich, but the closed loop will sort that out.

In my case, no 6 plugs work better than 7s. 7's probably allows me to run higher ignition, but for the stock B16A, until I get it tuned, probably sticking to 6's.
 
Last edited:
nice clean header you got there..
what grid of sand paper u use?
 
Nice headers.. sweet color after the rempit :)
Any step by steps on the polishing process? heheh..
 
nice clean header you got there..
what grid of sand paper u use?
320grit dry and wet for the more stuborn stains, then progress from 800 - 1000 - 1200 grit for the mirror finishing.

But since then I've learnt to do it faster. The DIY I posted in the ZTH thread weeks or months ago shows the second or third unit unit I did (third if inclusive of mine).

Angle grinder for the first up stain removal, then the 800 - 1000- 1200 grit sandpaper for the mirror finishing.

Nice headers.. sweet color after the rempit :)
Any step by steps on the polishing process? heheh..

You missed it.. I did a diy writeup about it a while back.

How to Polish Your Manifold


Anyway, currently they look different than the picture though, although they still retain the mirror finish.

My high EGT temps made them super bluish now... I thought it was oil, but someone on HT said it's due to high EGTs.
http://i82.photobucket.com/albums/j260/5H1R01T3N5H1/blueheaders.jpg

Anyway, learning to polish is a good thing.. persons to ask are usually restorers or those old cars like VW beetles, Morris Minor, The 'original' Mini, etc.

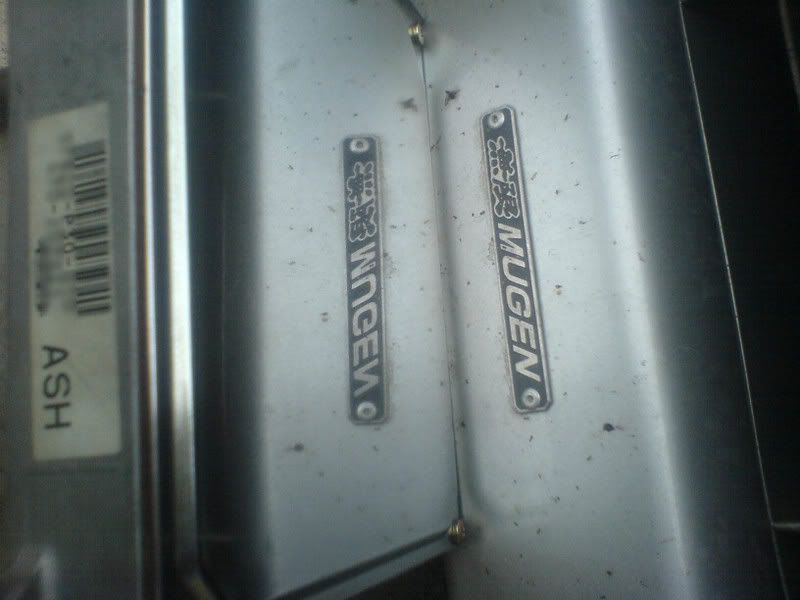
And if you're slightly not right in the head like me.. sometime you see impractical applications like on the ECU case which is hidden from sight.. LOL!
mirrorfinishECUcase.jpg


Anyway.. Muruku ON! :P
 
Last edited:
since the season of "mirror finishing" has been started, I oso want the same. So, this afternoon start the project of "sudu sukan".

Standard:-
http://img456.imageshack.us/img456/584/20070618sukandaniel0010ij4.jpg

Then my angle grinder..kabooooommm....blew off..demm..cannot finish the job. had to used sand paper and start having sore arm. decide to stop. have to asseble back the header since that only transport I had.

not pretty at all..kanninney..when this critical time it does blew up..

here are the result :-
http://img456.imageshack.us/img456/3410/20070618sukandaniel0011ac2.jpg
http://img118.imageshack.us/img118/210/20070618sukandaniel0012qy2.jpg
 
thinking of using mugen 4-1 extractor. anyone want to "tukar suka sama suka" with my spoon sport 4-2-1 ectractor? pm me if interested. mugen 4-1 only.
 
Quite nice work already.. just a bit more minor finishing with 1000+ grit, then autosol the whole bit.

I think some of you may have tried 1200 grit, but may not have gotten a mirror finish.
That's what the autosol is for.

Let me get the photoes of the process in detail.
 
shiro..
ur head lamp become kuning edy ler..
why u didnt change it or try to polish it??? ekekekk..
 
shiro..
ur head lamp become kuning edy ler..
why u didnt change it or try to polish it??? ekekekk..

Haha.. actually did polish it, but when you see 120kms of driving at the (very least) every day..

Things don't stay white for long.. :P

So, a bit lazy la.
 

Similar threads

Posts refresh every 5 minutes


Search

Online now

Enjoying Zerotohundred?

Log-in for an ad-less experience