
- Joined
- Nov 18, 2003
- Messages
- 880
- Points
- 3,063
Happy Puasa to all those whom is puasa-ing.
Today I bring to you.... part 2 of the Scirocco. Part 1 was the interior detailing which can be found here: D.A.3.S Detailing: Scirocco: Where do you spend most of the time when driving your car? or http://www.zerotohundred.com/newfor...d-most-of-the-time-when-driving-your-car.html
A bit of history lesson again...... This Scirocco is bout 1 year plus almost 2 years old (if not mistaken). A certain type of coating was done on the exterior previously (no brand shall be mentioned here) about 1 year plus ago. It boast of superior water beading and no need for waxing (as do most coatings). But without regular maintenance, the water sort of just sheet off and there is no water beading on the paint.
Note: There isn't much photos as me and my lovely assistant had to rush for a wedding dinner at night so please forgive me if the photos were not up to your expectation.
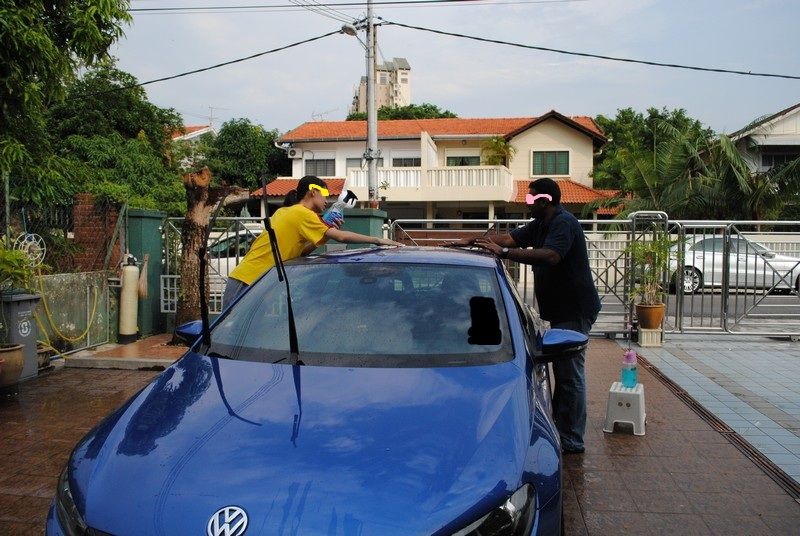
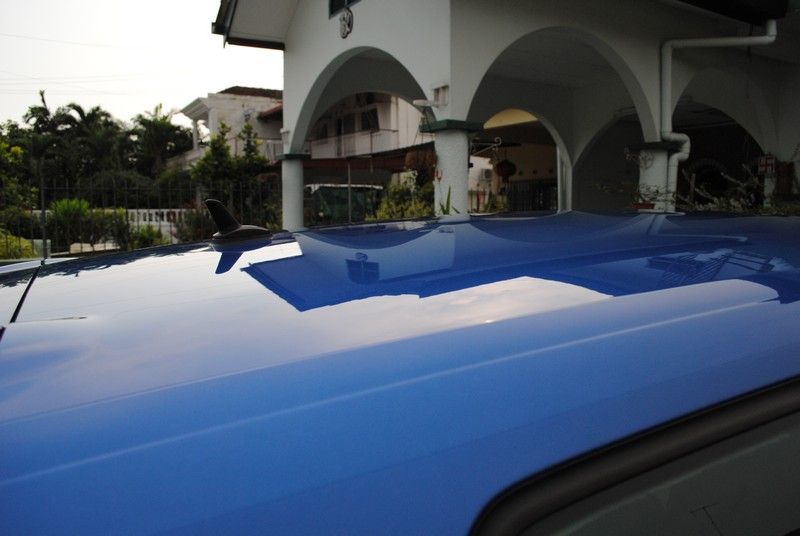
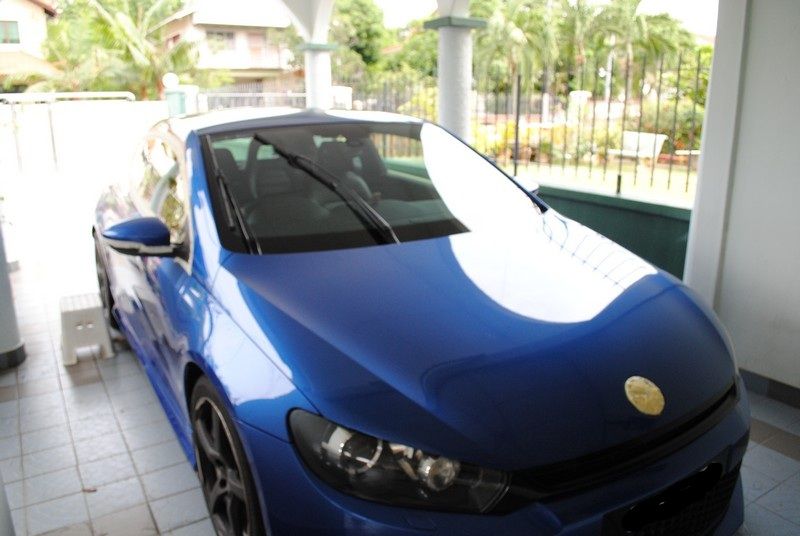
Condition of the car when we arrived.

Looking glossy as hell.....
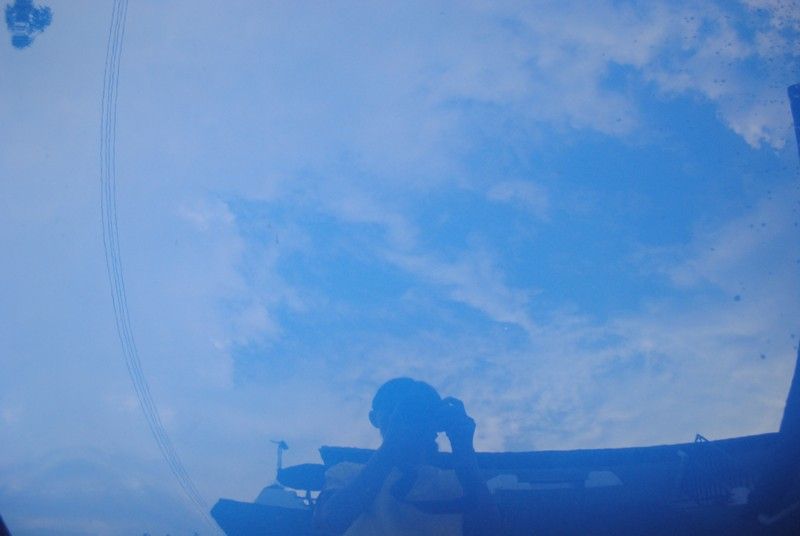
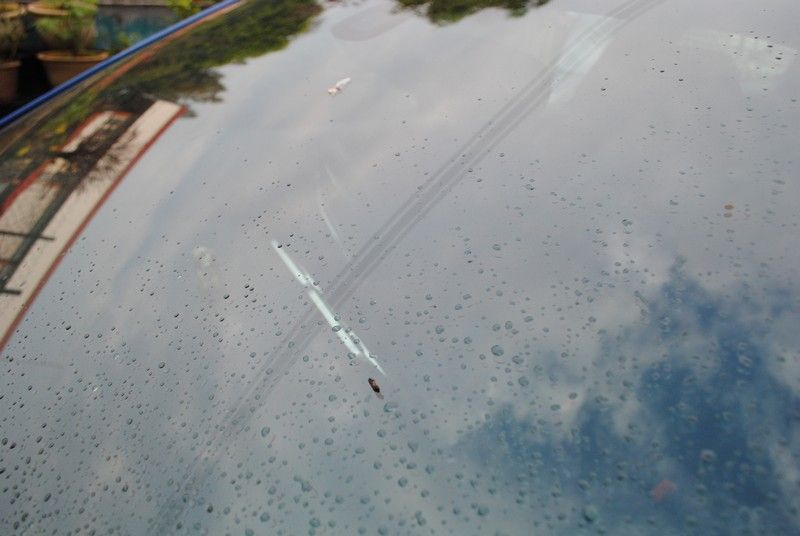
Some of the lizard poo on the windscreen
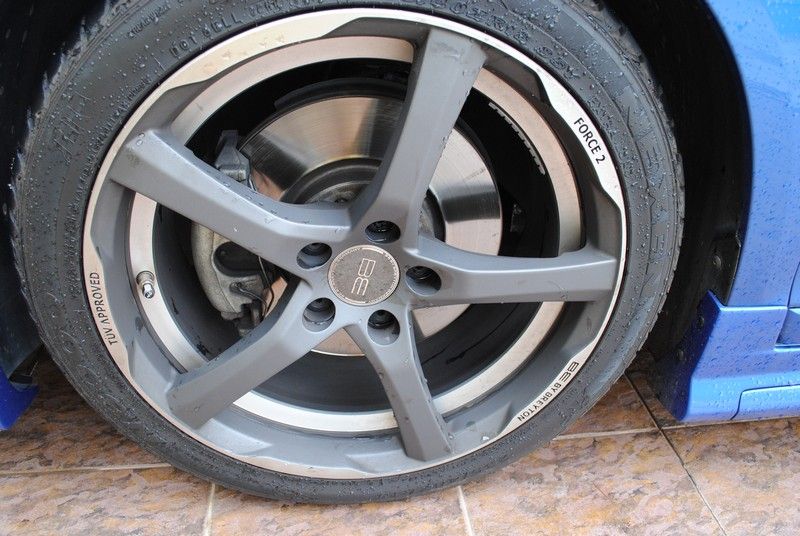
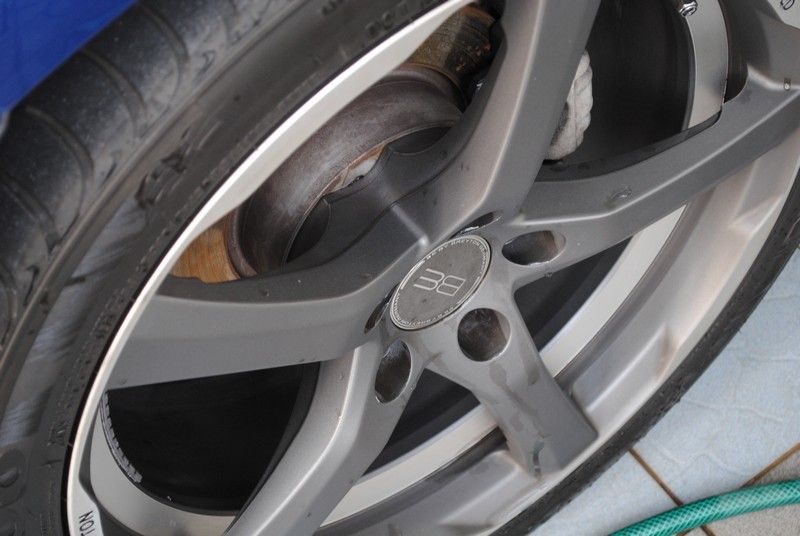
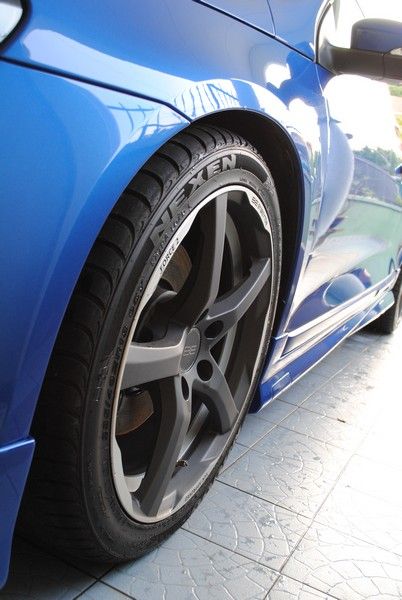
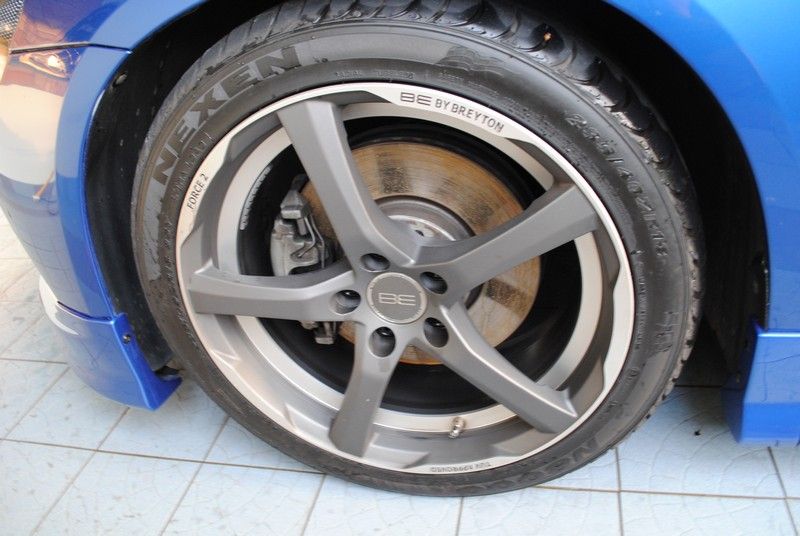
Awesome looking rims.... i really love this rim
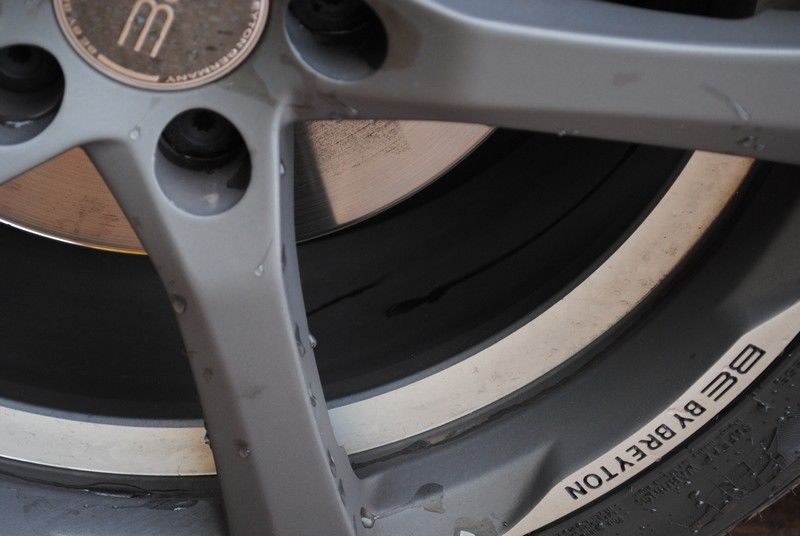
Some of the dirt hidden inside it
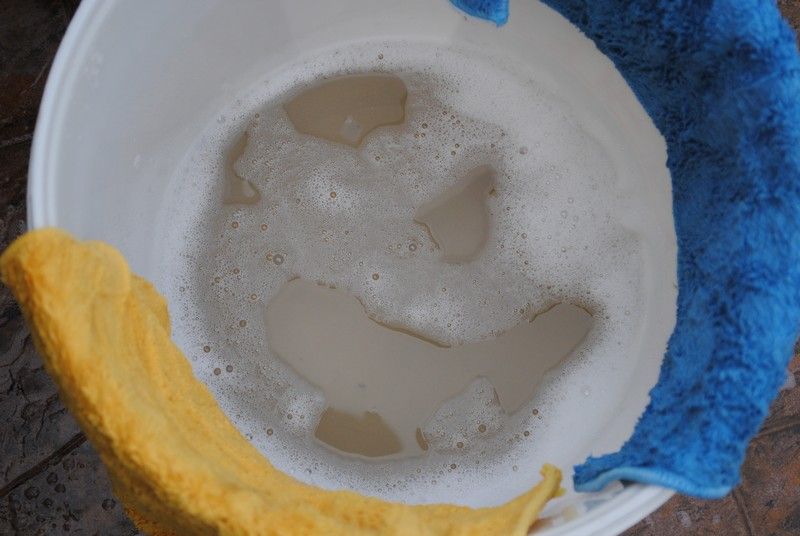
This is how the water look like after Osren Bubble and Wax
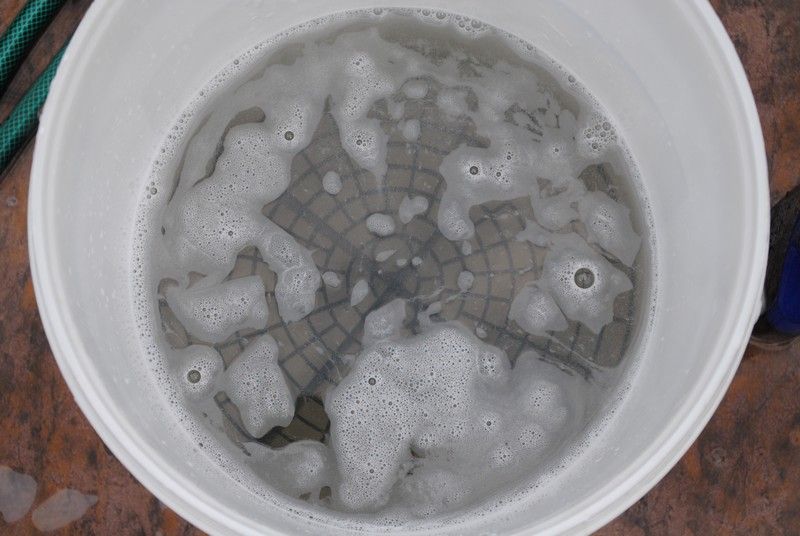
Then given a deep paint cleaning with OPC 1:3. This is the result.... not that dirty wert
At this point of time.... still glossy
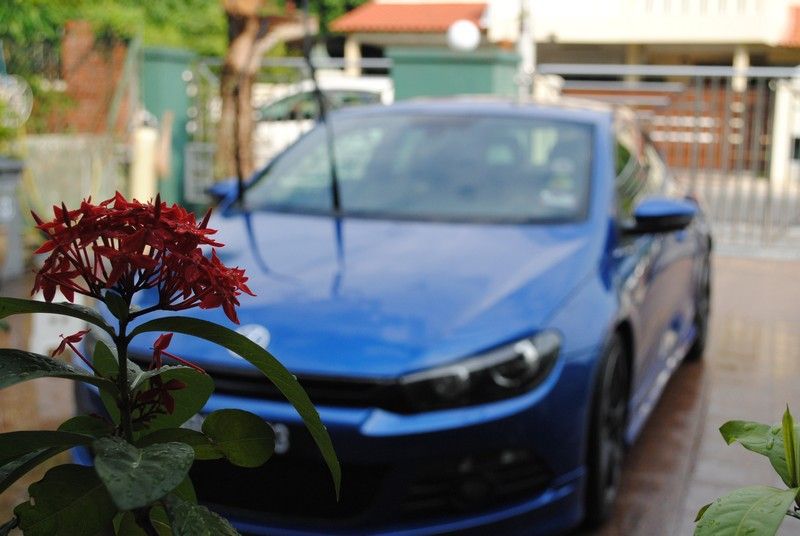
The flower looks nice too..... a bit too much blue so i capture some red instead ya *hint, these flowers has got a drop of sweet honey in it*.
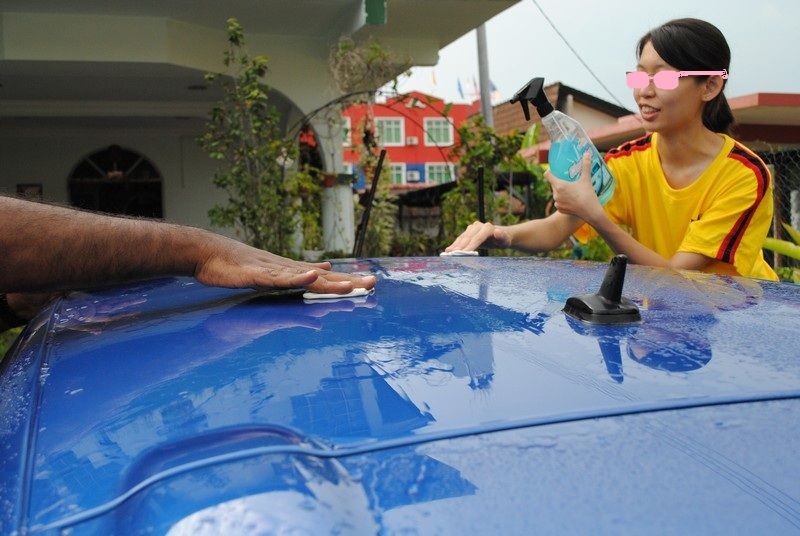
Claying time...... my lovely assistant and the owner of the car giving it a try at hands-on
No hands is as worthy as your own hands to detail your beloved ride.
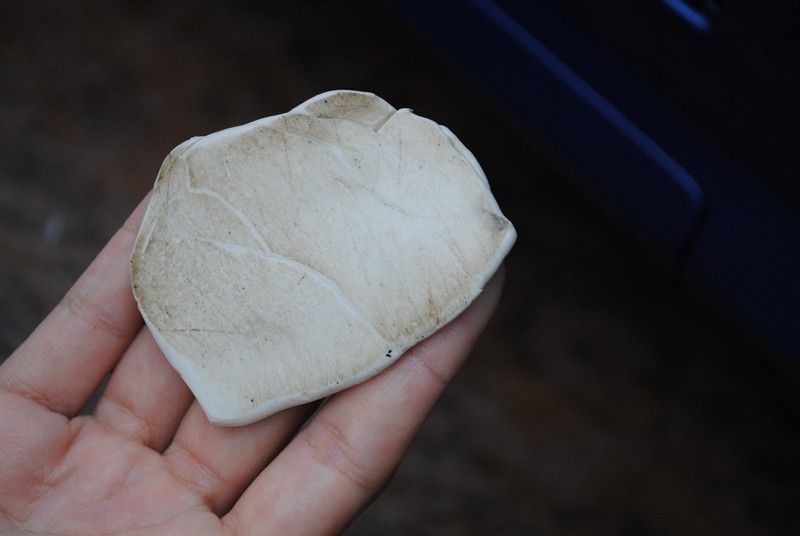
This is what was picked up from quarter of the driver door...... the rear and rest of the car is actually much worst than this.
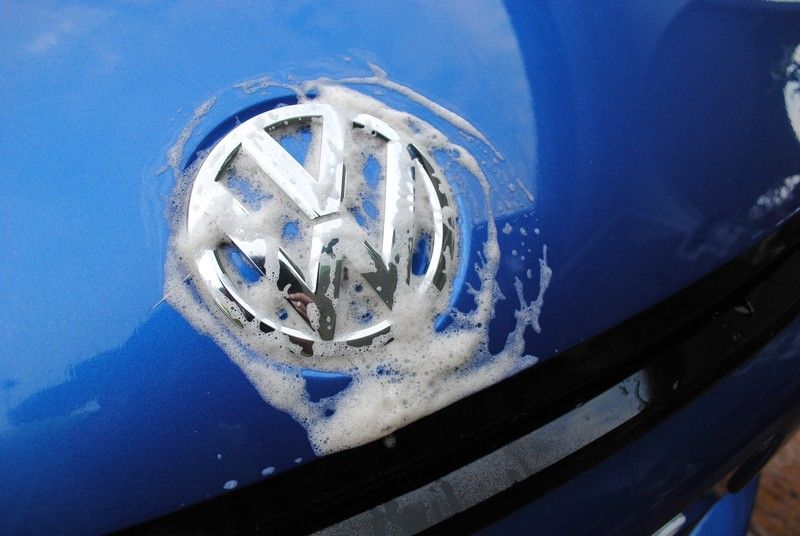
While they clay, i OPC the logo
After claying, gone were the grainy feeling and out comes the smooth feeling.... oh yeah

Nice reflection from the previous coating
Assistant giving it a final check before we move the car to the shade
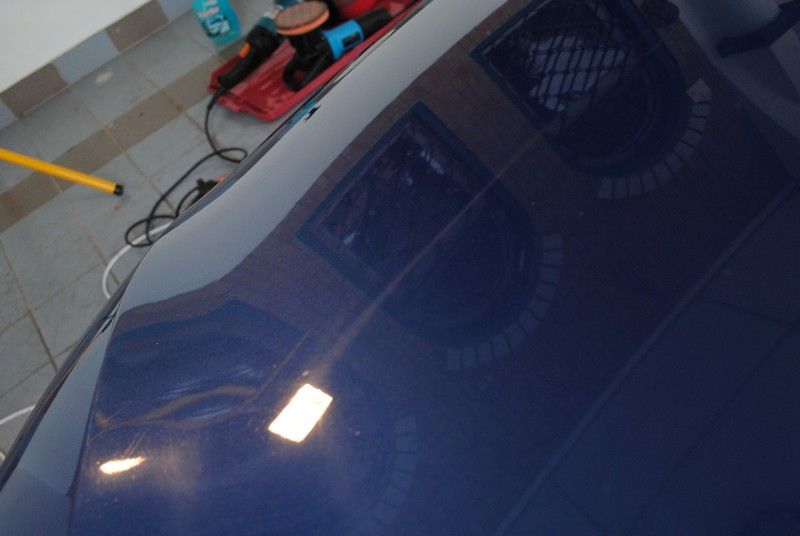
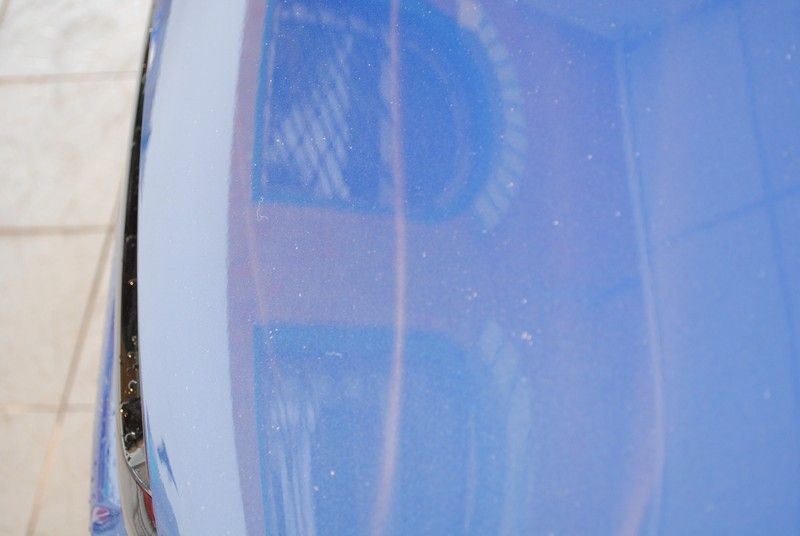
A few more reflection shots before the next phrase.
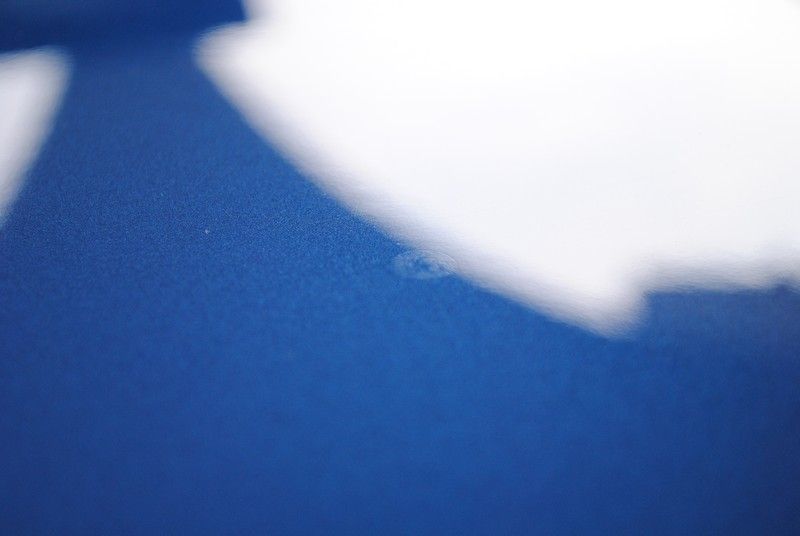
Can you spot any defects here?
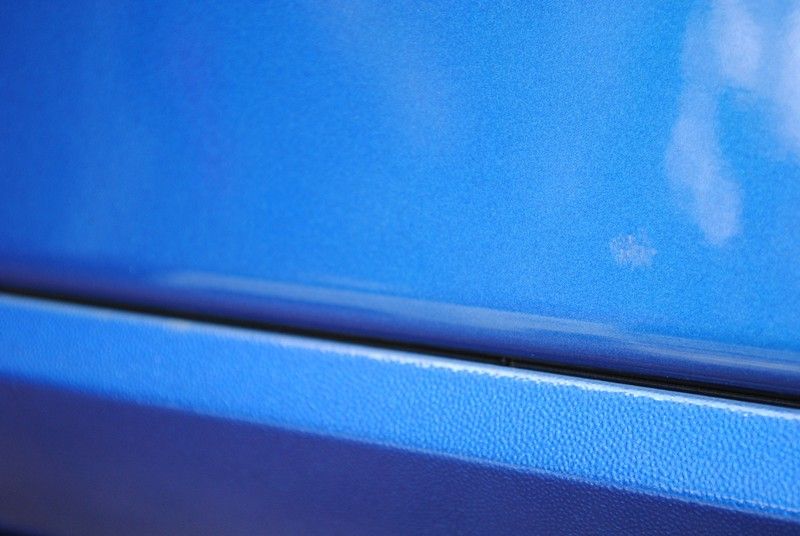
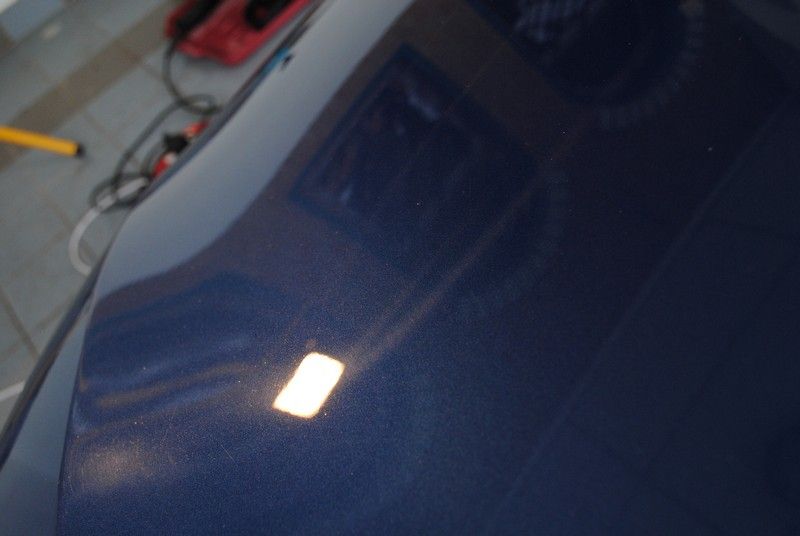
Any defects here?
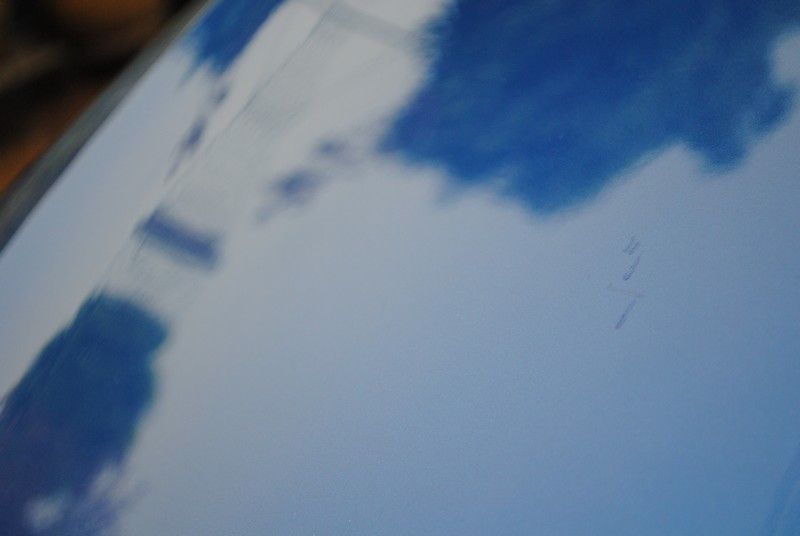
A bit of swirls
Not a lot of swirls as the coating applied previously was pretty hard (living up to the function of a coating)
Car being taped....
Rear also gotta tape
Yes, its taped.
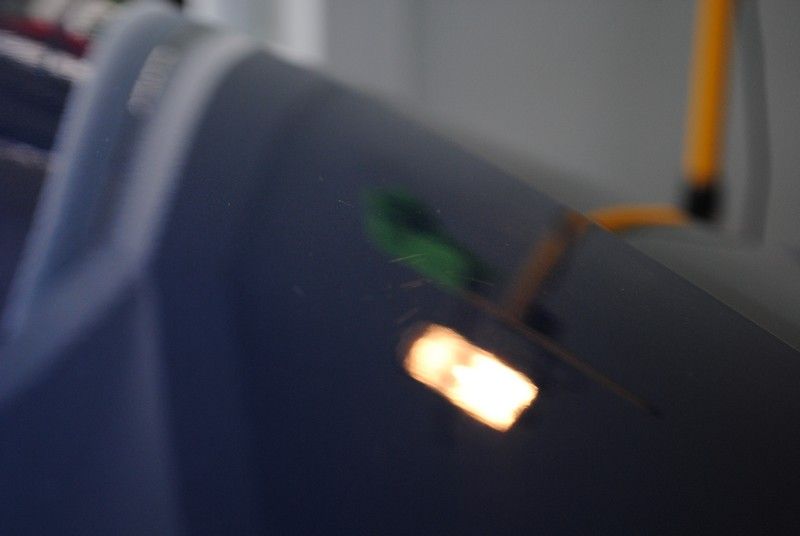
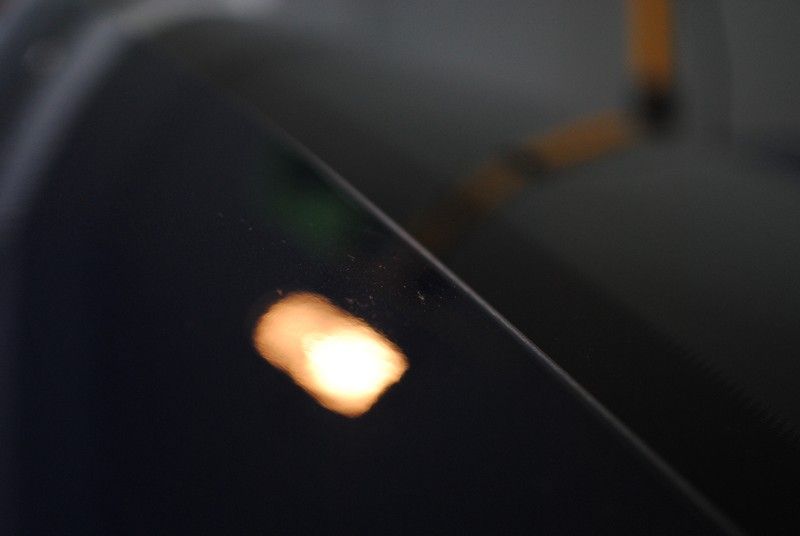
Any defects again?

Some liquid stain on the roof
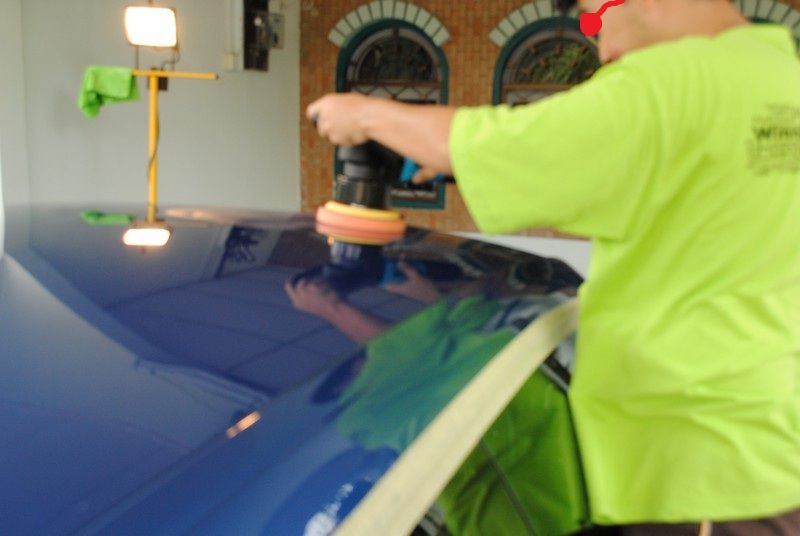
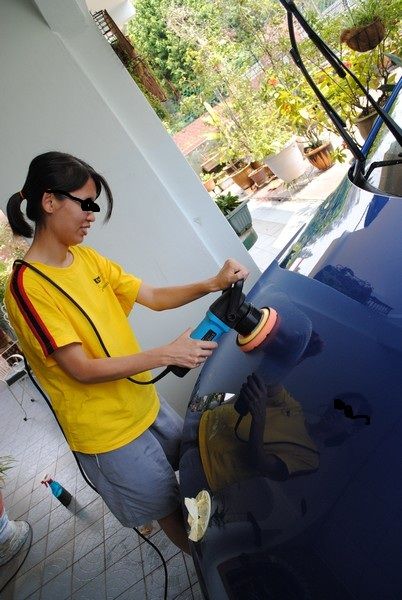
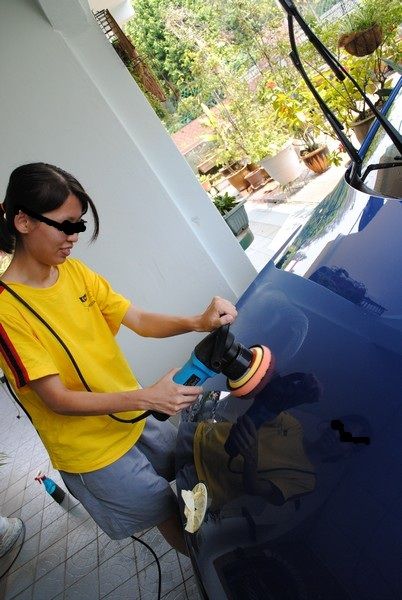
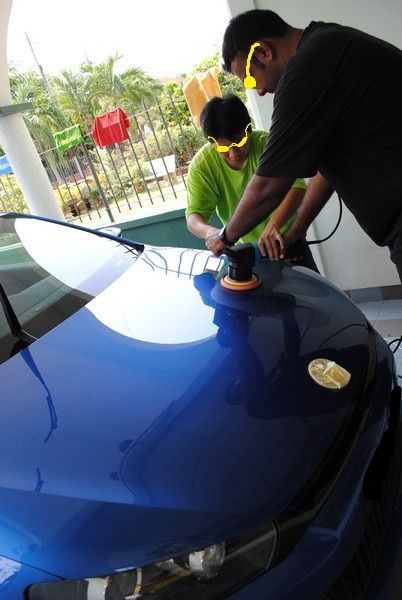
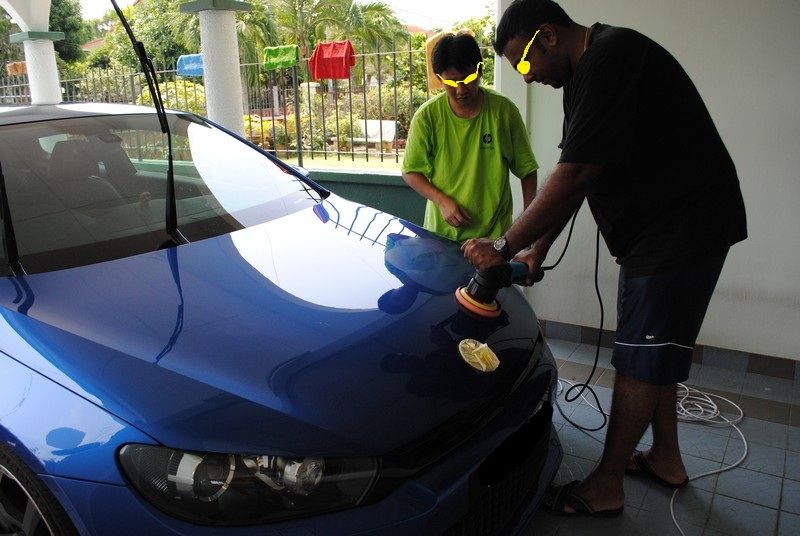
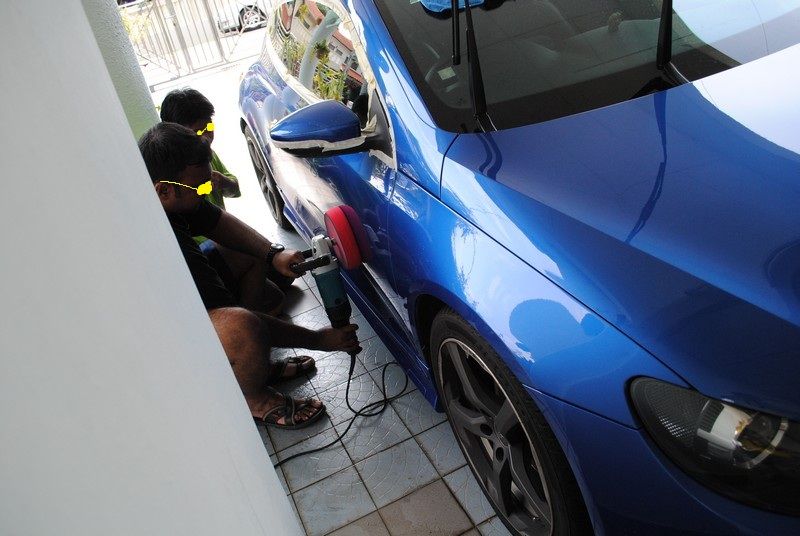
Me giving a test on the roof (used CCS Orange Foam Pad + Osren Perfect Cut 2.0 + Ultramate DA)
Polish worked in...

This is after several passes
Its actually just the angle the shot was taken, there is still a bit of swirls left. The coating is hard... to be explained further down.
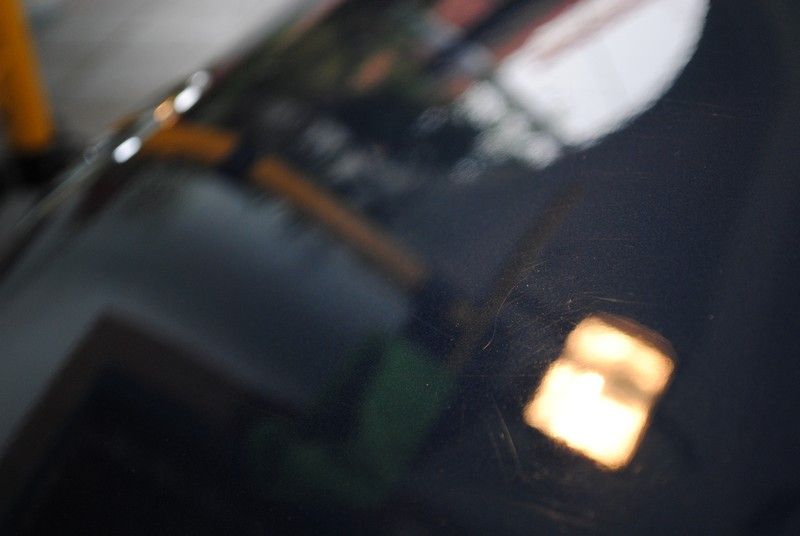
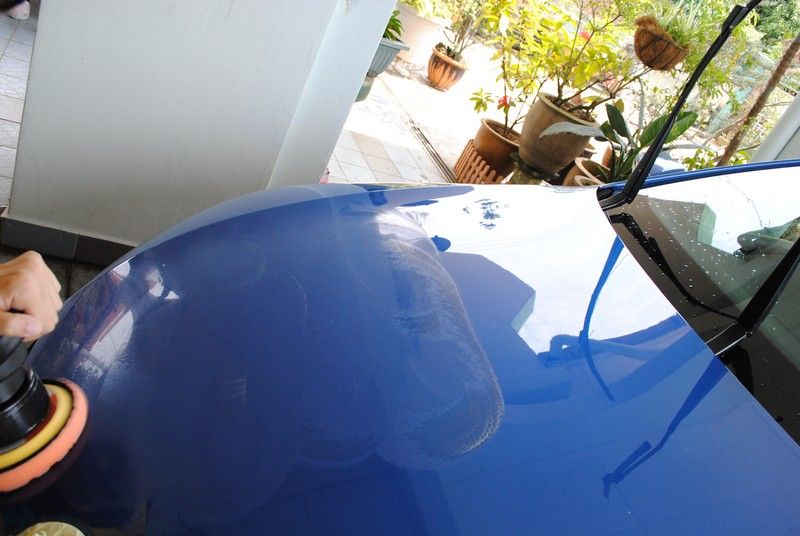
Bonnet, compounded with Makita 9227C + Optimum Double Sided Wool Pad + Hyper Compound and you get HOLOGRAM
Can see the hologram?
More on the hologram.... actually the compound made the hologram

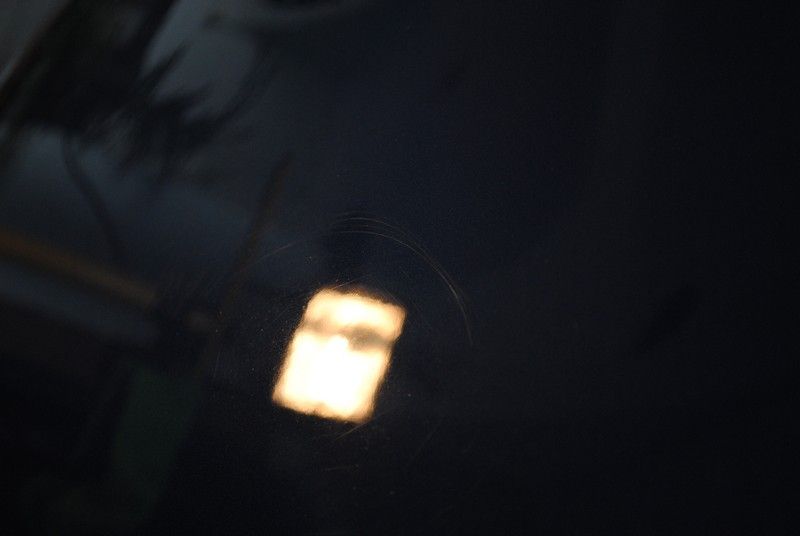
See if you can count the three lines of hologram here.
Hologram area was follow-up with the Dual Action Polisher + CCS Orange Foam pad + Osren Perfect Cut 2.0 for two passes and you get...
Sweetness..... but I did not have enough time to do so many passes so this was only done of certain section of the bonnet. Rest of the car was given a partial correction.
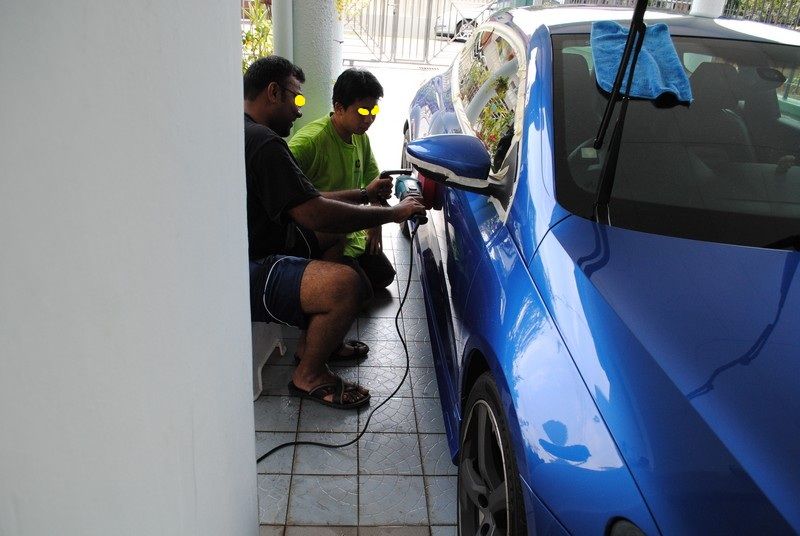
My assistant wanted to give it a try with the Dual Action *so safe that a noob can use it....*
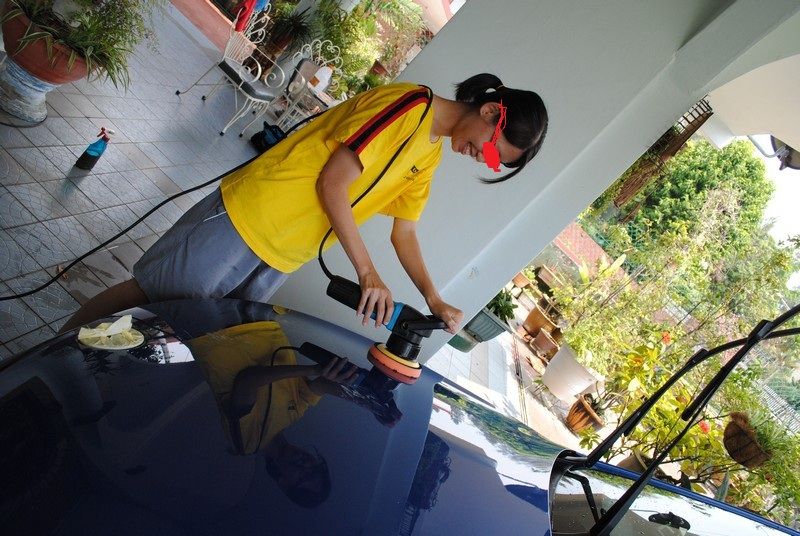
And there she starts the machine
Working with the machine
Not bad ya for a beginner first time handling the machine
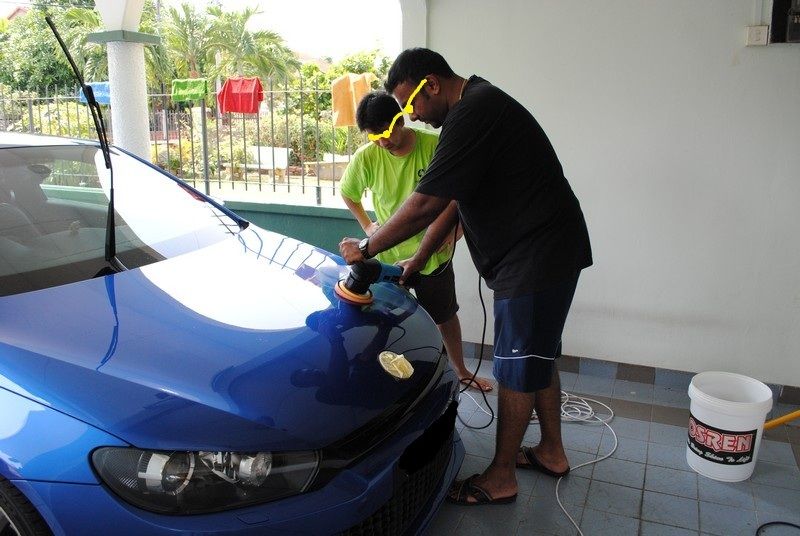
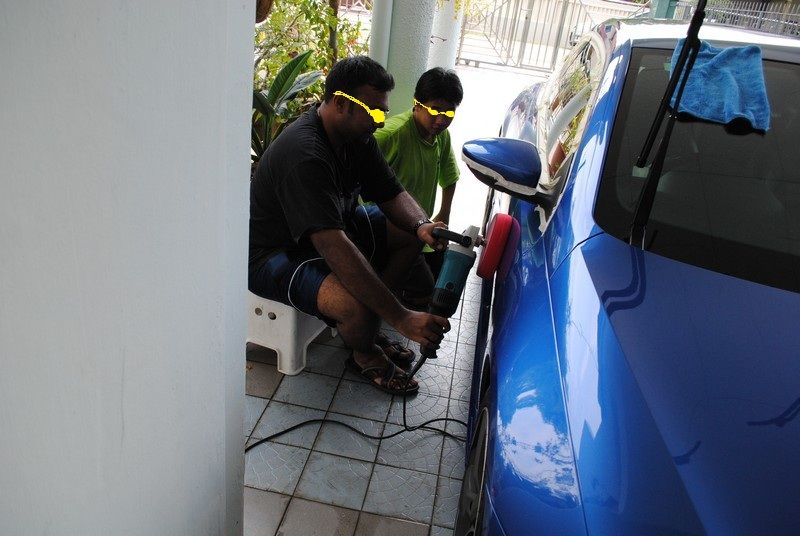
Now.......owner wants to give it a try.... actually i saw him standing there looking so I offered if he wanted to give it a try.... his immediate reaction was YES.
As seen here, pad is pushed unevenly towards one side from the way the foam compressed
A little helping hand from the semi legend
Now see the foam is more evenly pressed
Now we play with the rotary....
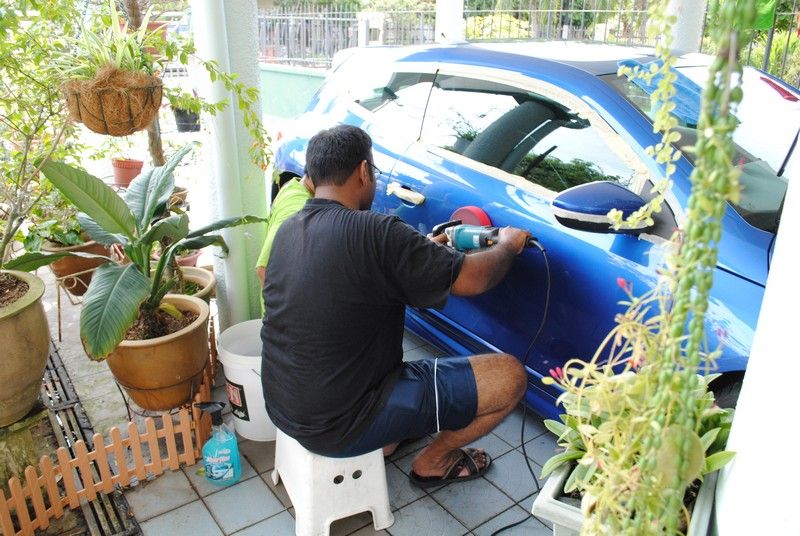
Under supervision so that no major damage is caused
As according to the owner of the car, the rotary is smoother but harder to control. Whereas the Dual Action is easier to control but vibrates a lot which may damage the nerves.
Rotary, the ultimate power machine for detailers...... with great power comes great responsibility, when dealing with power tools, please exercise extreme caution even if you are super familiar with it.
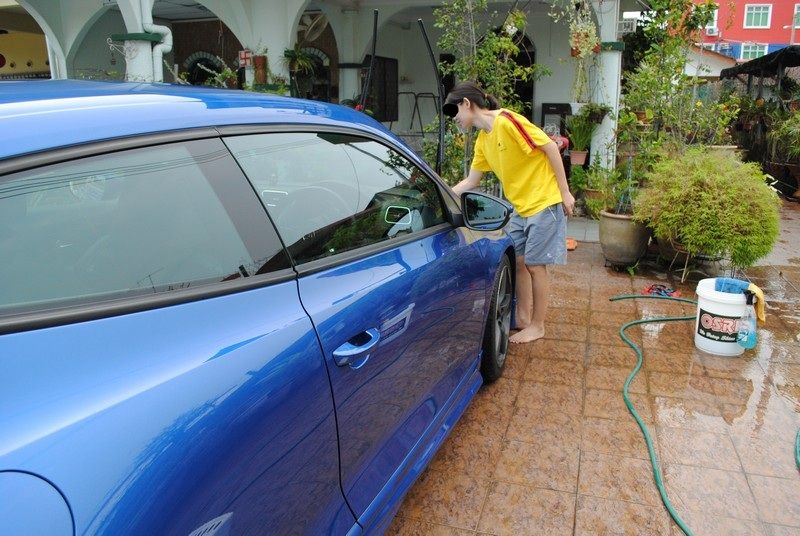
After the whole car has been completed, my assistant does a final check after the car was given another round of Osren Bubble and Wax
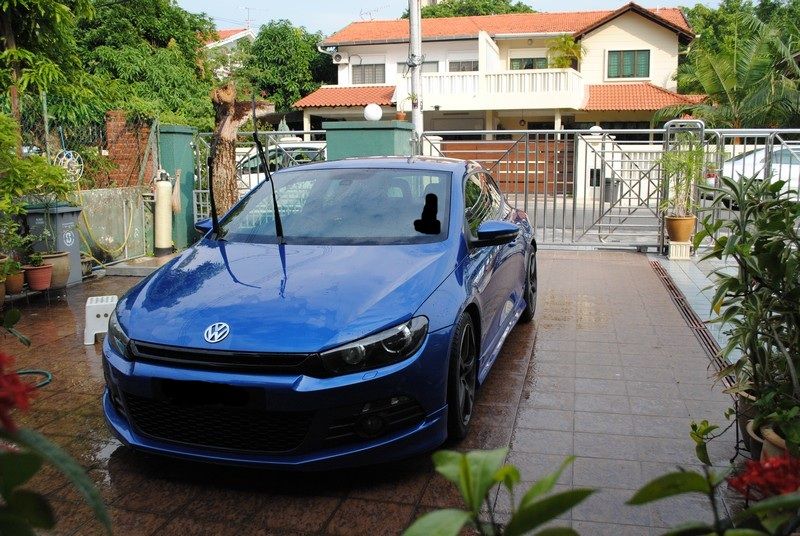
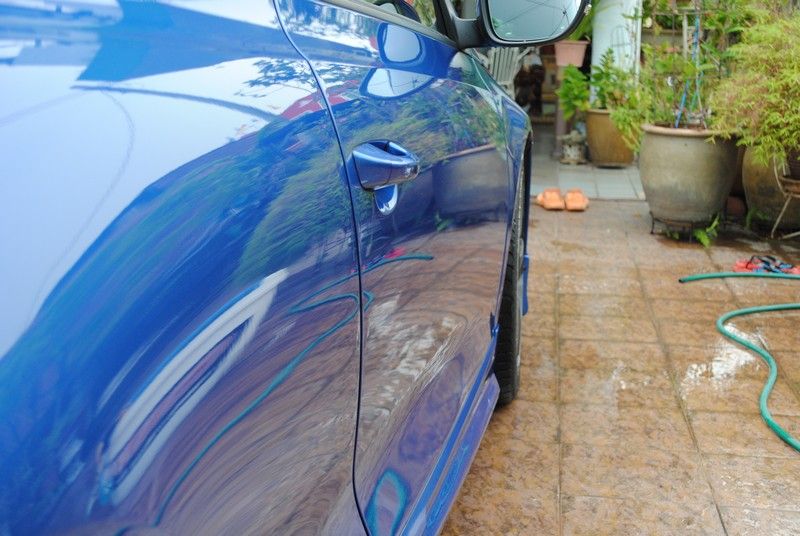
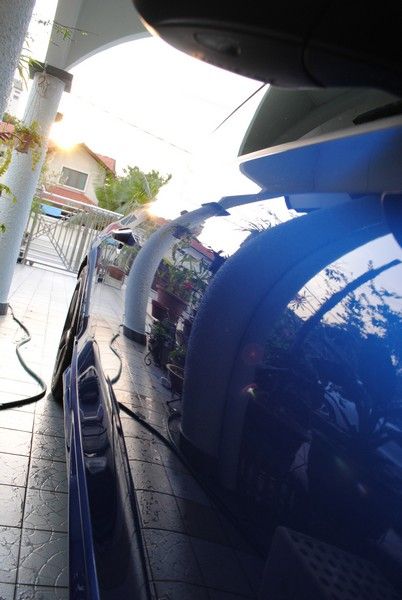
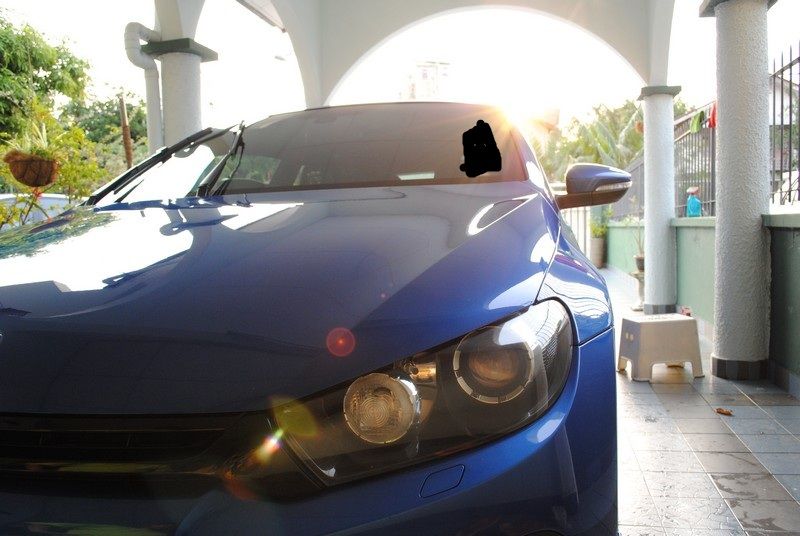
yummylicious glossylicious (this is after Opti-Sealing and Optimum Car Wax)
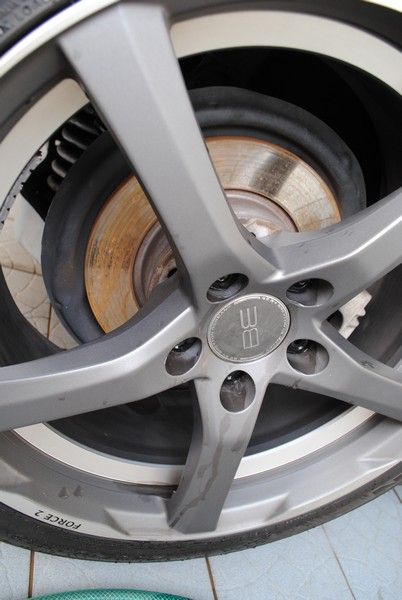
The rims.... sweet oh sweet rims...
Can someone please tell me where to get this rims.... i love it. But too costly.
Me doing some weird ass pose..... cause we can have fun while detailing.

Hmm....... anything wanna complain?
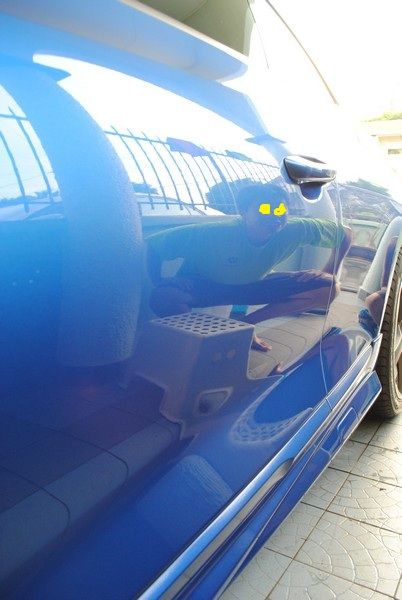
My assistant giving it a try at the camera reflection shot
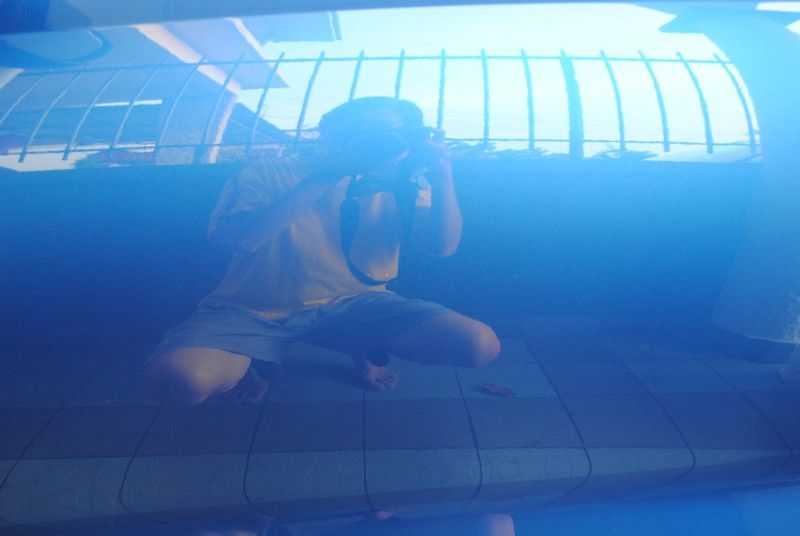
Surely you can see me doing weird ass monkey face pose again
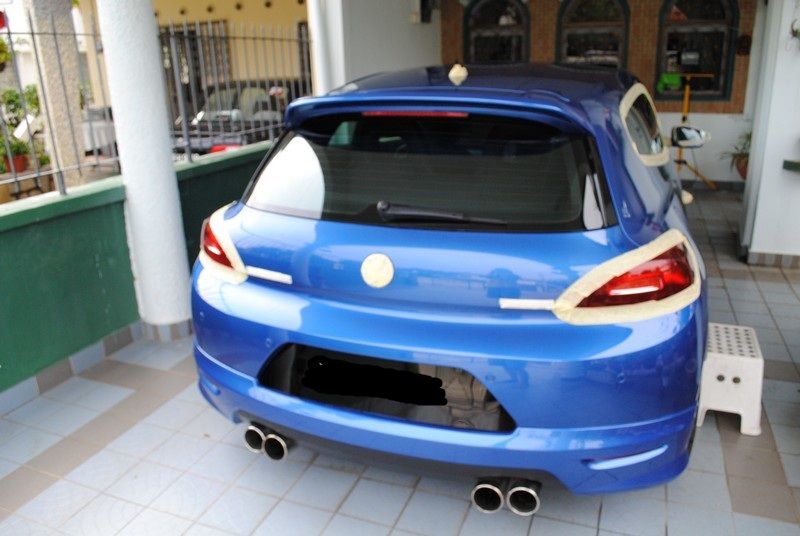
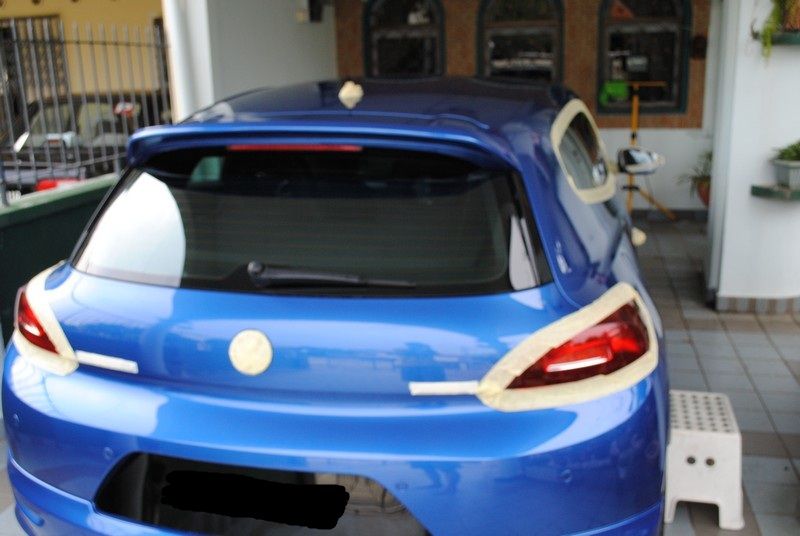
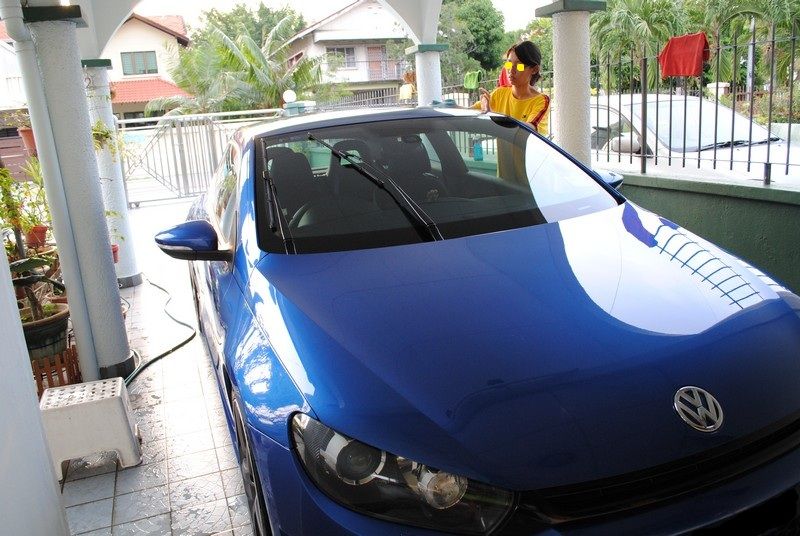
From the rear...... nice?
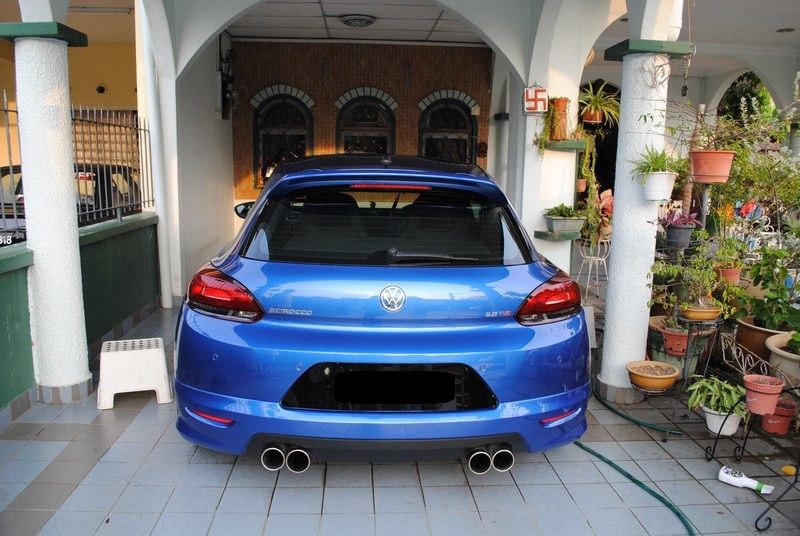
Closer look at the rear.... nice?
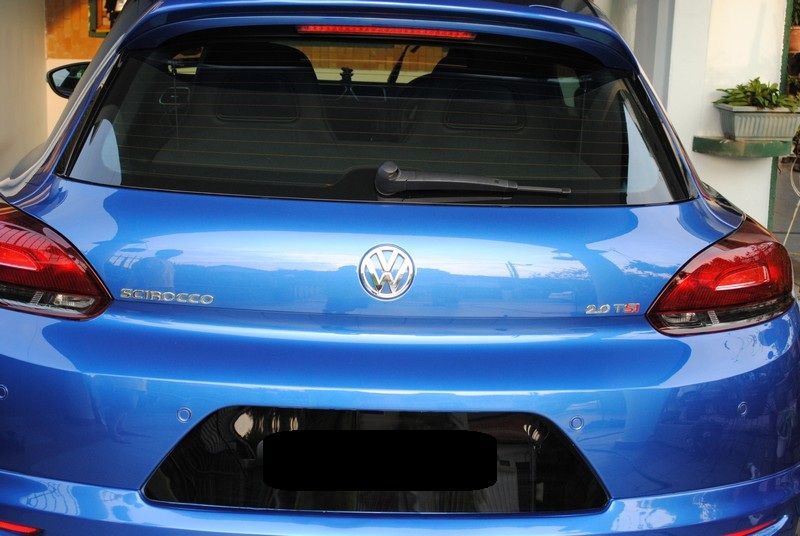
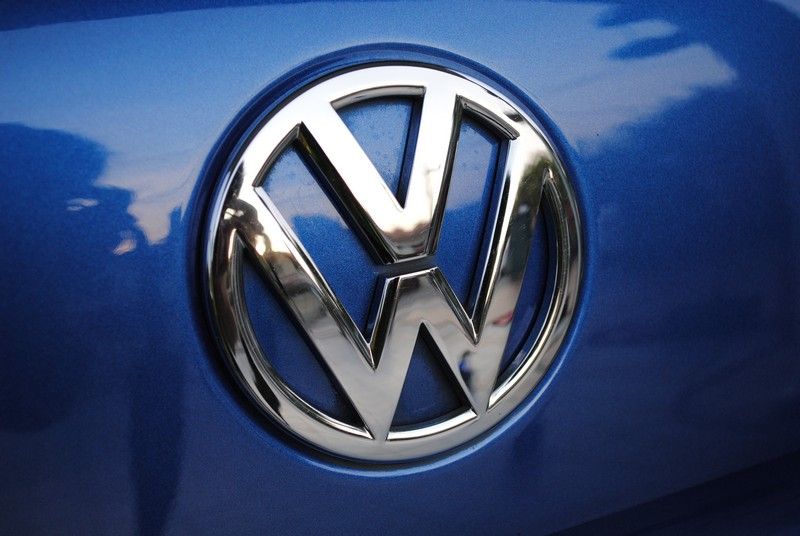
The V above the W.... Volkswagon..... not really a Wagon....
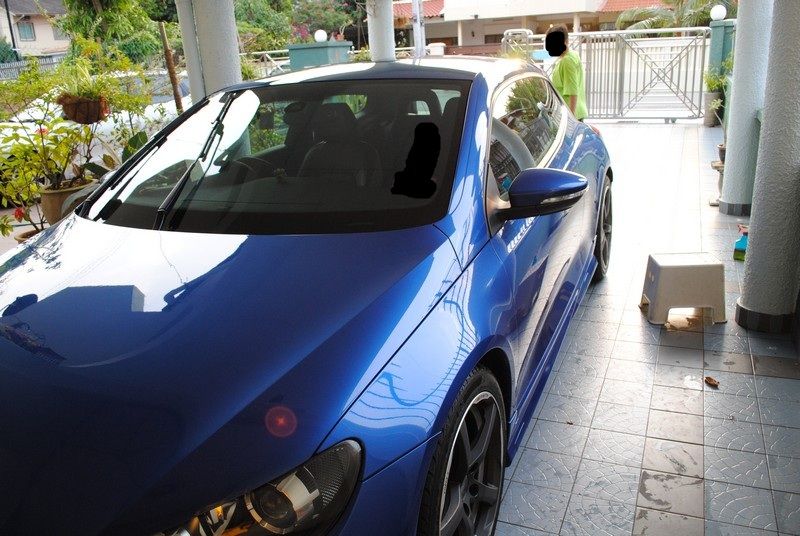
Final few pictures
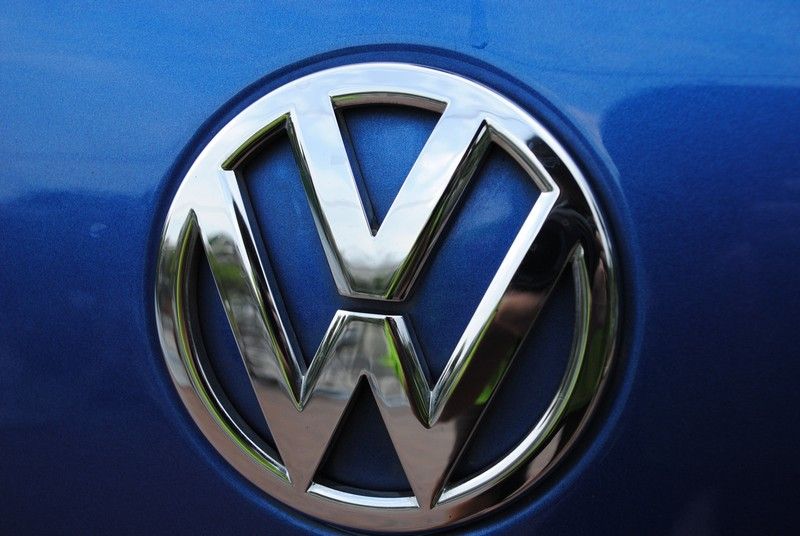
Rear logo is cleaned to perfection.
Notes:
- Car was not fully corrected as the previous coating applied is pretty hard and it would be a waste to remove it as it does its job preventing swirls really good.
- Leave some swirls and scratches is a smarter choice here. A balance of perfect looks vs maintaining the coating
- Still look very glossy wert even if there is still some swirls left behind.
- This rims is a Breyton GTS2 18 inches.... i love it
Time spend: about 11 hours X 2 person = 22 man/woman hour
Products Used: Osren Bubble and Wax, Optimum Hyper Compound, Osren Perfect Cut 2.0, OPC 1:0, OPC 1:3, Opti-Seal, Optimum Car Wax, ONR, lots of microfiber and brushes.
Satisfaction level: What do you think?
Please leave your comments (or any gibberish you wanna talk about) as it is much appreciated.
Today I bring to you.... part 2 of the Scirocco. Part 1 was the interior detailing which can be found here: D.A.3.S Detailing: Scirocco: Where do you spend most of the time when driving your car? or http://www.zerotohundred.com/newfor...d-most-of-the-time-when-driving-your-car.html
A bit of history lesson again...... This Scirocco is bout 1 year plus almost 2 years old (if not mistaken). A certain type of coating was done on the exterior previously (no brand shall be mentioned here) about 1 year plus ago. It boast of superior water beading and no need for waxing (as do most coatings). But without regular maintenance, the water sort of just sheet off and there is no water beading on the paint.
Note: There isn't much photos as me and my lovely assistant had to rush for a wedding dinner at night so please forgive me if the photos were not up to your expectation.
Condition of the car when we arrived.
Looking glossy as hell.....
Some of the lizard poo on the windscreen
Awesome looking rims.... i really love this rim
Some of the dirt hidden inside it
This is how the water look like after Osren Bubble and Wax
Then given a deep paint cleaning with OPC 1:3. This is the result.... not that dirty wert
At this point of time.... still glossy
The flower looks nice too..... a bit too much blue so i capture some red instead ya *hint, these flowers has got a drop of sweet honey in it*.
Claying time...... my lovely assistant and the owner of the car giving it a try at hands-on
No hands is as worthy as your own hands to detail your beloved ride.
This is what was picked up from quarter of the driver door...... the rear and rest of the car is actually much worst than this.
While they clay, i OPC the logo
After claying, gone were the grainy feeling and out comes the smooth feeling.... oh yeah
Nice reflection from the previous coating
Assistant giving it a final check before we move the car to the shade
A few more reflection shots before the next phrase.
Can you spot any defects here?
Any defects here?
A bit of swirls
Not a lot of swirls as the coating applied previously was pretty hard (living up to the function of a coating)
Car being taped....
Rear also gotta tape
Yes, its taped.
Any defects again?
Some liquid stain on the roof
Me giving a test on the roof (used CCS Orange Foam Pad + Osren Perfect Cut 2.0 + Ultramate DA)
Polish worked in...
This is after several passes
Its actually just the angle the shot was taken, there is still a bit of swirls left. The coating is hard... to be explained further down.
Bonnet, compounded with Makita 9227C + Optimum Double Sided Wool Pad + Hyper Compound and you get HOLOGRAM
Can see the hologram?
More on the hologram.... actually the compound made the hologram
See if you can count the three lines of hologram here.
Hologram area was follow-up with the Dual Action Polisher + CCS Orange Foam pad + Osren Perfect Cut 2.0 for two passes and you get...
Sweetness..... but I did not have enough time to do so many passes so this was only done of certain section of the bonnet. Rest of the car was given a partial correction.
My assistant wanted to give it a try with the Dual Action *so safe that a noob can use it....*
And there she starts the machine
Working with the machine
Not bad ya for a beginner first time handling the machine
Now.......owner wants to give it a try.... actually i saw him standing there looking so I offered if he wanted to give it a try.... his immediate reaction was YES.
As seen here, pad is pushed unevenly towards one side from the way the foam compressed
A little helping hand from the semi legend
Now see the foam is more evenly pressed
Now we play with the rotary....
Under supervision so that no major damage is caused
As according to the owner of the car, the rotary is smoother but harder to control. Whereas the Dual Action is easier to control but vibrates a lot which may damage the nerves.
Rotary, the ultimate power machine for detailers...... with great power comes great responsibility, when dealing with power tools, please exercise extreme caution even if you are super familiar with it.
After the whole car has been completed, my assistant does a final check after the car was given another round of Osren Bubble and Wax
yummylicious glossylicious (this is after Opti-Sealing and Optimum Car Wax)
The rims.... sweet oh sweet rims...
Can someone please tell me where to get this rims.... i love it. But too costly.
Me doing some weird ass pose..... cause we can have fun while detailing.
Hmm....... anything wanna complain?
My assistant giving it a try at the camera reflection shot
Surely you can see me doing weird ass monkey face pose again
From the rear...... nice?
Closer look at the rear.... nice?
The V above the W.... Volkswagon..... not really a Wagon....
Final few pictures
Rear logo is cleaned to perfection.
Notes:
- Car was not fully corrected as the previous coating applied is pretty hard and it would be a waste to remove it as it does its job preventing swirls really good.
- Leave some swirls and scratches is a smarter choice here. A balance of perfect looks vs maintaining the coating
- Still look very glossy wert even if there is still some swirls left behind.
- This rims is a Breyton GTS2 18 inches.... i love it
Time spend: about 11 hours X 2 person = 22 man/woman hour
Products Used: Osren Bubble and Wax, Optimum Hyper Compound, Osren Perfect Cut 2.0, OPC 1:0, OPC 1:3, Opti-Seal, Optimum Car Wax, ONR, lots of microfiber and brushes.
Satisfaction level: What do you think?
Please leave your comments (or any gibberish you wanna talk about) as it is much appreciated.
Last edited:
