SuperDetailer
Known Member
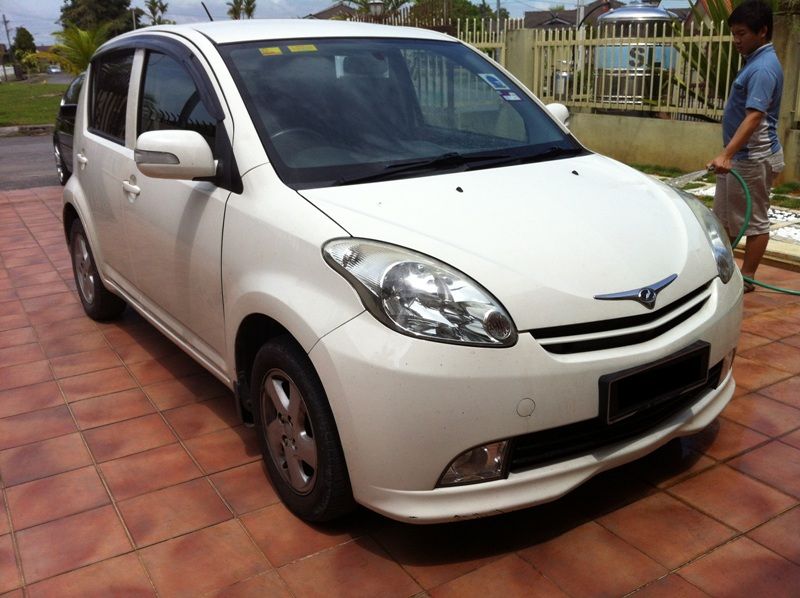
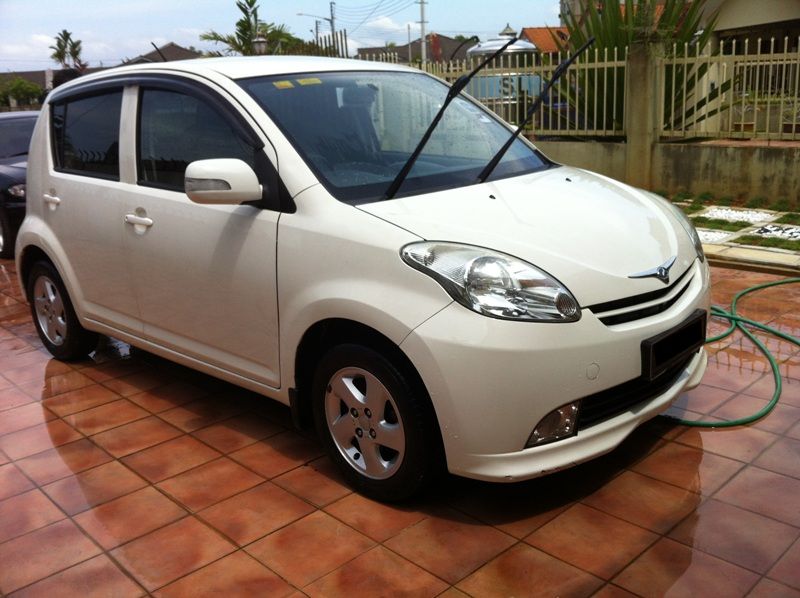
When we got a phone call from this owner, he was just inquiring if we can transform his ride.
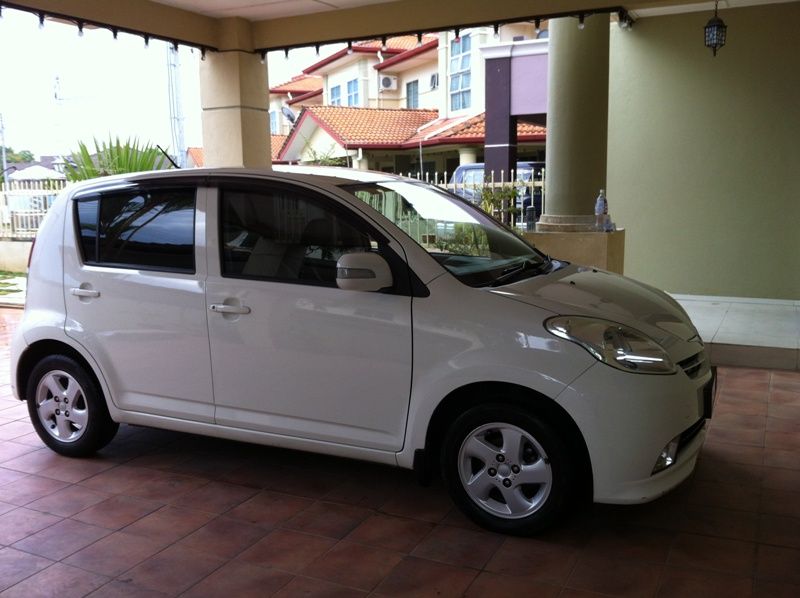
Well, when we arrive at the scene, we started to do some inspection first. It turns out that it wasn't that bad after all. His ride is still factory paint even after many years.
Let's see what this journey of detailing has taught us,
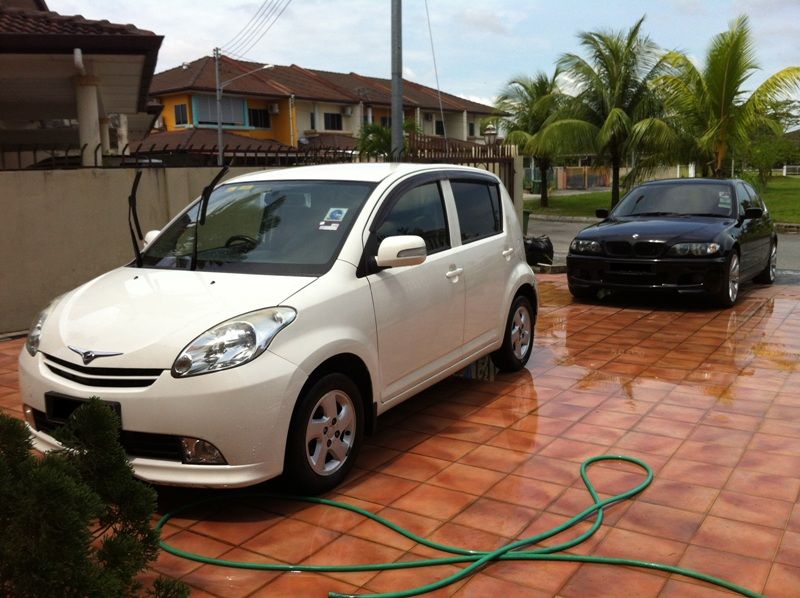
When we first arrive at the scene,
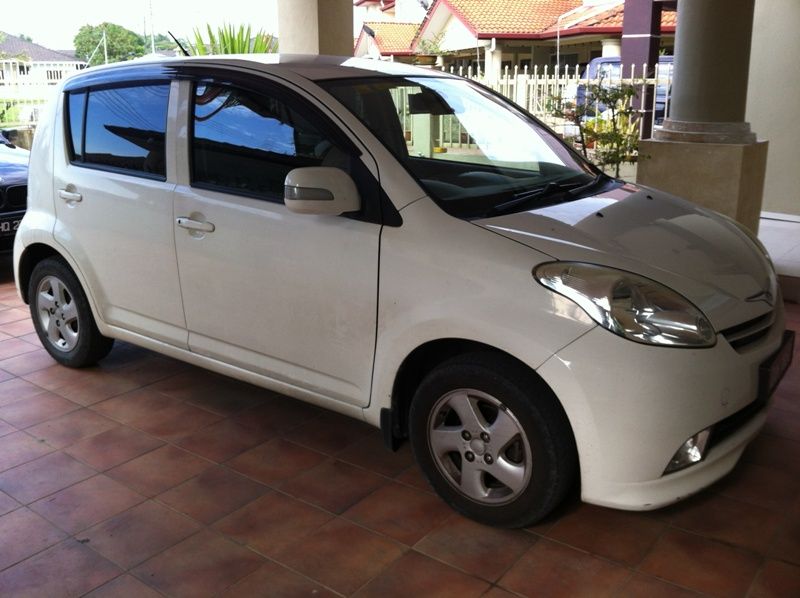
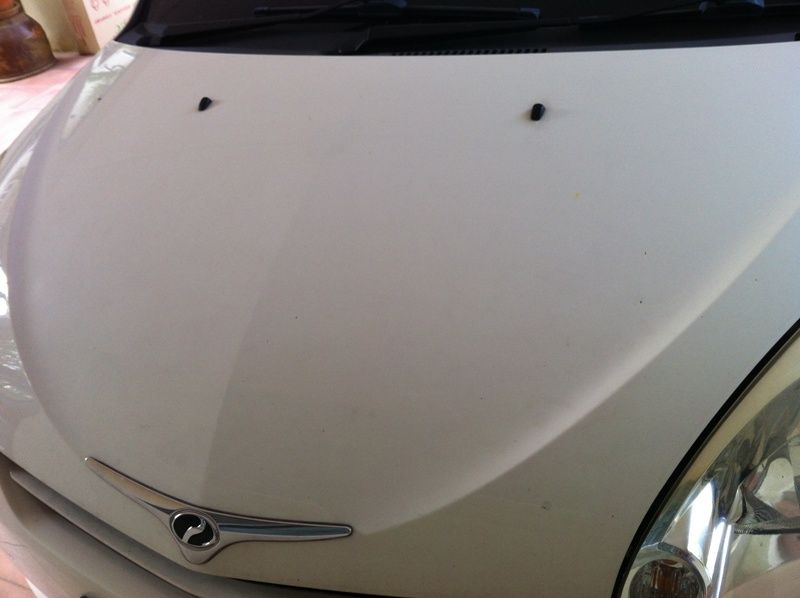
Based on the owner, he usually brought it to road side car wash nearby his house for convenience. Thanks to them, clear coat has failed.
Checking what to do first.
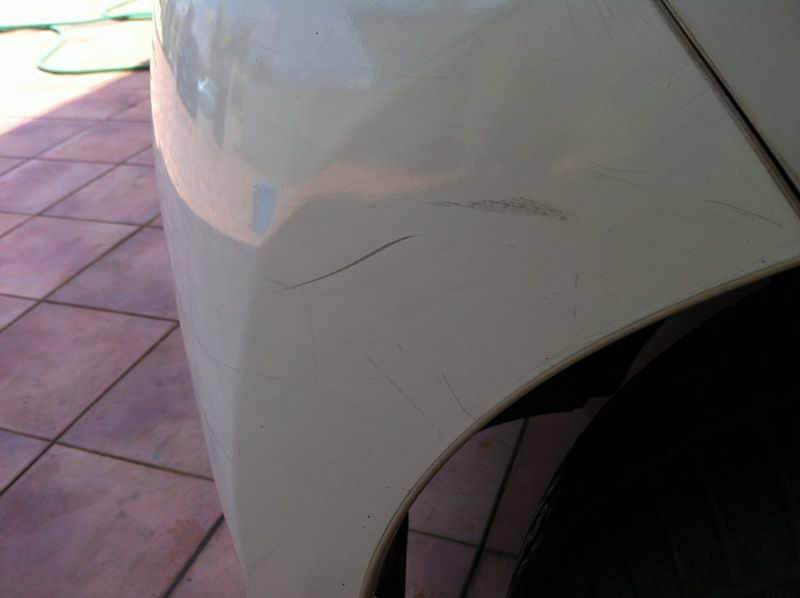
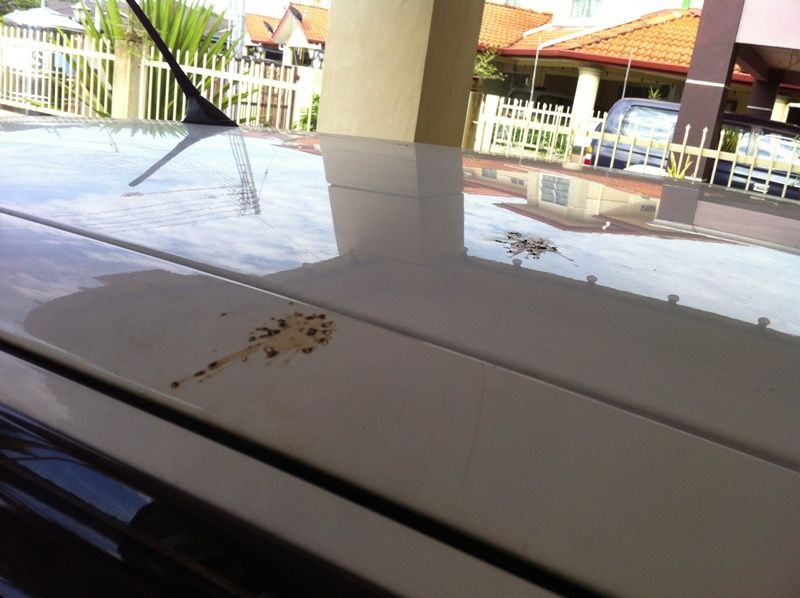
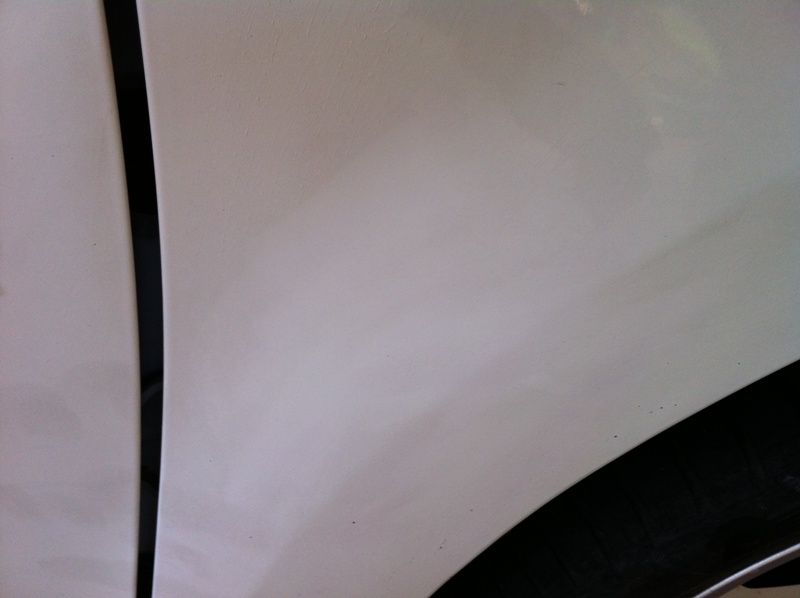
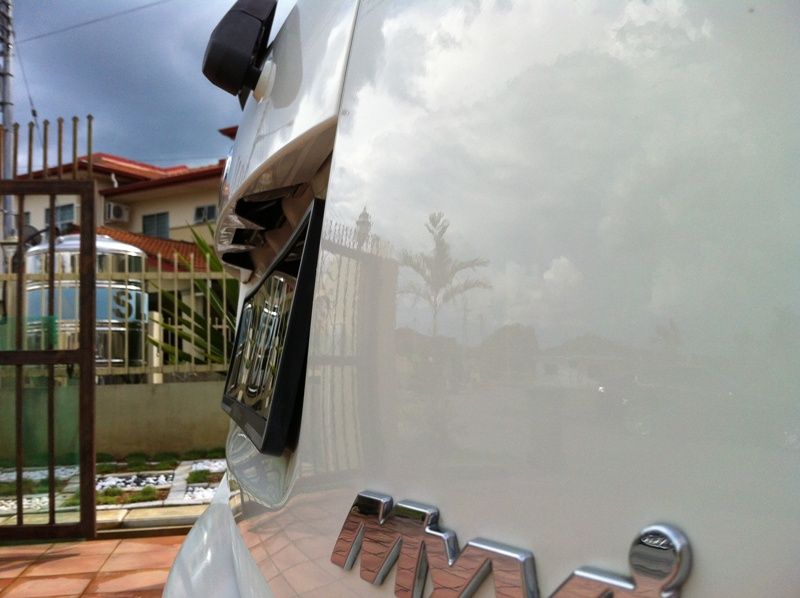
Do you know what's the problem? Answer: Clear coat failure.
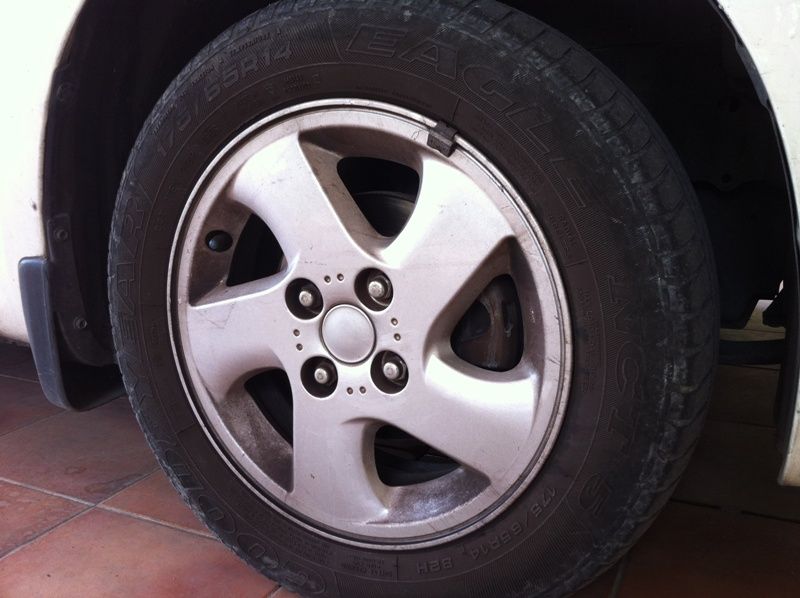
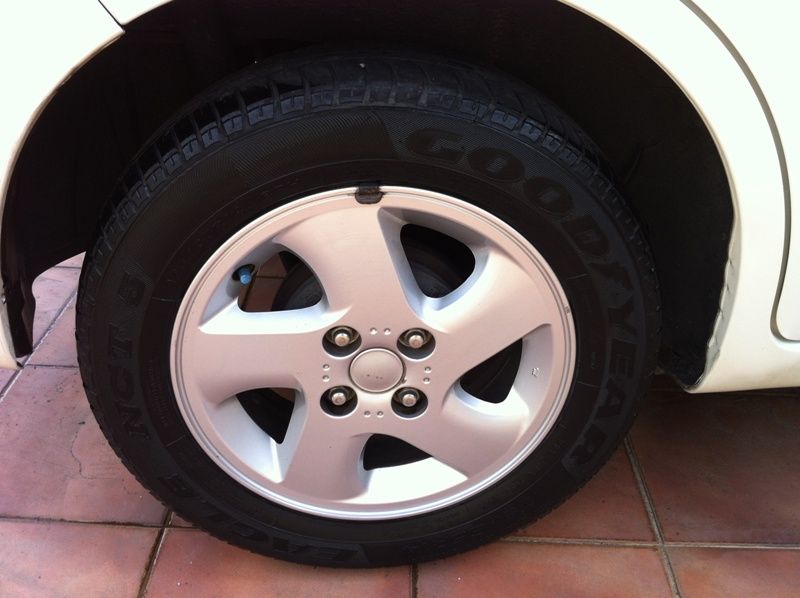
Rims full of oil stains.
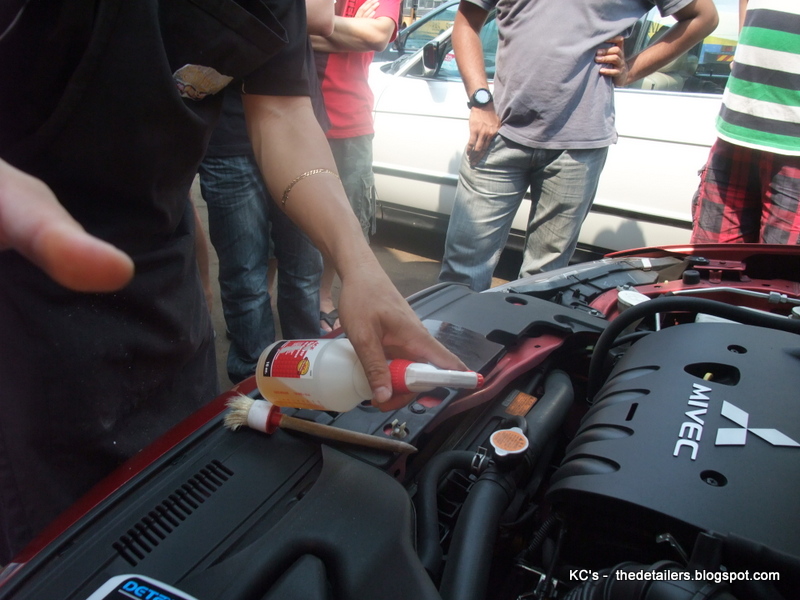
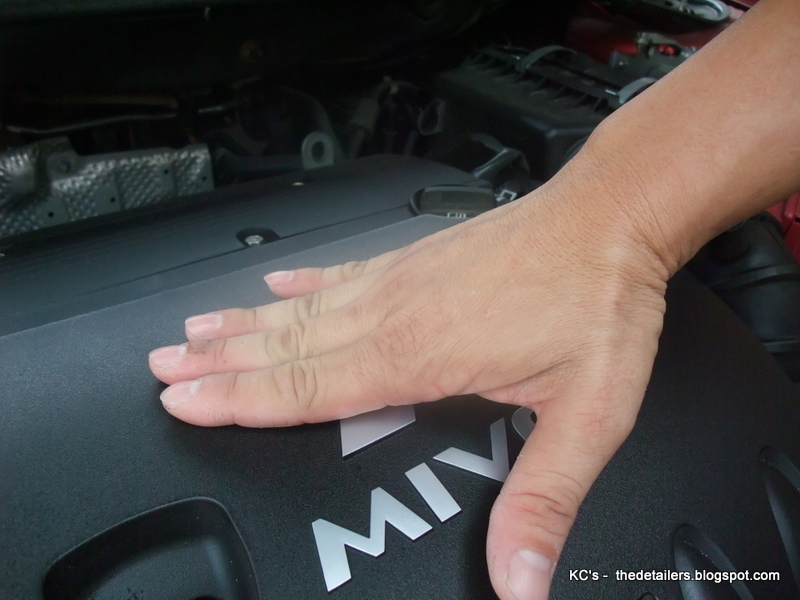
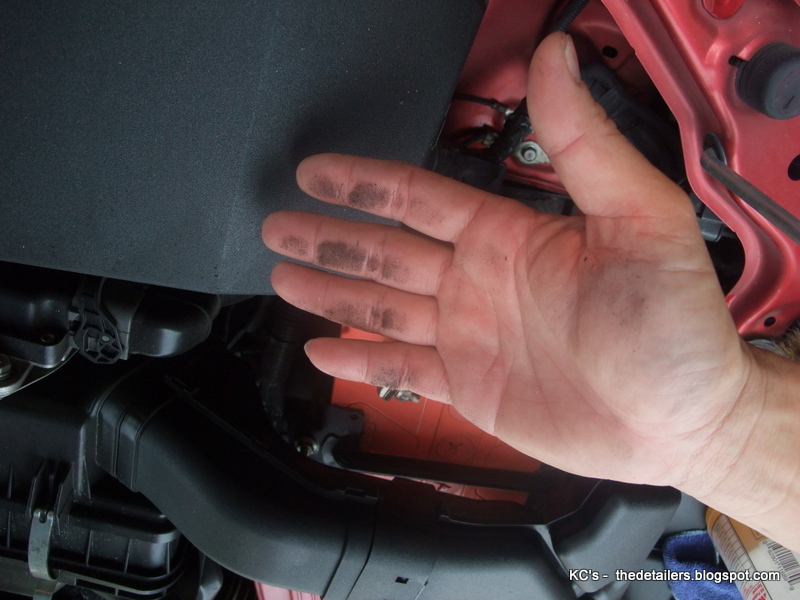
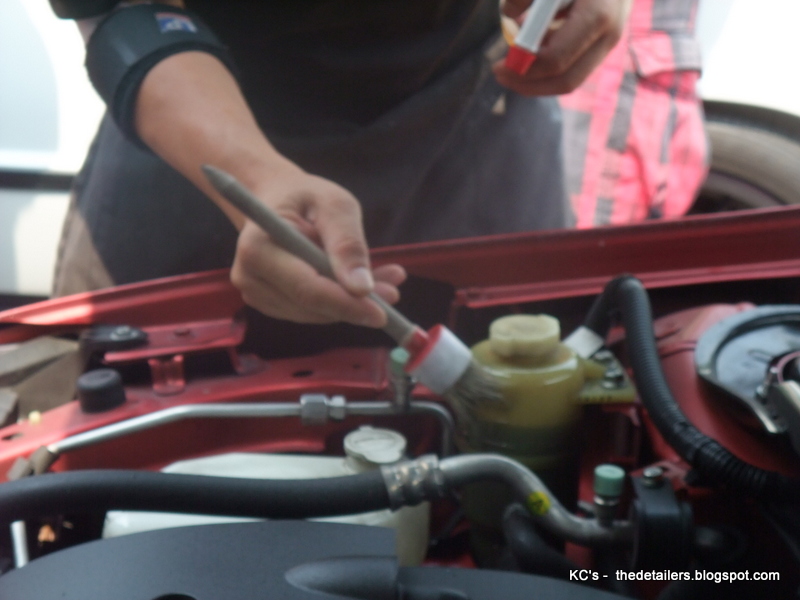
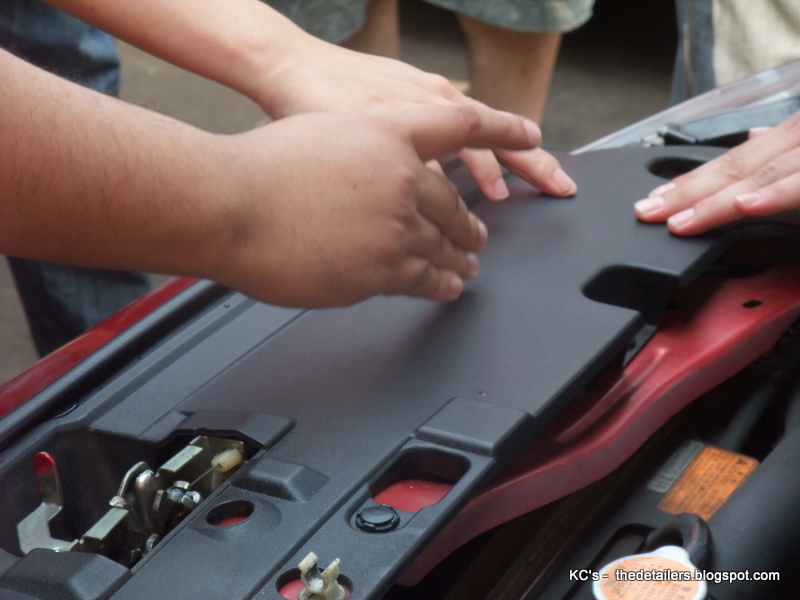
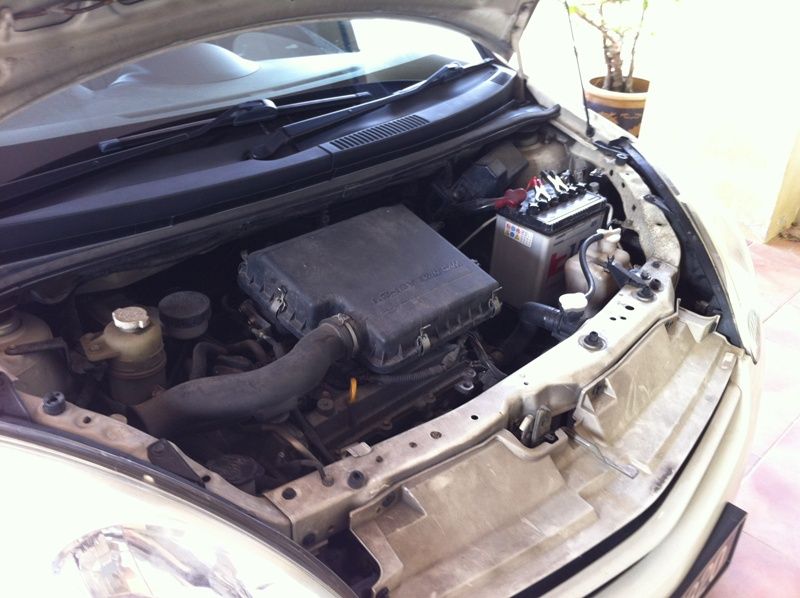
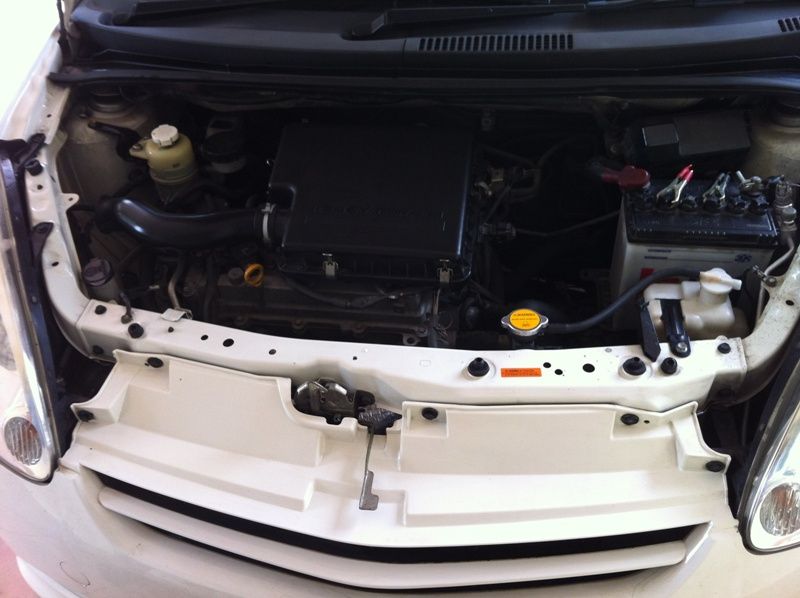
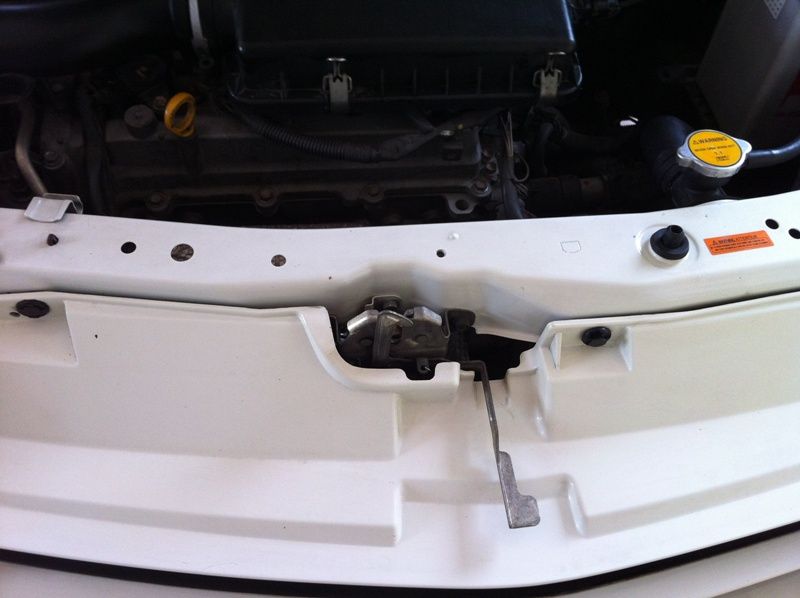
Engine bay looks in bad shape too.
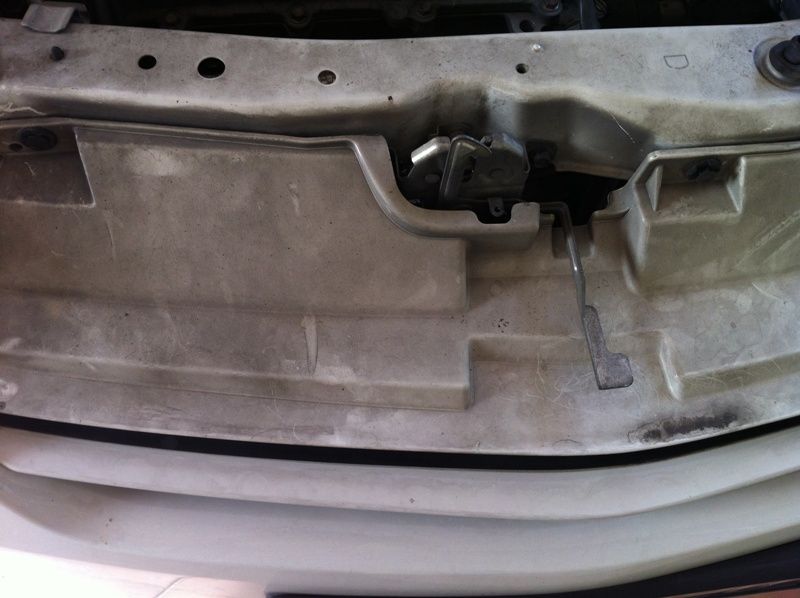
Closer look:
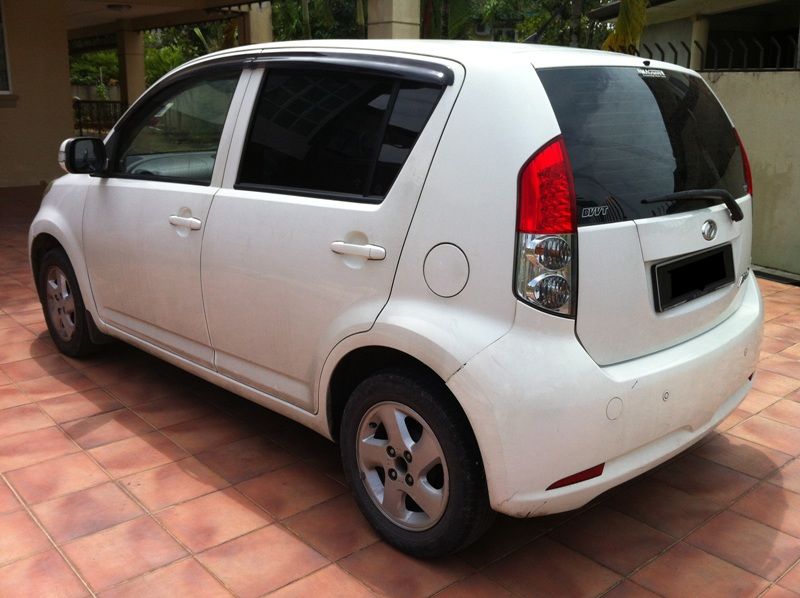
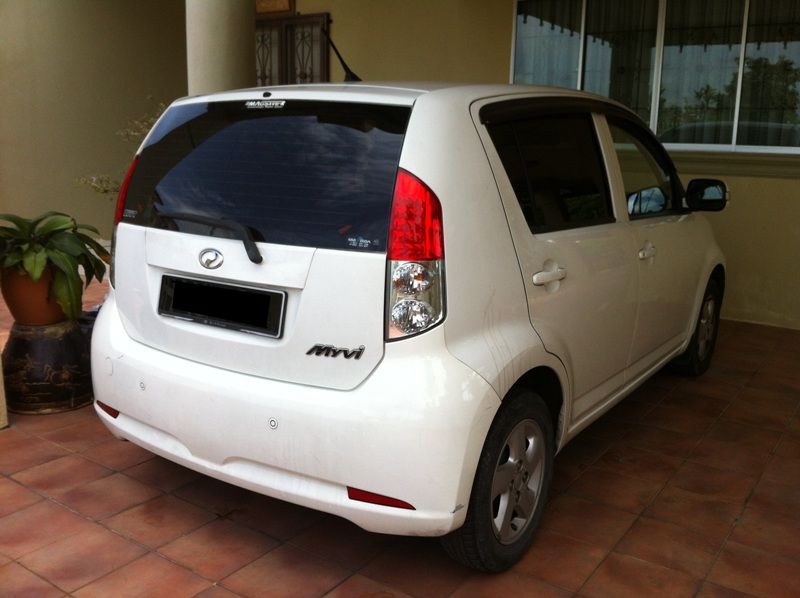
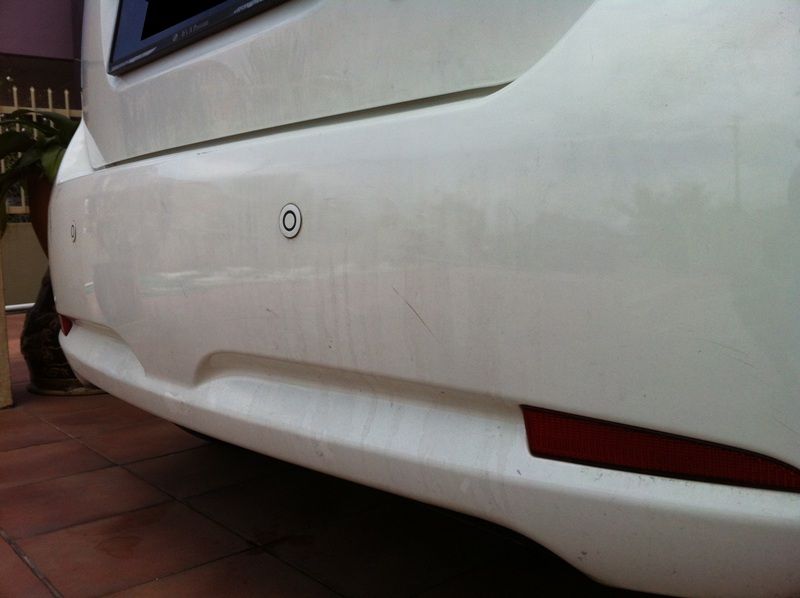
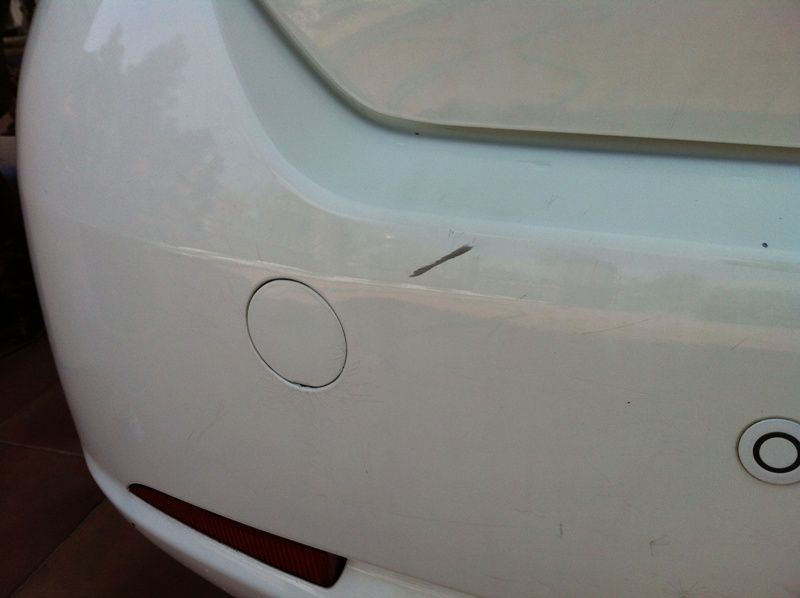
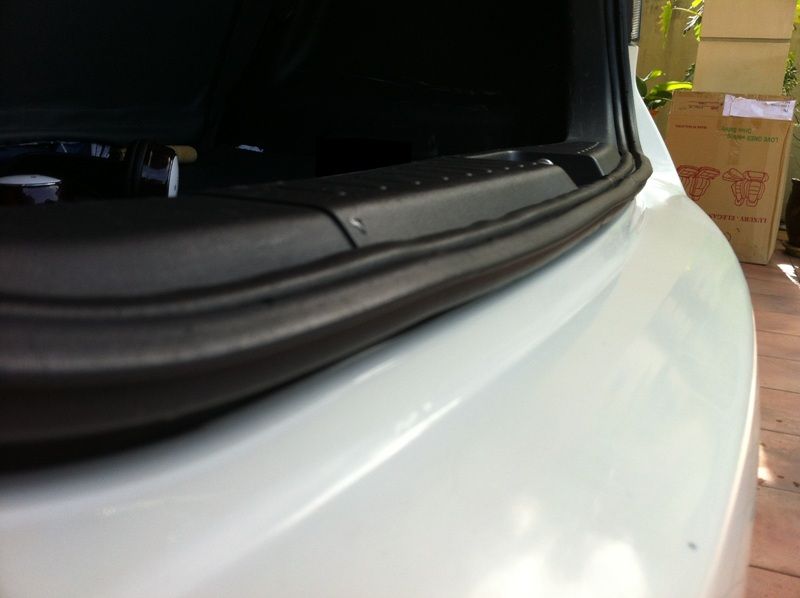
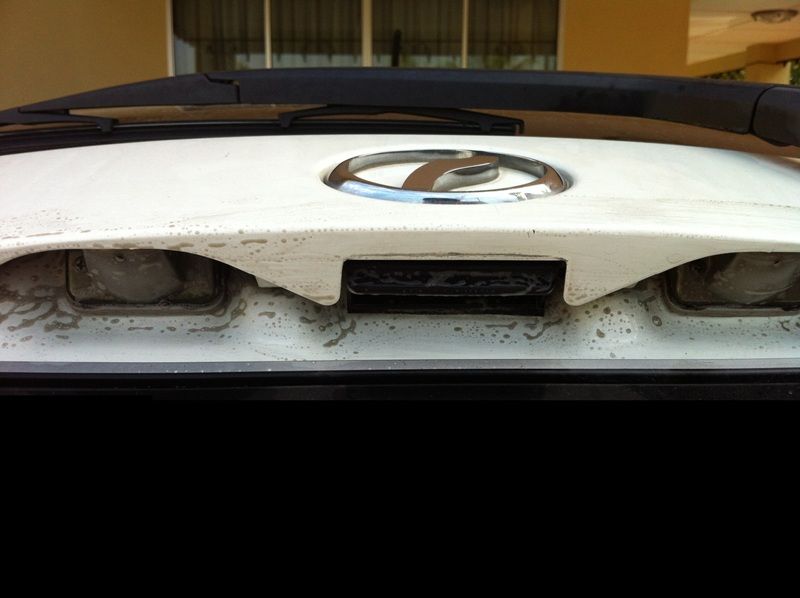
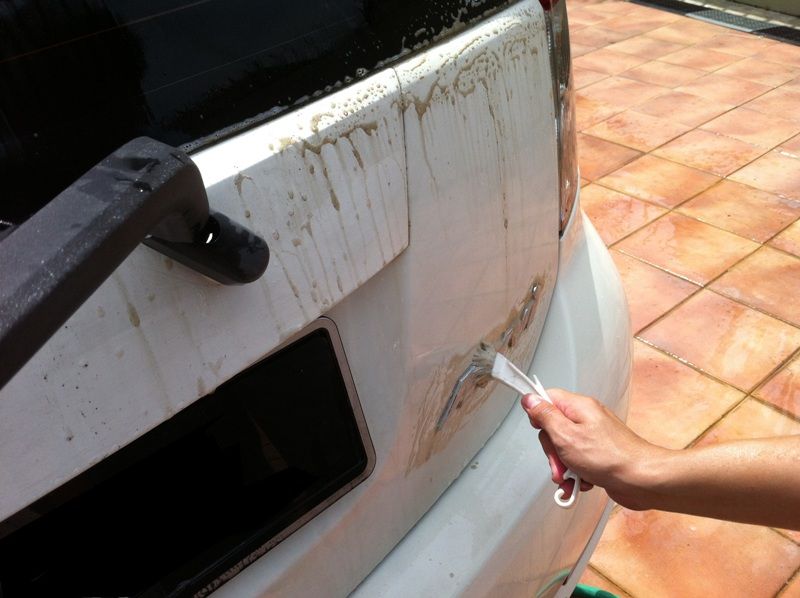
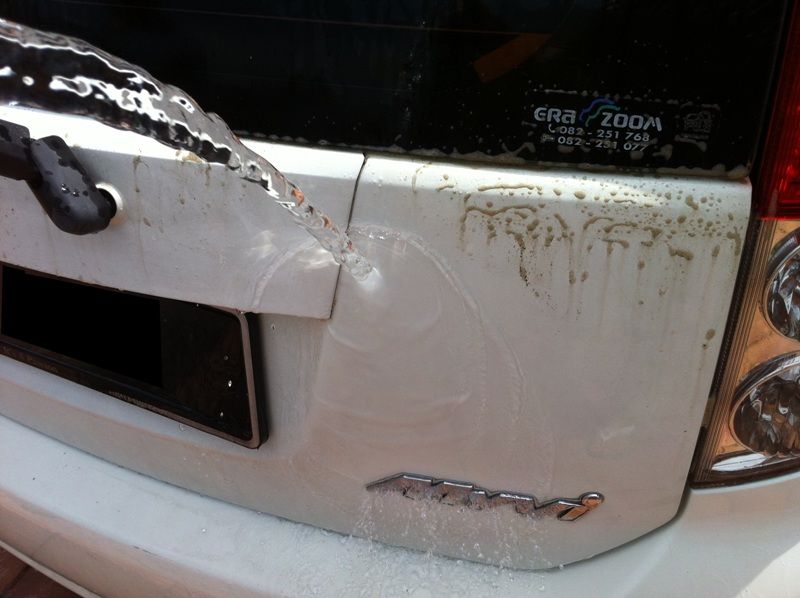
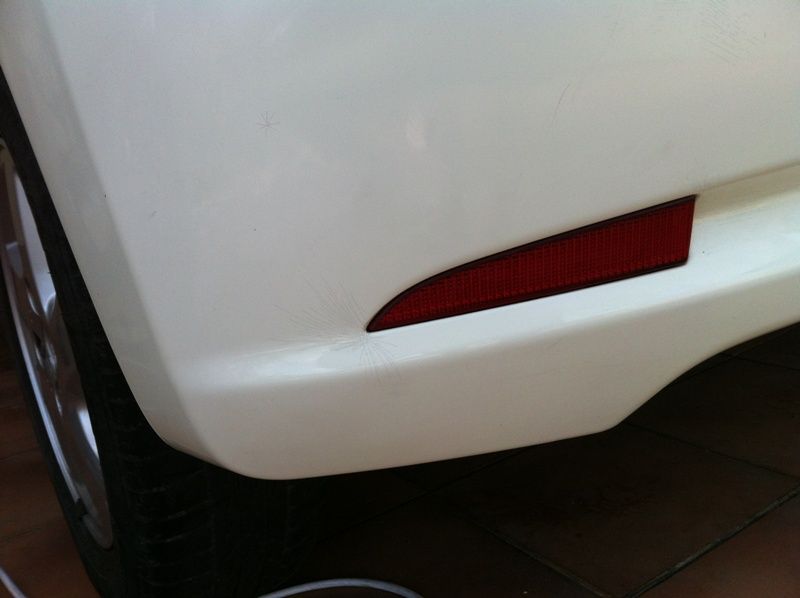
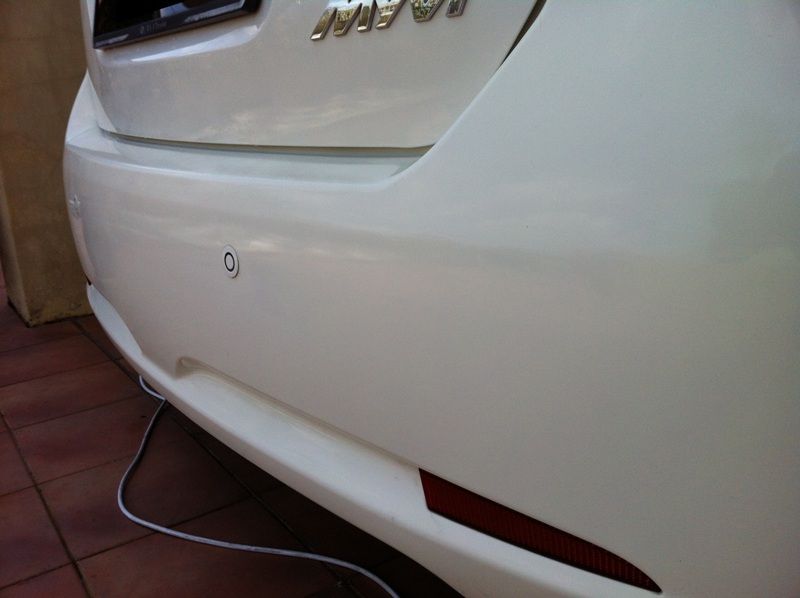
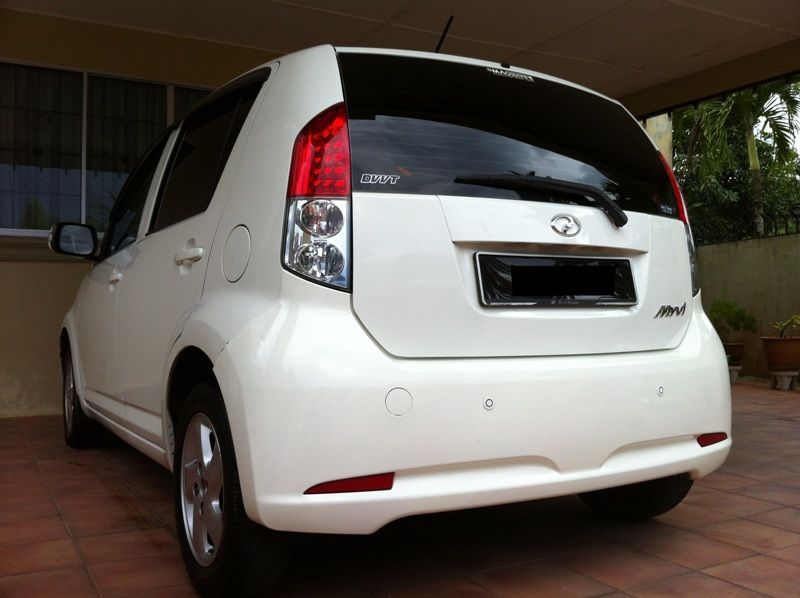
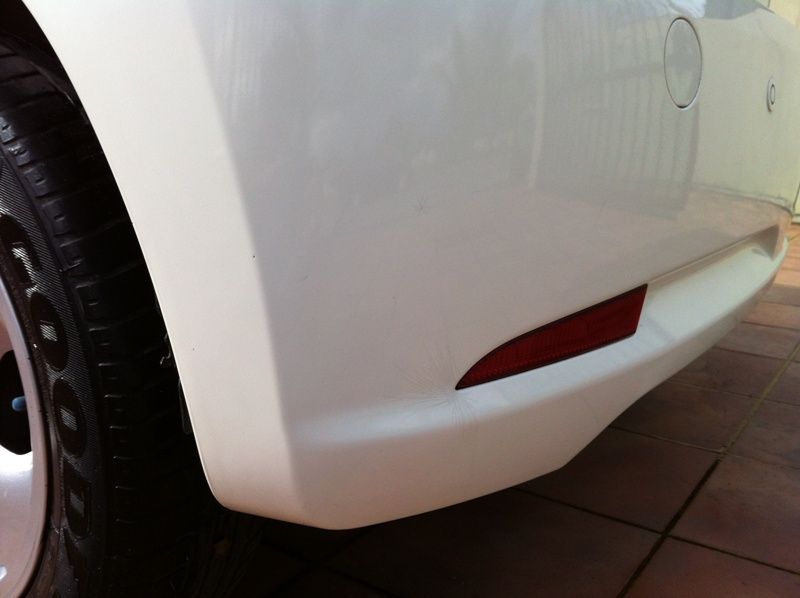
Rear bumper:
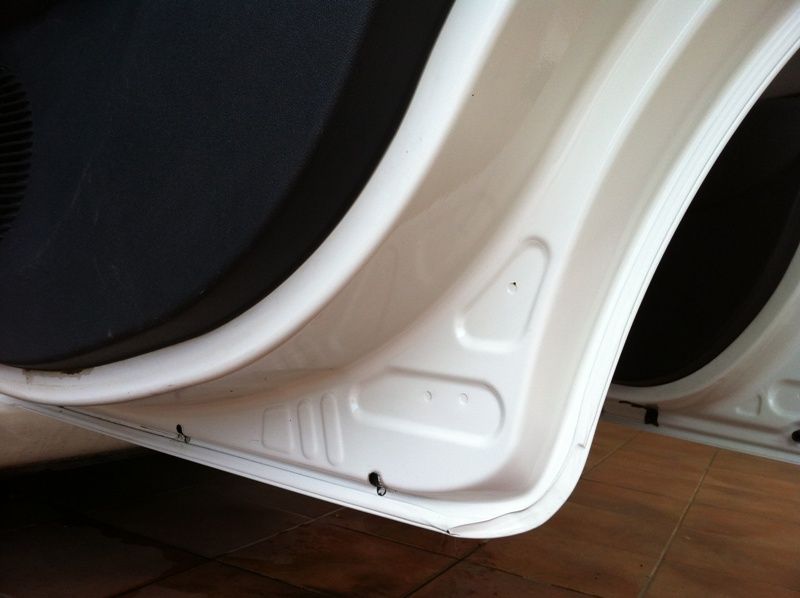
Lower Rear bumper:
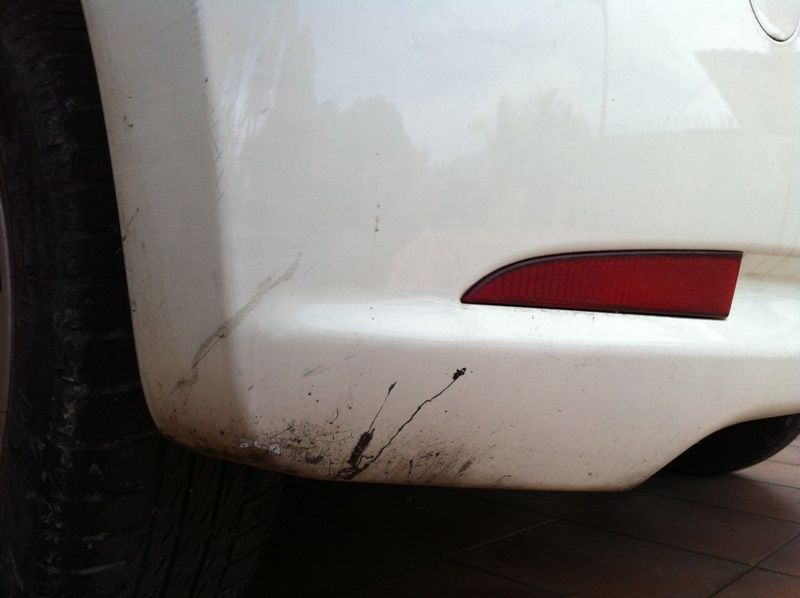
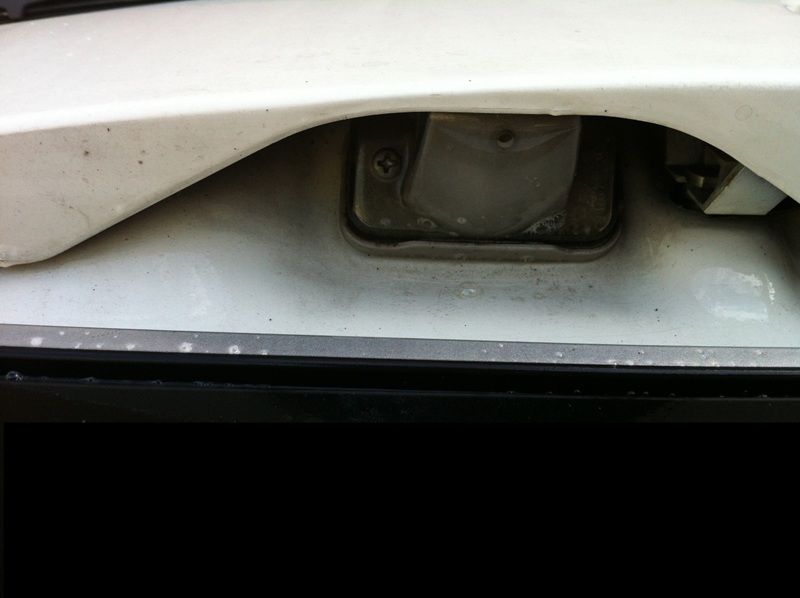
Oil stains:
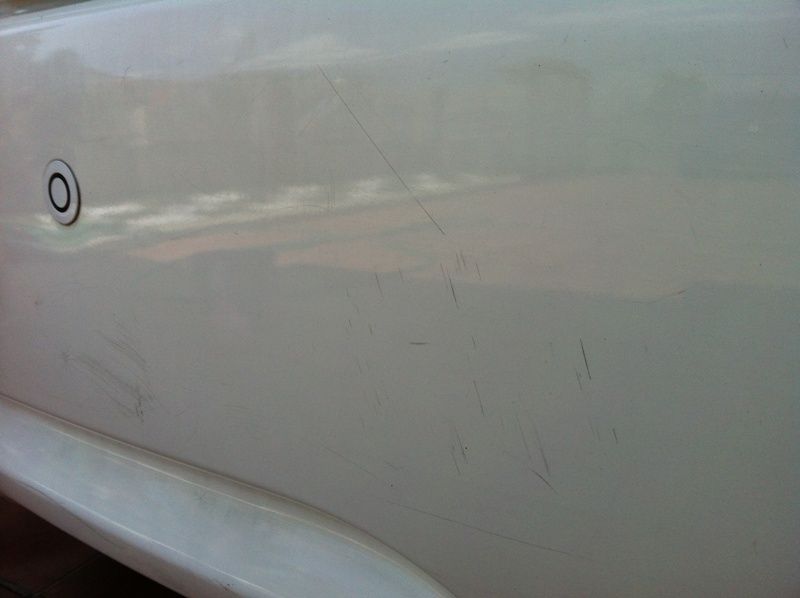
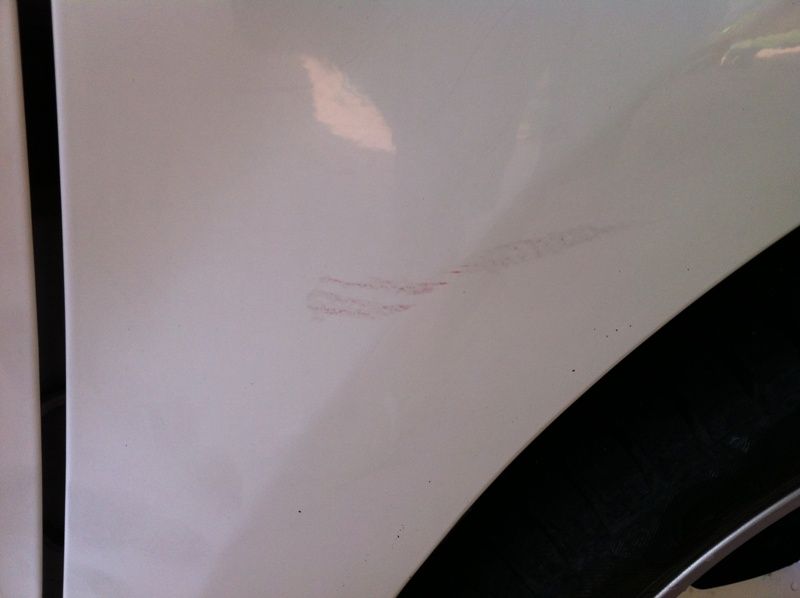
With scratches too:
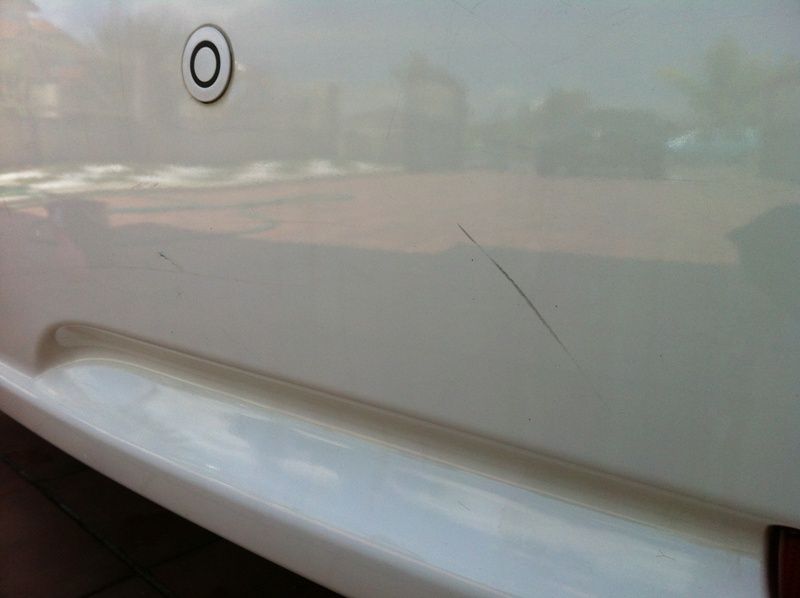
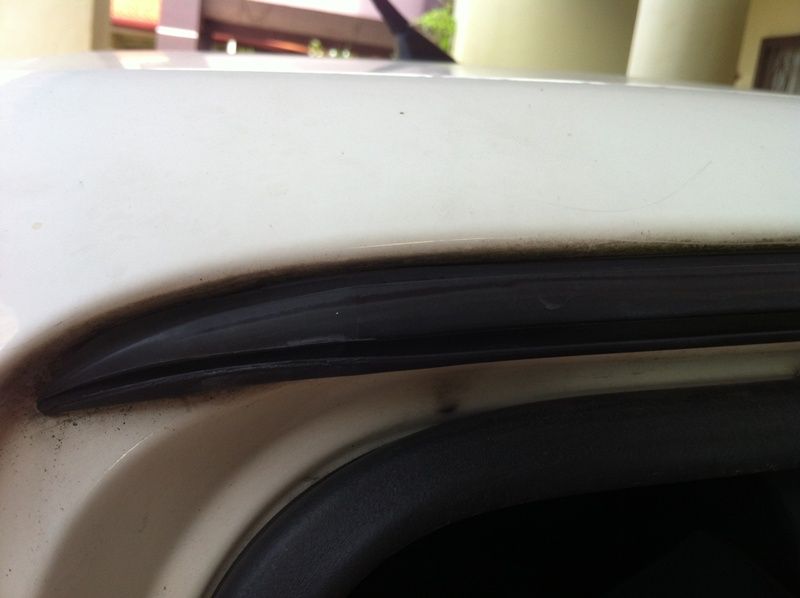
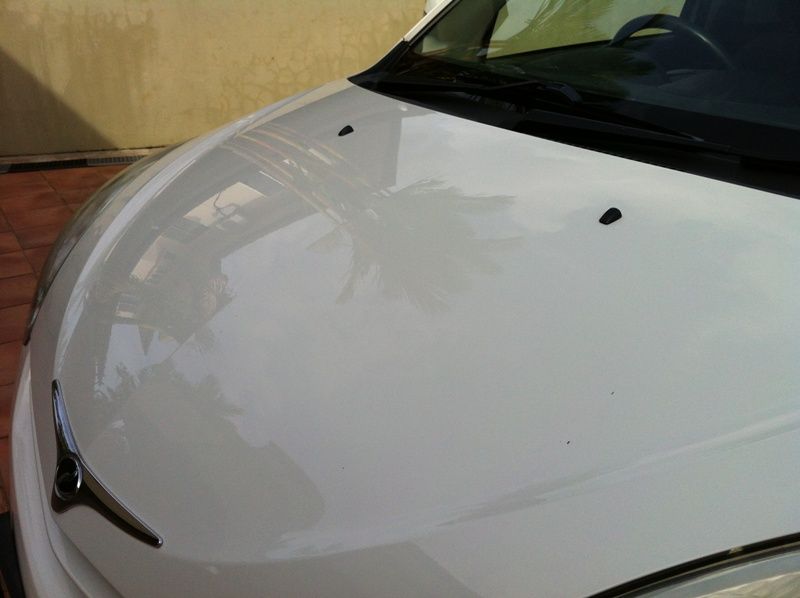
Some more to add in the list:
Gosh look at that:
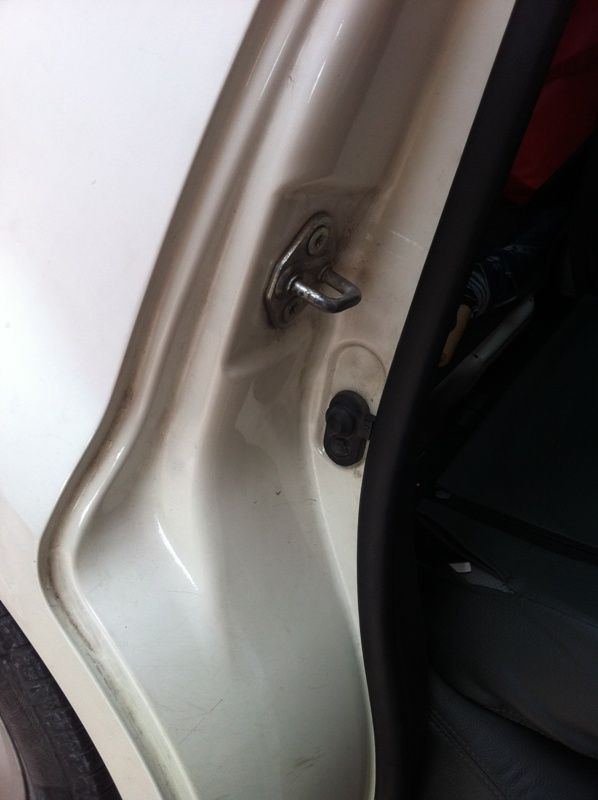
Closer look:

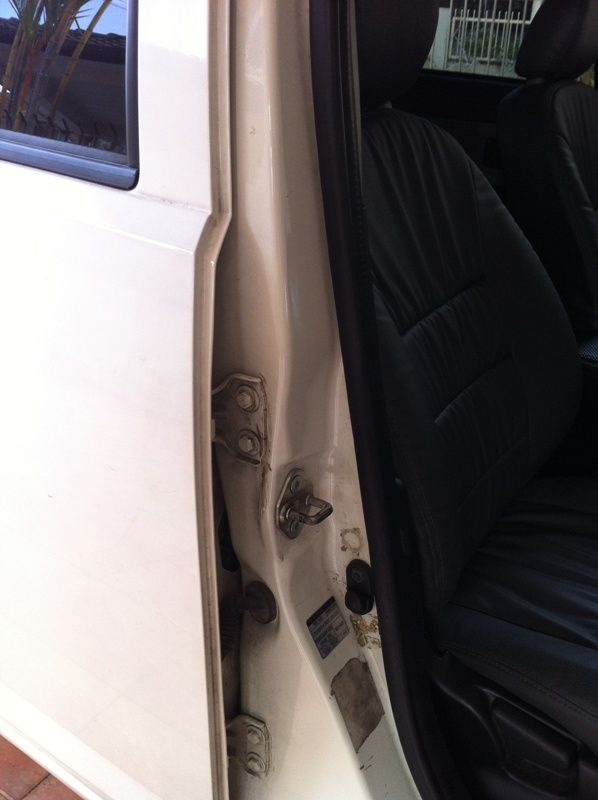
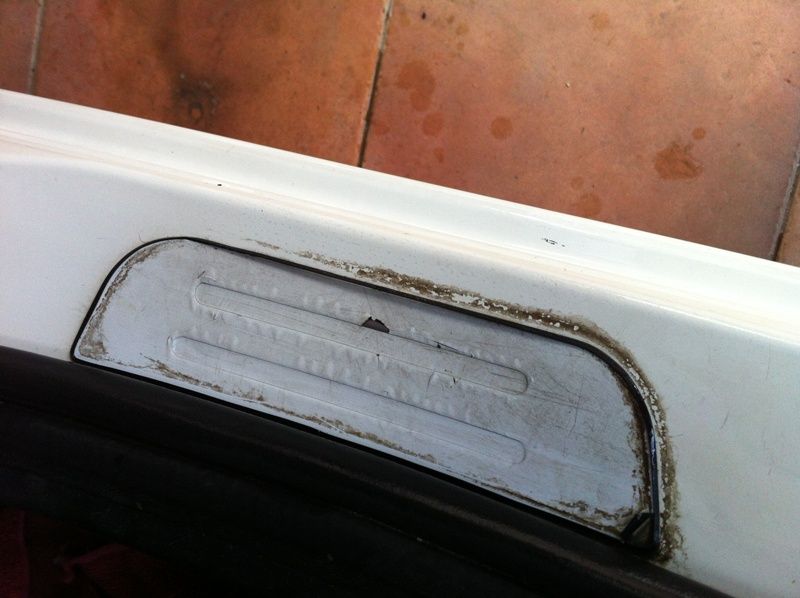
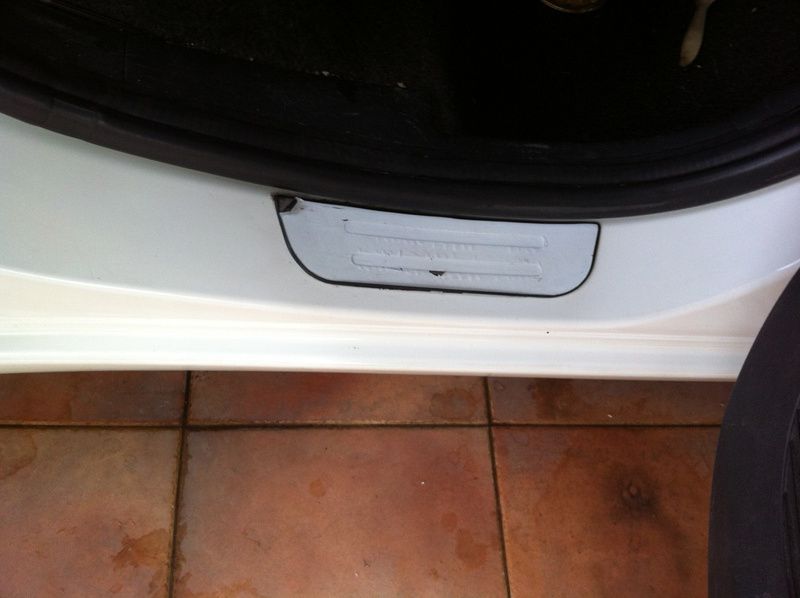
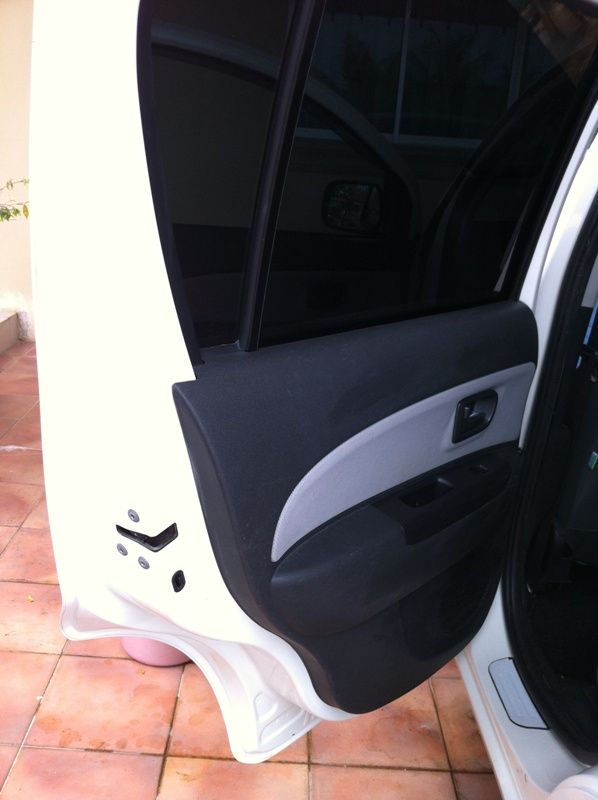
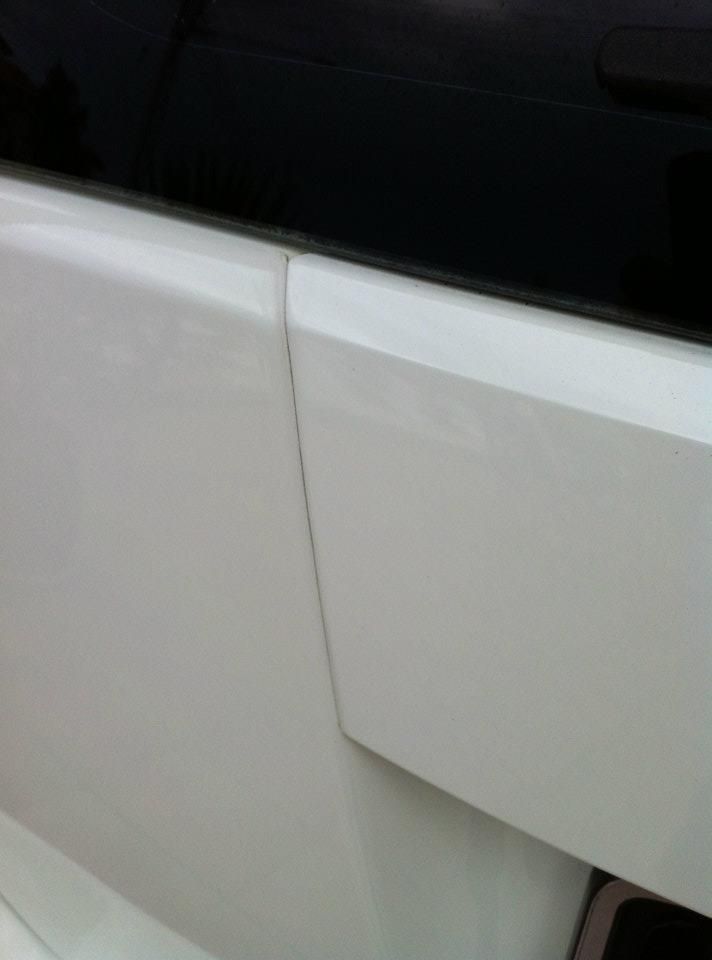
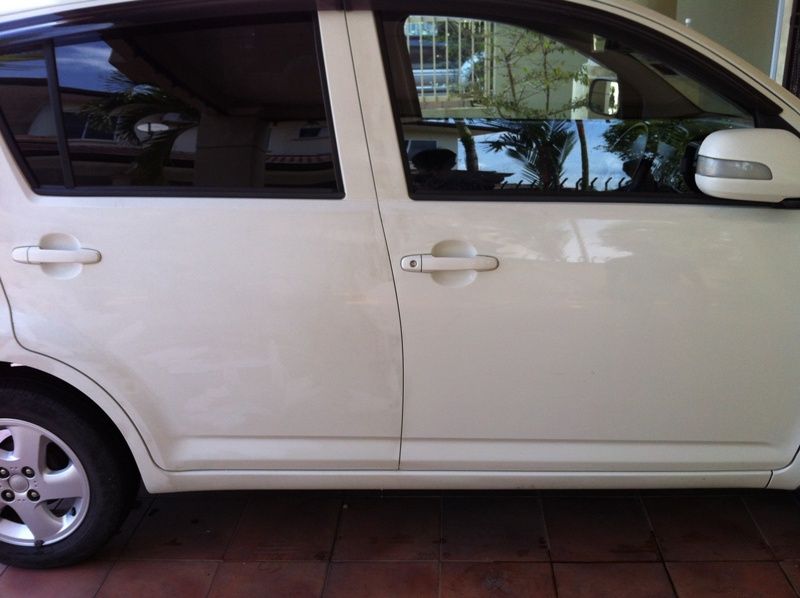
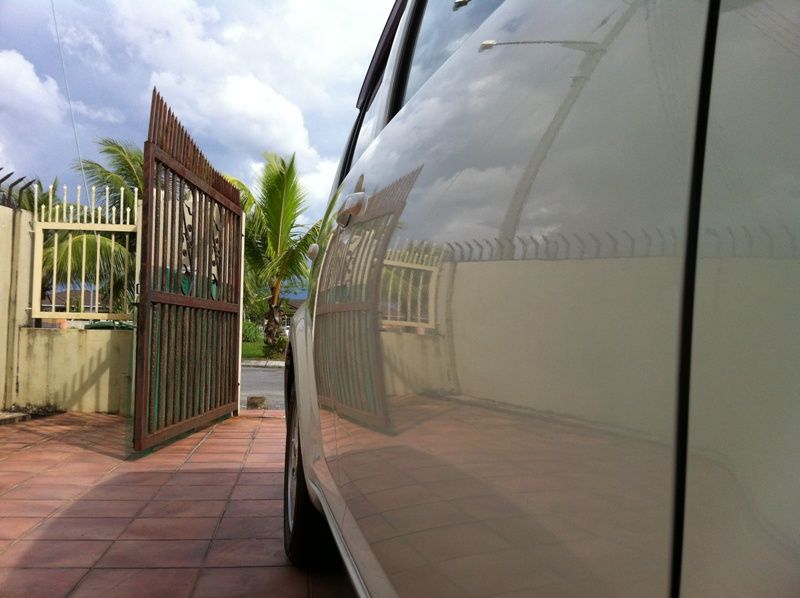
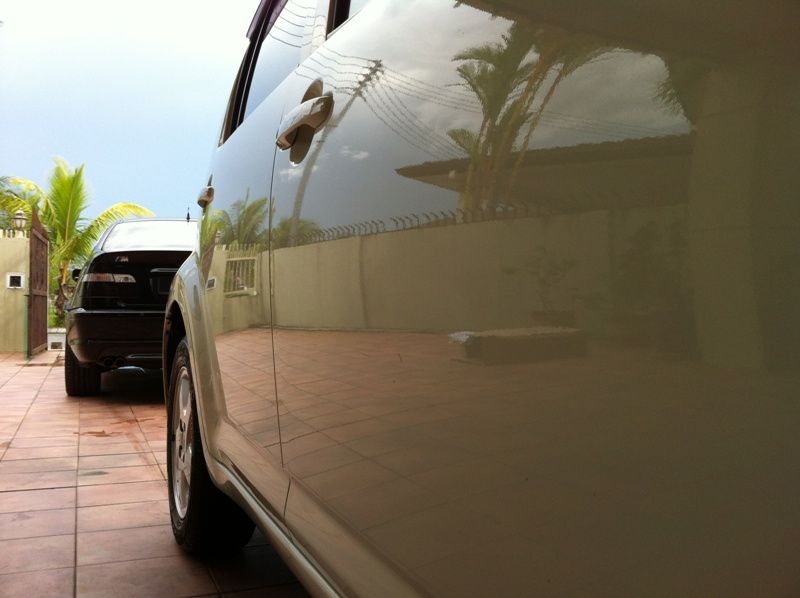
Side door:
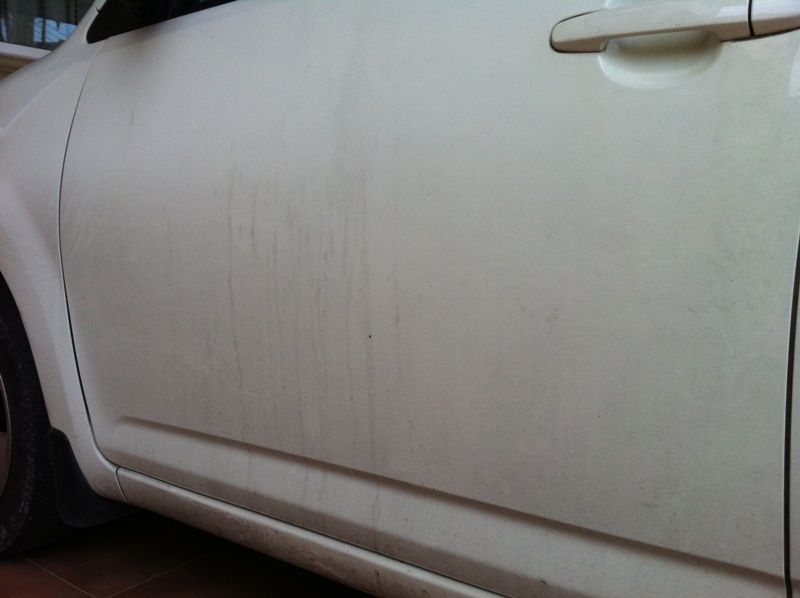
Stains everywhere:

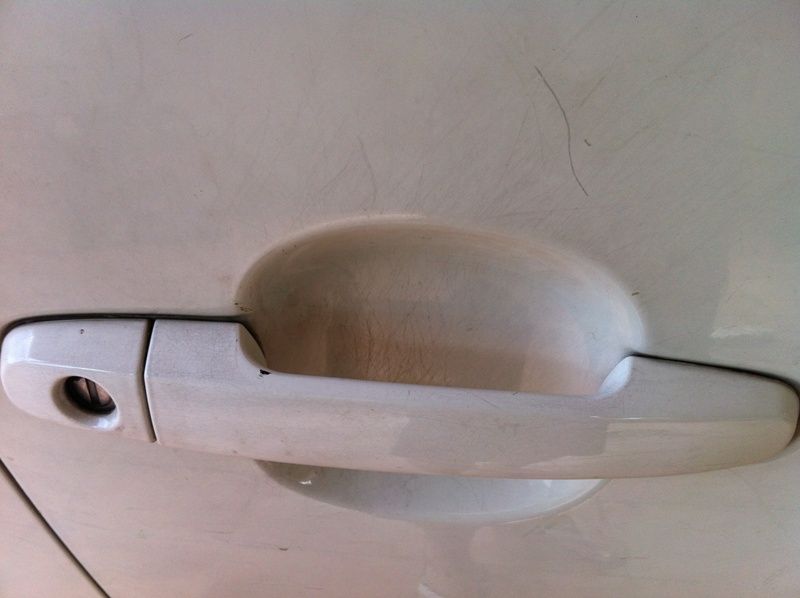
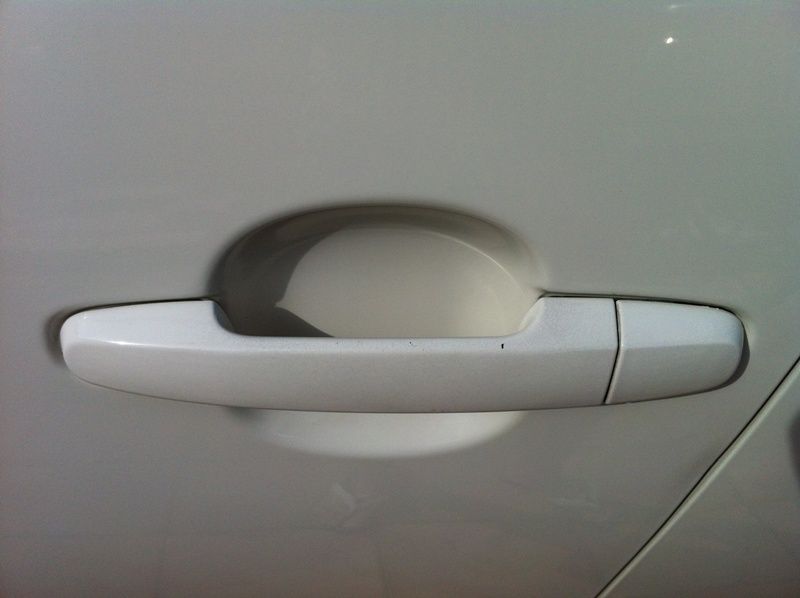
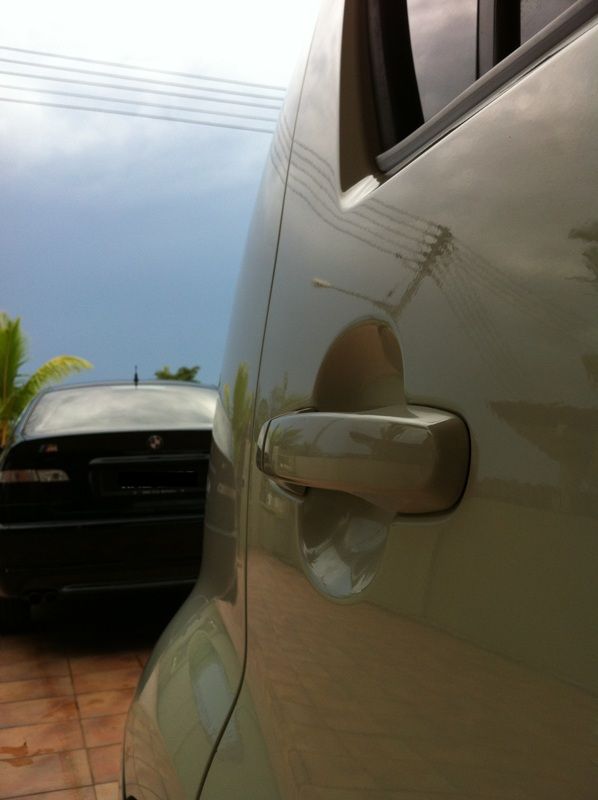
Door handles with scratches because of finger nails:
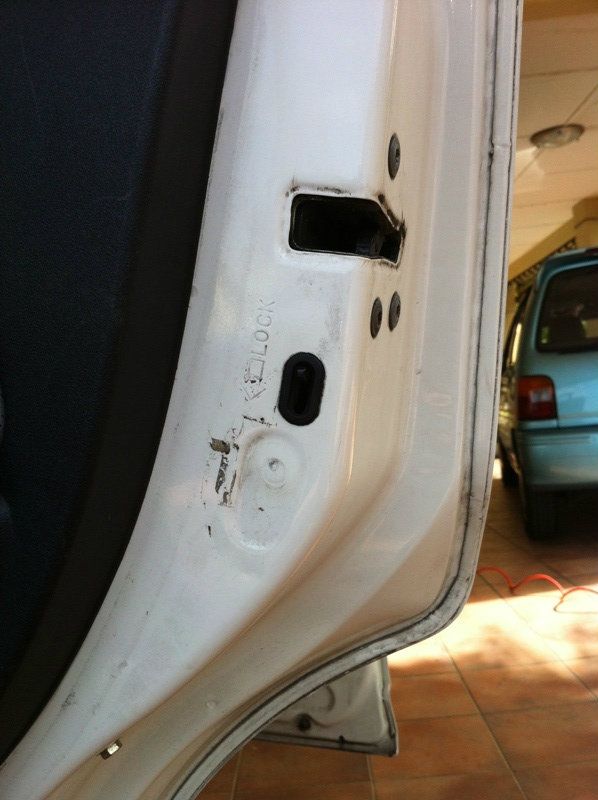
What is that?
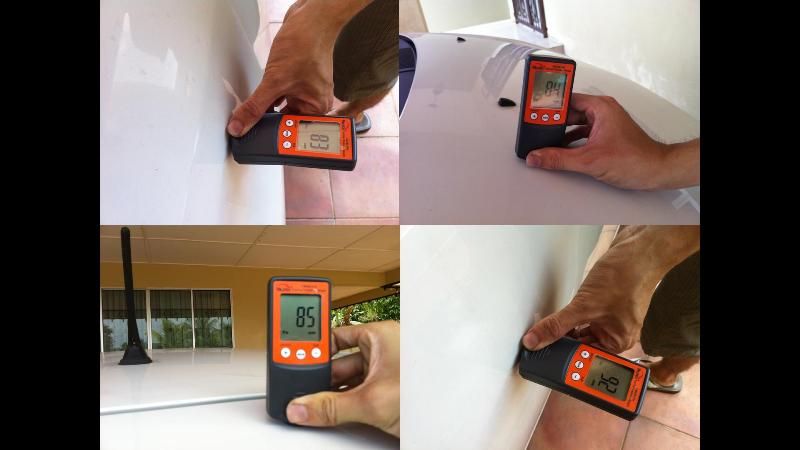
Doing a coating reading first.
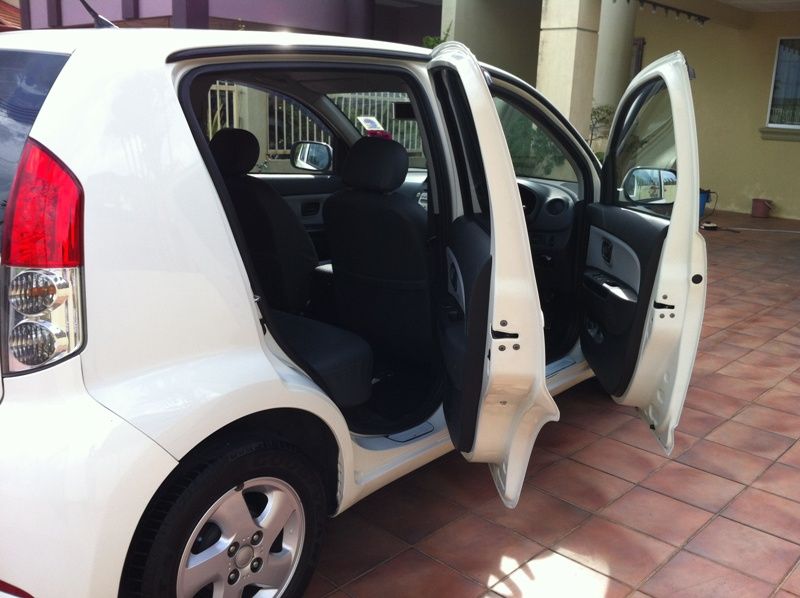
Interior does looks in bad shape too:
Closer look:
Close up:
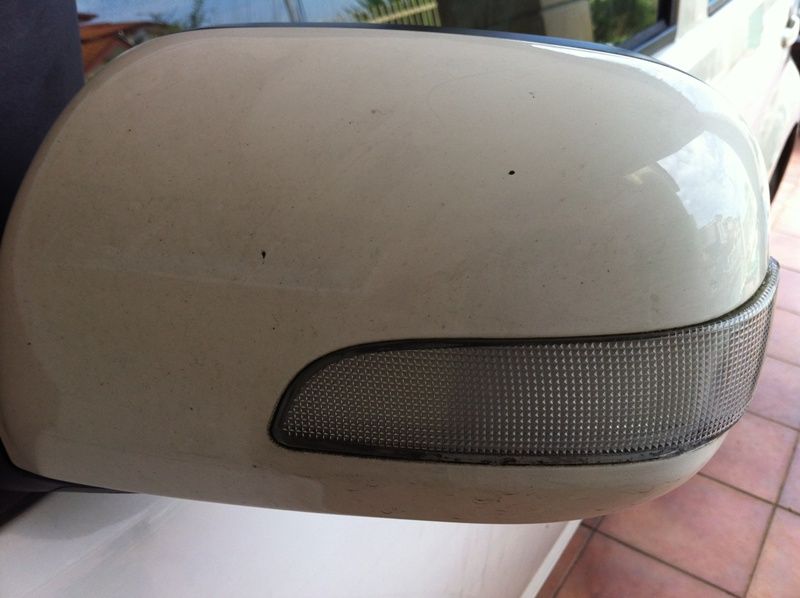
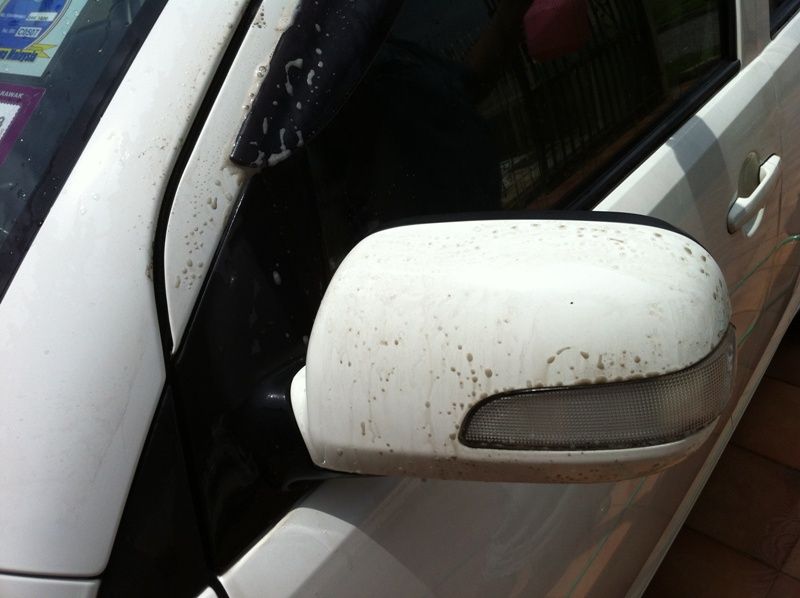
Side mirror has problem too:
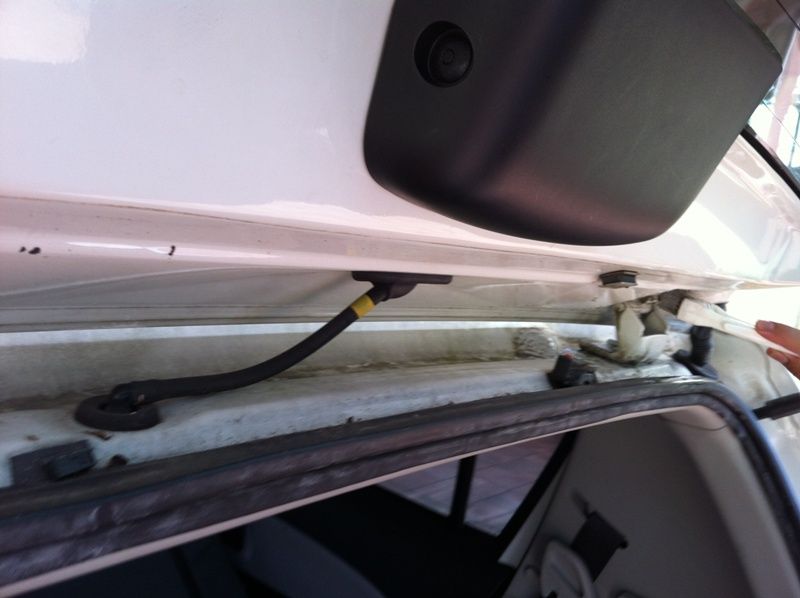
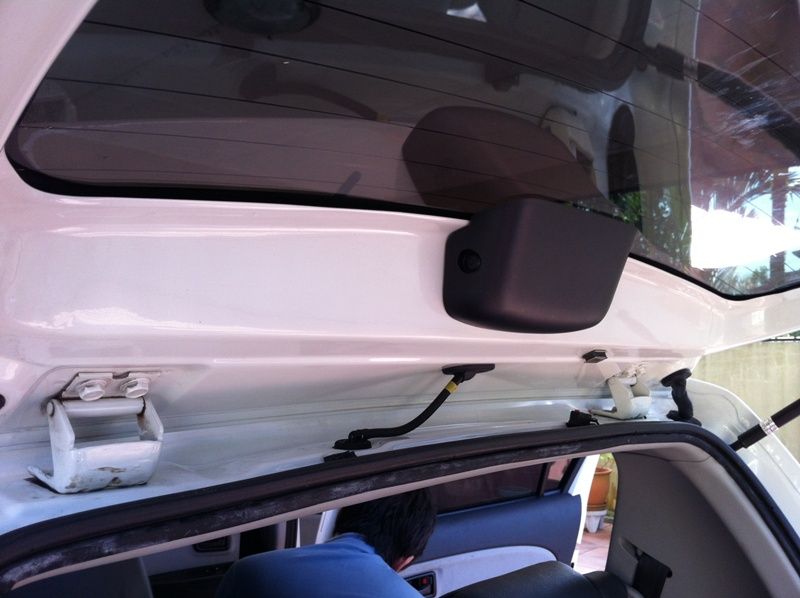
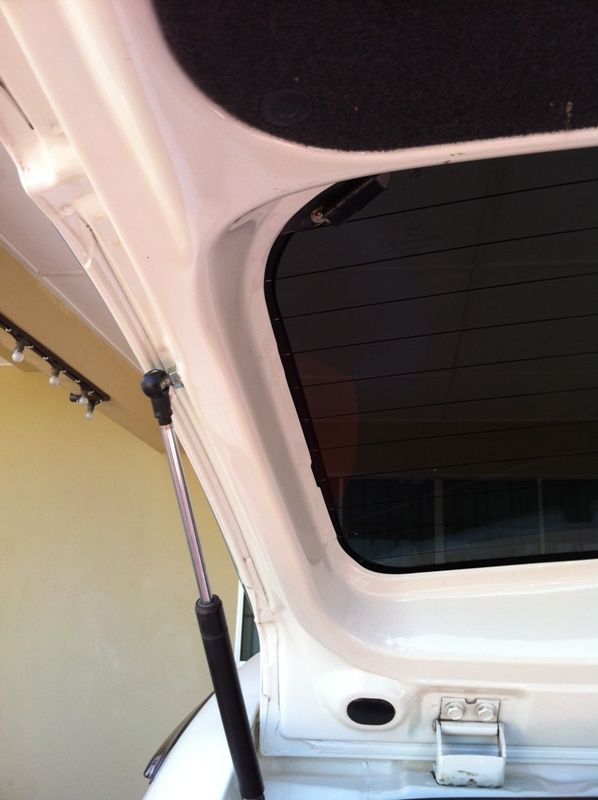
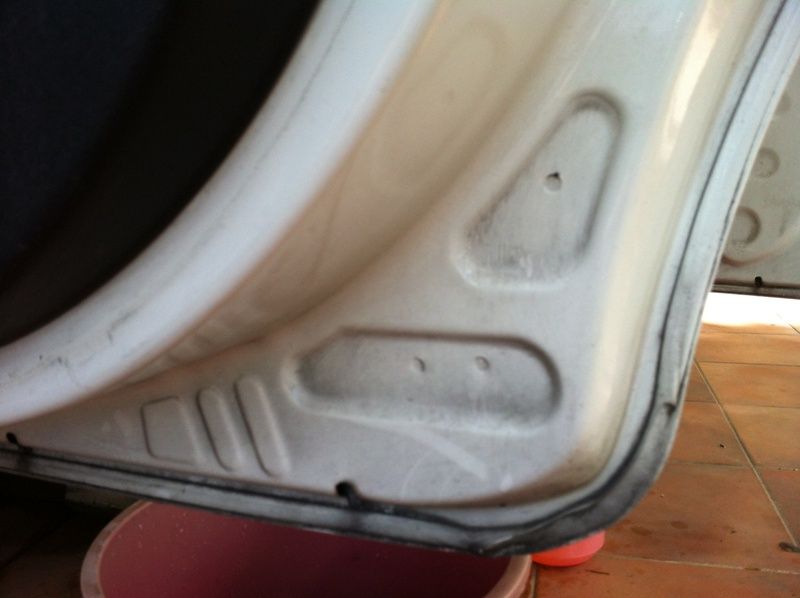
Boot area:
Using Alien Clean 1:3, ta da!!!!
Alien Clean, agitate it.
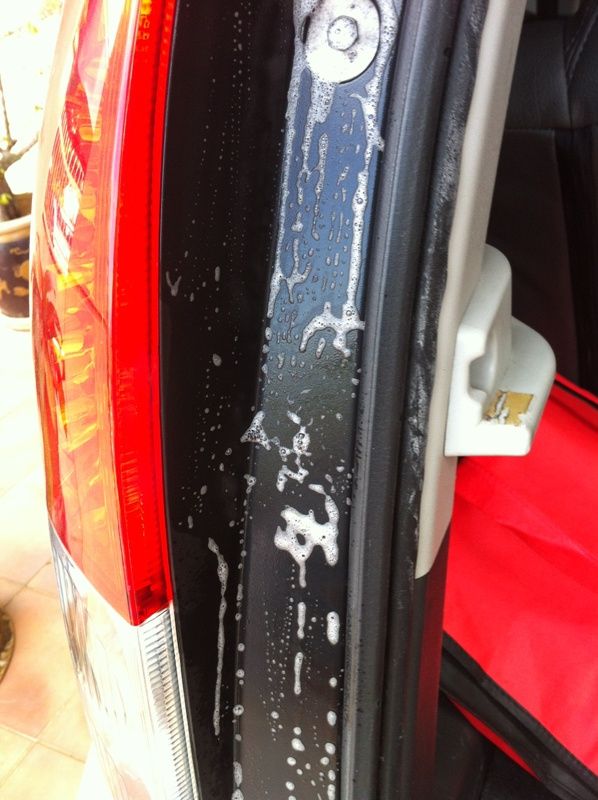
Rinse it, ta-da!!!

Like new!
See? New again?
Before:
Alien Clean 1:3, agitate it.
After:
Before:
After:

Finger nail scratches before:
Removed!

The other side of the door:
Before:
After:
Before:
After:

Before magic happens:
After magic happens:
New back again:
Engine bay before:
Engine bay after:
Before
After
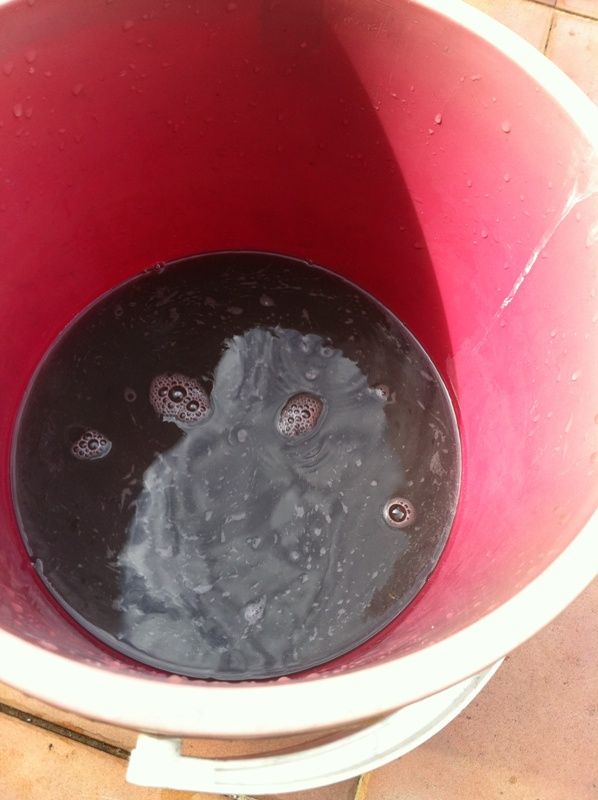
Look at the bucket? We had to change the water many times. This are all the oil stains on your car if you don't remove them.
Taking it for Alien No Rinse Wash.
The rims as before:
Using Alien Clean and with a brush:

Ta-da!!!
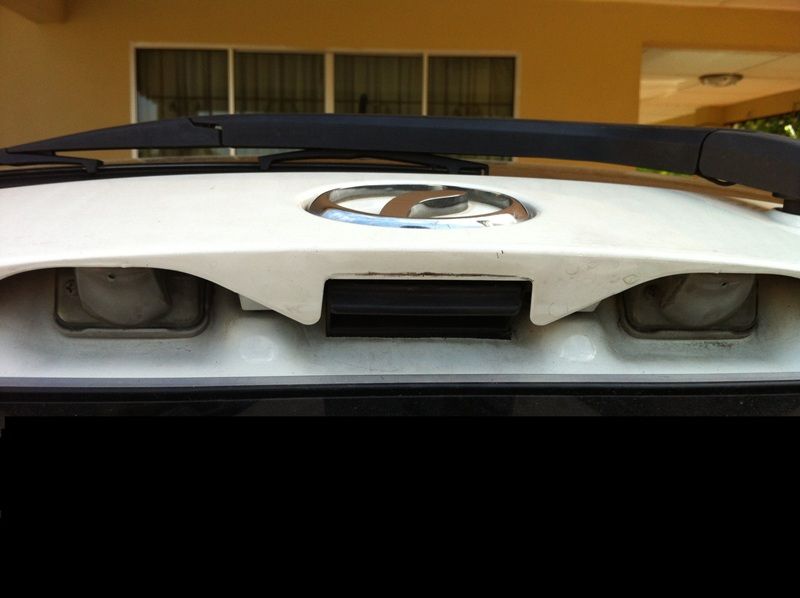
Hmm, stains surrounding the words.

No problem with Alien Clean 1:3
Water to rinse quickly before dry.
Ta-da!!! Like new again.
Side mirror with Alien Clean too. Look at all the black black stains...
Stains before:

Stains after: missing...
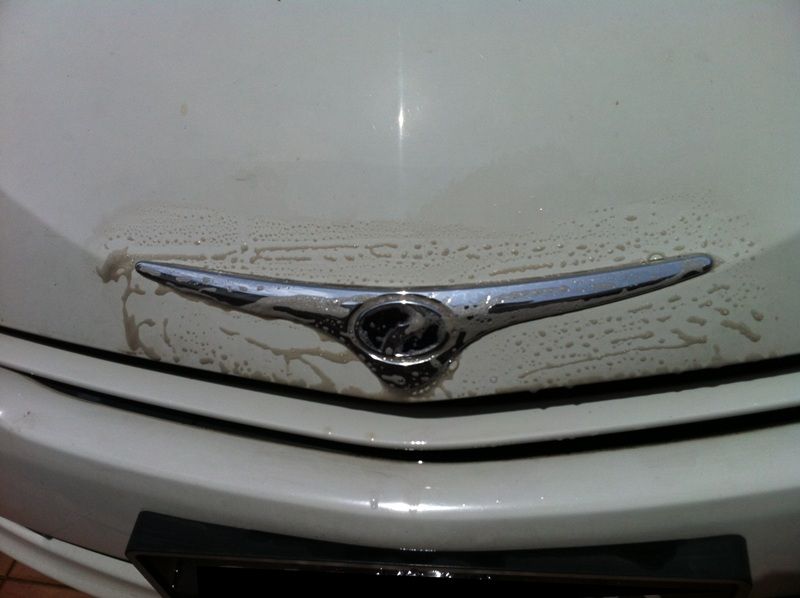
Front before:
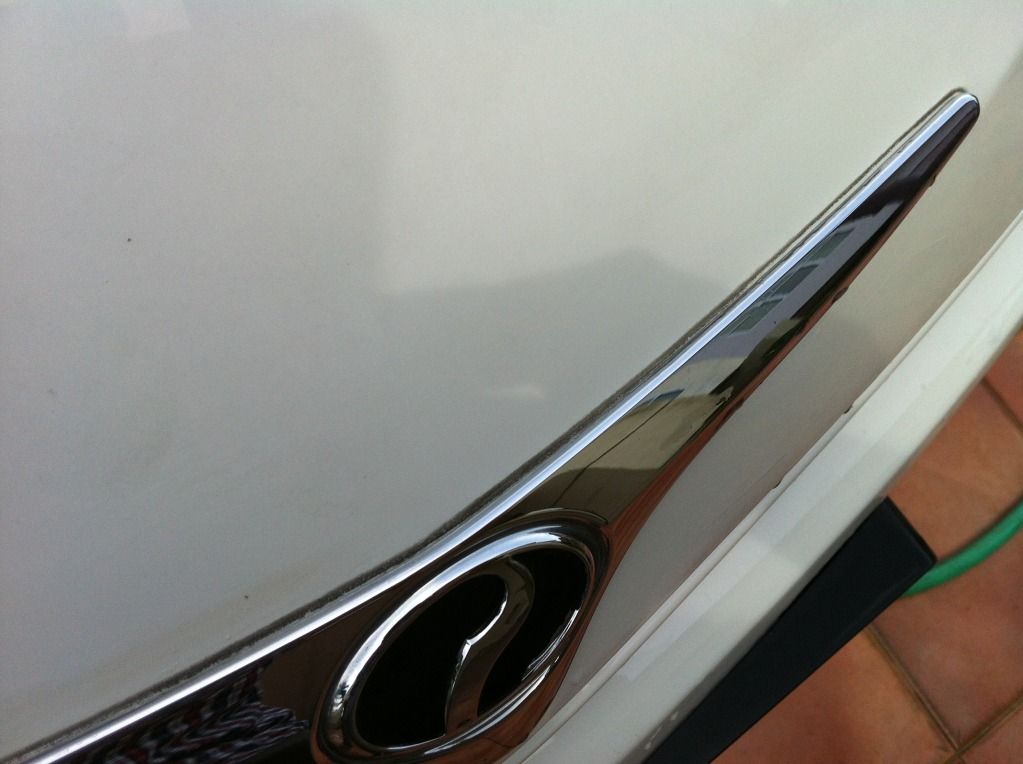
Alien Clean to the rescue
Rinse
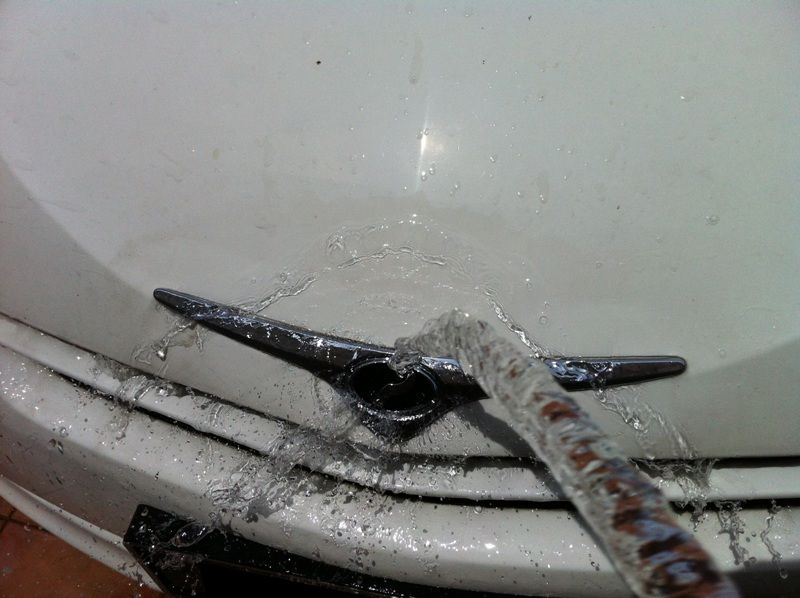
Magic happens:
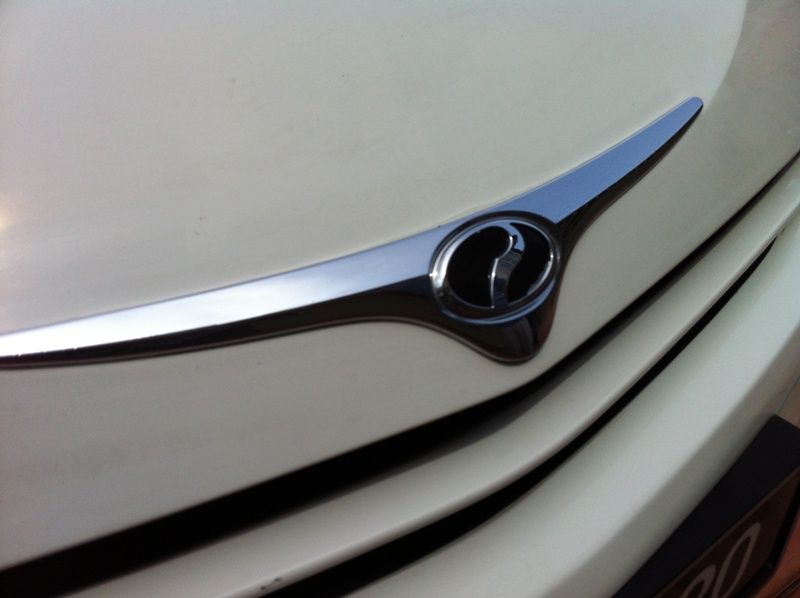
After giving it a Alien No Rinse wash:
Looks much better:
Before:
After:
Before:
After:
Before:
After:
Using Makita 9227C with 3 inch pad tools to detail smaller areas.

Can you see the difference? Left panel is before, and Right panel is after:
Before:

After: Gloss restored.
Interior also restored as well.
Some after shots:
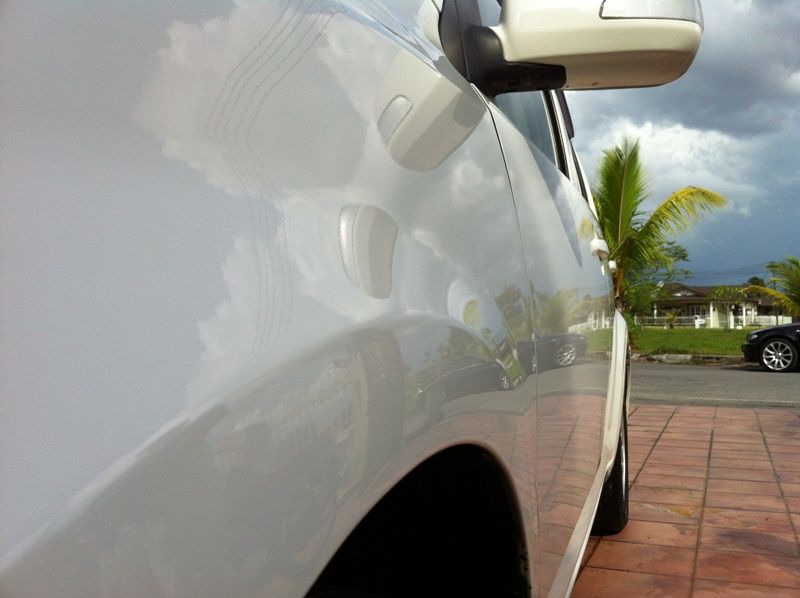
Can see the reflection now.
Some more:
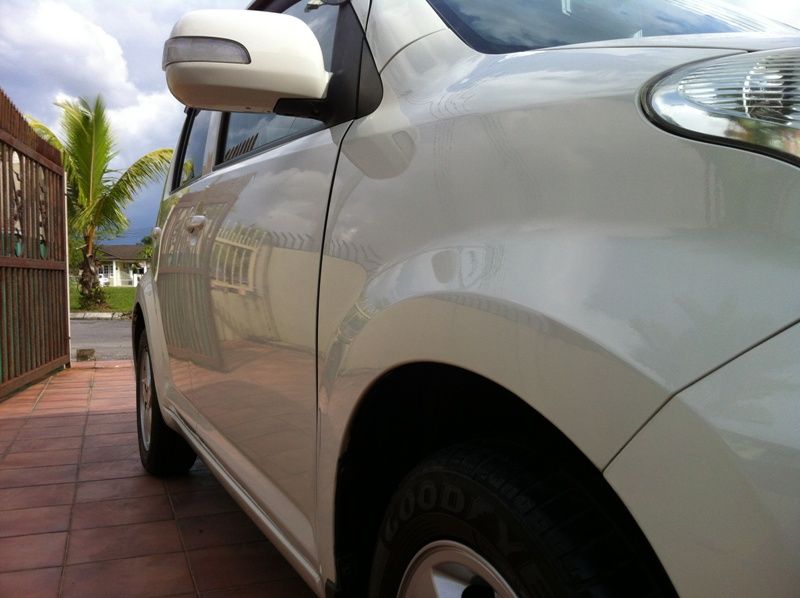
Looking like new:
Reflection restored.
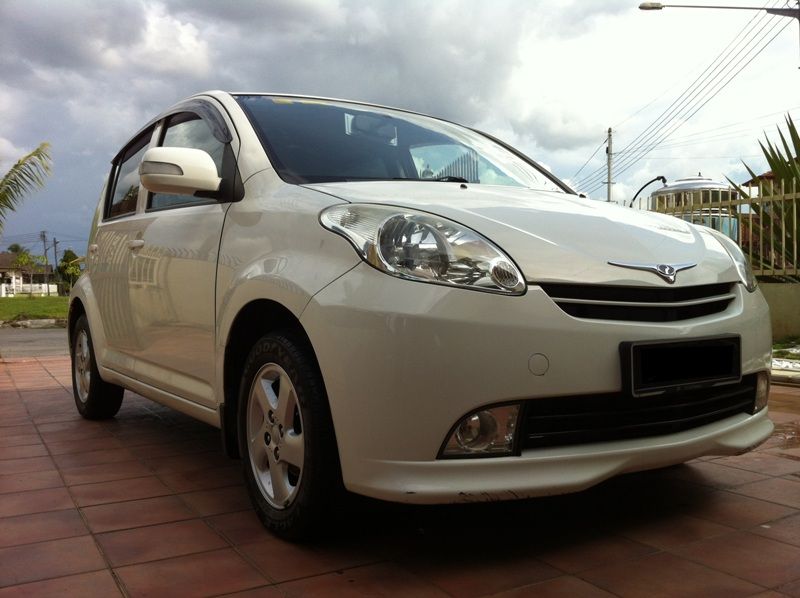
Presenting to you.
Owner is happy, we are happy.
Remember this before?

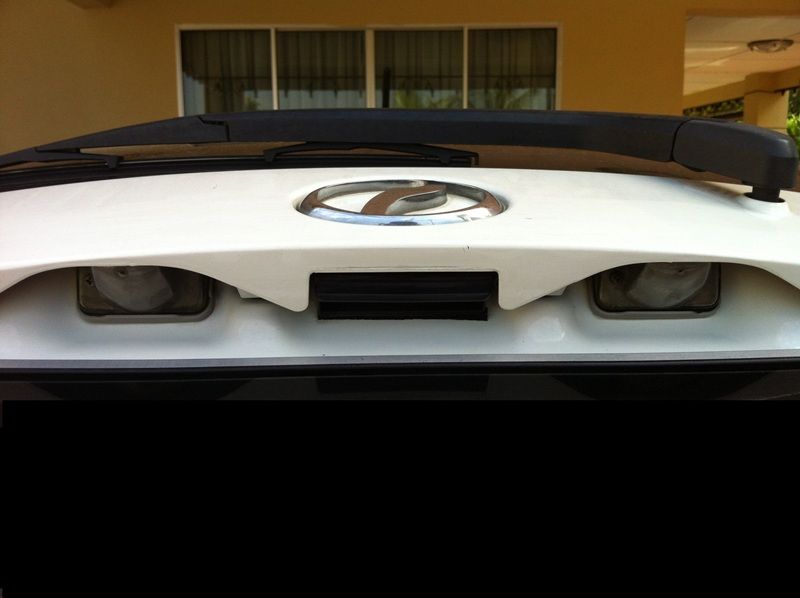
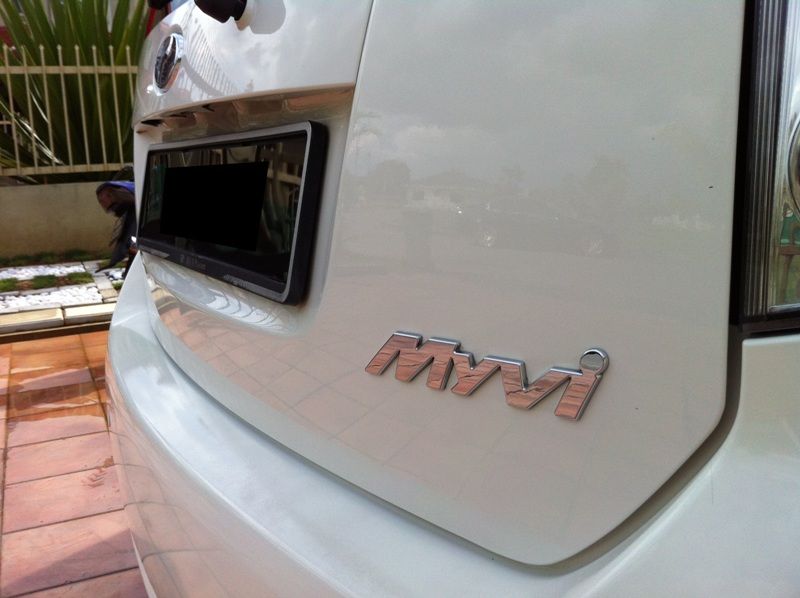
Bumper like new again.
It's picture perfect:
Saying goodbye is the hardest word of all.
And our journey ends with a reflection ride.
Well, this concludes our journey. Hope you enjoy it. Though that it took us many hours, but it was worth it seeing that the owner and his wife is very happy.
This journey has indeed given us another experience to add in our collection.
Well, when we arrive at the scene, we started to do some inspection first. It turns out that it wasn't that bad after all. His ride is still factory paint even after many years.
Let's see what this journey of detailing has taught us,
When we first arrive at the scene,
Based on the owner, he usually brought it to road side car wash nearby his house for convenience. Thanks to them, clear coat has failed.
Checking what to do first.
Do you know what's the problem? Answer: Clear coat failure.
Rims full of oil stains.
Engine bay looks in bad shape too.
Closer look:
Rear bumper:
Lower Rear bumper:
Oil stains:
With scratches too:
Some more to add in the list:
Gosh look at that:
Closer look:
Side door:
Stains everywhere:
Door handles with scratches because of finger nails:
What is that?
Doing a coating reading first.
Interior does looks in bad shape too:
Closer look:
Close up:
Side mirror has problem too:
Boot area:
Using Alien Clean 1:3, ta da!!!!
Alien Clean, agitate it.
Rinse it, ta-da!!!
Like new!
See? New again?
Before:
Alien Clean 1:3, agitate it.
After:
Before:
After:
Finger nail scratches before:
Removed!
The other side of the door:
Before:
After:
Before:
After:
Before magic happens:
After magic happens:
New back again:
Engine bay before:
Engine bay after:
Before
After
Look at the bucket? We had to change the water many times. This are all the oil stains on your car if you don't remove them.
Taking it for Alien No Rinse Wash.
The rims as before:
Using Alien Clean and with a brush:
Ta-da!!!
Hmm, stains surrounding the words.
No problem with Alien Clean 1:3
Water to rinse quickly before dry.
Ta-da!!! Like new again.
Side mirror with Alien Clean too. Look at all the black black stains...
Stains before:
Stains after: missing...
Front before:
Alien Clean to the rescue
Rinse
Magic happens:
After giving it a Alien No Rinse wash:
Looks much better:
Before:
After:
Before:
After:
Before:
After:
Using Makita 9227C with 3 inch pad tools to detail smaller areas.
Can you see the difference? Left panel is before, and Right panel is after:
Before:
After: Gloss restored.
Interior also restored as well.
Some after shots:
Can see the reflection now.
Some more:
Looking like new:
Reflection restored.
Presenting to you.
Owner is happy, we are happy.
Remember this before?
Bumper like new again.
It's picture perfect:
Saying goodbye is the hardest word of all.
And our journey ends with a reflection ride.
Well, this concludes our journey. Hope you enjoy it. Though that it took us many hours, but it was worth it seeing that the owner and his wife is very happy.
This journey has indeed given us another experience to add in our collection.

Last edited:
 I don't detail for a living, more like doing my own cars and relatives and some closer friends, but it's fun to be able to document without having to remove the gloves every now and then, do you peeps have someone else to capture the photos instead?