Ultraracing has been around for as long as I remember and they are also one of the most successful aftermarket accessory brands out there having expanded to USA and China with their range of chassis stiffening bars.

That's all fine and dandy but what really caught my attention was the story of Kenny an Ultraracing employee and about how he survived a total-loss accident and came out relatively unscathed.
I'm no way saying all cars should have chassis stiffening bars, but it does sound like it sure helps! I didn't come across this Youtube video until just recently and I do know Kenny in person and I did hear about the accident, I just never knew it was this severe!
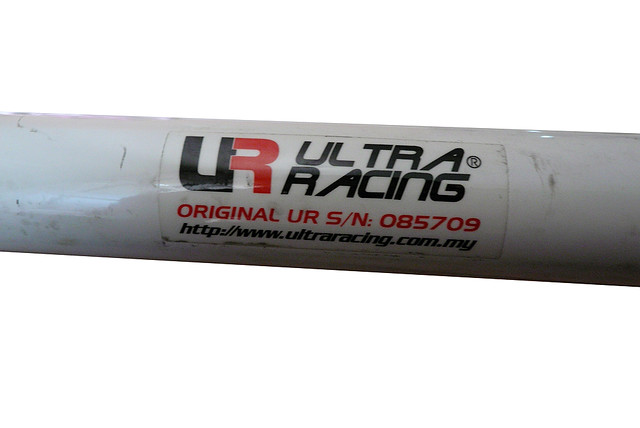
Anyway I was one of the lucky few who got the first generation of the UR bars which were bigger, wider and a helluva lot cooler looking
 - front tower struts in particular. Ever since having that bar installed, I've been on a quest to get every other bar installed for my car for the elusive "stiff-like-hell-handling-like-heaven" chassis feel. Front tower strut bars, fender bars, side bars, room bar, rear upper C-pillar bar. I never mentioned anything about the antiroll bars; since my car is a Wira, I have slightly cheaper alternatives such as a 23mm front antiroll bar from a GSR and a 16mm rear antiroll bar from a Satria GTI. One of these days I'll get my paws on a 19mm or 23mm rear antiroll bar from a Mivec or GSR.
My most recent purchase : a rear tower strut bar (3 point) from a friend who was de-modifying his car. DIY installing the bar was quite a challenge since my rear floor board was custom made with MDF and that got in the way. I didn't want to cut holes in the plastics either to accommodate the bar so I had to come up with another way of doing it.
My creative juices replied : "Strip the damn boot!"
And so I did. Good idea too, now I have easy access to soundproof the panels later!
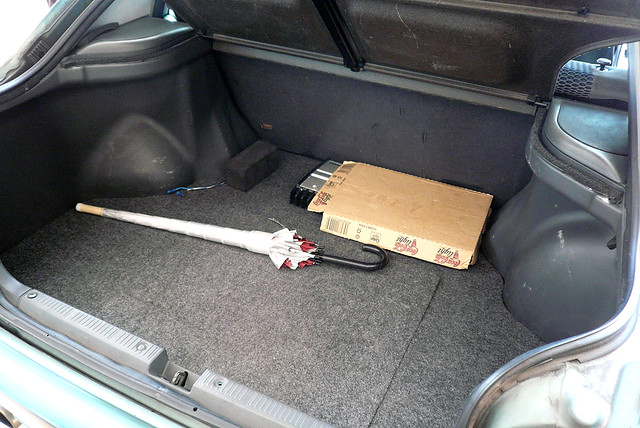
First up. Take everything out of your boot. In my case I removed the amp, the plastic panels (just a couple of screws holding it down), the custom floor board and the umbrella.
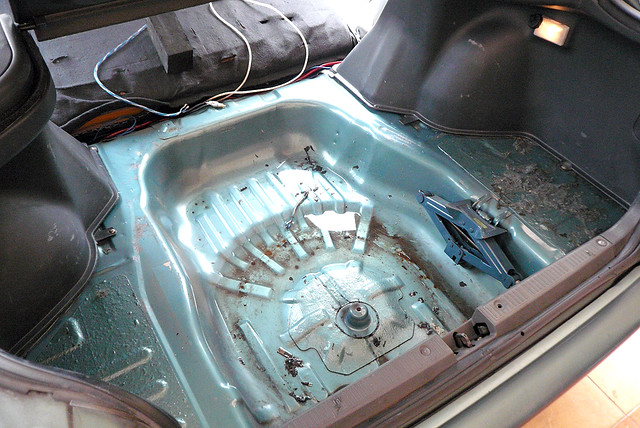
AAACK! Why is there water in there?!? And what's with the gunk and rubbish?!? Time to clean that bit up.

All done. At this point it'd be a good idea to tidy up any loose wires, wrap the rear speaker wires and pretty much hide anything that is dangling there. Unfortunately for me I had rust develop there because of the water puddles that really stank up the boot. A little bit of WD40 and really hard rubbing got most of it off but the dark patches you see in the picture are lost causes.
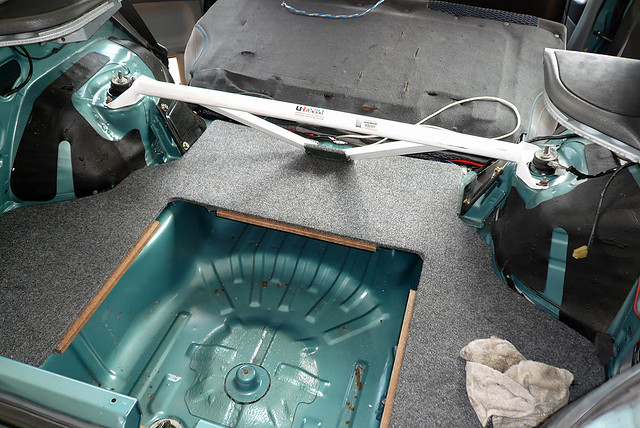
The rear tower strut bar is relatively easy to install. Unscrew the bolts that's holding up the absorbers, fit the bar in and screw the bolts back. Take extra precaution not to jack up the car because the absorbers most likely will drop if you do (please correct me if incorrect). My car was on the ground and it was pretty straight forward. The third reinforcement point (the middle) required some drilling to make the hole. Once done you stick in a bolt and tighten the nut from under the car. It's a two-man job so get help with this one. Once that was done I cut a small section of board to accommodate the bar's middle point.

Every DIY-er should have a roll of Superlon or Insuflex at home. I wrapped the bar and certain strategic locations so my precious amp doesn't get nicked by the sharp metal edges. Wrapping the bar itself was just for fun but at least it's cushioned now.

Every DIY-er should have a large bag of cable ties too. Lots of cable ties holding the Superlon in place.
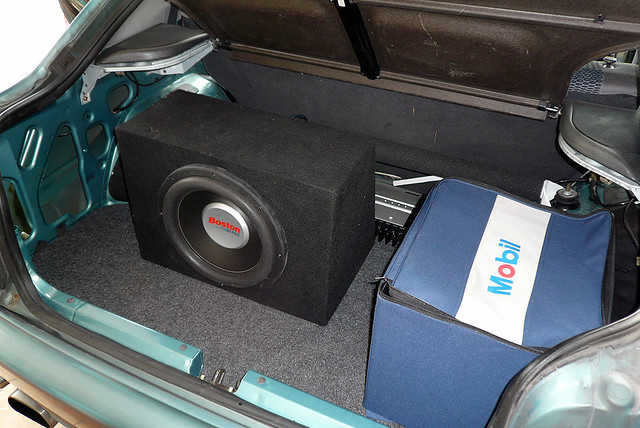
Lastly I stuck velcro underneath my sub box and utility box so it sticks to the floor board and doesn't slide around. The end!
End result? The rear now sways a whole lot less and just 'follows' the front more readily. Just a disclaimer though : I already am using the side bar, 16mm rear antiroll bar, fender bar, front strut bar, 23mm front antiroll bar and have yet to install the rear upper c-panel bar and room bar. So depending on your car it may deliver varying results.
Enjoy and Happy New Year everyone!