- Joined
- Feb 13, 2006
- Messages
- 166
- Points
- 1,563
Most modern engines are now electronically fuel injected and have plastic engine covers, this makes engine cleaning much easier compared to older engines with carburetors. I will show you how you can easily clean and shine a modern car's engine bay using only 2 Over-the-Counter (OTC) products.
This is a quick guide showing you how to quickly get your engine bay looking like new again. This guide is more suited towards modern cars' engine bays.
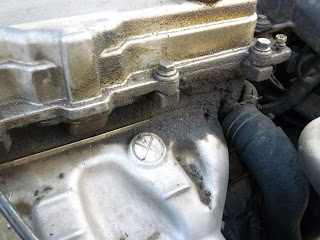
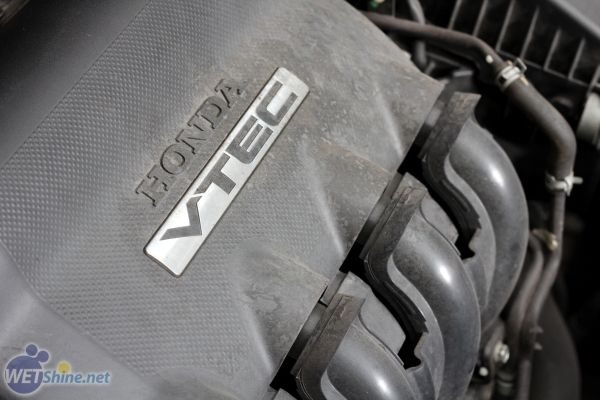
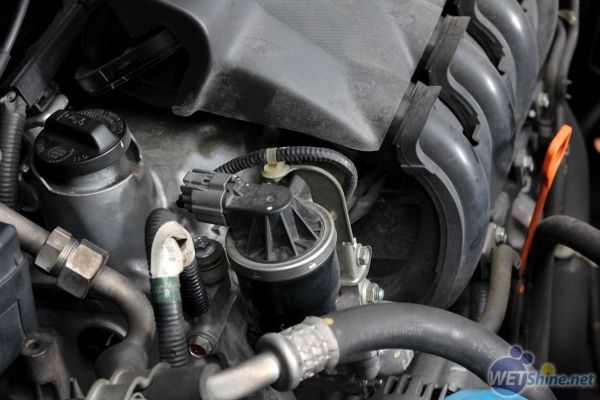
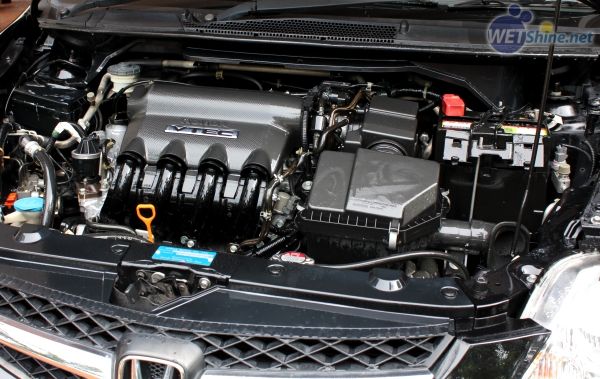
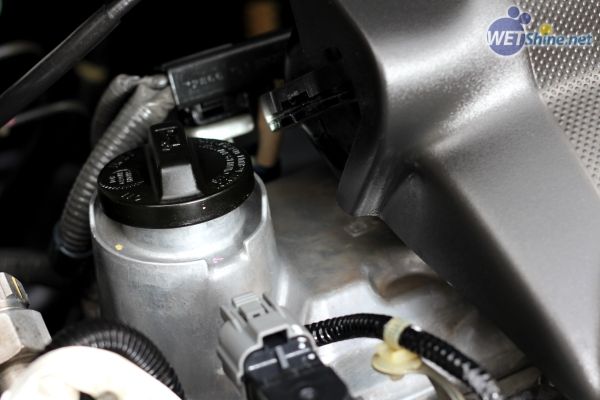
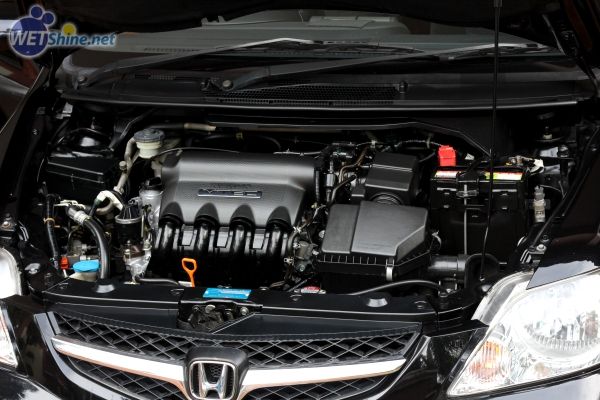
So here have have an engine bay that has never seen any soap and water since new. Mileage is about 130,000 KM, it really isn't too bad considering the high mileage. On older cars, you might have engine oil leaking out of gaskets, creating thick black gunks on different parts of the engine. So the Honda engine we have here is relatively easy.

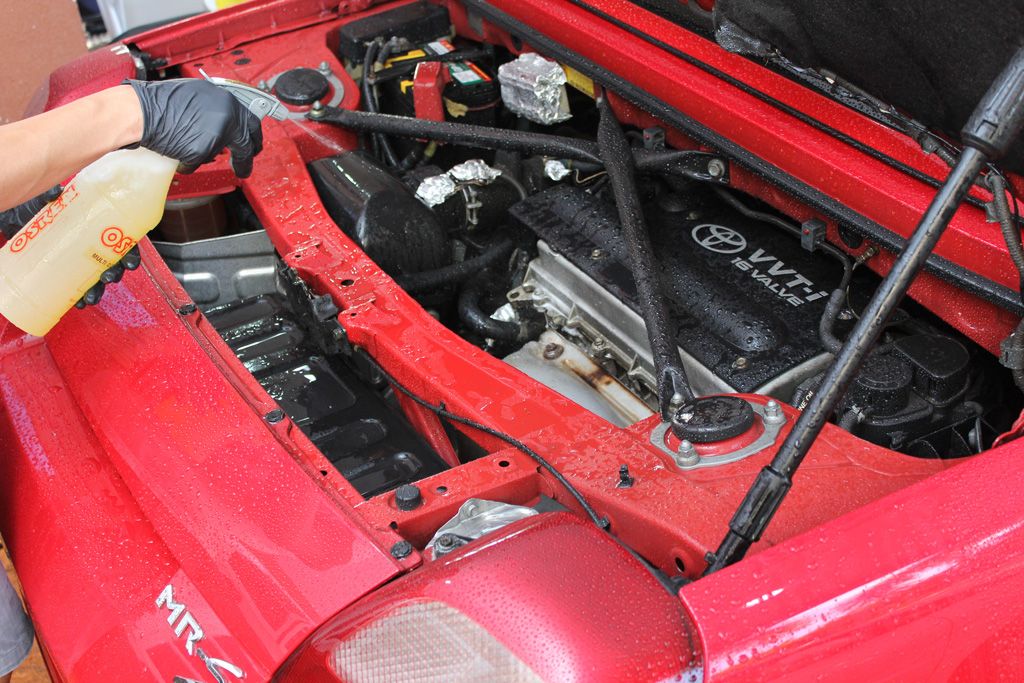
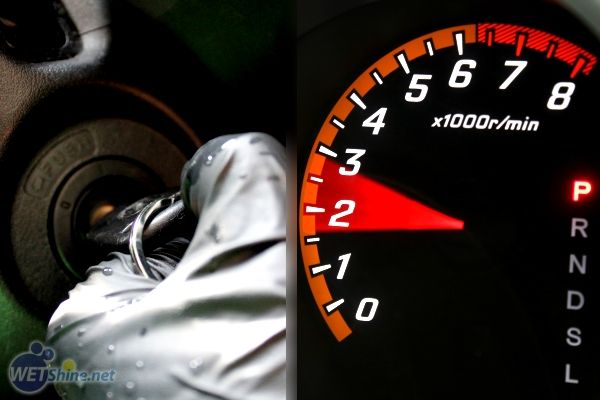
Firstly, make sure the engine is cool and the car has not been driven for the past hour or two. Open the bonnet to let it cool out faster if it has been driven. In this guide, I also want to show you that engine cleaning is pretty straightforward and what you basically need is an All Purpose Cleaner/Degreaser, and a rubber/plastic/vinyl dressing. I'm using products that you can buy over the counter as it is easily available for most people. CarPlan polish is for painted surfaces such as under the bonnet (not used here).
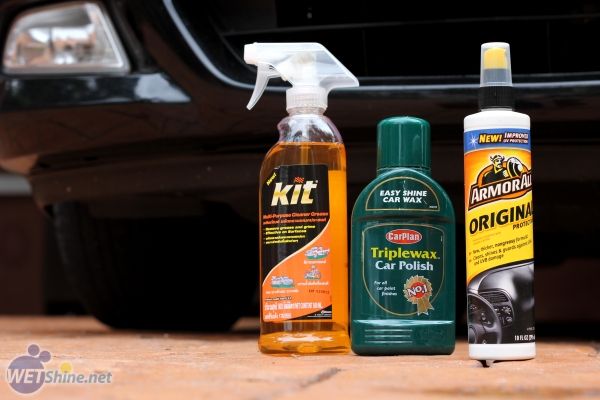
The KIT degreaser had a strong citrus scent and felt a little bit oily, could be petroleum based (not sure), which is good against really greasy engines. ArmorALL protectant needs no introduction really, a dressing for all rubber and vinyl surfaces.
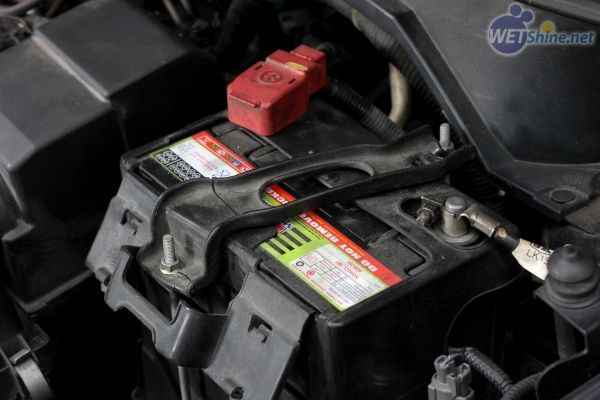
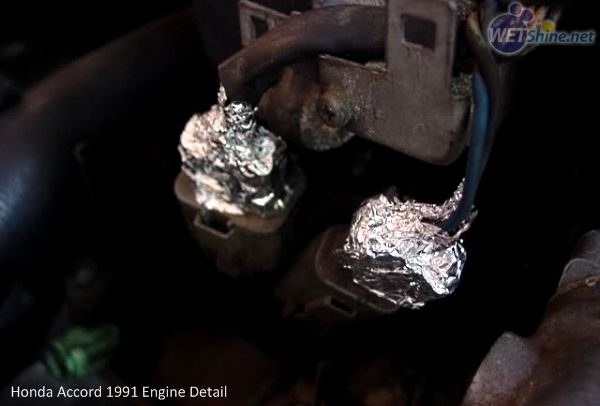
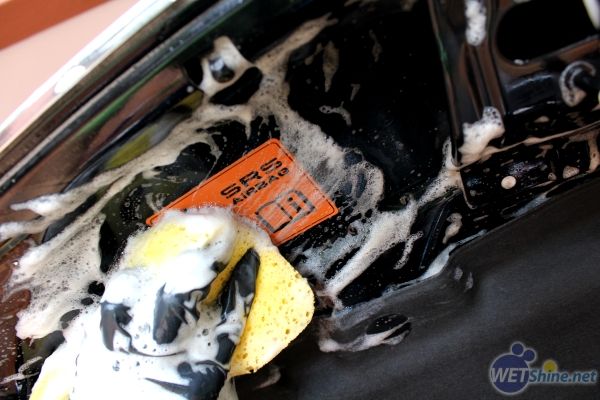
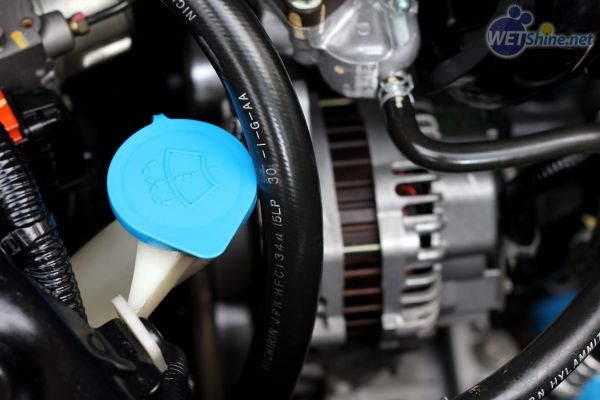
Before you start, you can choose to wrap sensitive electronic areas (fuse for amplifiers, etc.), cover any open-pod based air filters and wrap the air intake funnel. Older engines tend to be more sensitive to water in the engine bay, so be more cautious when trying to wash an old engine, if you are not sure, it is best to clean it without hosing water directly on the engine, i.e. spray cleaner onto damp cloth and wipe.
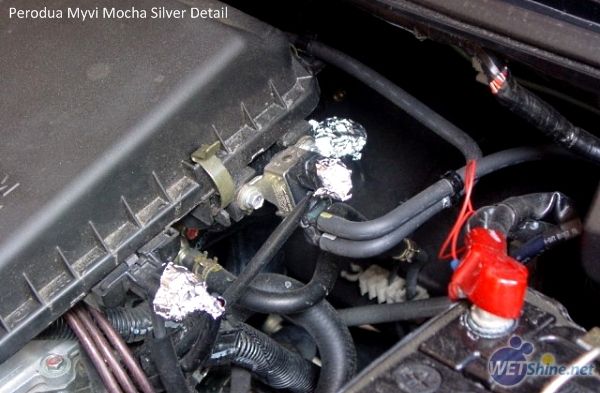
Some examples of cleaning and dressing the engine bay in my older posts:
http://wetshine.net/2008/08/04/honda-accord-1991-engine-detail/
http://wetshine.net/2007/12/05/perodua-myvi-mocha-silver/
Now let's get started!
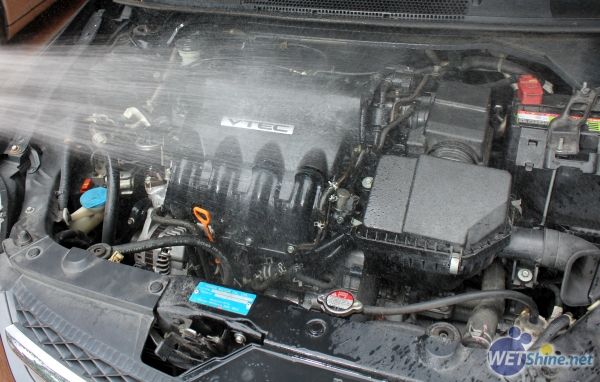
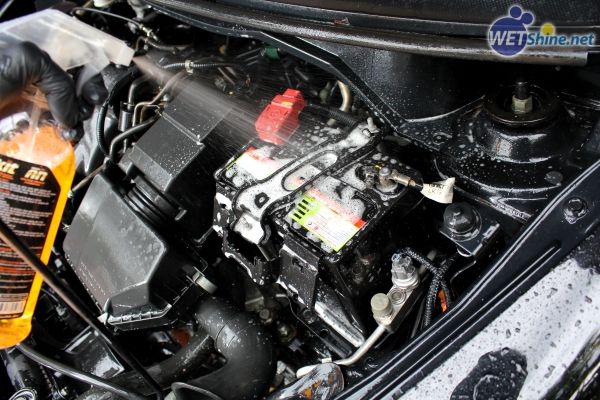
I first rinsed off any loose dirt and grime.
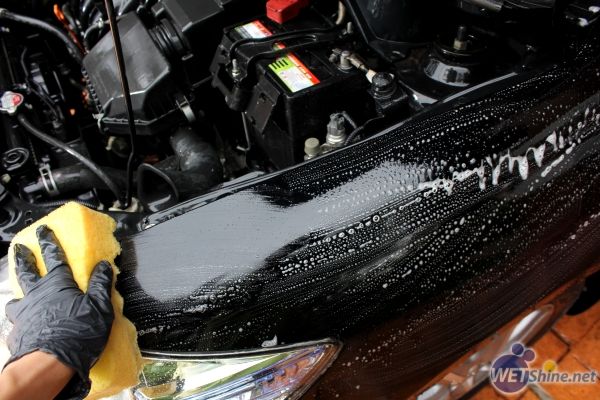
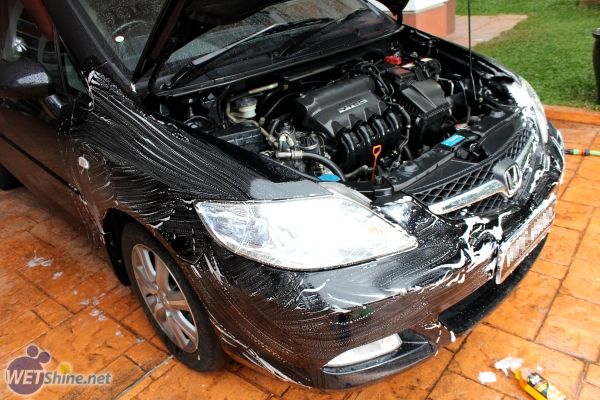
Then I washed the surrounding panels with some car wash soap, this layer of soapy water will dilute any degreaser overspray, hence, lowering the risk of the degreaser staining the paint.
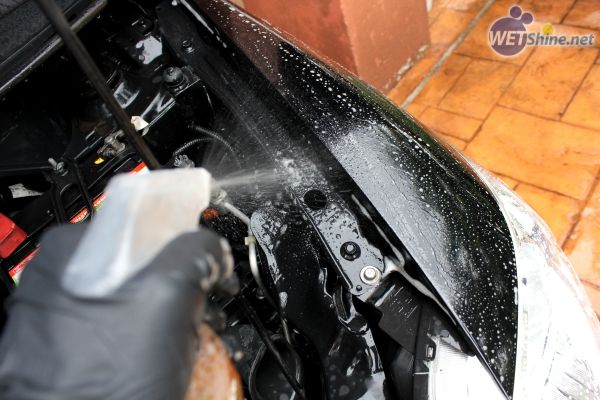
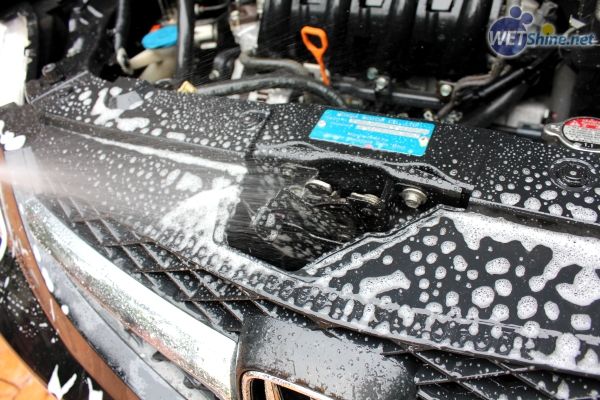
Spray degreaser liberally on the surface. It is important that degreaser is not left to dry on the surface as most degreasers will leave a whitish residue when left to dry. If your engine bay is mildly dirty, then a strong mixture of car wash soap is sufficient for cleaning, no need for degreasers.
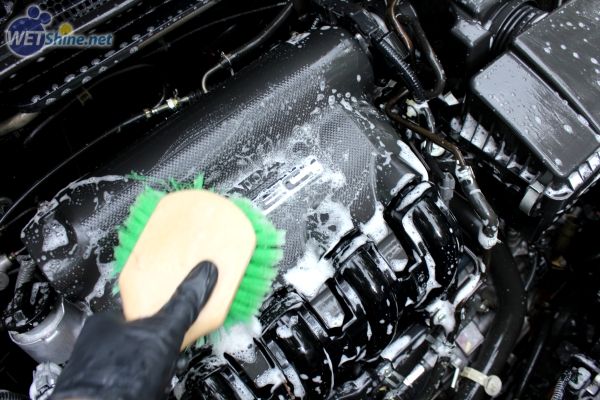
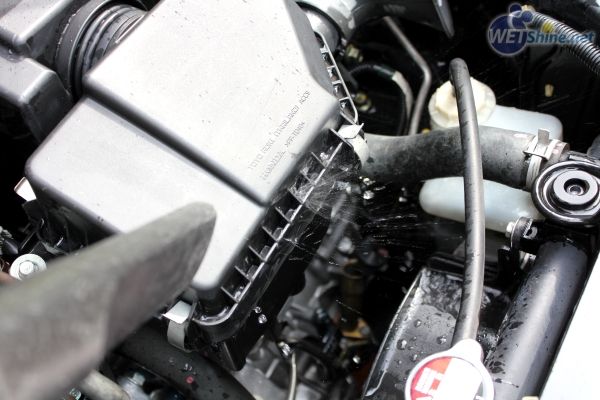
Spray onto a small section (approx. 50cm x 50cm), and brush that area. I like to clean the edges of the bay first and then work on the larger areas and finally focus on the small and tight areas.
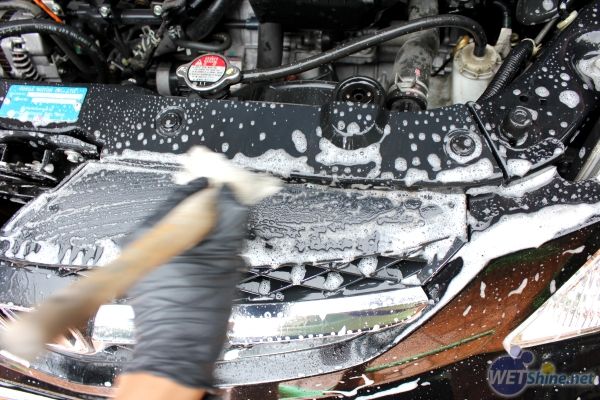
Scrubbing the large areas,
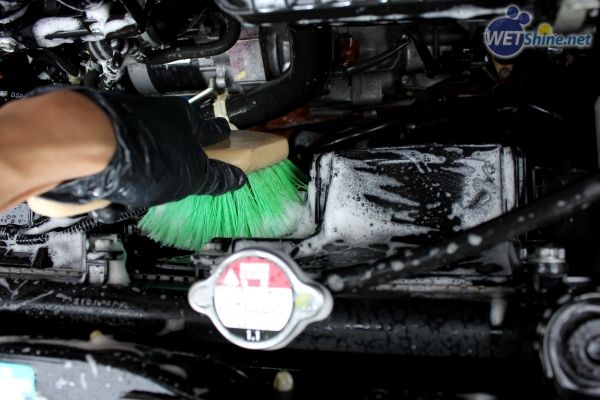
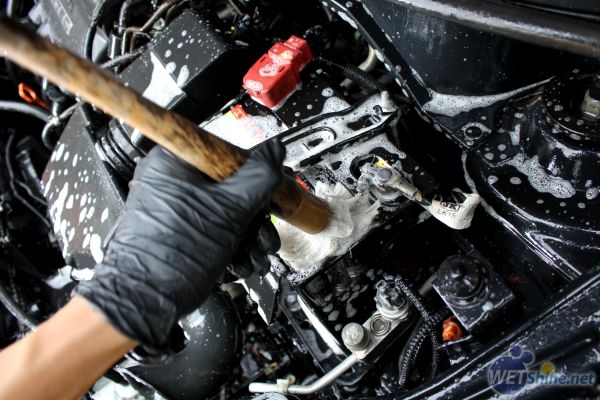
Getting into the nooks and crannies, you will probably have to resort to using toothbrushes as the big brushes I'm using just do not have the scrubbing power for really old caked on dirt.
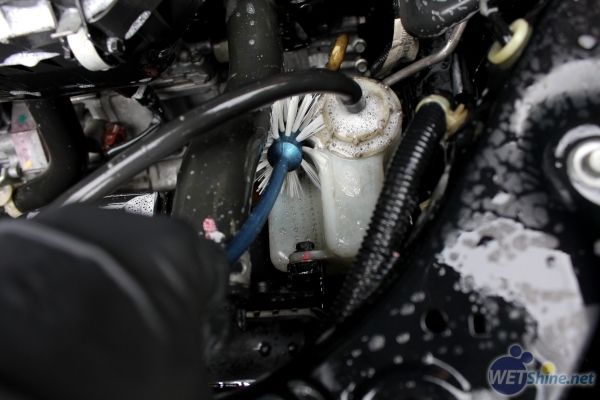
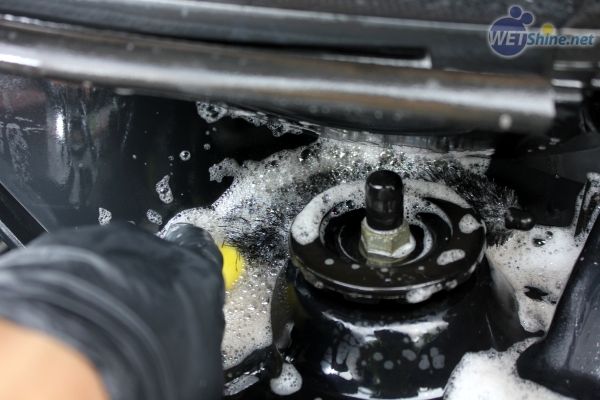
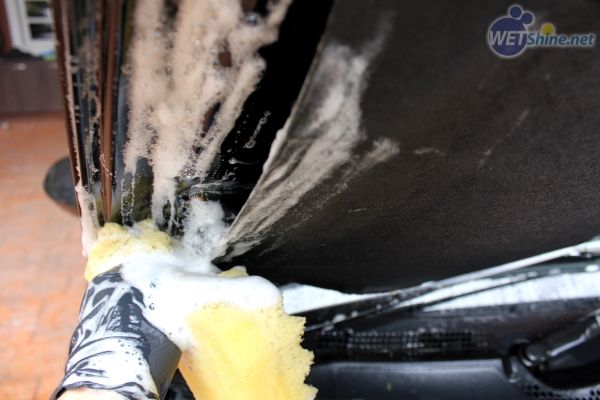
Remember to work in a small area, rinse off and move on to the next area. There are no shortcuts to getting an engine looking clean, pure manual labour will be very well rewarded, so don't be stingy with the elbow grease!
After rinsing, it is ideal if you have any kind of blower to remove pockets of water in tight places. A leaf blower is fine, I'm using my wet/dry vac on the blow function. If you don't, then patiently blot off the excess water with any cloth. It's also a good time to wipe off any dirt that you might have missed.
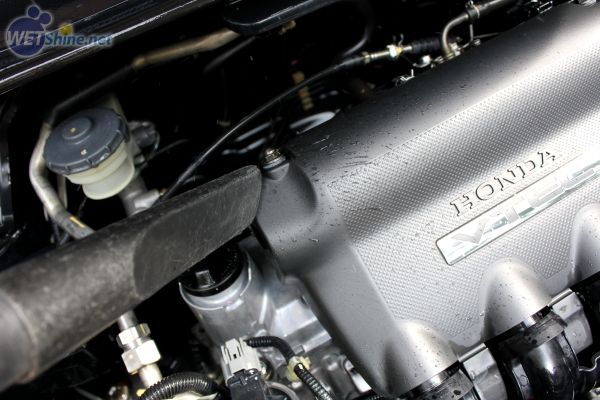
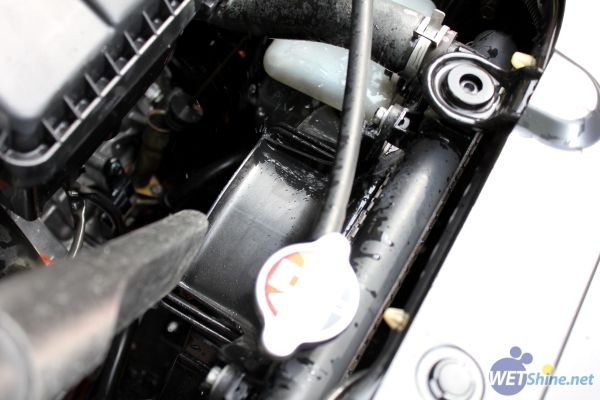
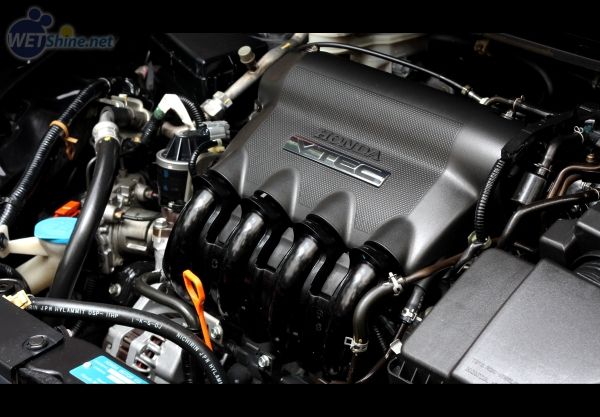
With the engine now clean and dry, time to get it back to black! I'm using ArmorALL's updated dressing, which isn't really suitable as it is thicker. If you have the older formula, it would be great, best if you have Meguiar's Hyper Dressing.
Spray on evenly over the whole engine bay, I put it on a bit too much here.
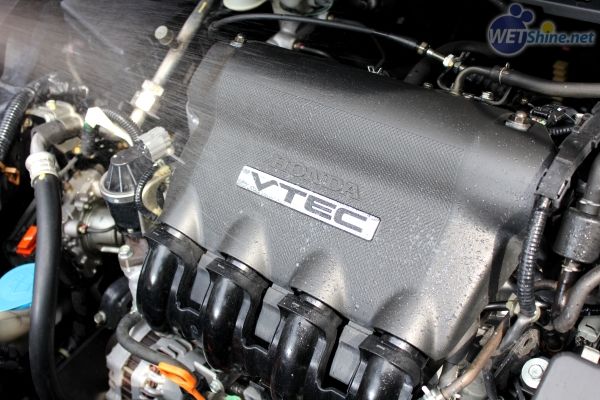
Start the car and close the bonnet and let it idle for about 5-10 minutes.
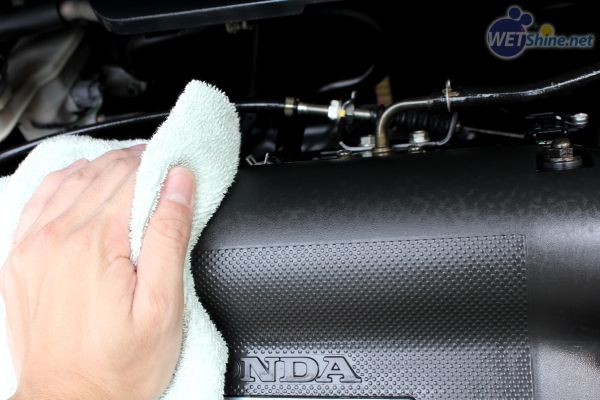
The heat will dry off any remaining water and help the dressing absorb into the rubber and plastic. Open the bonnet and buff off excess dressing with any old cloth. If you left it on for too long and looks uneven, spray some dressing onto the cloth and buff, it should even out into a nice and smooth finish.
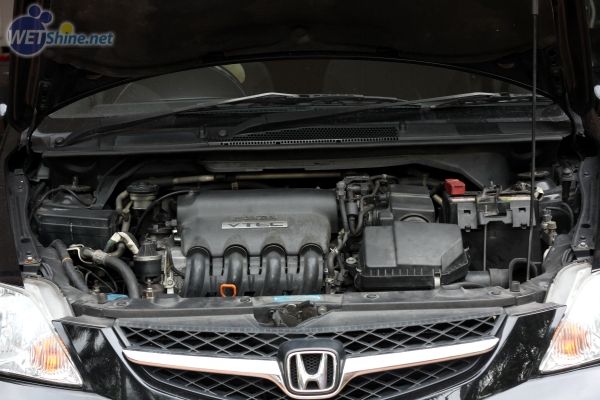
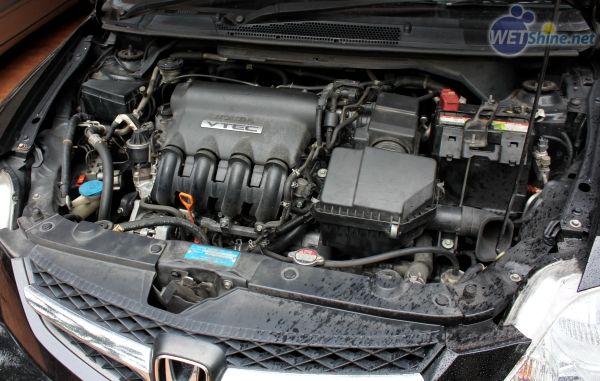
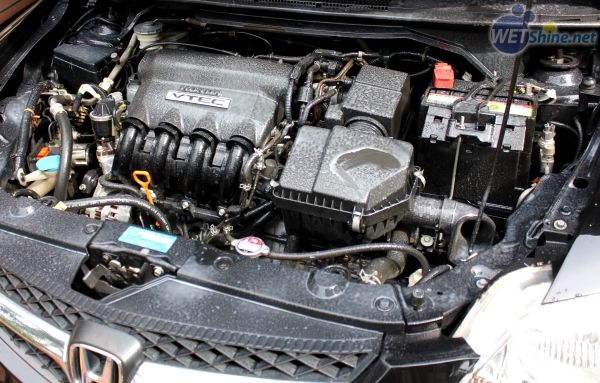
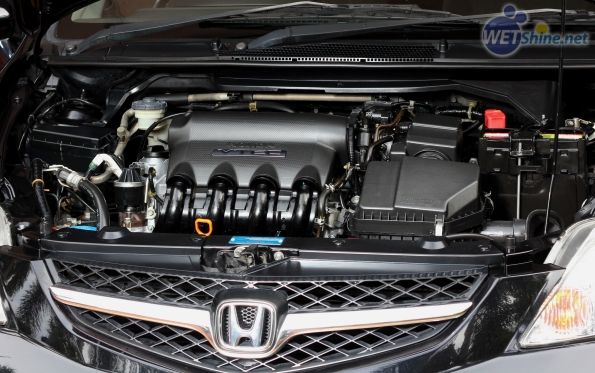
...now take a step back and admire your work.
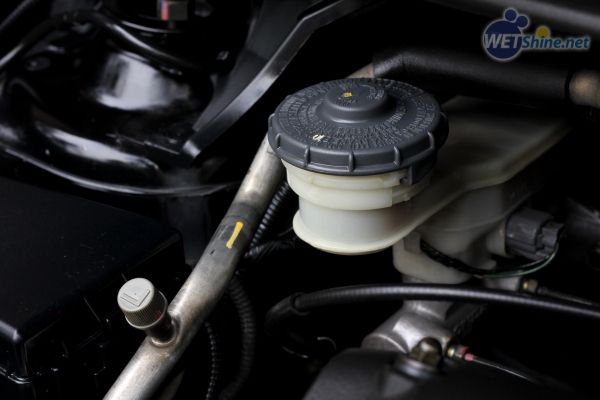
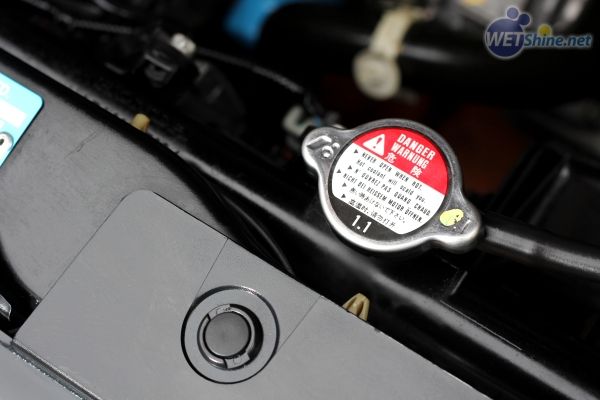
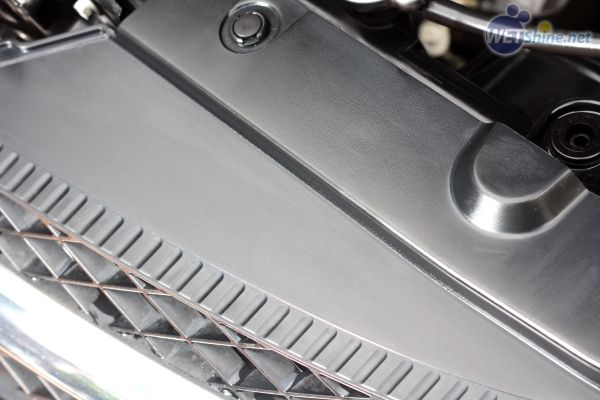
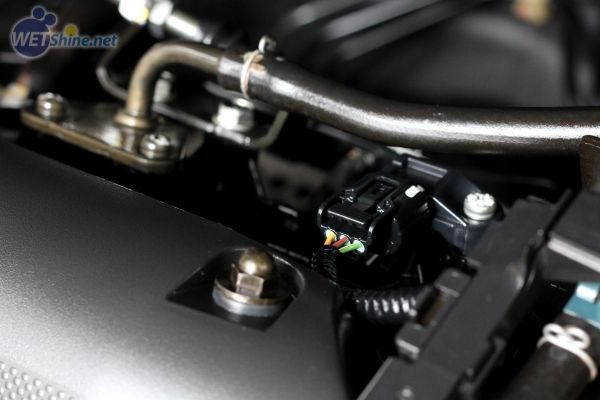
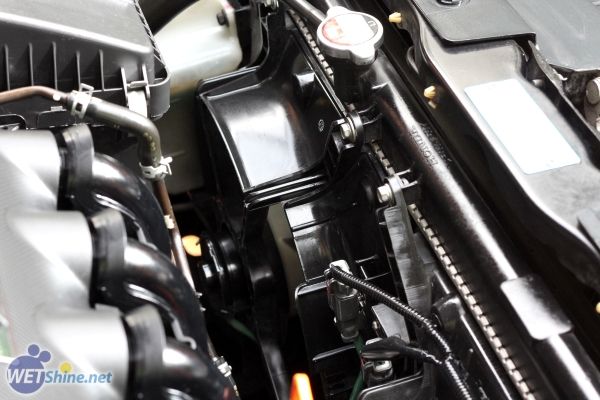
Start:
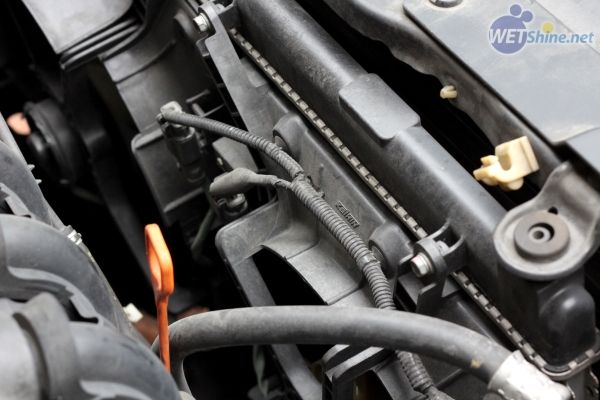
Finish:
That's all for this quick guide, I hope it will help you get your engine bay looking good. Cleaning it is not only for aesthetics but a clean engine will also dissipate heat better, hey, you might even shave three seconds off your zero to hundred timing! *sarcasm, LOL*.
Well, thanks for looking and feel free to leave any comments, critiques and questions. Have a great week everyone!
This is a quick guide showing you how to quickly get your engine bay looking like new again. This guide is more suited towards modern cars' engine bays.
So here have have an engine bay that has never seen any soap and water since new. Mileage is about 130,000 KM, it really isn't too bad considering the high mileage. On older cars, you might have engine oil leaking out of gaskets, creating thick black gunks on different parts of the engine. So the Honda engine we have here is relatively easy.
Firstly, make sure the engine is cool and the car has not been driven for the past hour or two. Open the bonnet to let it cool out faster if it has been driven. In this guide, I also want to show you that engine cleaning is pretty straightforward and what you basically need is an All Purpose Cleaner/Degreaser, and a rubber/plastic/vinyl dressing. I'm using products that you can buy over the counter as it is easily available for most people. CarPlan polish is for painted surfaces such as under the bonnet (not used here).
The KIT degreaser had a strong citrus scent and felt a little bit oily, could be petroleum based (not sure), which is good against really greasy engines. ArmorALL protectant needs no introduction really, a dressing for all rubber and vinyl surfaces.
Before you start, you can choose to wrap sensitive electronic areas (fuse for amplifiers, etc.), cover any open-pod based air filters and wrap the air intake funnel. Older engines tend to be more sensitive to water in the engine bay, so be more cautious when trying to wash an old engine, if you are not sure, it is best to clean it without hosing water directly on the engine, i.e. spray cleaner onto damp cloth and wipe.
Some examples of cleaning and dressing the engine bay in my older posts:
http://wetshine.net/2008/08/04/honda-accord-1991-engine-detail/
http://wetshine.net/2007/12/05/perodua-myvi-mocha-silver/
Now let's get started!
I first rinsed off any loose dirt and grime.
Then I washed the surrounding panels with some car wash soap, this layer of soapy water will dilute any degreaser overspray, hence, lowering the risk of the degreaser staining the paint.
Spray degreaser liberally on the surface. It is important that degreaser is not left to dry on the surface as most degreasers will leave a whitish residue when left to dry. If your engine bay is mildly dirty, then a strong mixture of car wash soap is sufficient for cleaning, no need for degreasers.
Spray onto a small section (approx. 50cm x 50cm), and brush that area. I like to clean the edges of the bay first and then work on the larger areas and finally focus on the small and tight areas.
Scrubbing the large areas,
Getting into the nooks and crannies, you will probably have to resort to using toothbrushes as the big brushes I'm using just do not have the scrubbing power for really old caked on dirt.
Remember to work in a small area, rinse off and move on to the next area. There are no shortcuts to getting an engine looking clean, pure manual labour will be very well rewarded, so don't be stingy with the elbow grease!
After rinsing, it is ideal if you have any kind of blower to remove pockets of water in tight places. A leaf blower is fine, I'm using my wet/dry vac on the blow function. If you don't, then patiently blot off the excess water with any cloth. It's also a good time to wipe off any dirt that you might have missed.
With the engine now clean and dry, time to get it back to black! I'm using ArmorALL's updated dressing, which isn't really suitable as it is thicker. If you have the older formula, it would be great, best if you have Meguiar's Hyper Dressing.
Spray on evenly over the whole engine bay, I put it on a bit too much here.
Start the car and close the bonnet and let it idle for about 5-10 minutes.
The heat will dry off any remaining water and help the dressing absorb into the rubber and plastic. Open the bonnet and buff off excess dressing with any old cloth. If you left it on for too long and looks uneven, spray some dressing onto the cloth and buff, it should even out into a nice and smooth finish.
...now take a step back and admire your work.
Start:
Finish:
That's all for this quick guide, I hope it will help you get your engine bay looking good. Cleaning it is not only for aesthetics but a clean engine will also dissipate heat better, hey, you might even shave three seconds off your zero to hundred timing! *sarcasm, LOL*.
Well, thanks for looking and feel free to leave any comments, critiques and questions. Have a great week everyone!
Last edited: