
Good day,
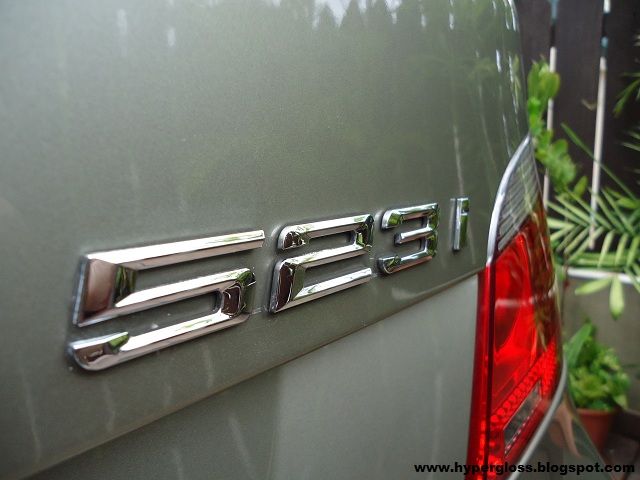
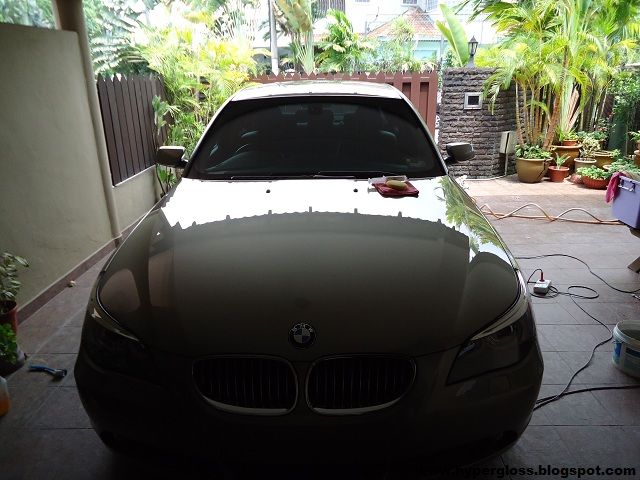
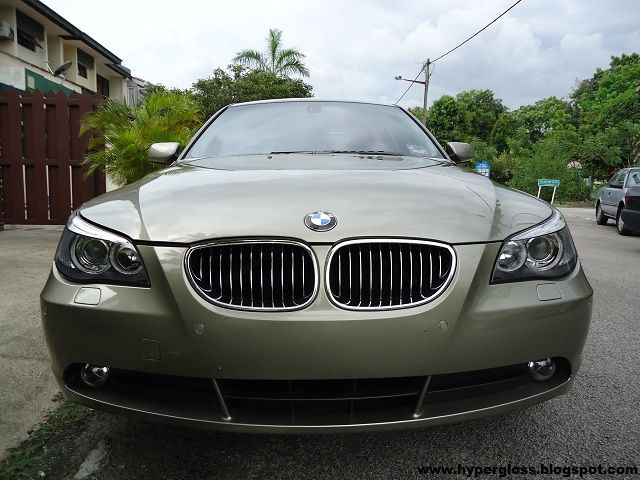
Another post since July! So sorry for the late updates. As usual, its a hectic month for me. Here i have is a BMW 523i E60 coated months back ago. The age of this car was about 4years old, mileage only runs about 30,000++ which is also a daily drive for this owner to travel to work nearby.
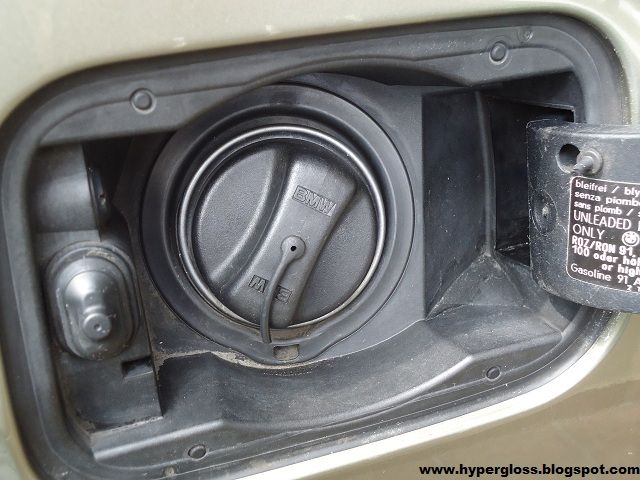
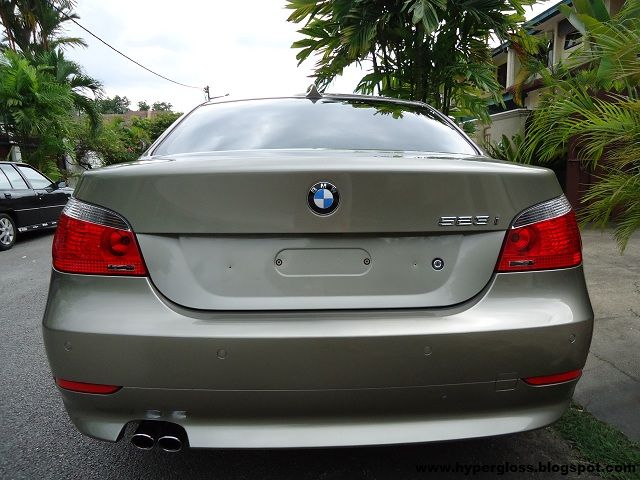
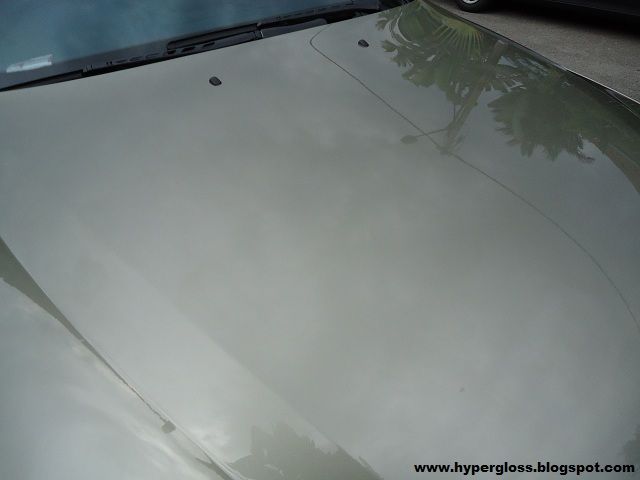
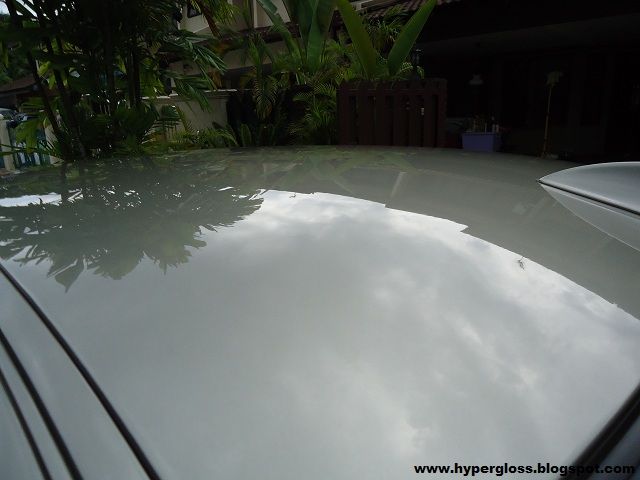
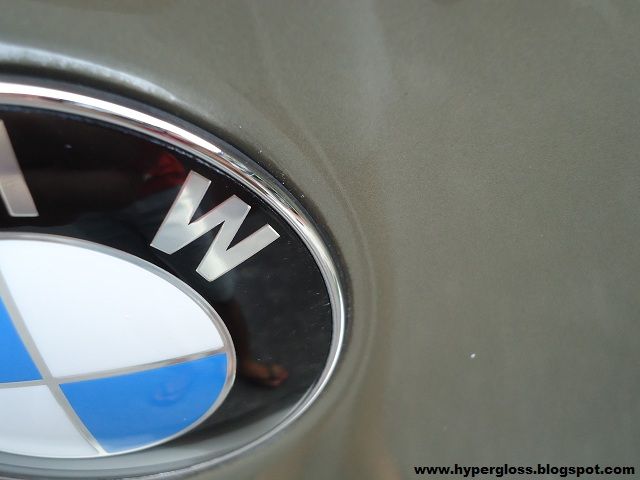
After properly inspected, i found this car quite in a bad shape. Flat area has waterspots, other panels also found swirl marks, RIDS, oxidation, found lots of wax residues etc etc. Pictures can be seen below..
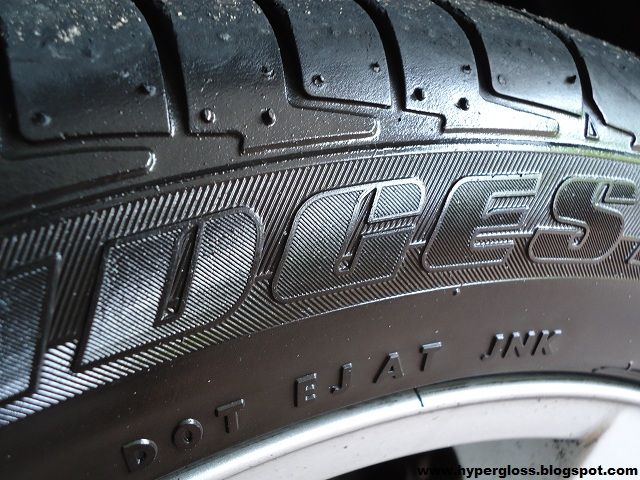
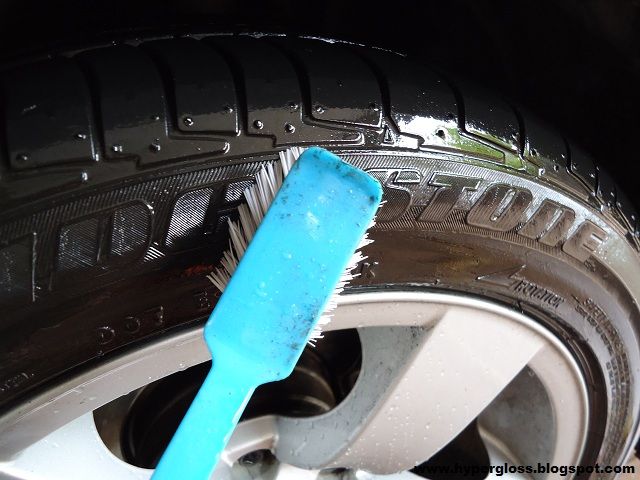
oily dressing from the tire
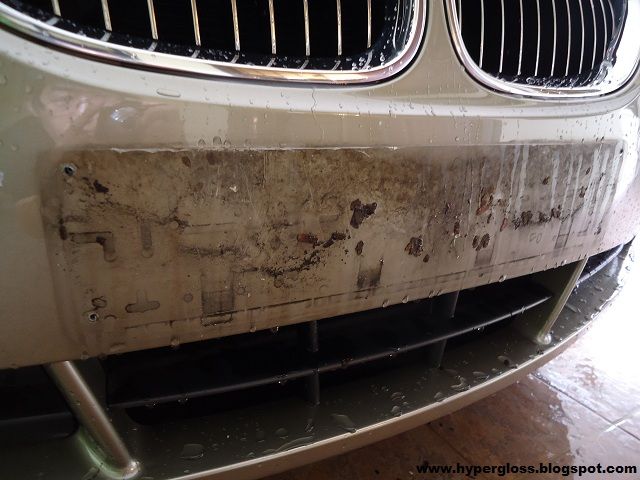
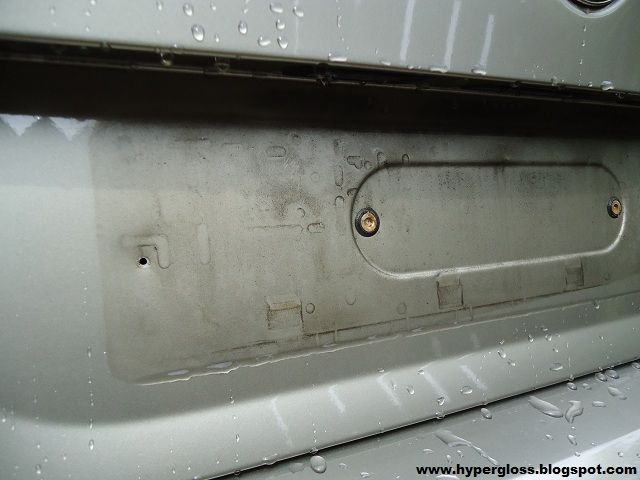
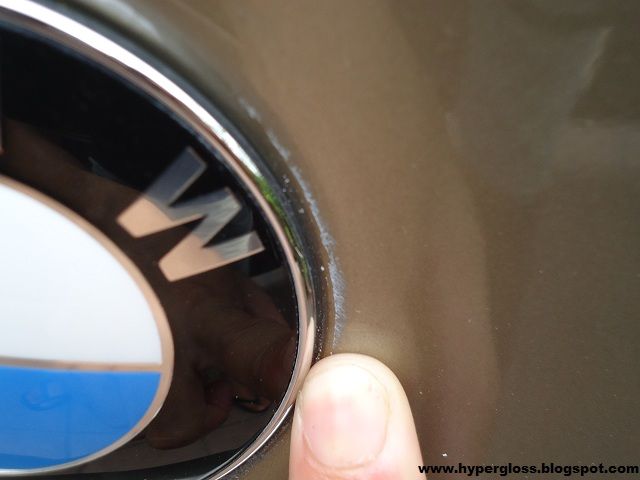
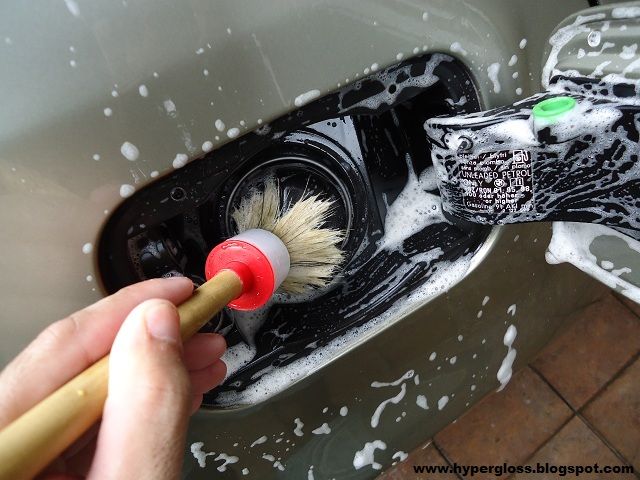
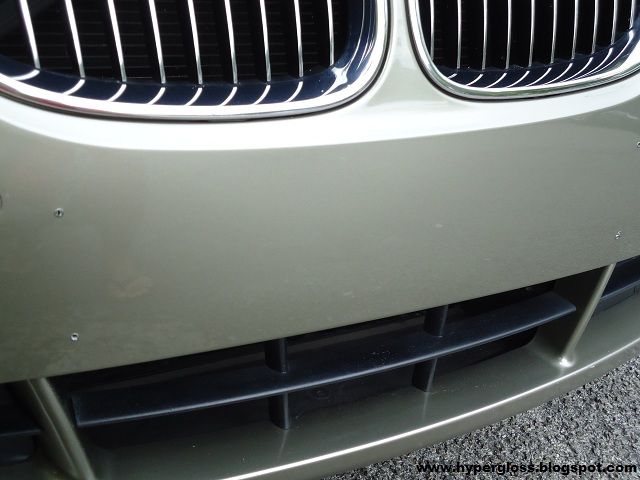
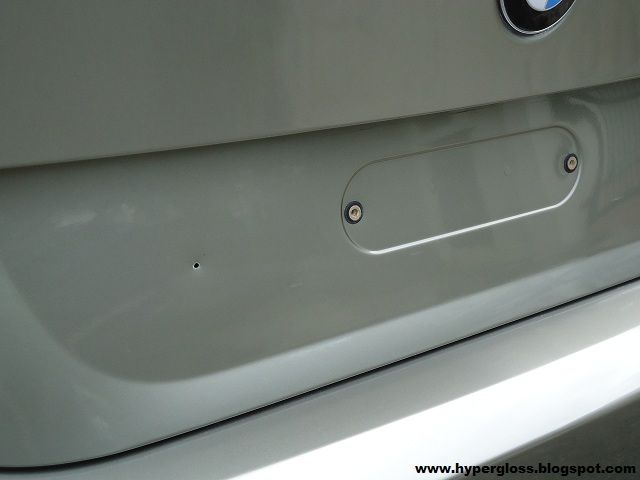
years of dirt trapped inside after remove the number plate
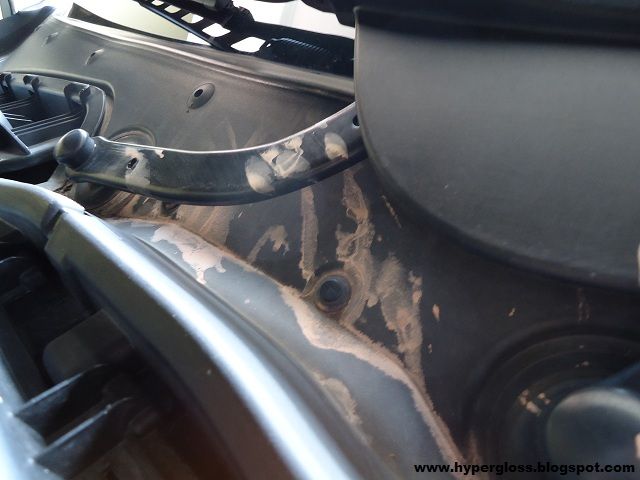
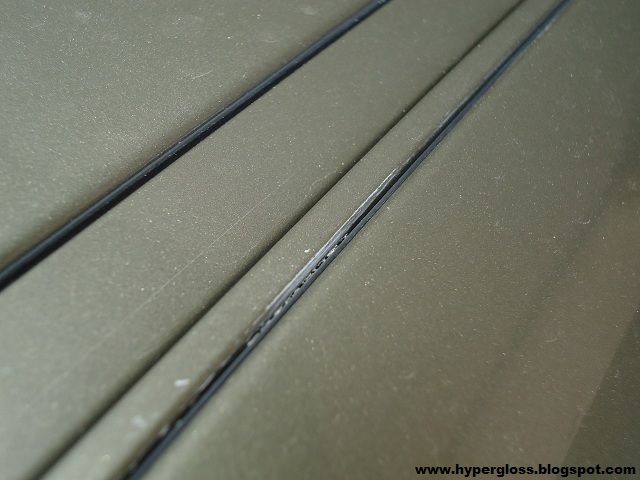
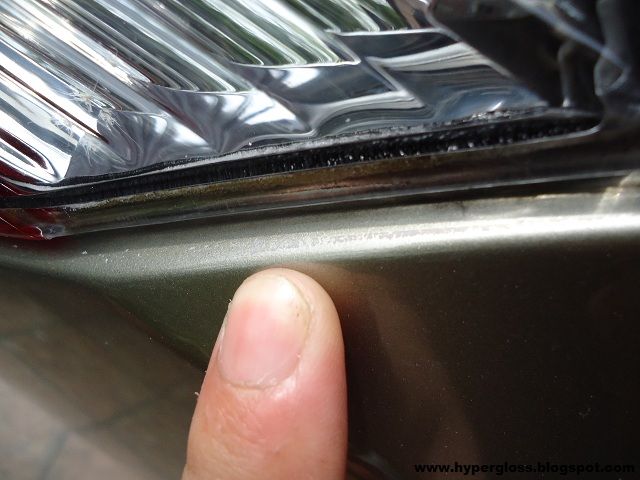
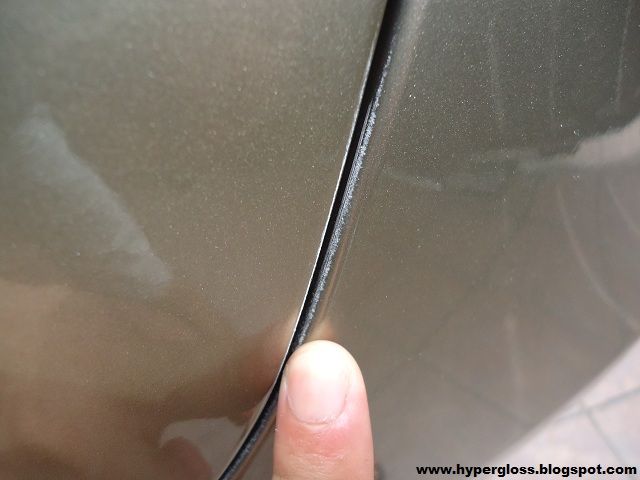
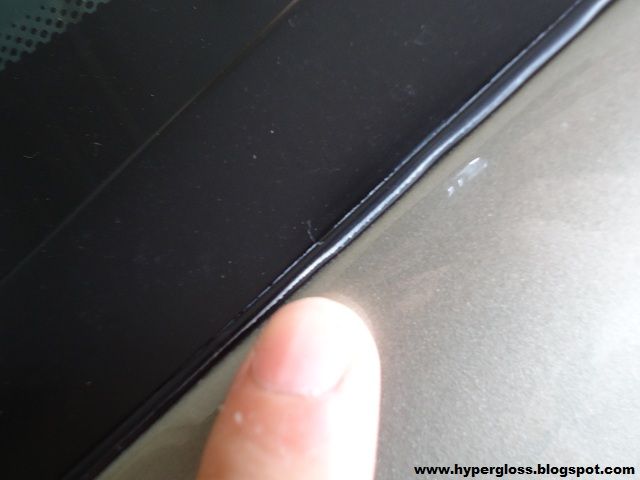
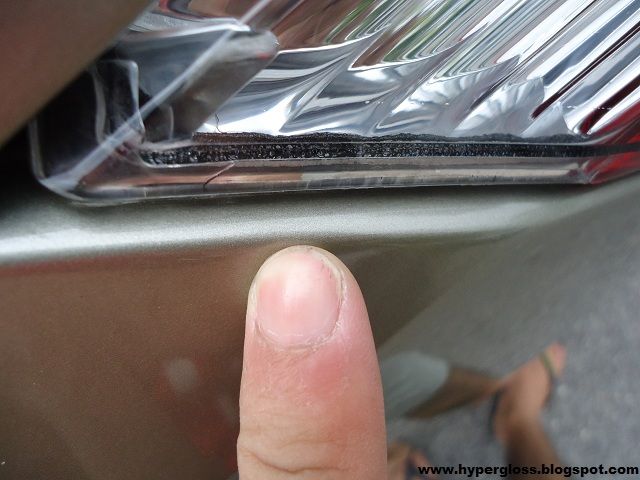
plenty of wax residue also found at the edges
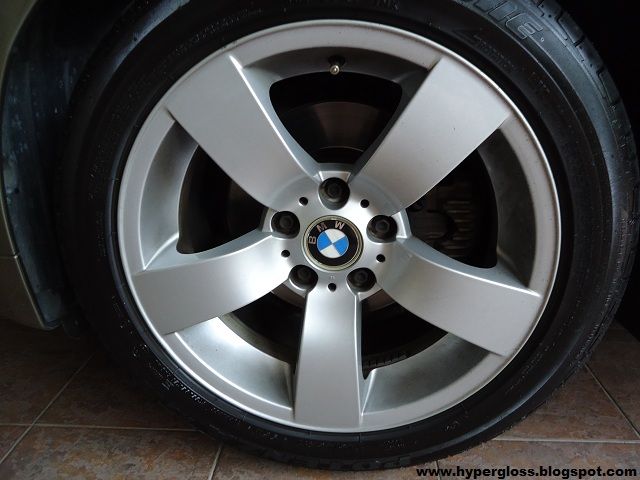
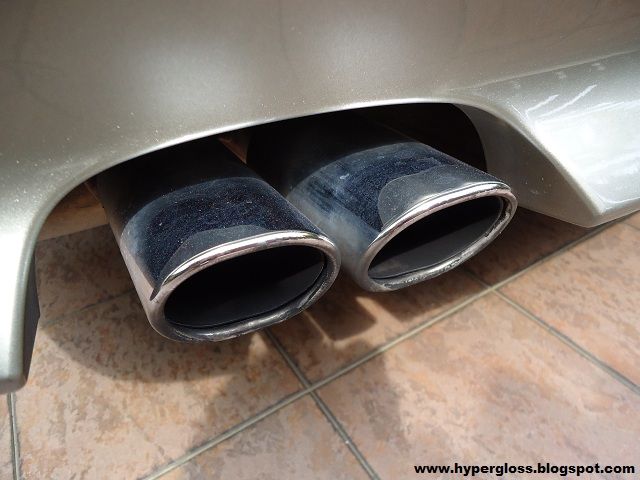
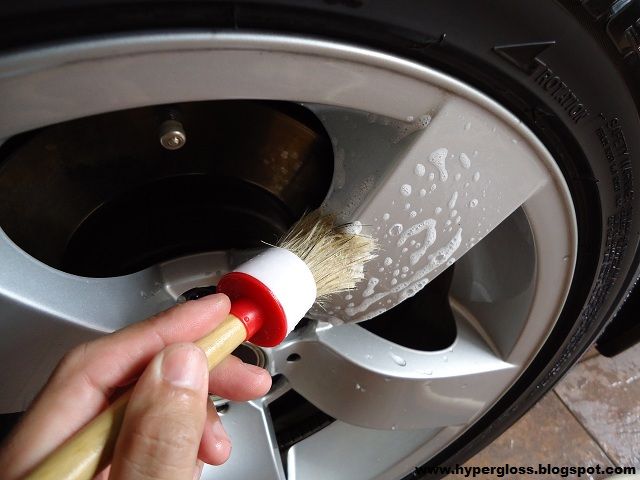
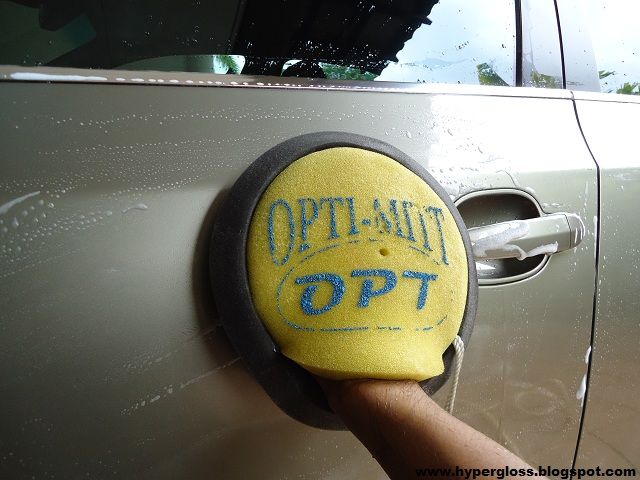
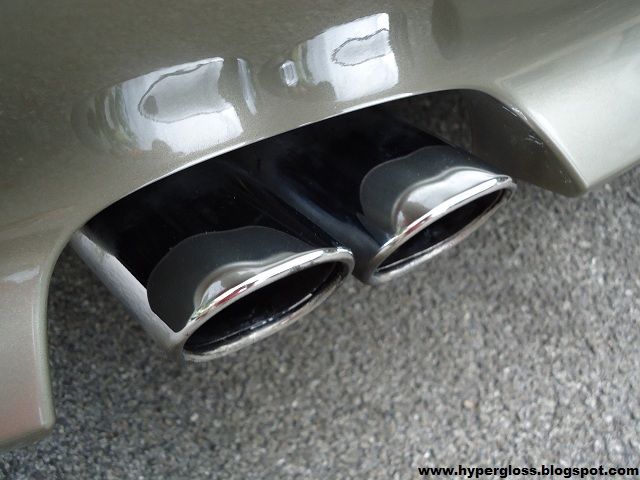
Cleaning begins on the wheel first, OPC was used to clean the rims meanwhile DFX to remove old dressing from the tires. Paintwork was wash with OPC dilute 1:4 then de-contaminated with PermaGlass ONR as lube. Other parts also cleaned with OPC such as exhaust tip and other plastics.
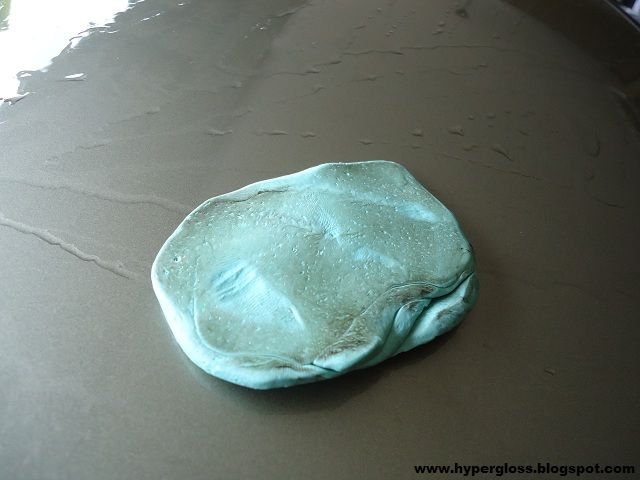
before
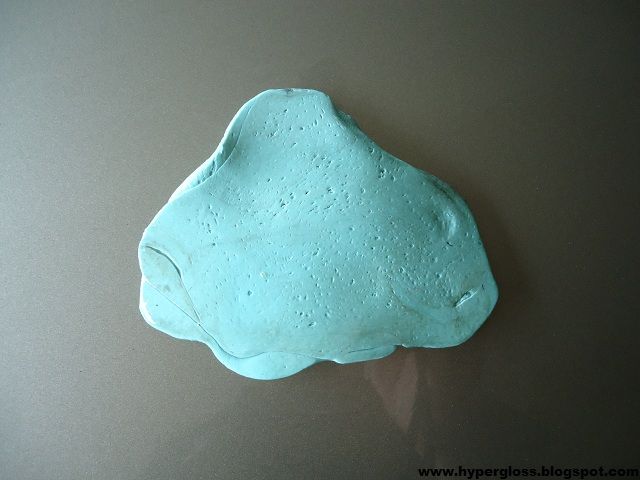
after clay
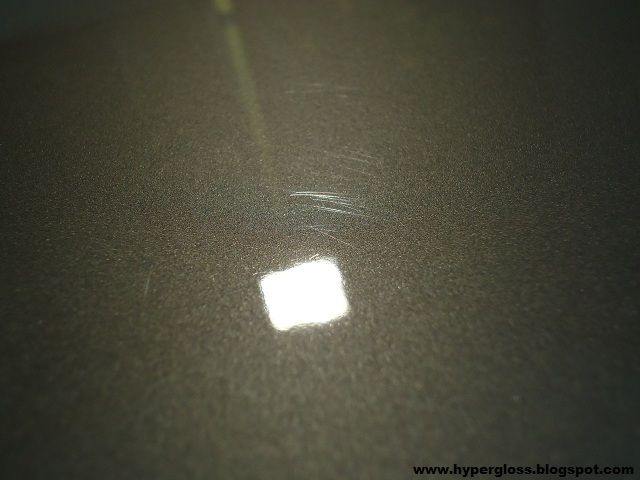
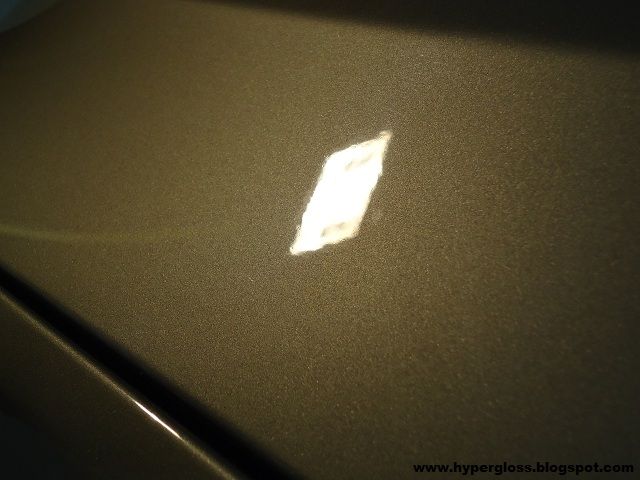
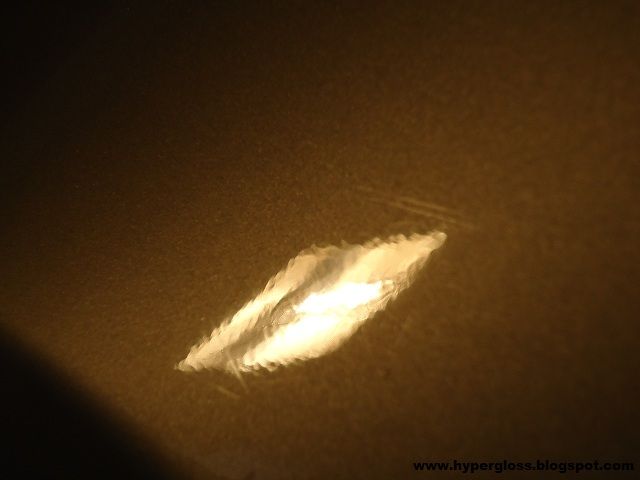
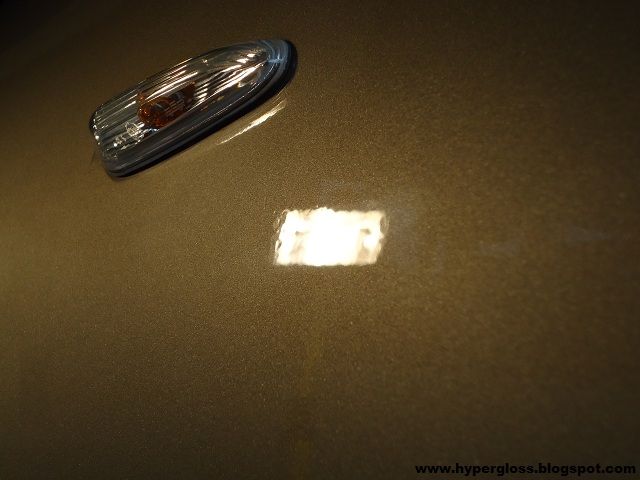
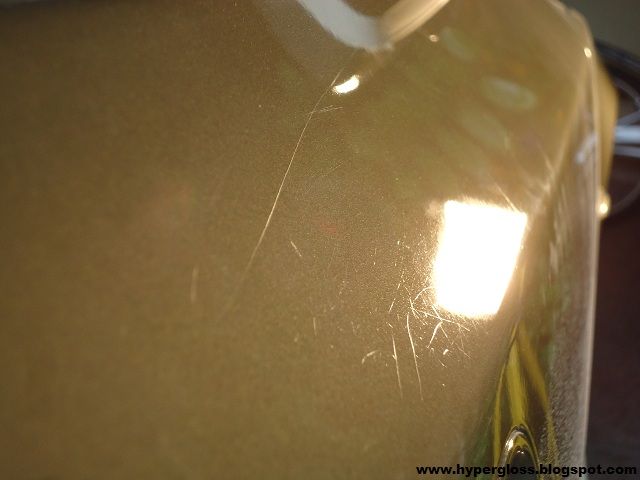
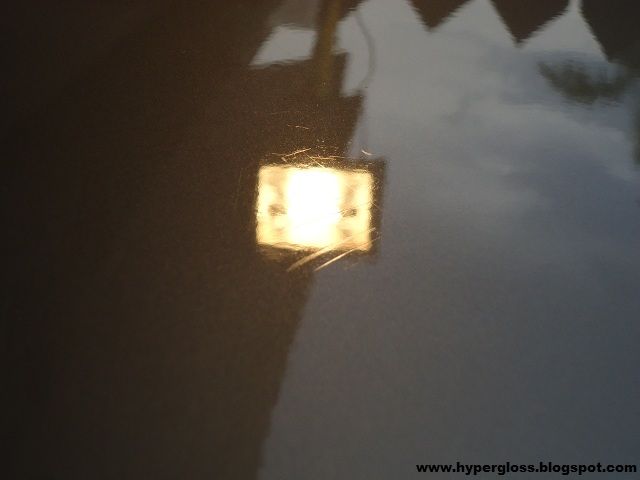
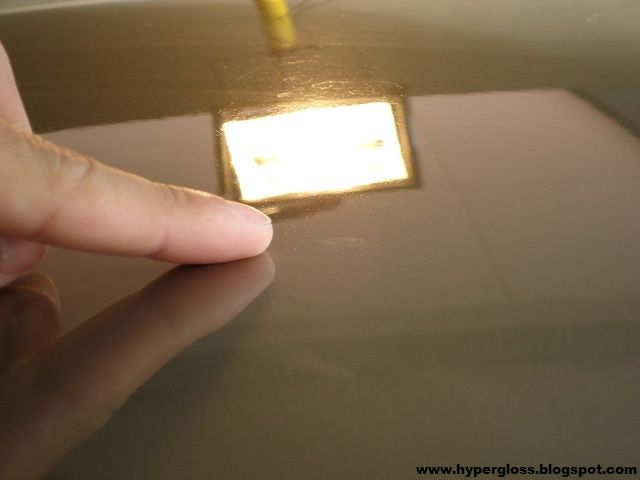
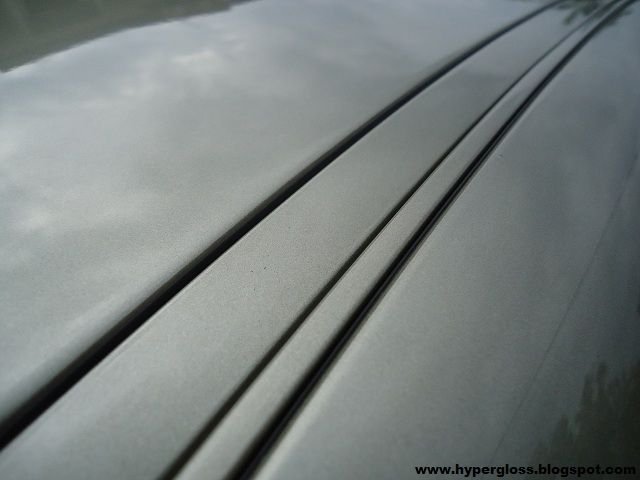
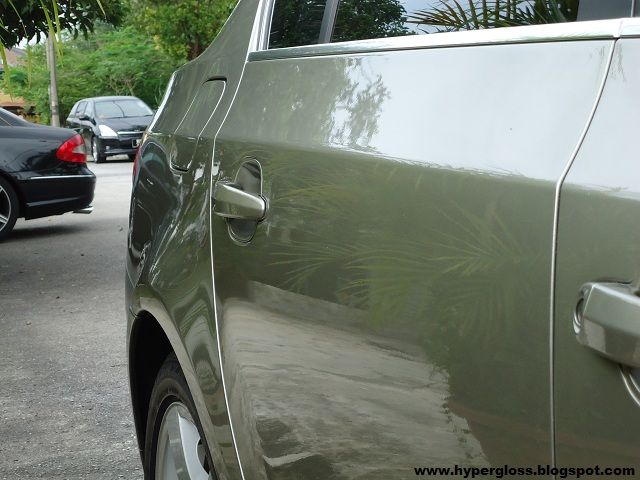
After the preparation work was done, paintwork was inspect with 300W halogen. Perfect40 compound was used for faster cutting on the flat area which has heavy etched waterspot meanwhile the other panel like door, fender C pillar, bumpers was compounded with Crystal Cut 2.0, marring was remove with M205 and finishing was done with M205 via Flex. Check out some of the picture before & after.
50/50
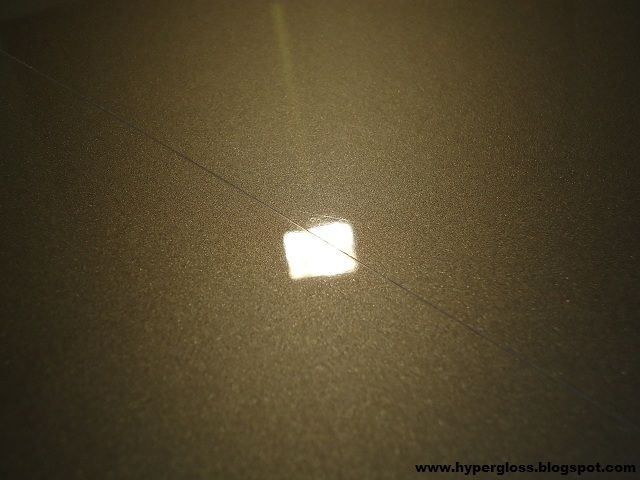
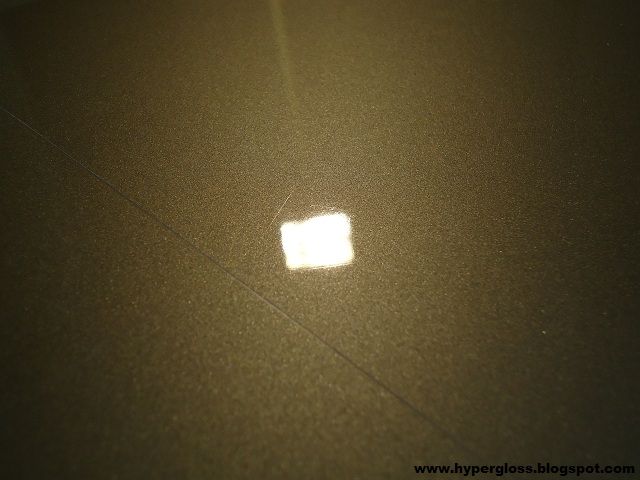
not corrected
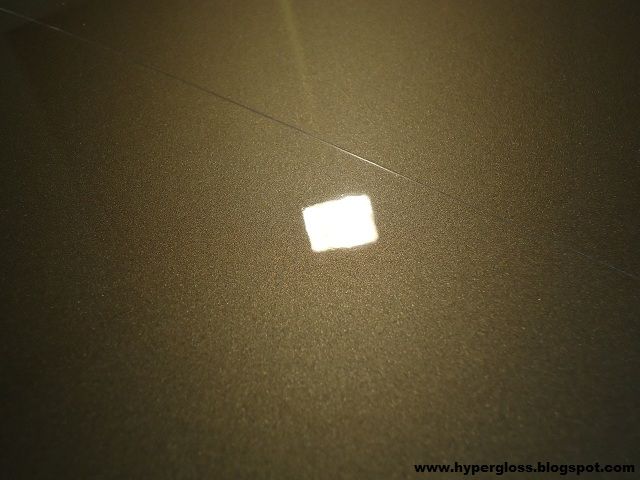
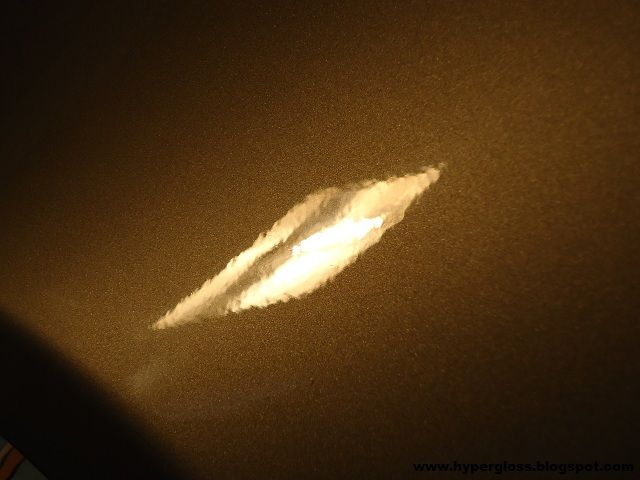
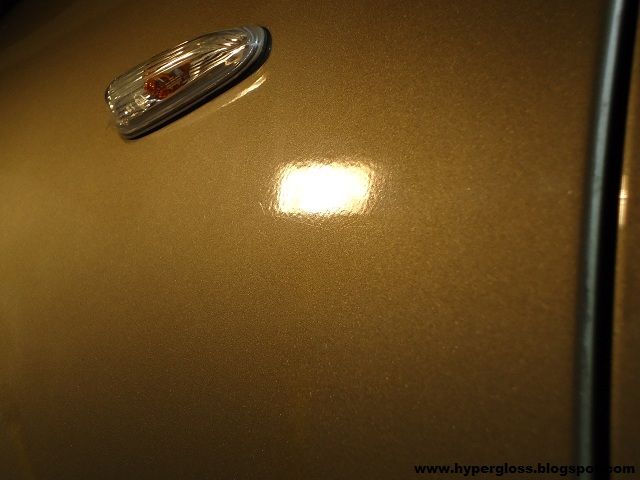
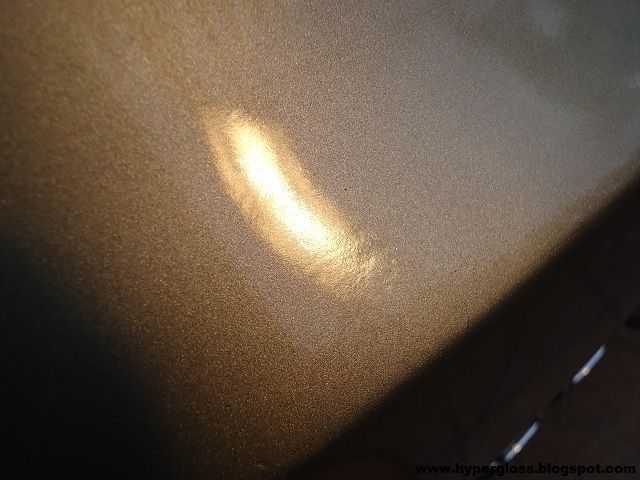
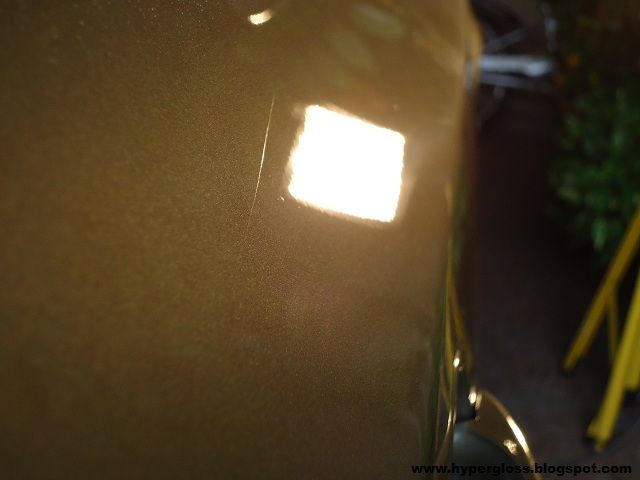
corrected
before
after
more before & after
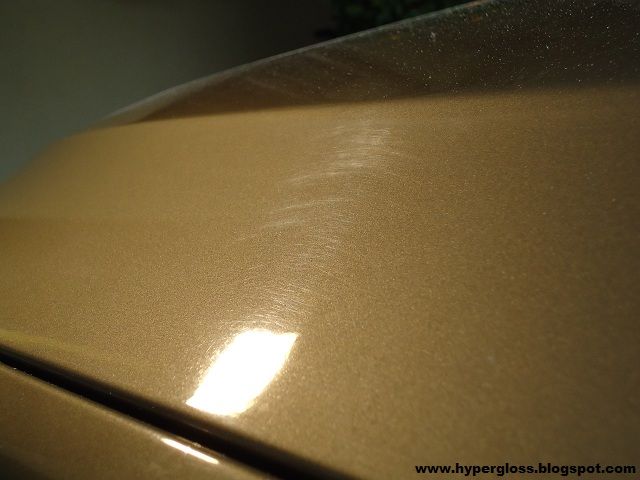
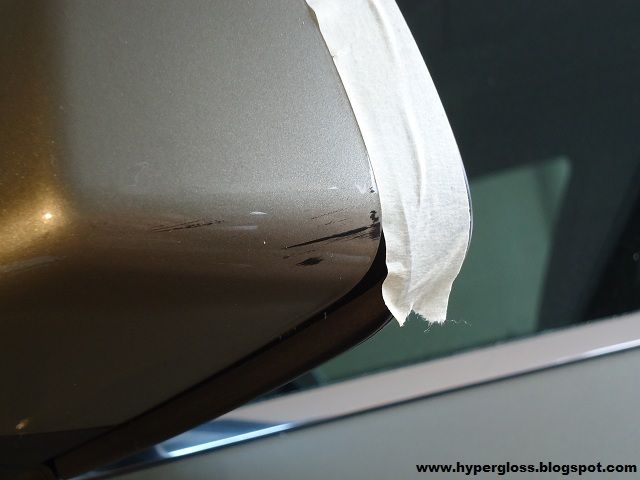
oxidation before
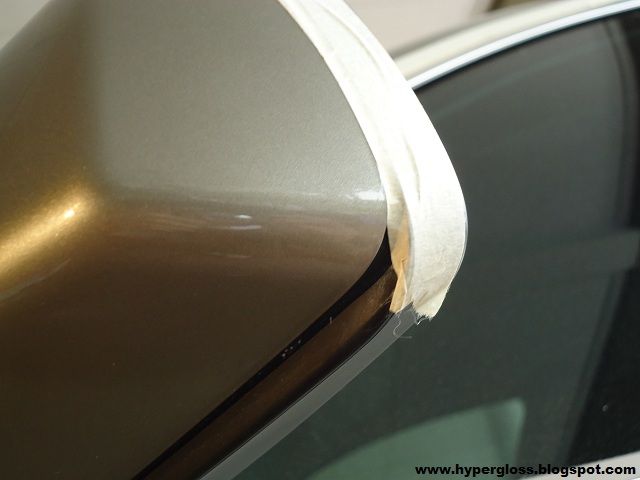
after
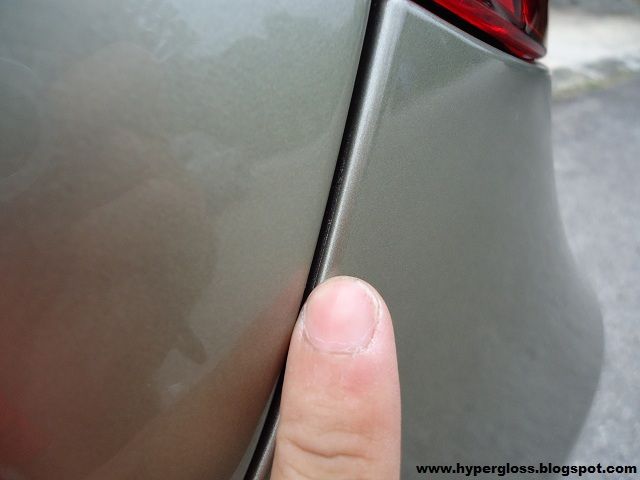
rear bumper also found the same issue
after


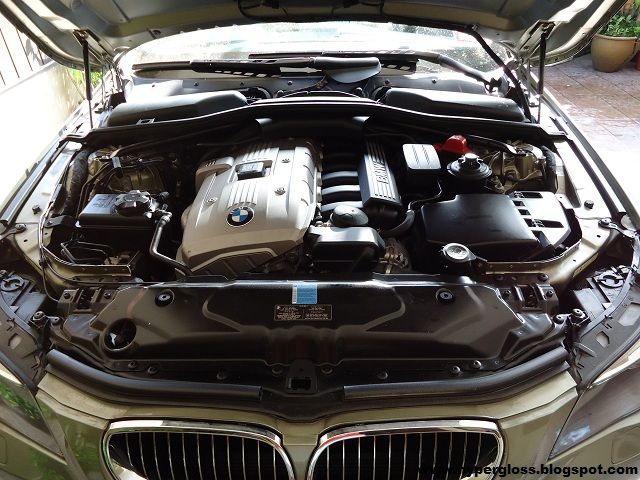
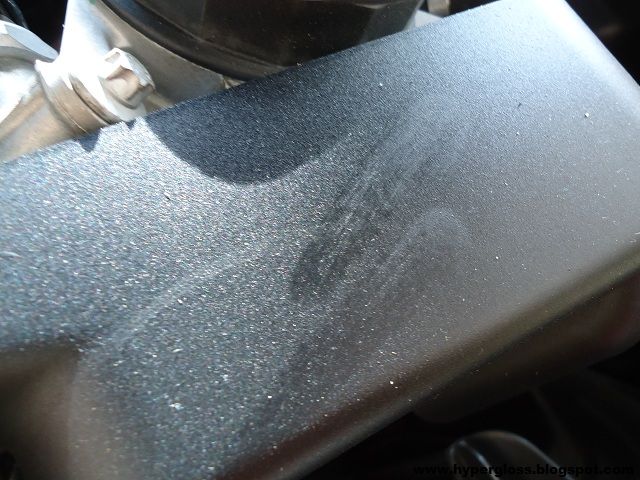
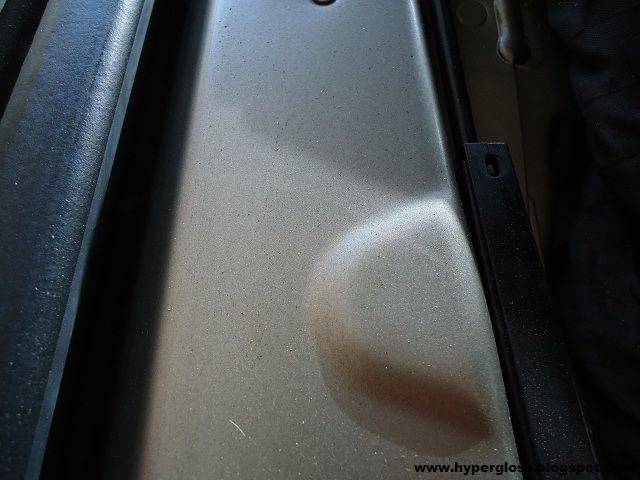
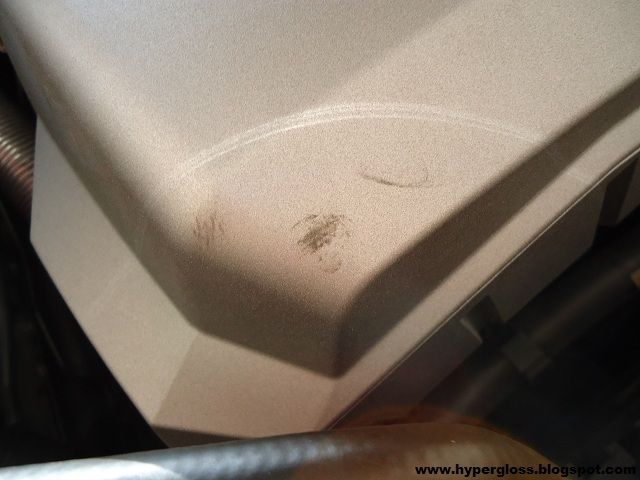
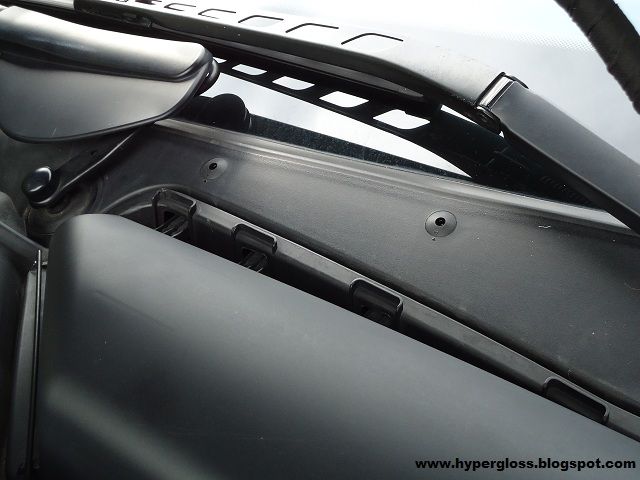
After the correction done, the car was given a quick rinse to remove all the polish residues. Quick engine detail was carry out upon owner's request. Lets check out the engine bay..

After an hour later..
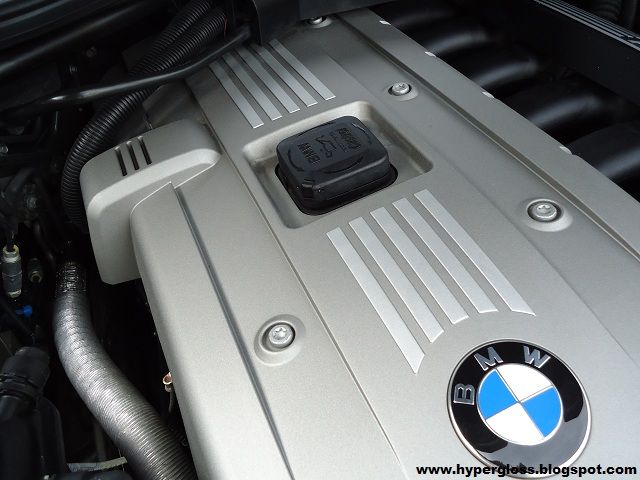
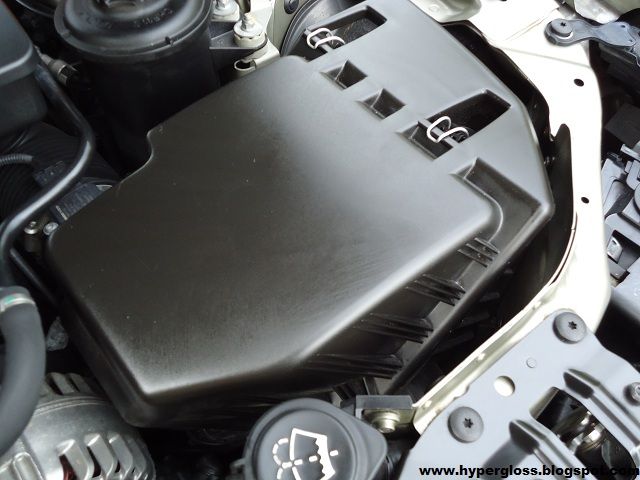
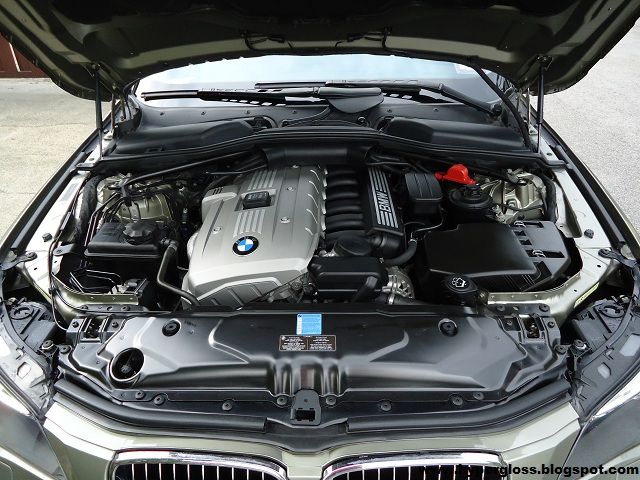
cleaned and dressed
Now ready for Opti-Coat application after wiped down with IPA
2hours later.. tadaa!

no more wax residues

Thanks for reading.
Another post since July! So sorry for the late updates. As usual, its a hectic month for me. Here i have is a BMW 523i E60 coated months back ago. The age of this car was about 4years old, mileage only runs about 30,000++ which is also a daily drive for this owner to travel to work nearby.
After properly inspected, i found this car quite in a bad shape. Flat area has waterspots, other panels also found swirl marks, RIDS, oxidation, found lots of wax residues etc etc. Pictures can be seen below..
oily dressing from the tire
years of dirt trapped inside after remove the number plate
plenty of wax residue also found at the edges
Cleaning begins on the wheel first, OPC was used to clean the rims meanwhile DFX to remove old dressing from the tires. Paintwork was wash with OPC dilute 1:4 then de-contaminated with PermaGlass ONR as lube. Other parts also cleaned with OPC such as exhaust tip and other plastics.
before
after clay
After the preparation work was done, paintwork was inspect with 300W halogen. Perfect40 compound was used for faster cutting on the flat area which has heavy etched waterspot meanwhile the other panel like door, fender C pillar, bumpers was compounded with Crystal Cut 2.0, marring was remove with M205 and finishing was done with M205 via Flex. Check out some of the picture before & after.
50/50
not corrected
corrected
before
after
more before & after
oxidation before
after
rear bumper also found the same issue
after
After the correction done, the car was given a quick rinse to remove all the polish residues. Quick engine detail was carry out upon owner's request. Lets check out the engine bay..
After an hour later..
cleaned and dressed
Now ready for Opti-Coat application after wiped down with IPA
2hours later.. tadaa!
no more wax residues
Thanks for reading.

 hehehe