- Joined
- Nov 18, 2003
- Messages
- 880
- Points
- 3,063
This time, my journey brings me to another level of epicness.....
A full restoration project (estimated to take about 2 to 3 months or more.). So updates will be done progressively. Do remember to check back once a while for more updates.
History lesson:
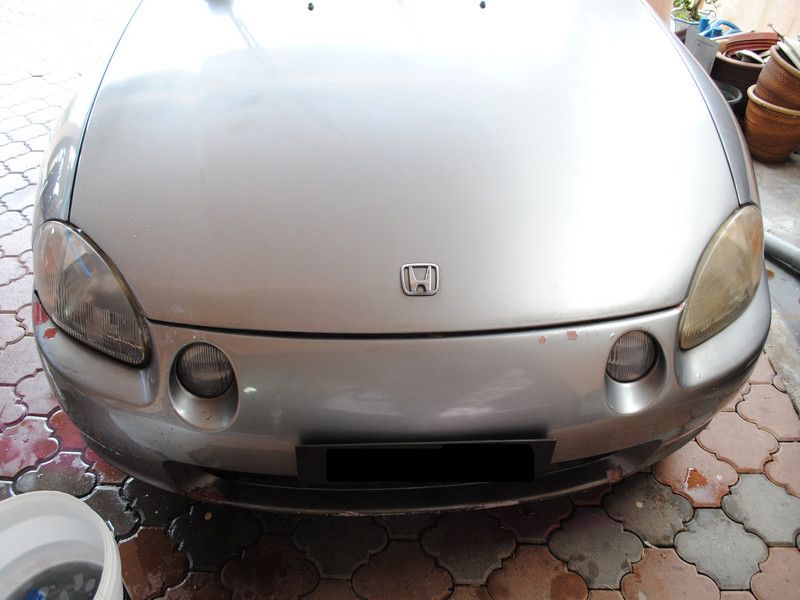
My project involves a Honda CRX Delsol 1992. A 20 year old car that has gone thru thick and thin with me and his owner. We were young back in those days and we did had a lot of fun with this car.
But I guess no one is interested in knowing my old time stories. So I will stick to the car. Car was bought 2nd hand by my best buddy from secondary school around 2004. It was freshly re-painted back then. He used the car for a good few years but later due to other commitments and in need of a bigger space car, he has sort of abandon the car for more than 3 years in his car porch which is.... open air...
I had asked, begged him to let me restore this car to its glory days as I find it as a really really good challenge. As I am not taking any payment nor have any monetary commitment to this project, it shall be slow paced and rest assured.... very very detailed.
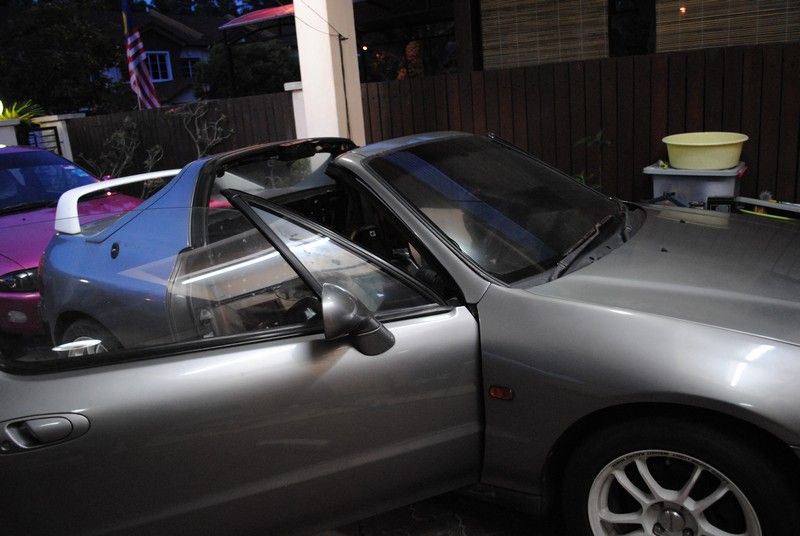
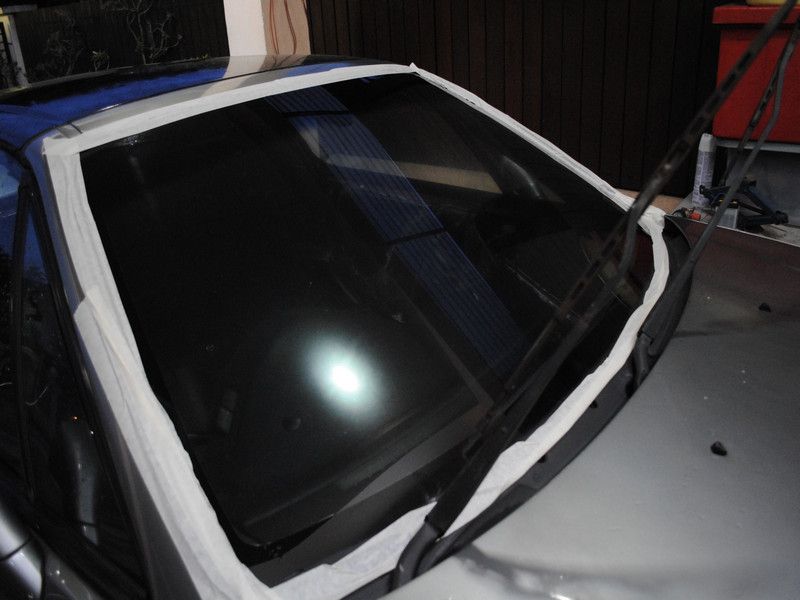
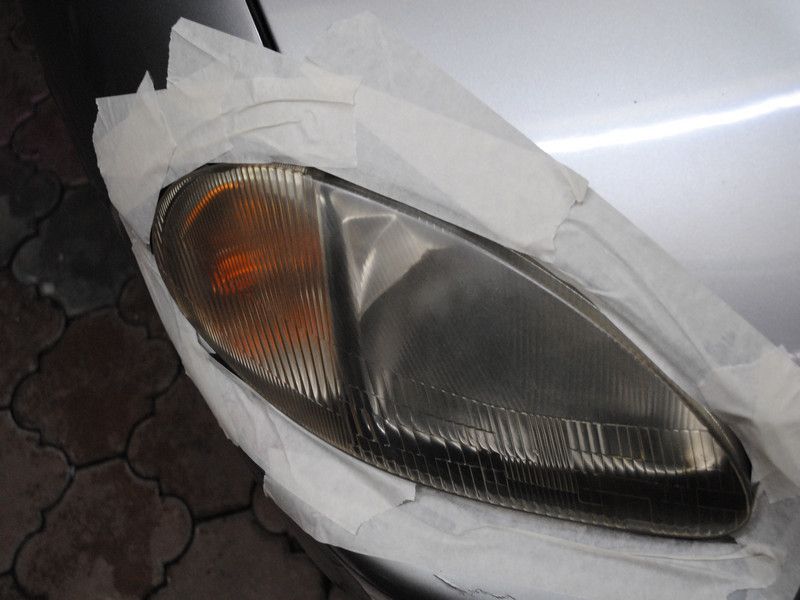
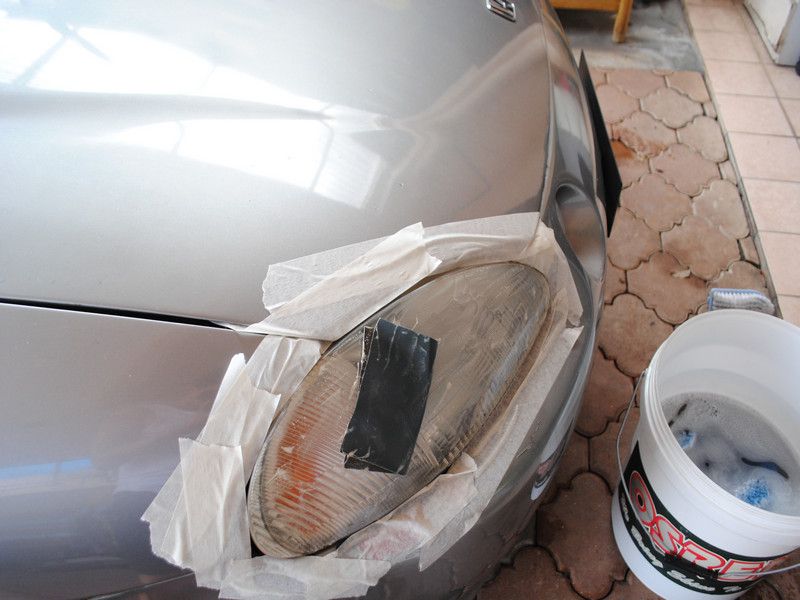
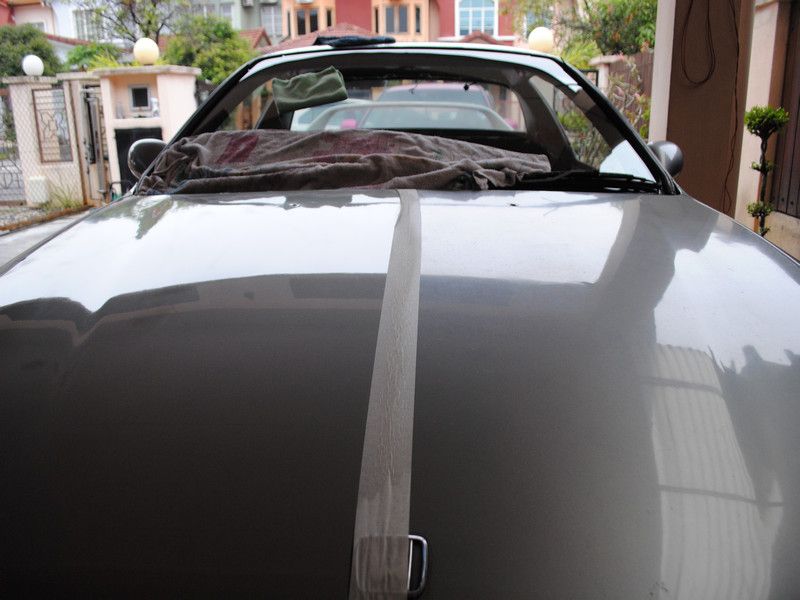
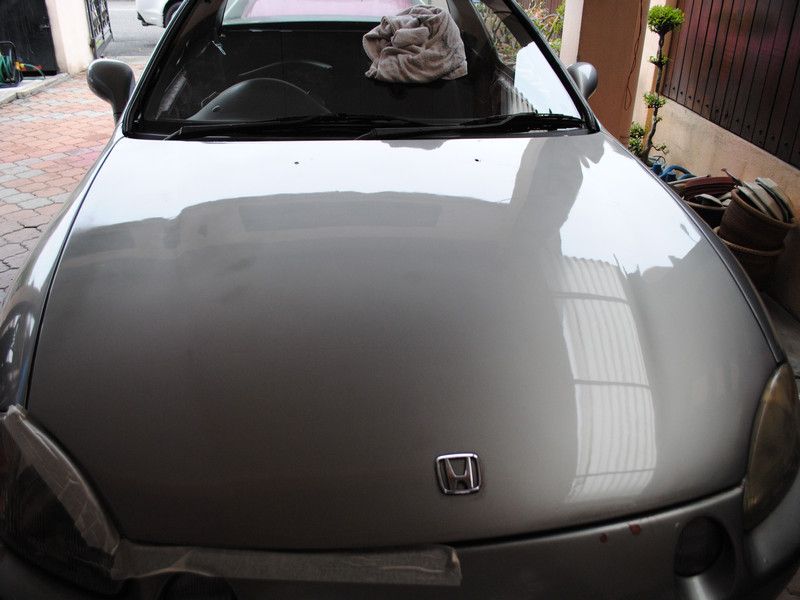
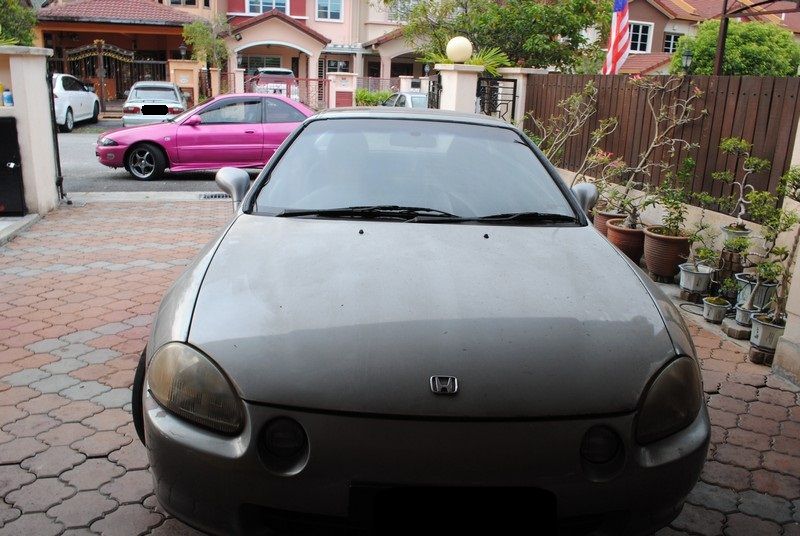
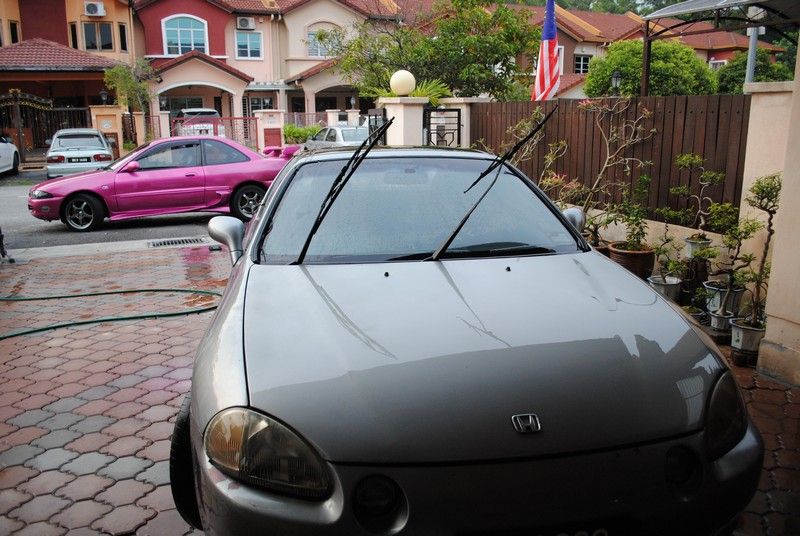
Lets start off with some shots of the car upon arrival (actually its been sitting under my porch for a good week before i started.)
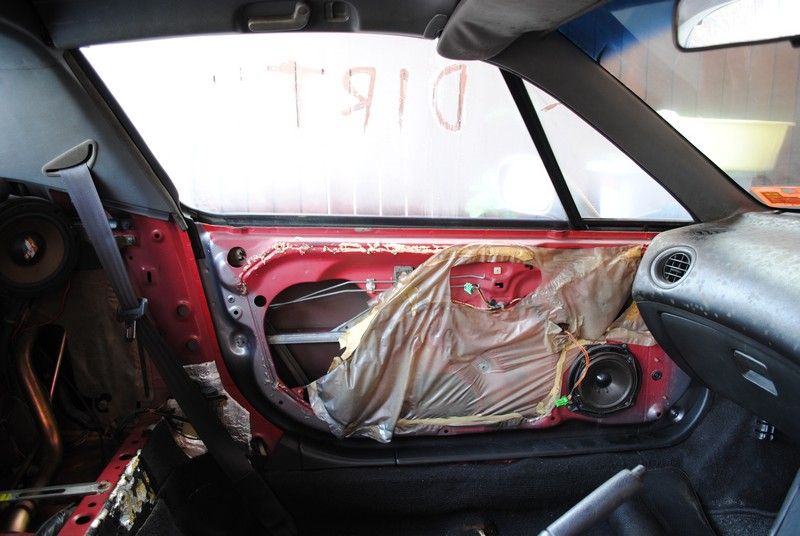
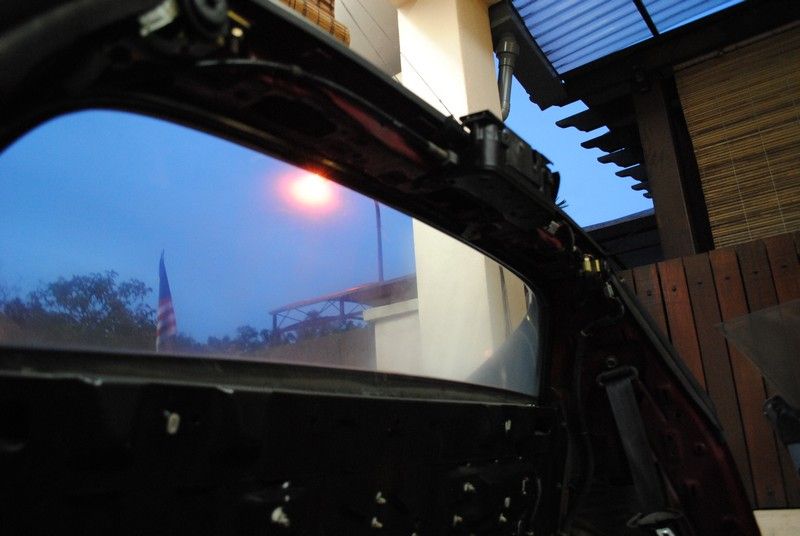
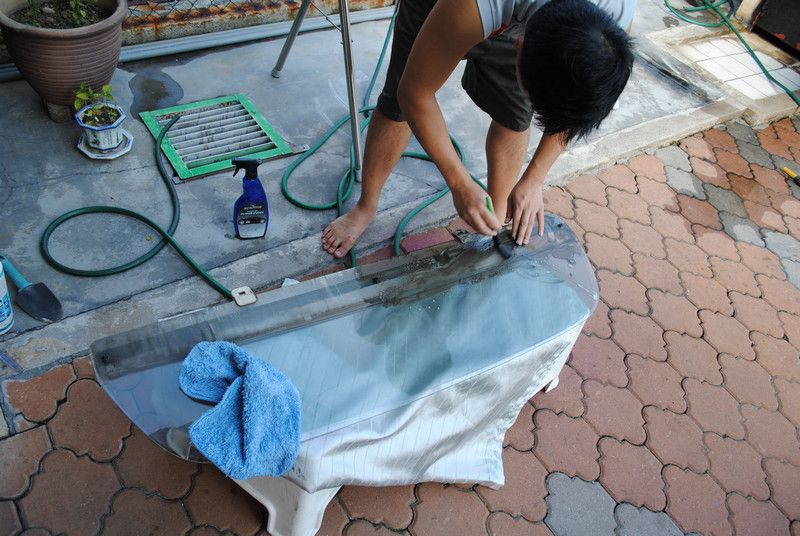
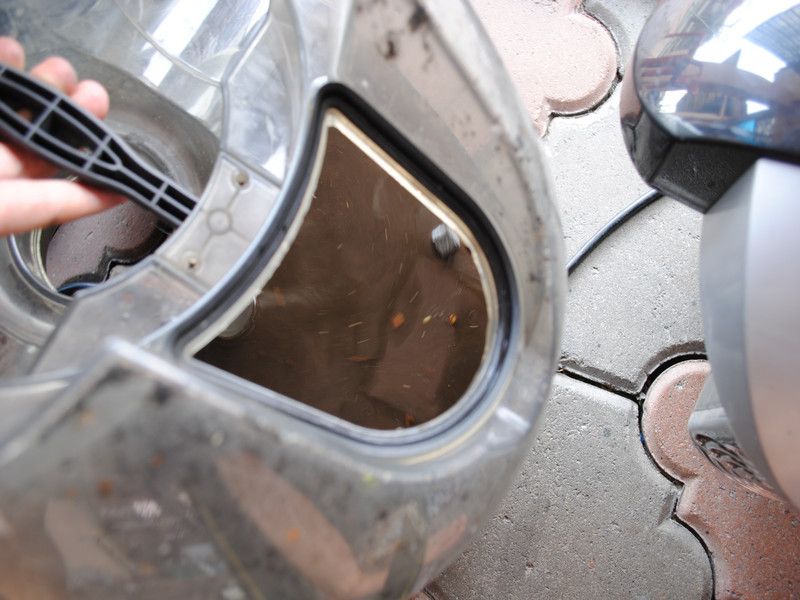
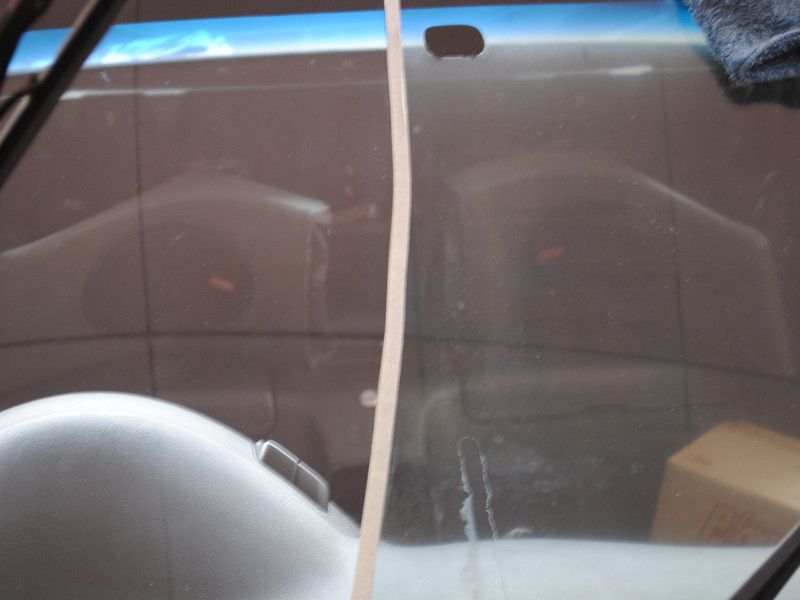
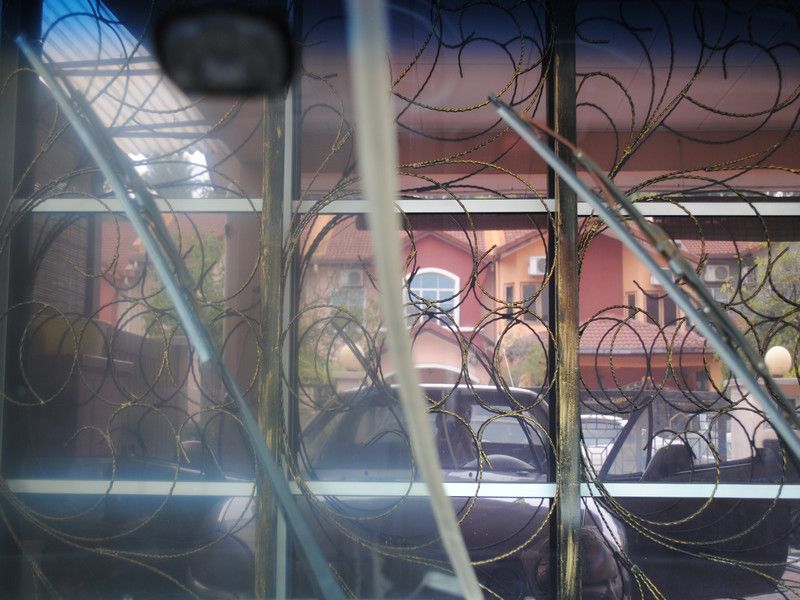
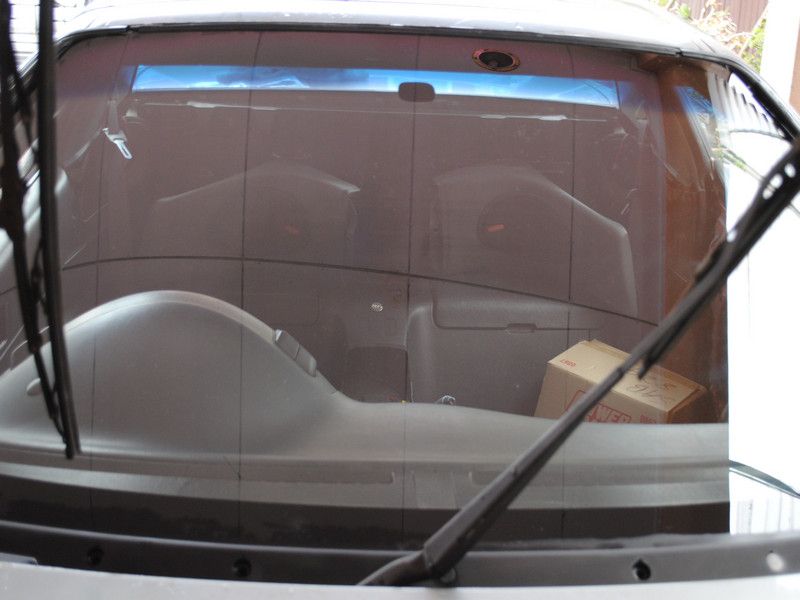
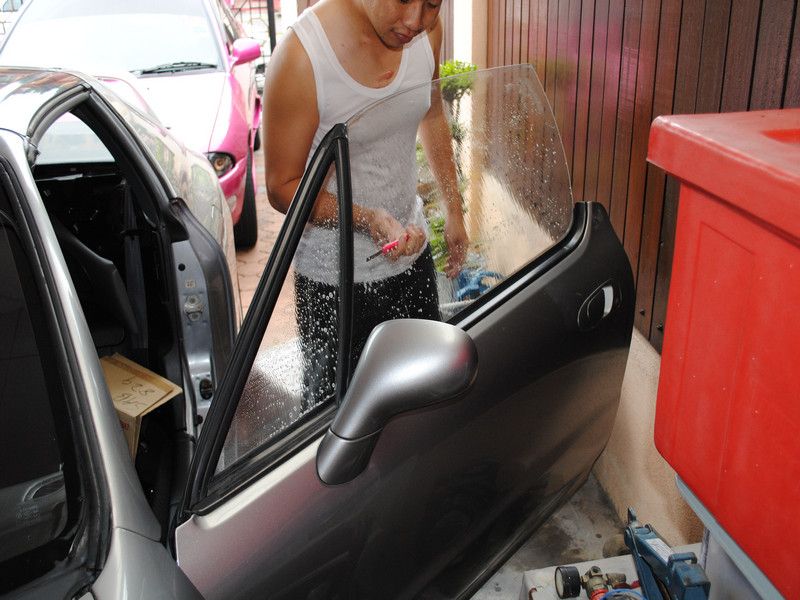
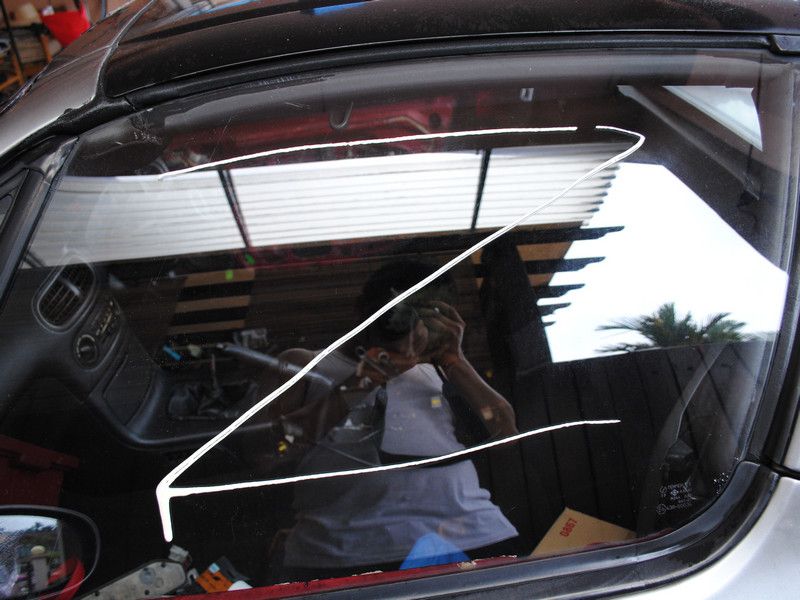
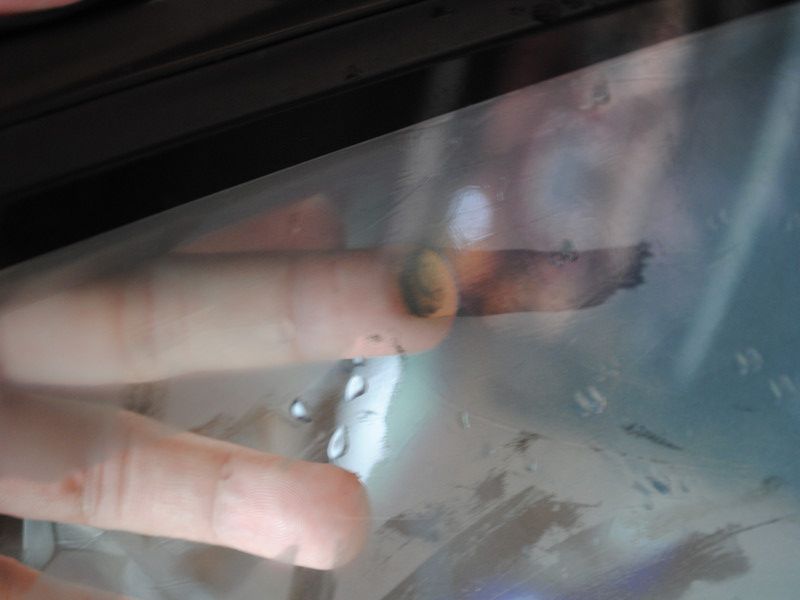
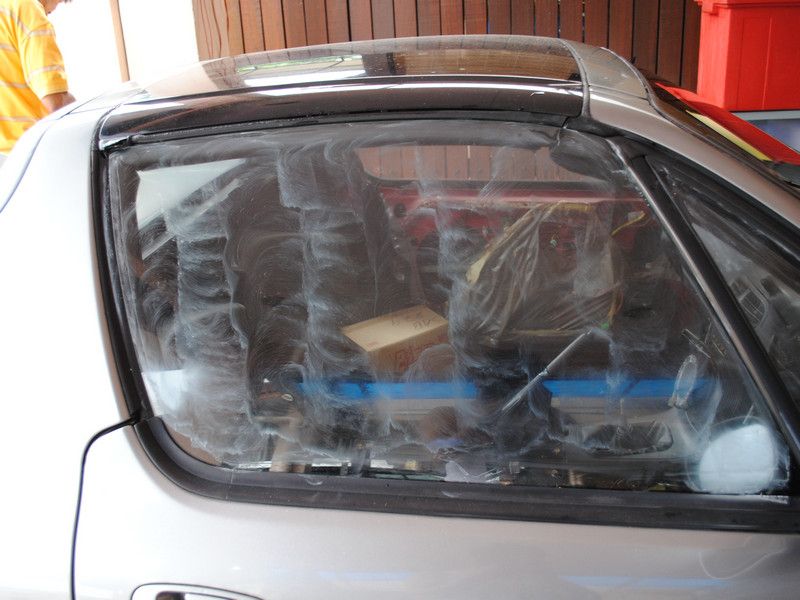
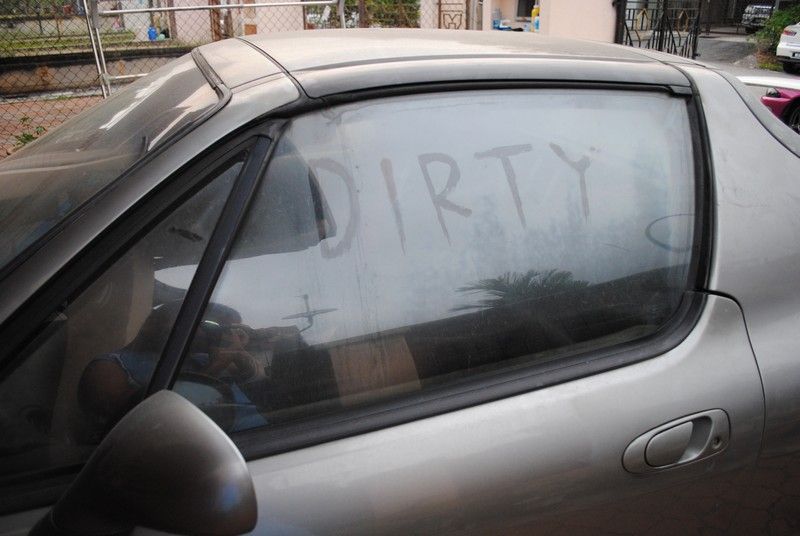
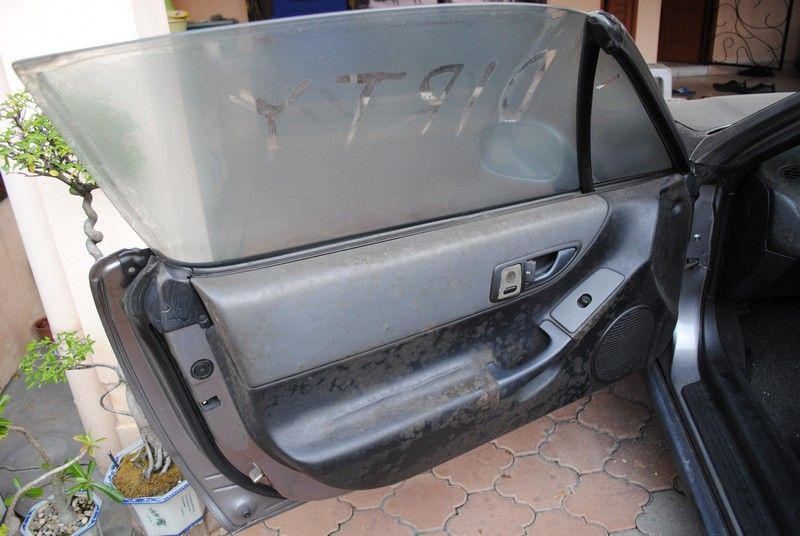
The dirt inside the glass is so thick that you can draw on it.

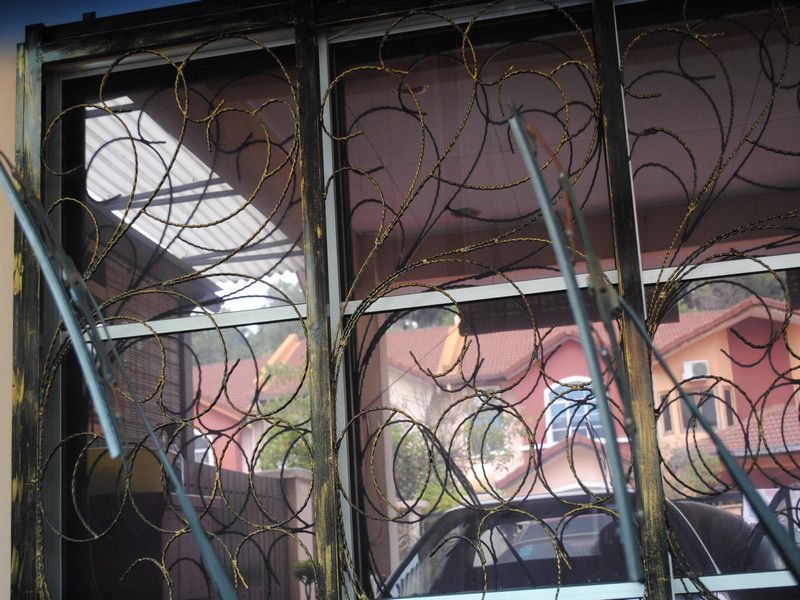
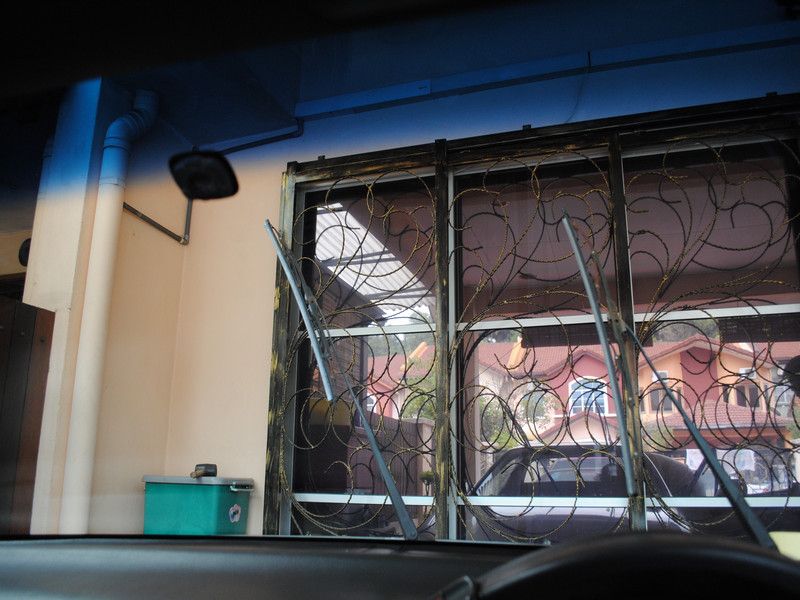
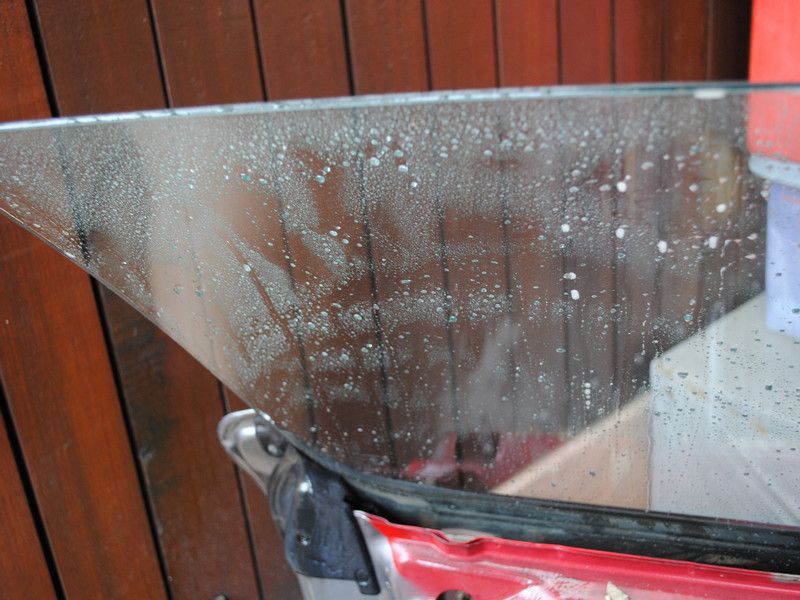
So is the dirt outside....
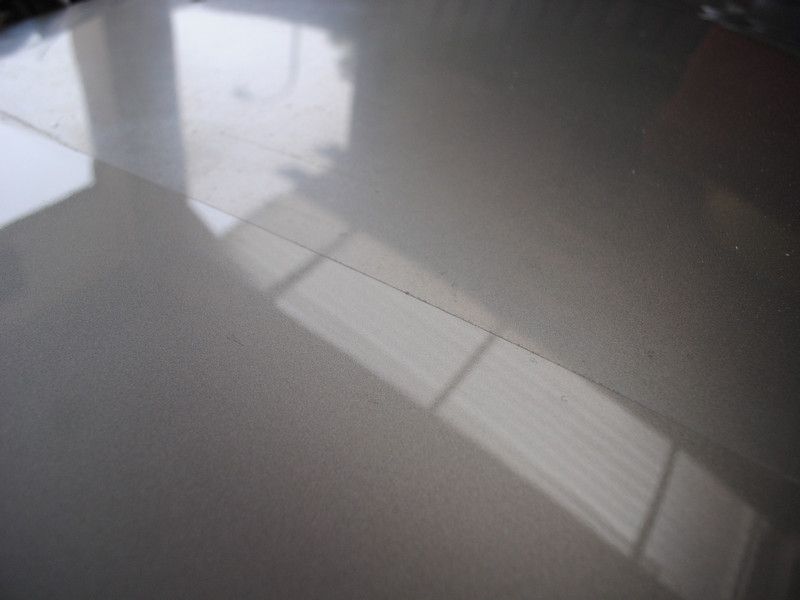
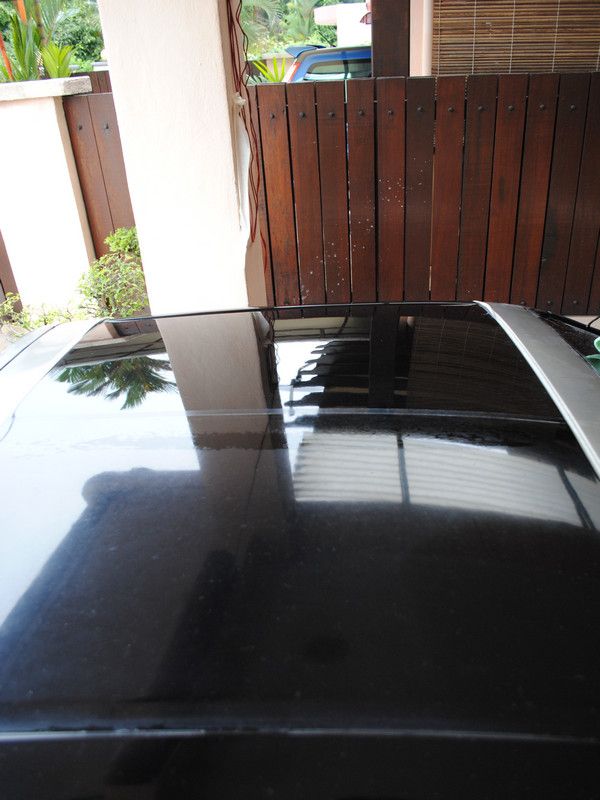
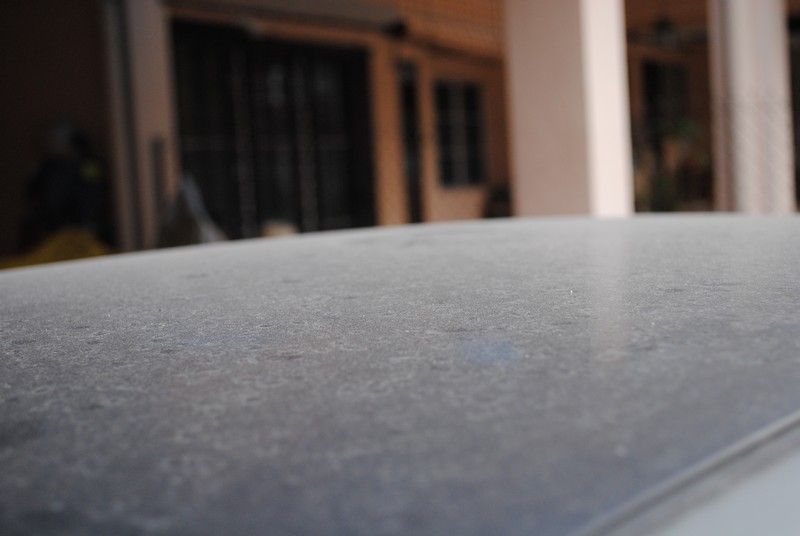
Dust on the top of the car.....

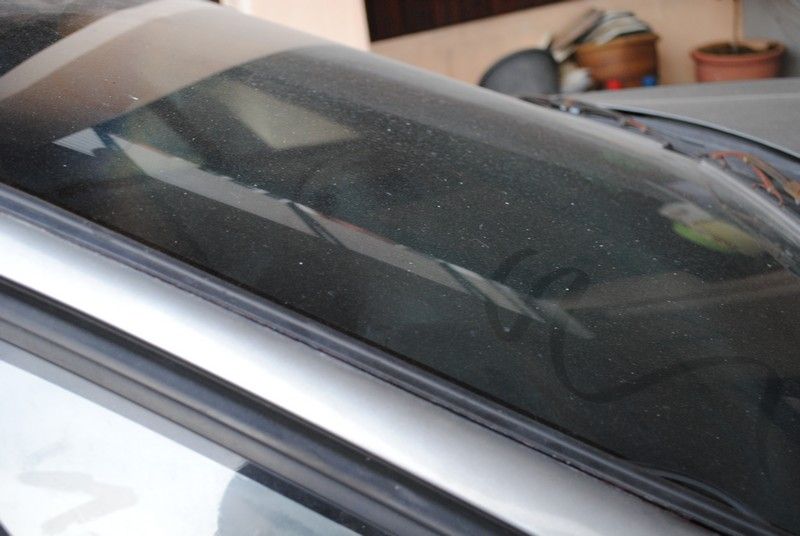
Really bad clear coat failure.....
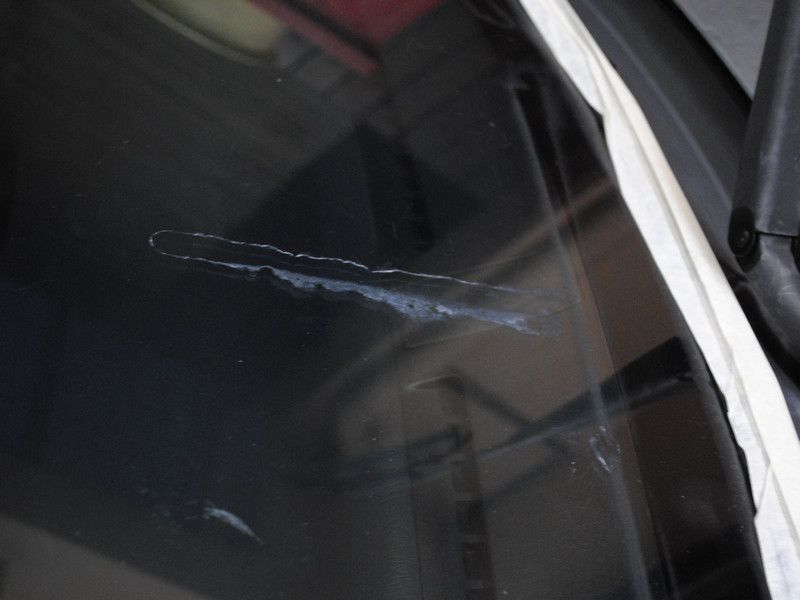
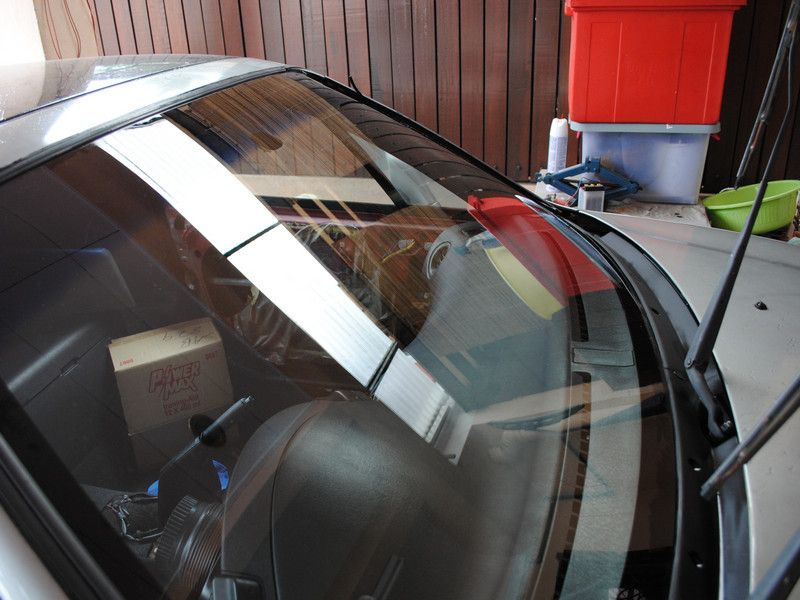
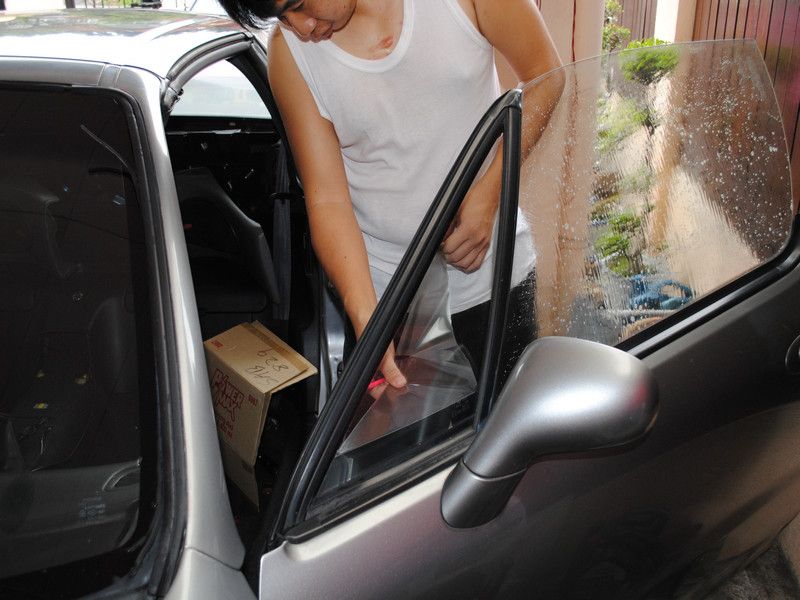
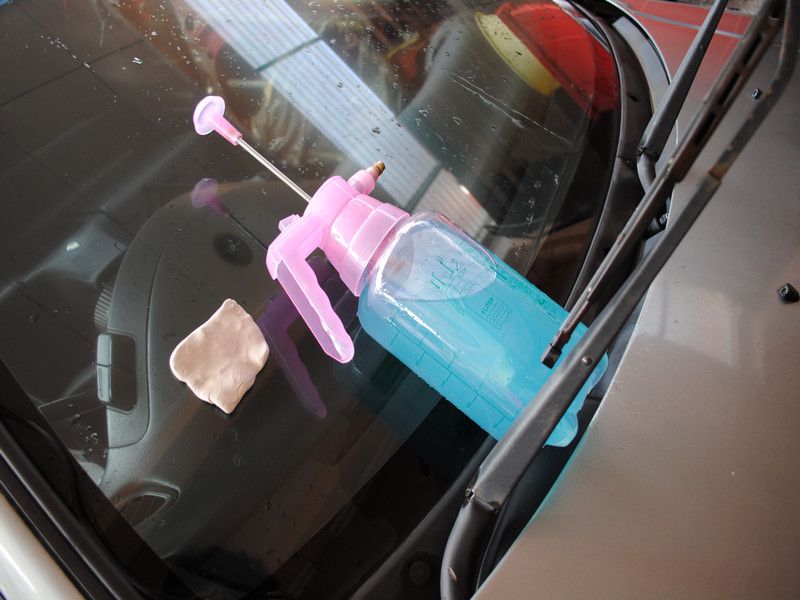
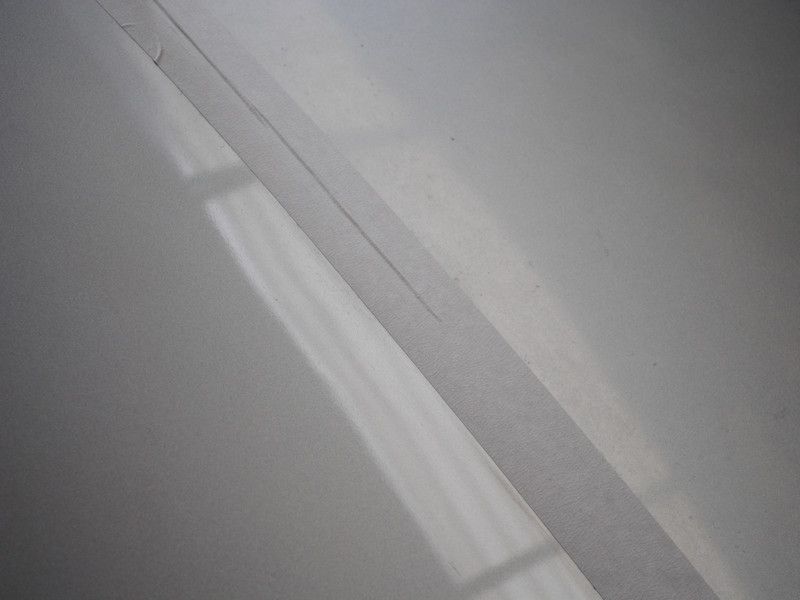
The dirt inside the window was so thick and hard that i had to use water and cloth to write this....
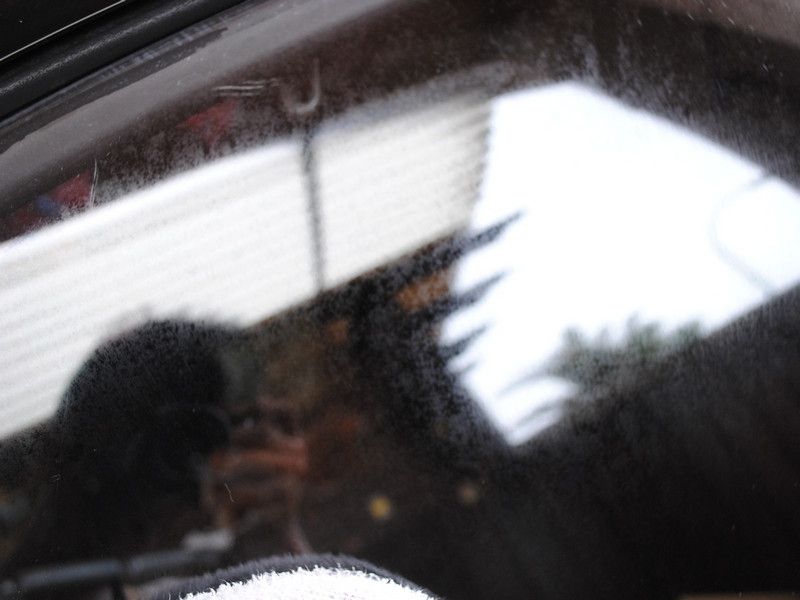
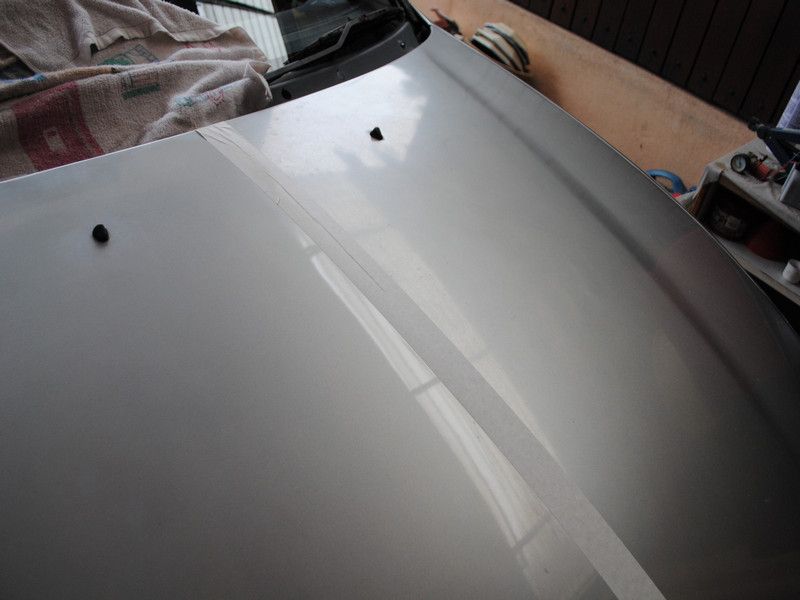
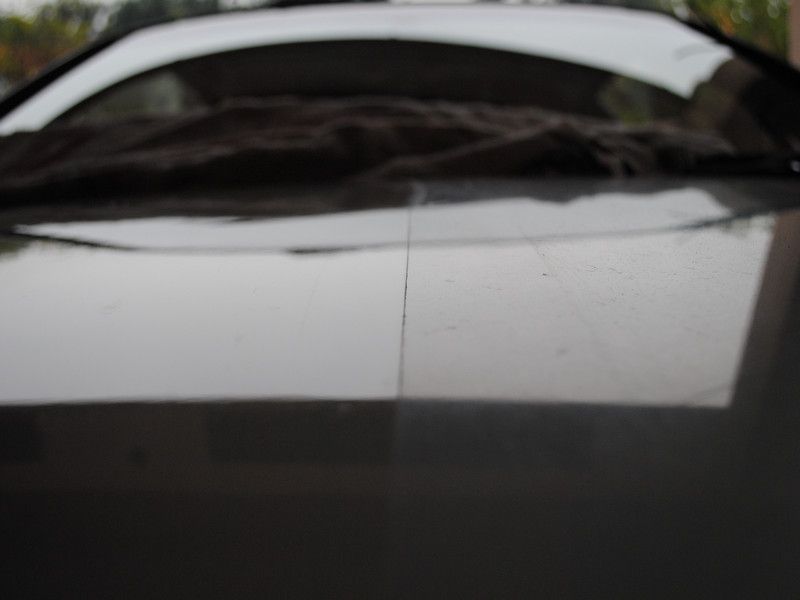
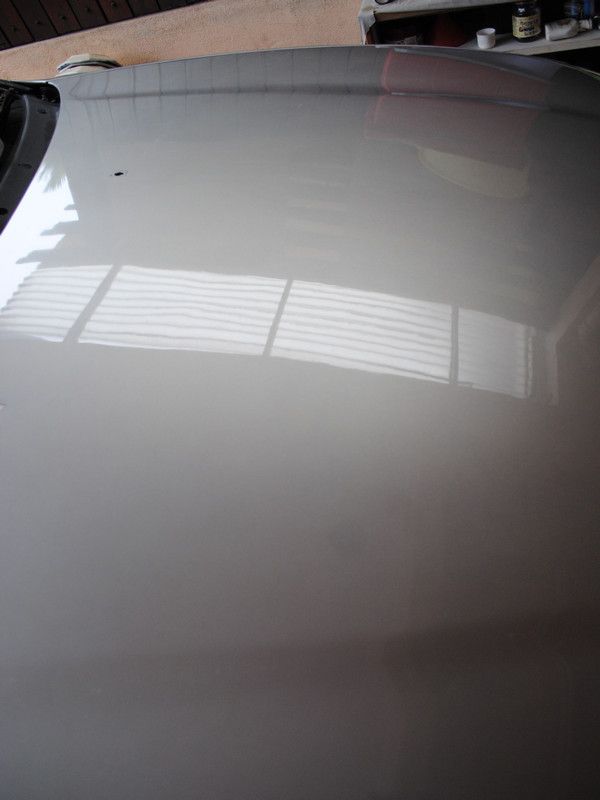
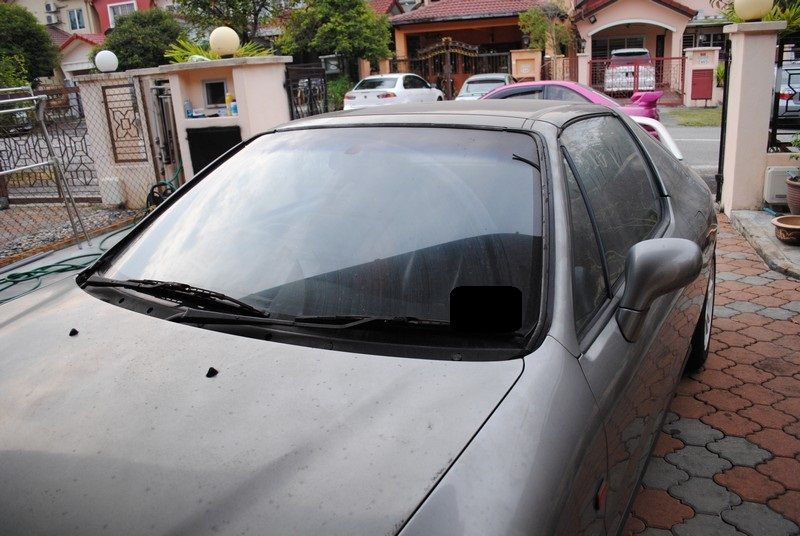
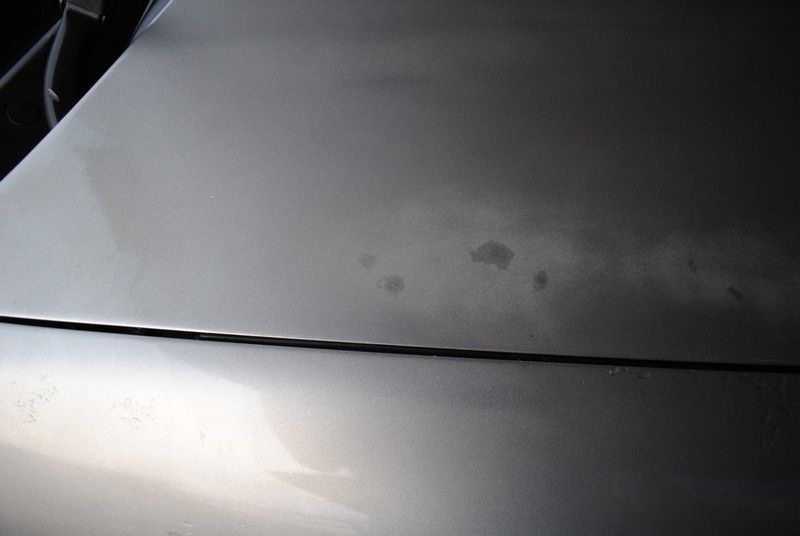
Can you see the spots on the bonnet.... caked up dirt from 3 years or more of no washing
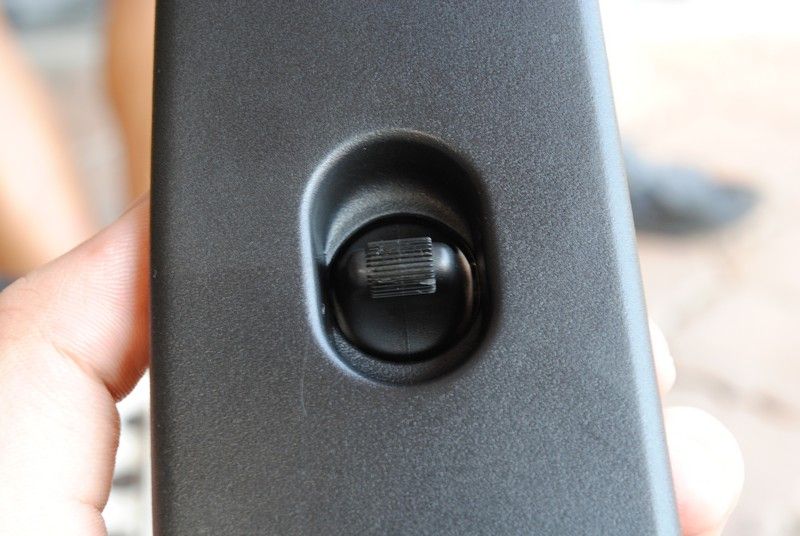
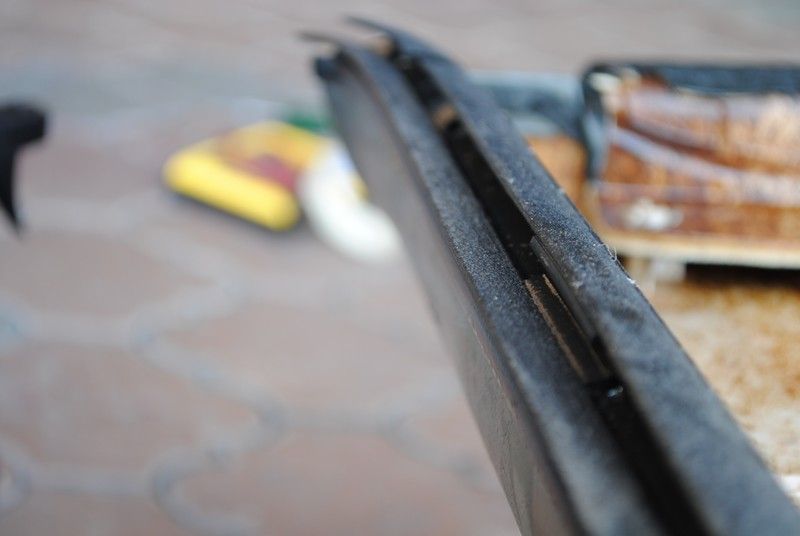
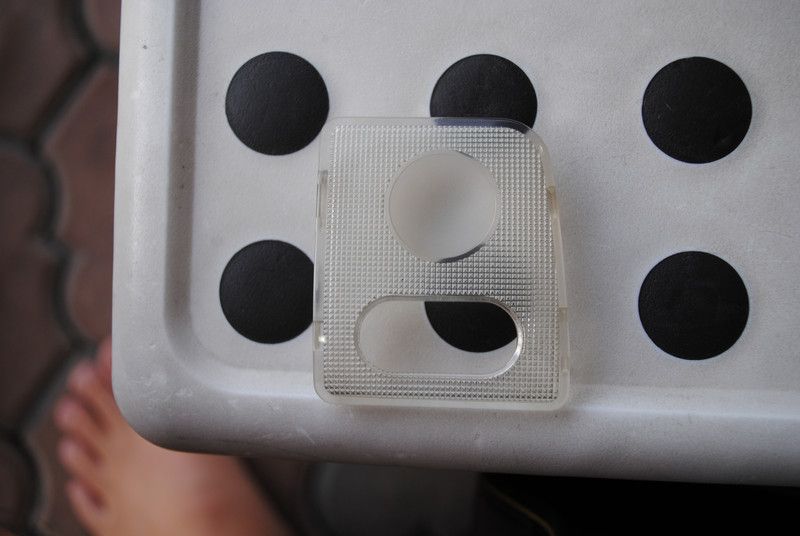
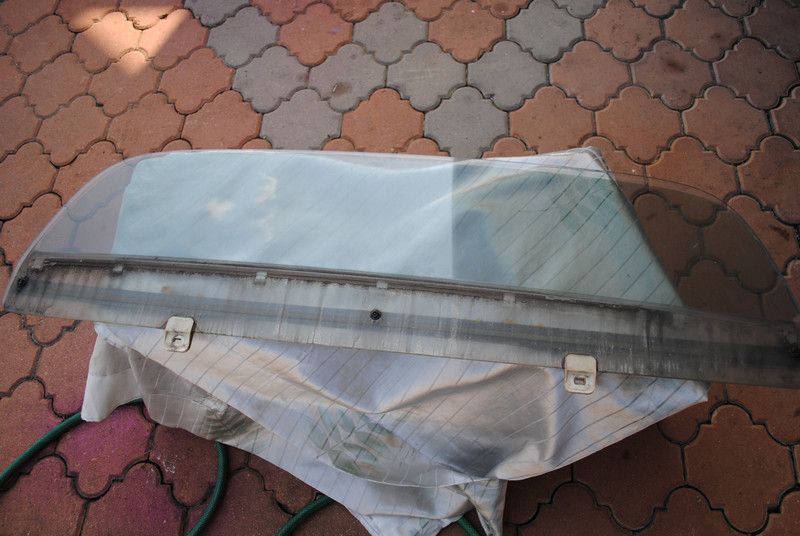
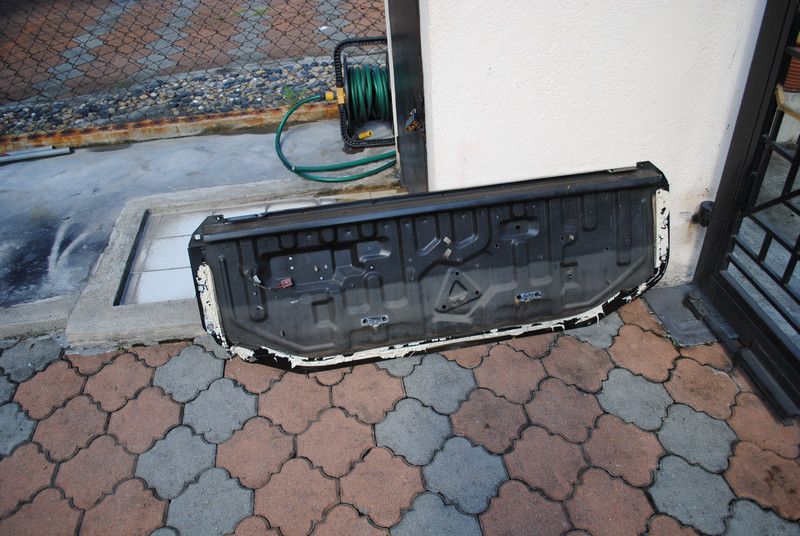
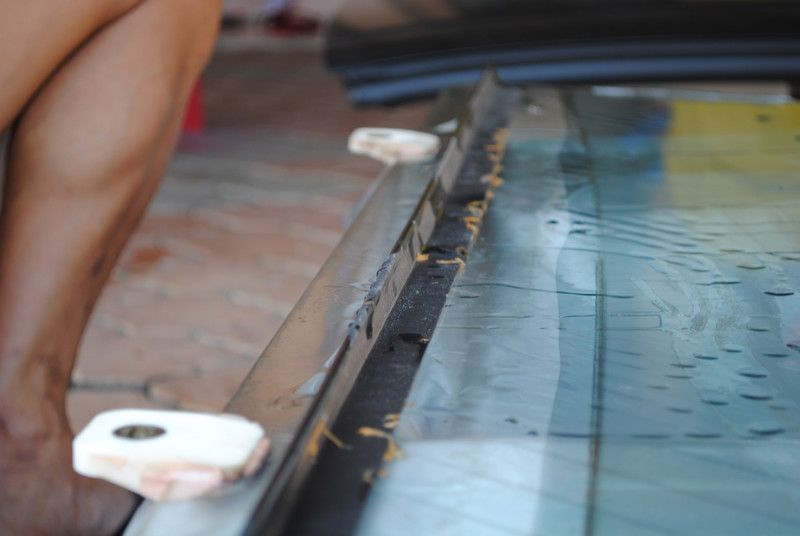
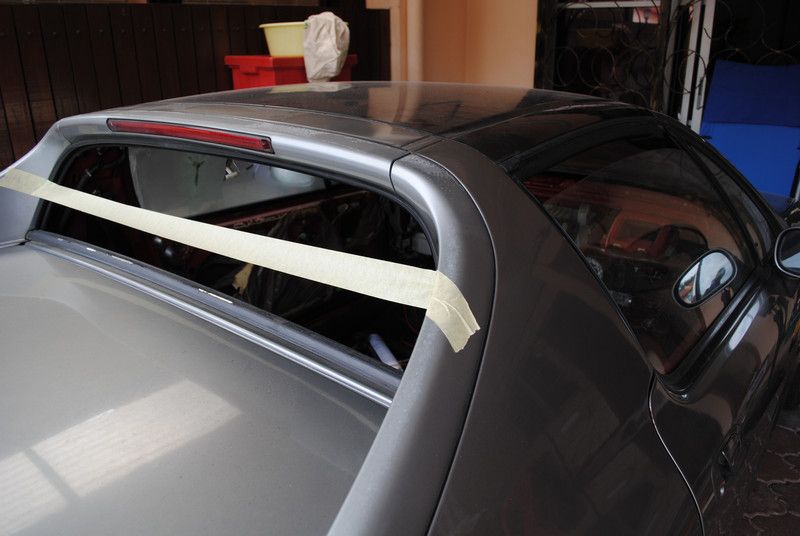
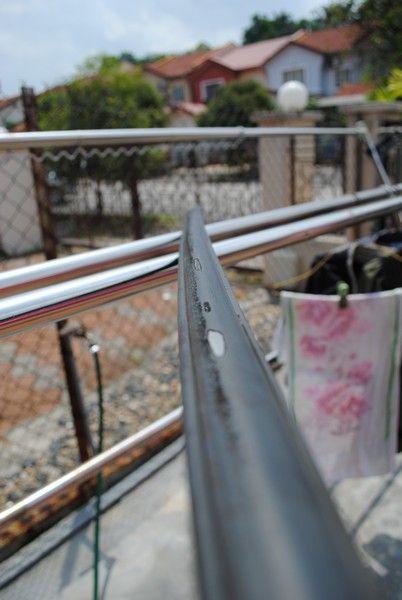
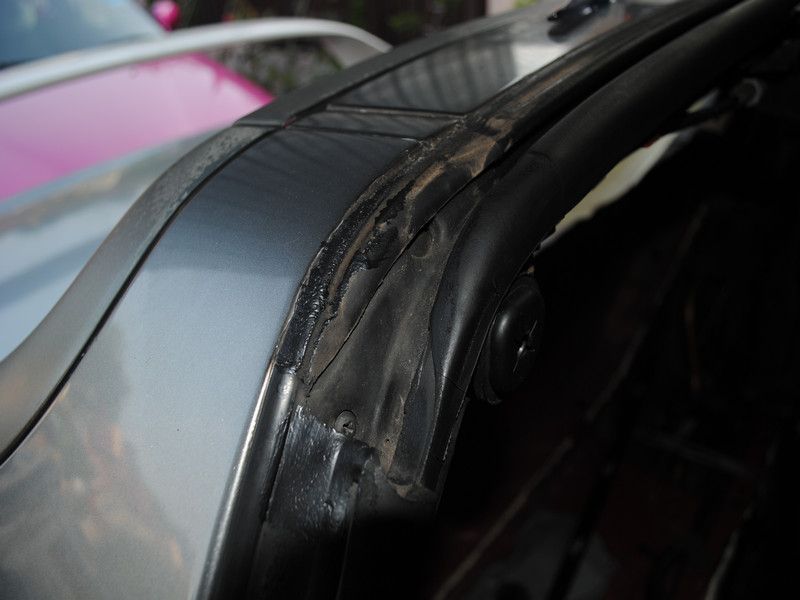
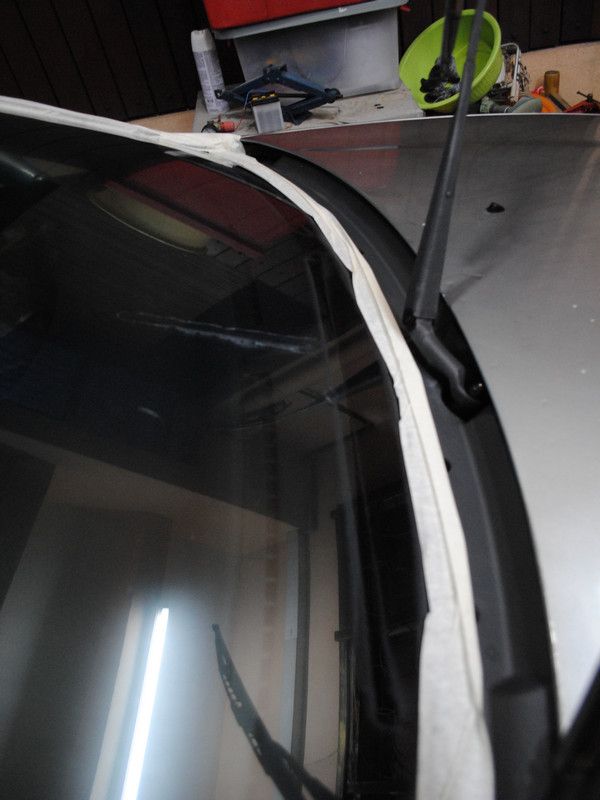
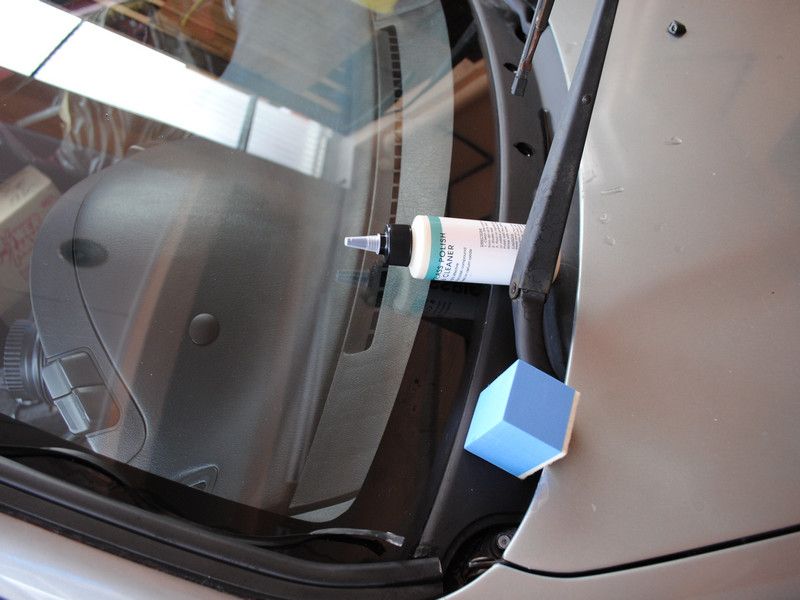
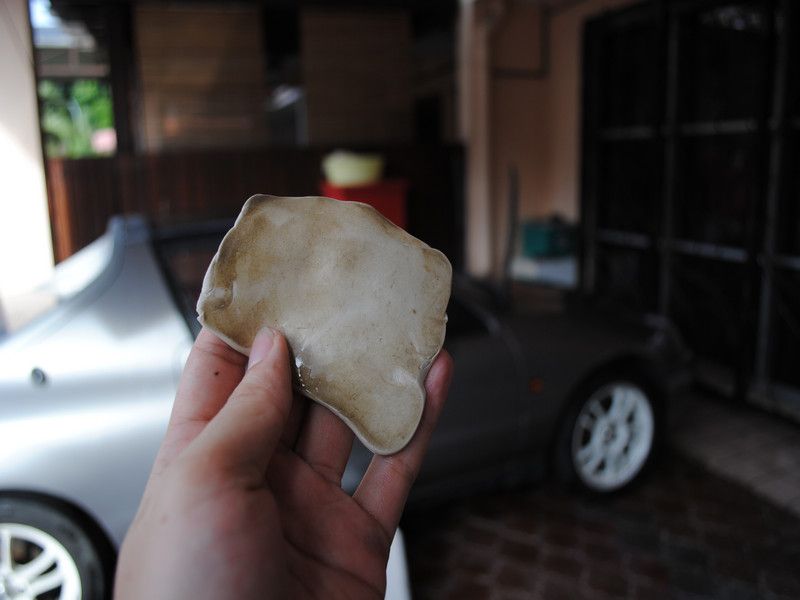
Broken pieces from the windscreen mold...
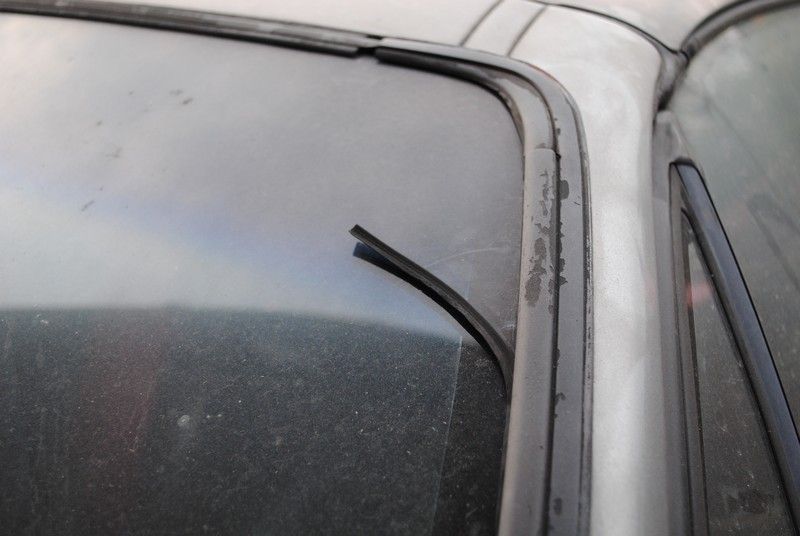
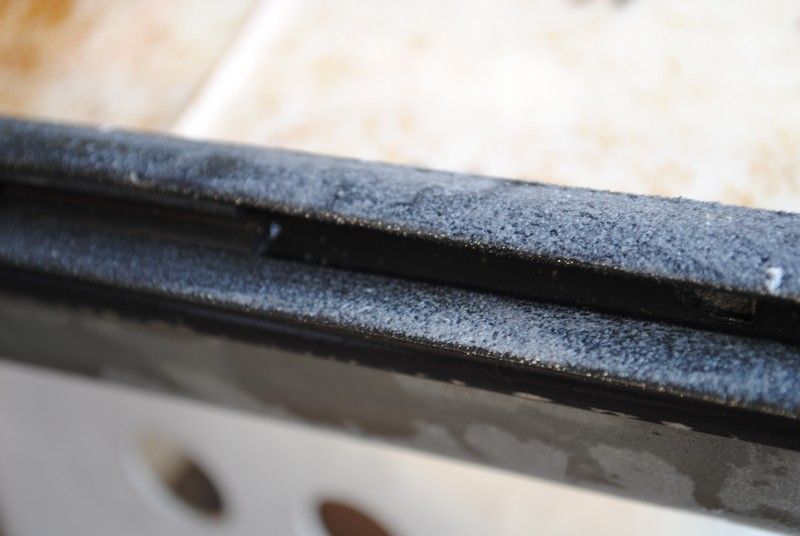
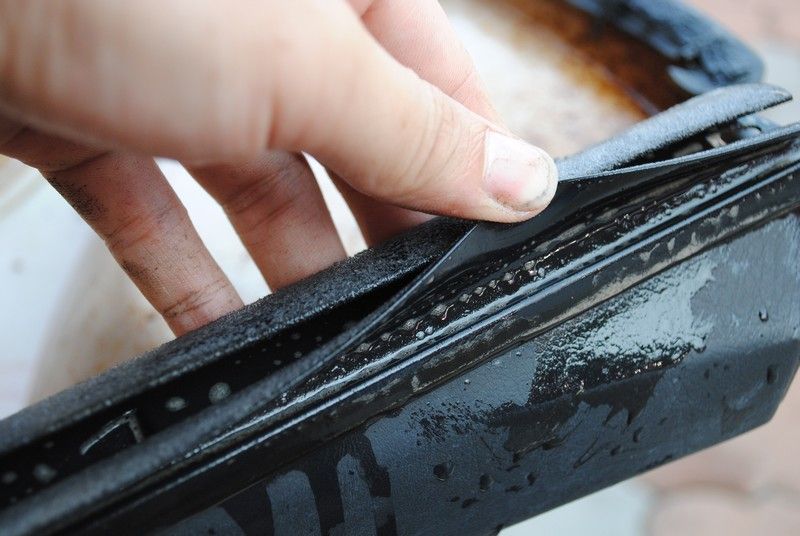
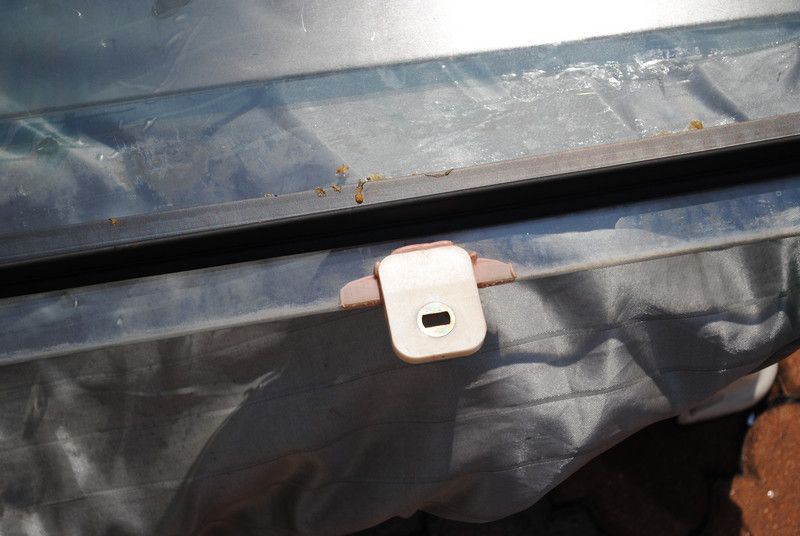
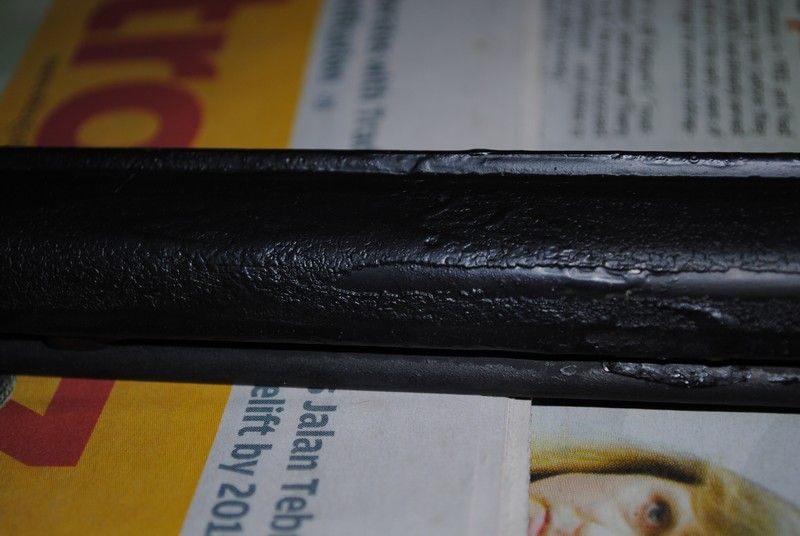
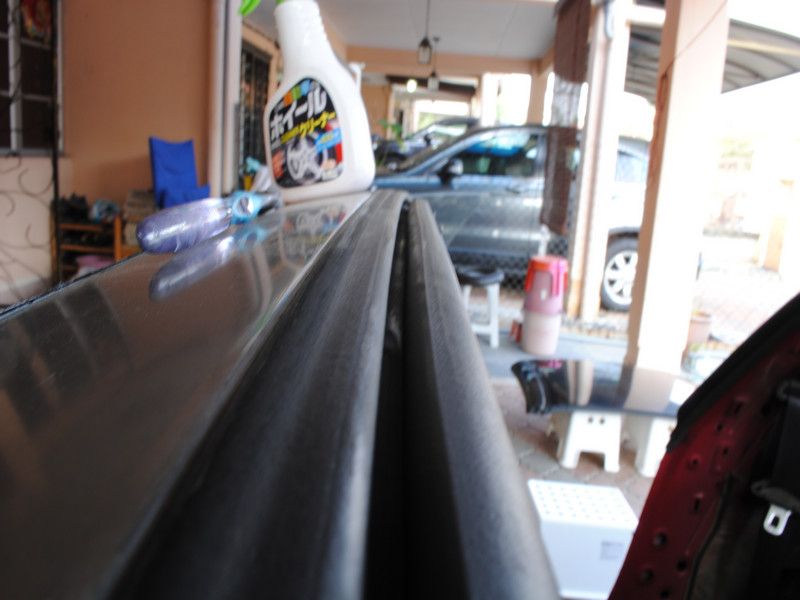
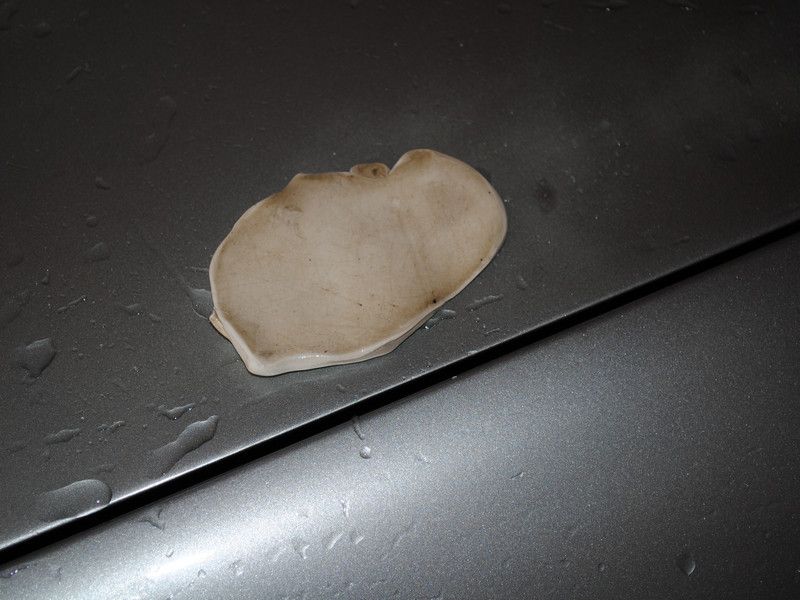
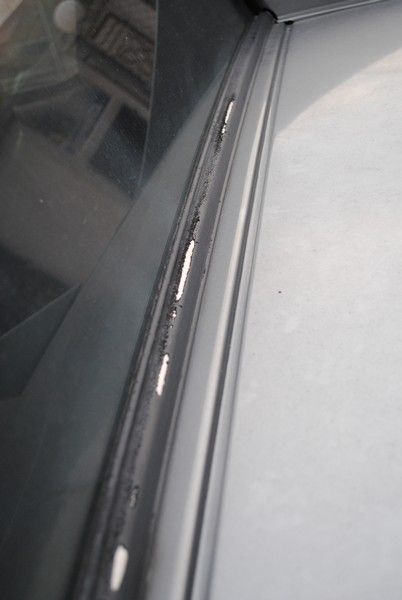
Dried and cracked window rubber mold.
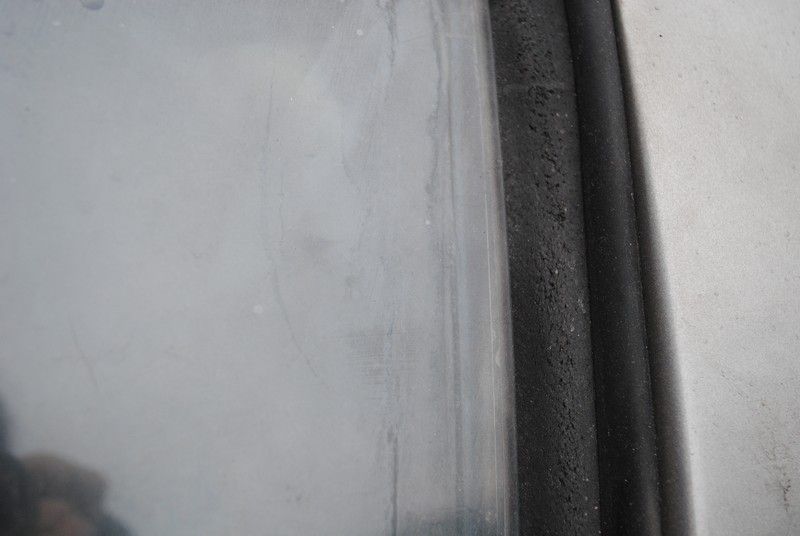
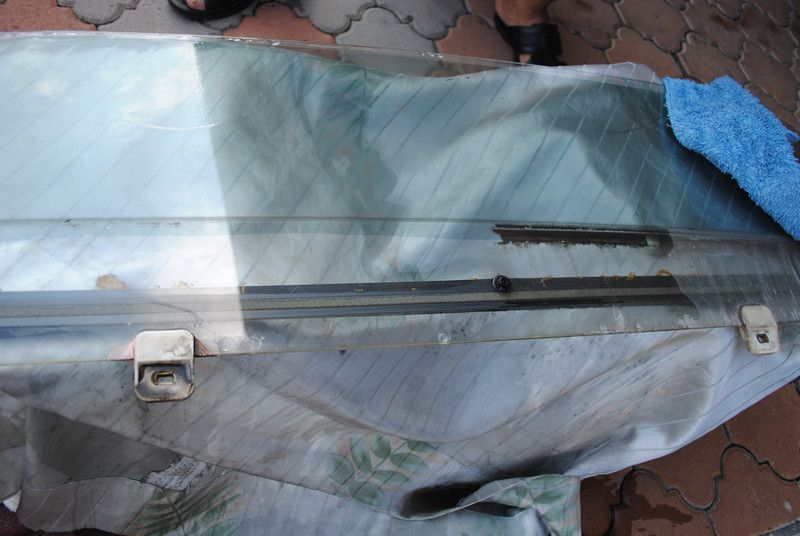
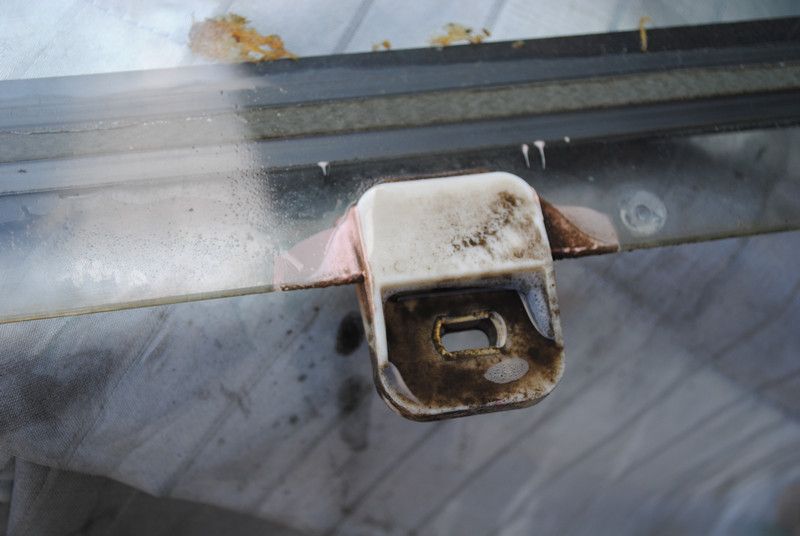
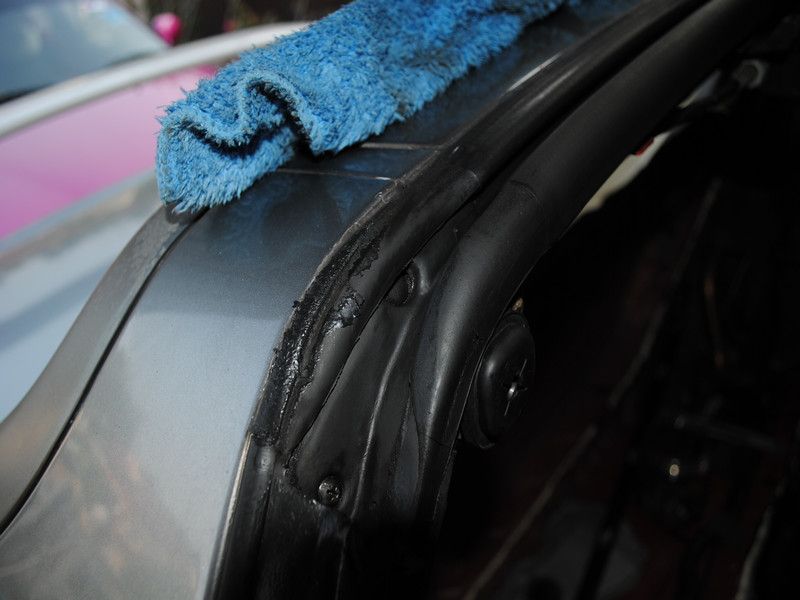
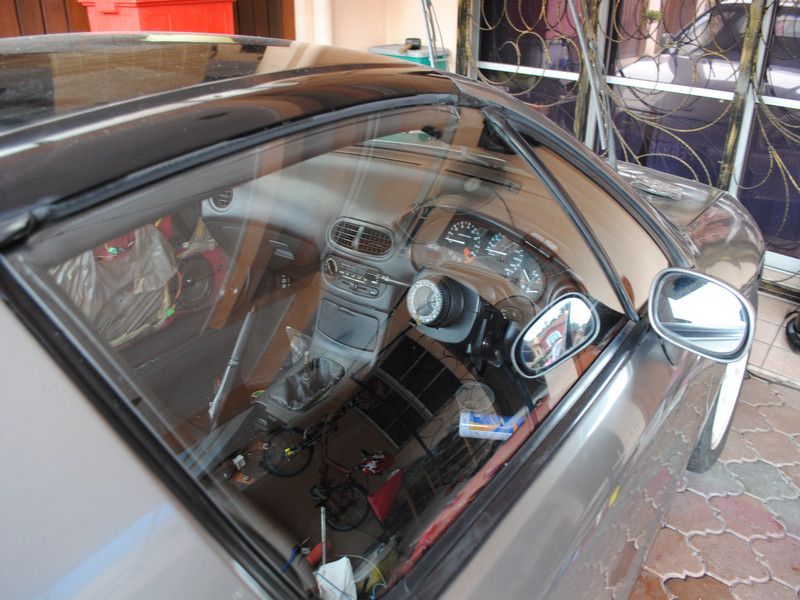
Pretty thick dirt...
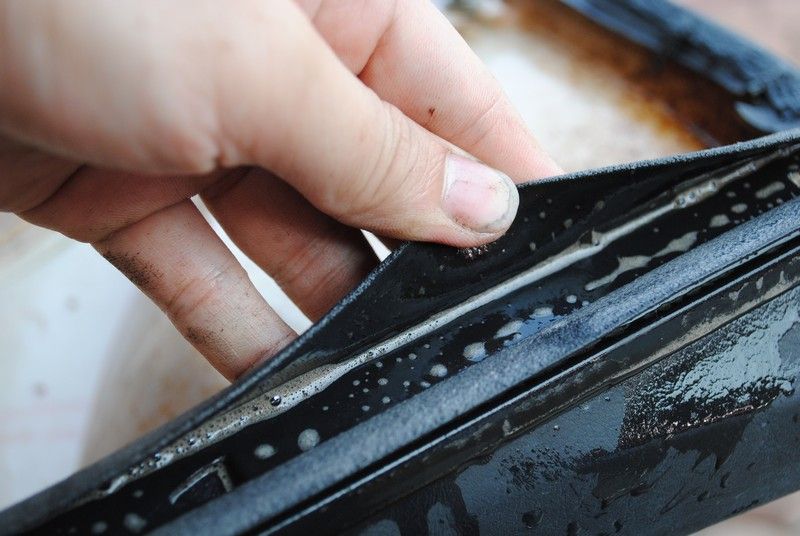
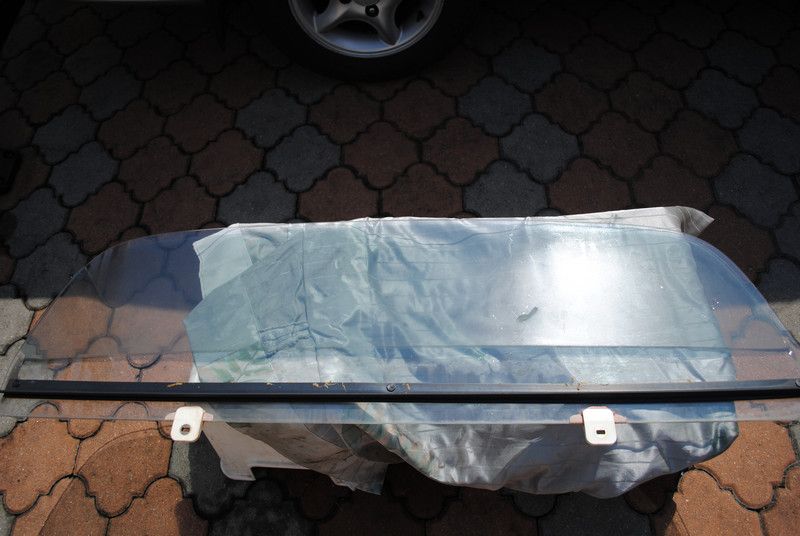
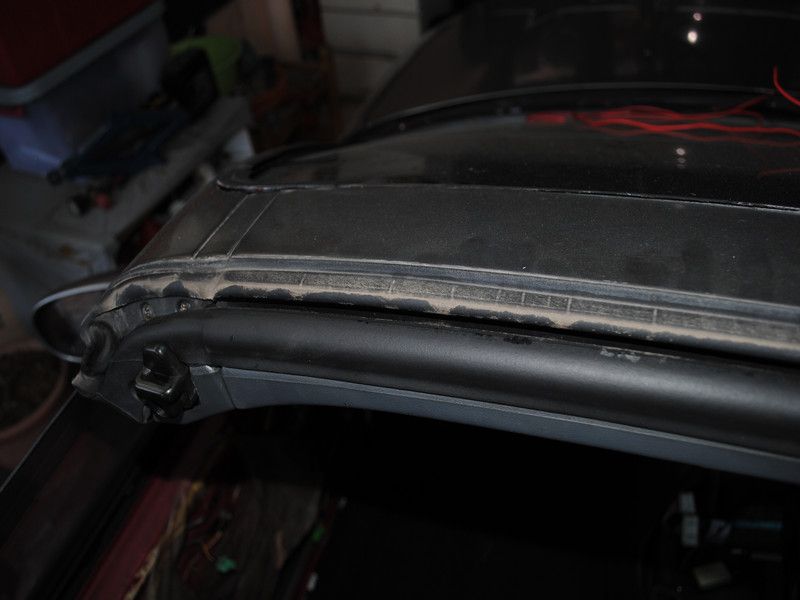
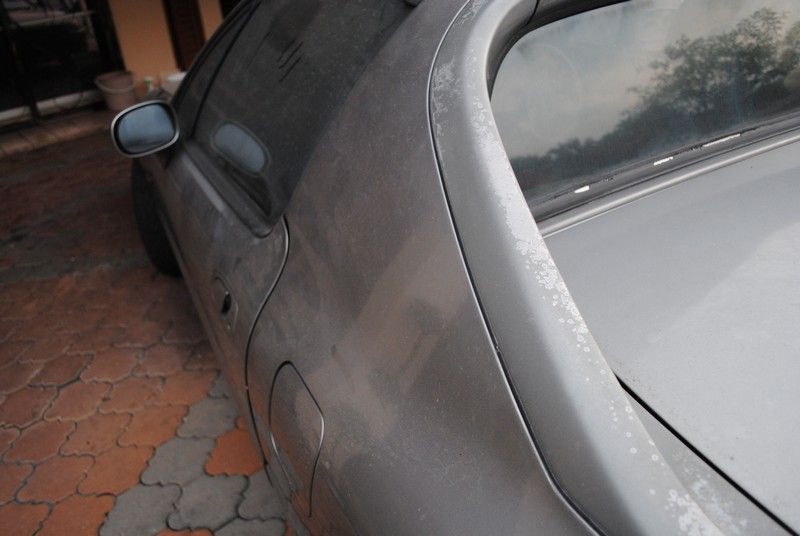
Rear window rubbers have seen way better days...
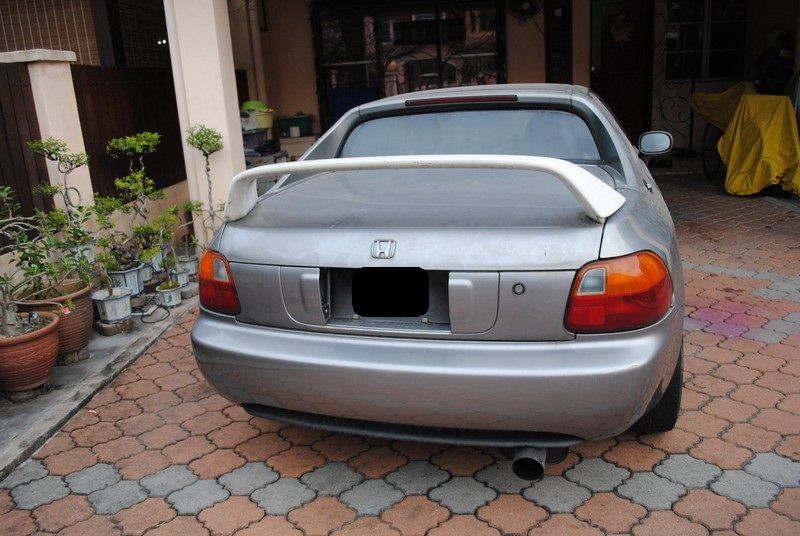
Rear view of the car..... pretty dirty.
Following pictures are not for the faint hearted.....
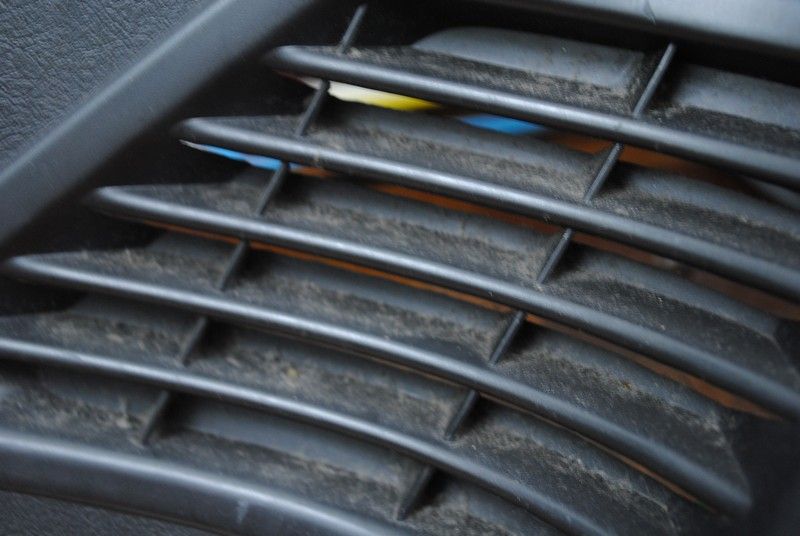
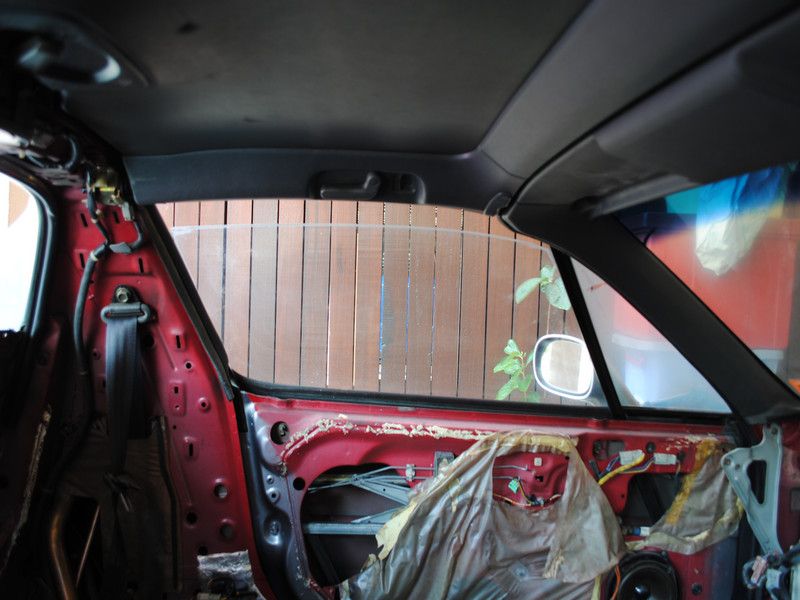
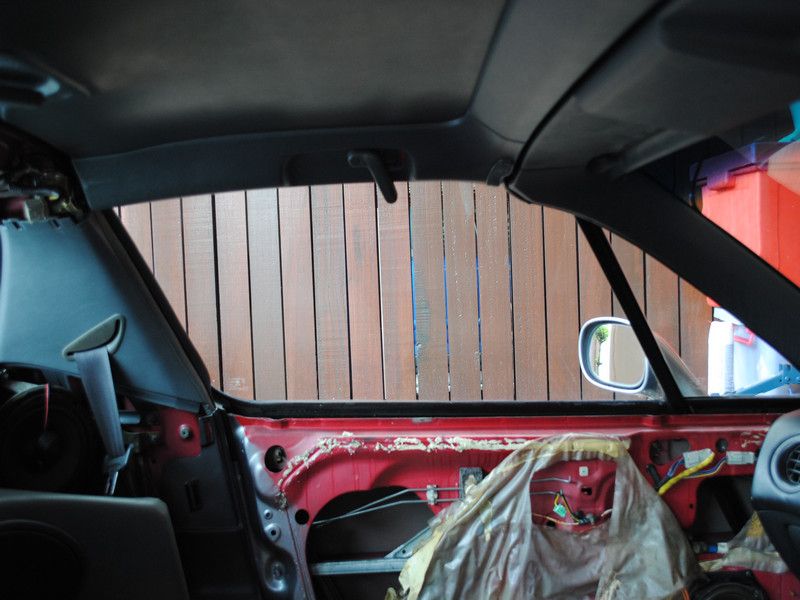
Interior photos of fungus infested car.
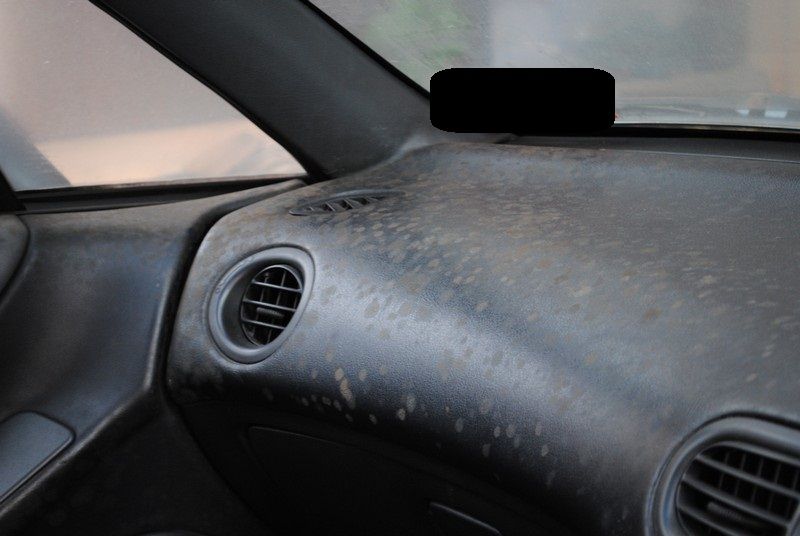
Oh yeah, fungus man was indeed here.
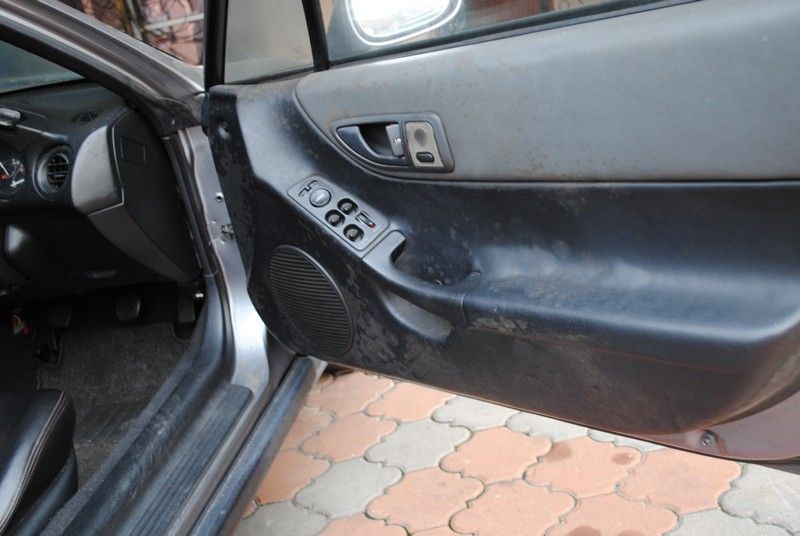
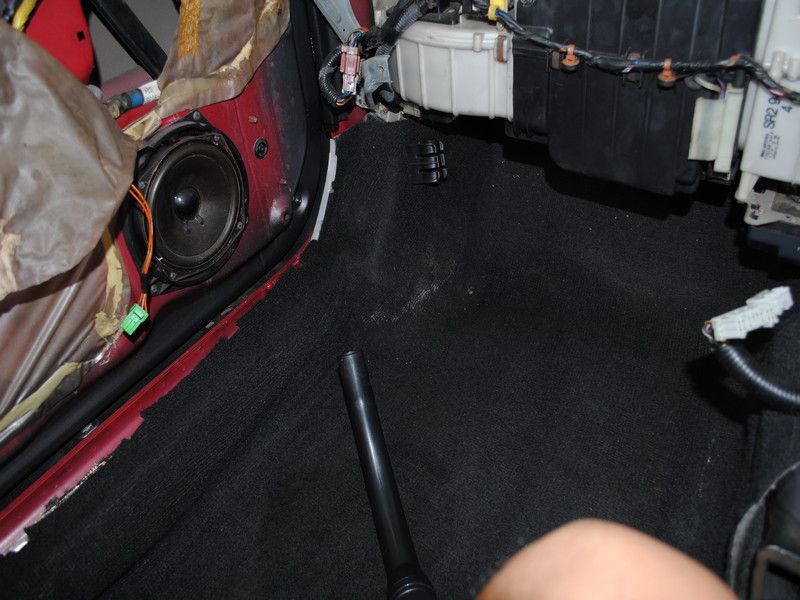
This side is more severe as this is the part of the car that was exposed to moisture most
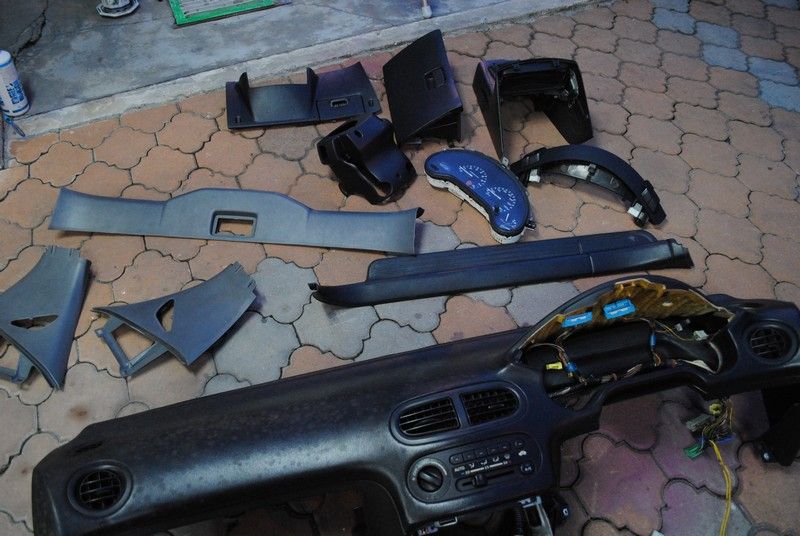
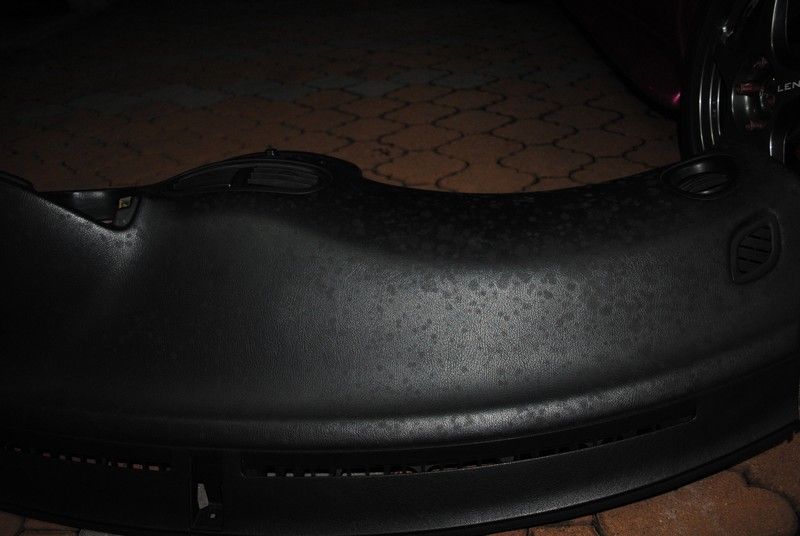
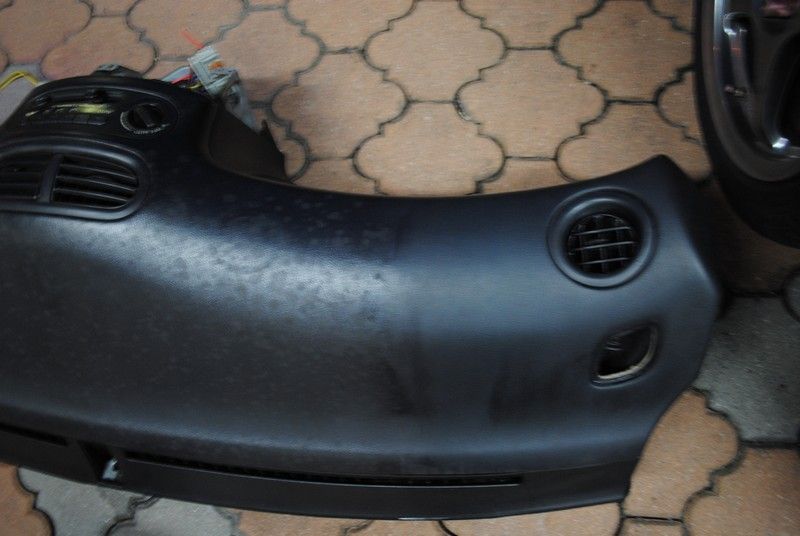
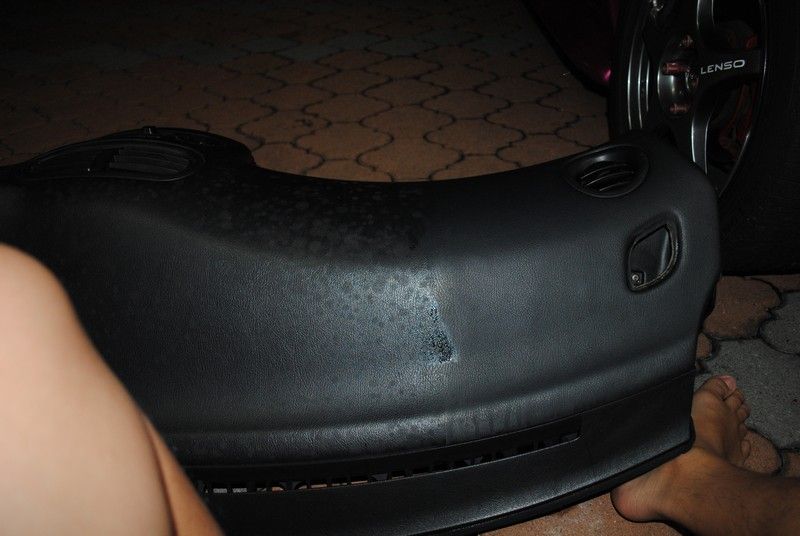
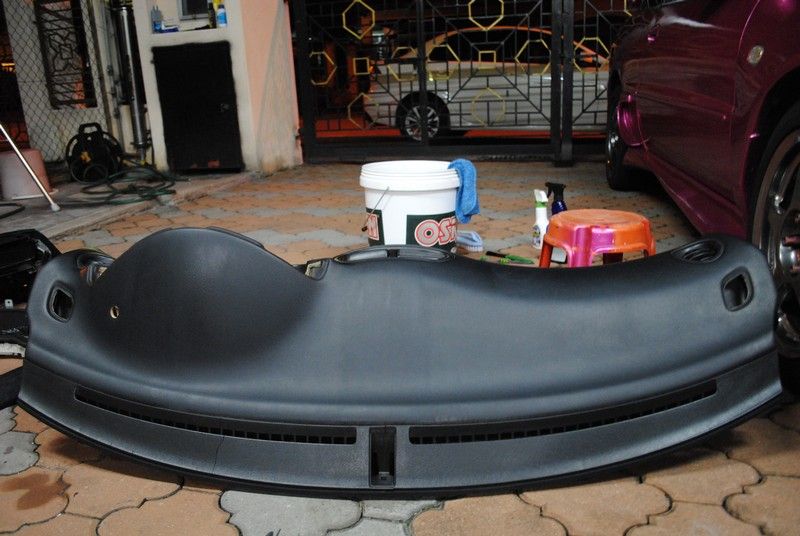
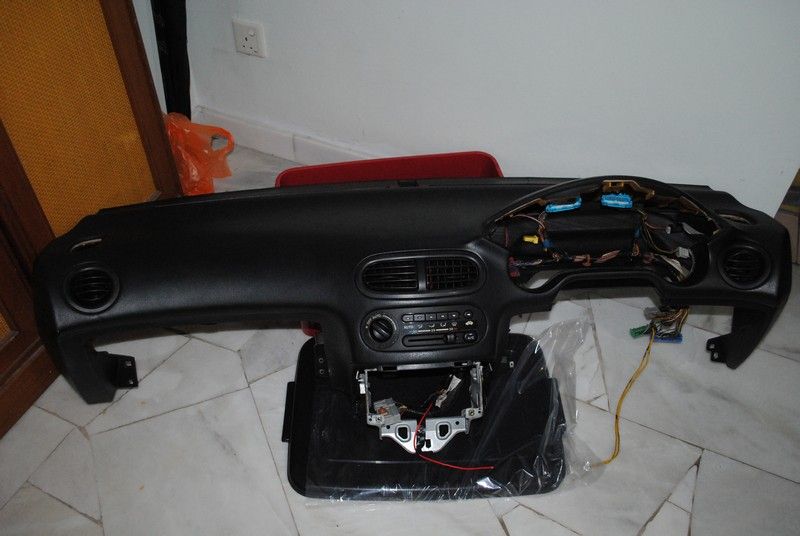
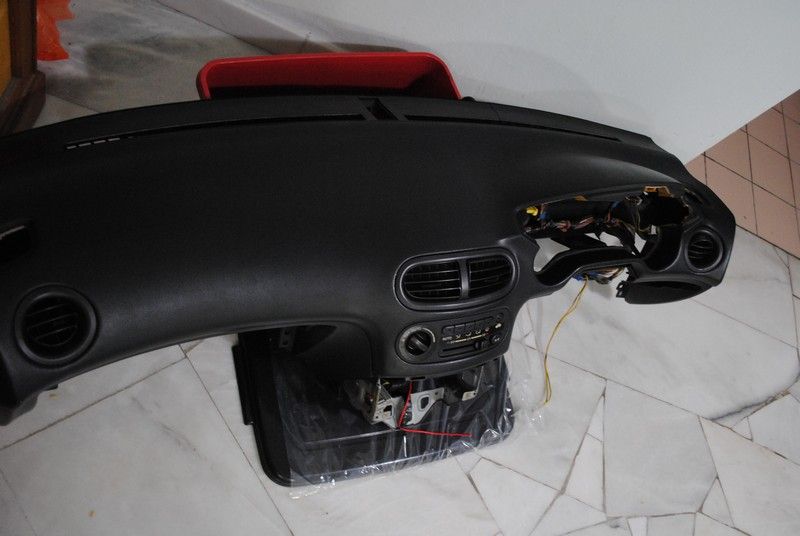
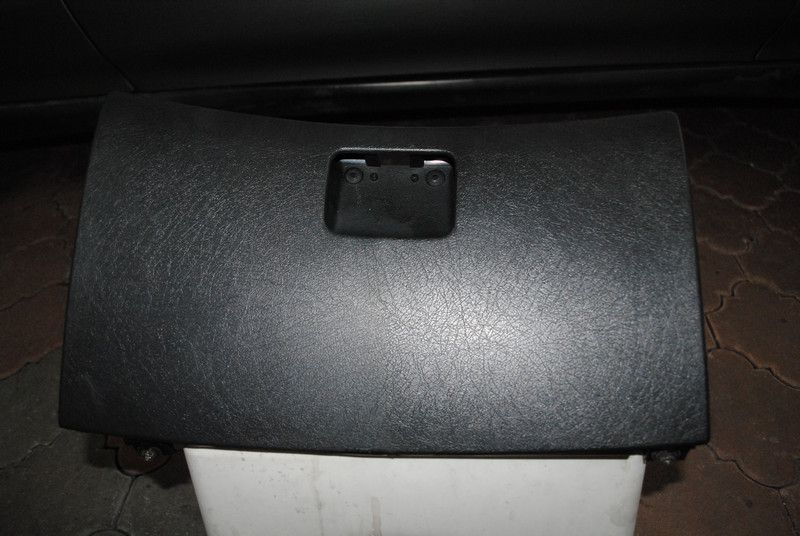
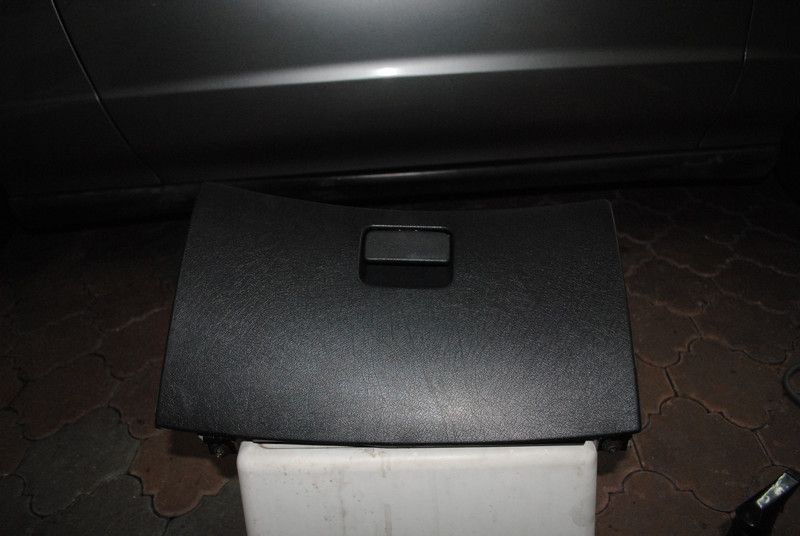
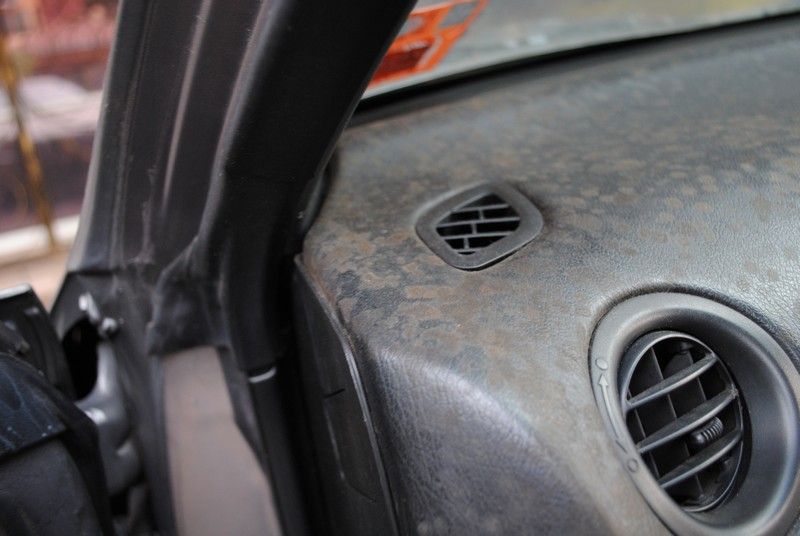
Even the dash is not spared....
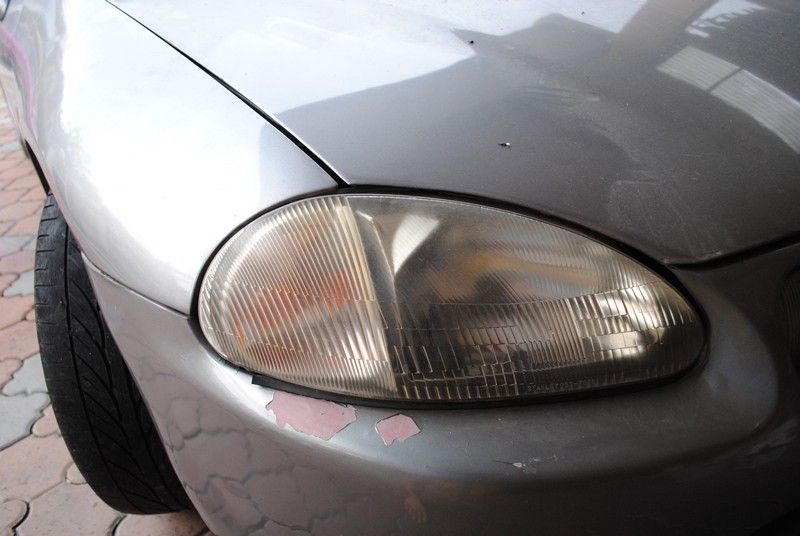
Poorly prep paint job = paint starts to flick off on its own...
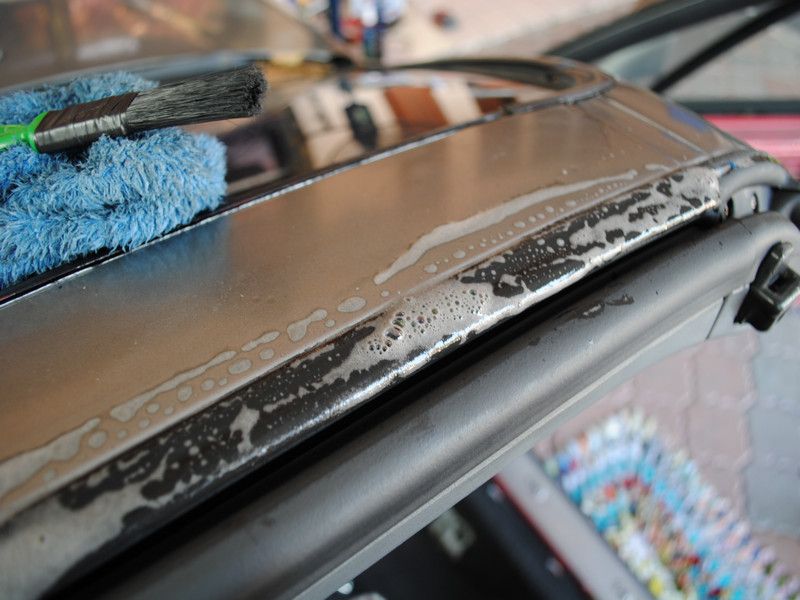
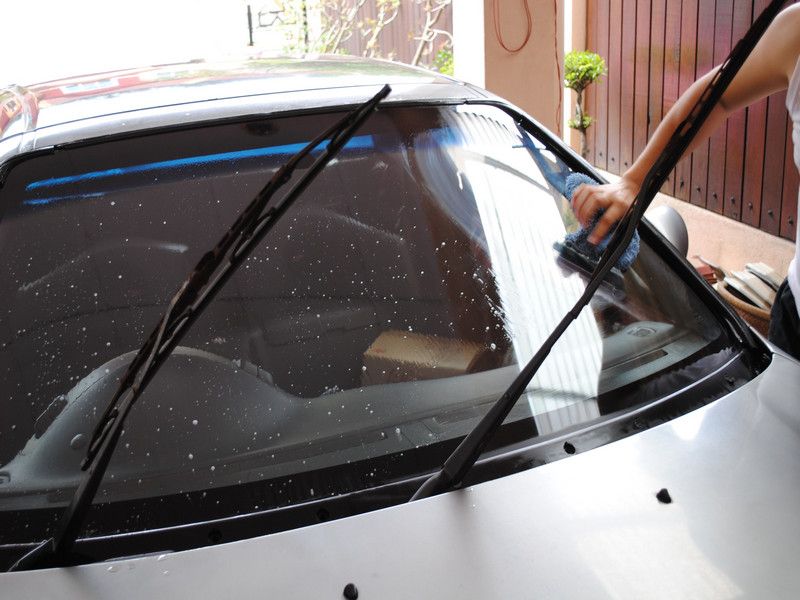
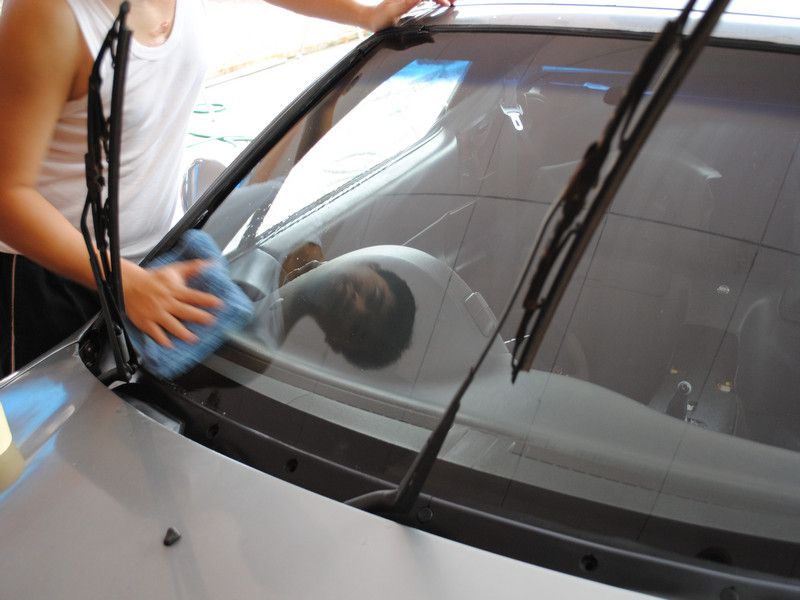
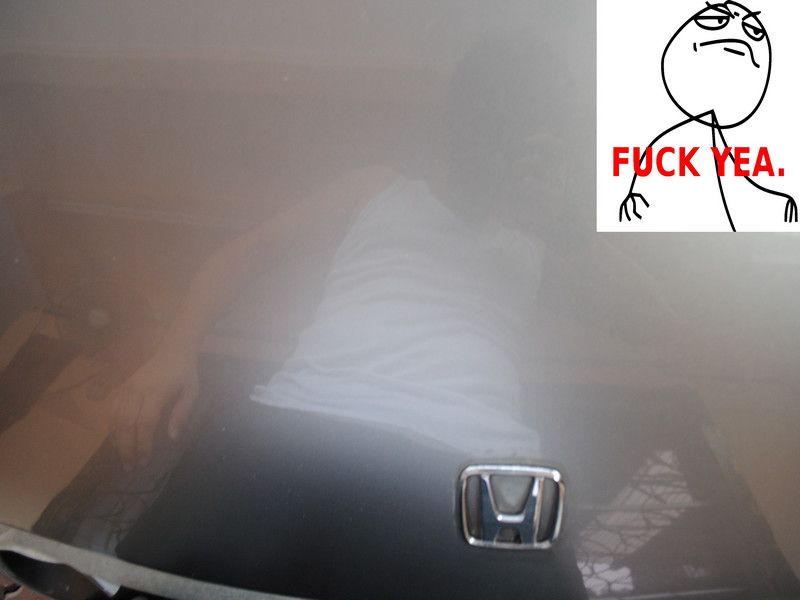
After a quick wash with Osren Bubble and Wash + Optimum Power Clean
Inspection time..... clear coat failing on the bonnet..... i will worry bout this later as exterior restoration will be done last.
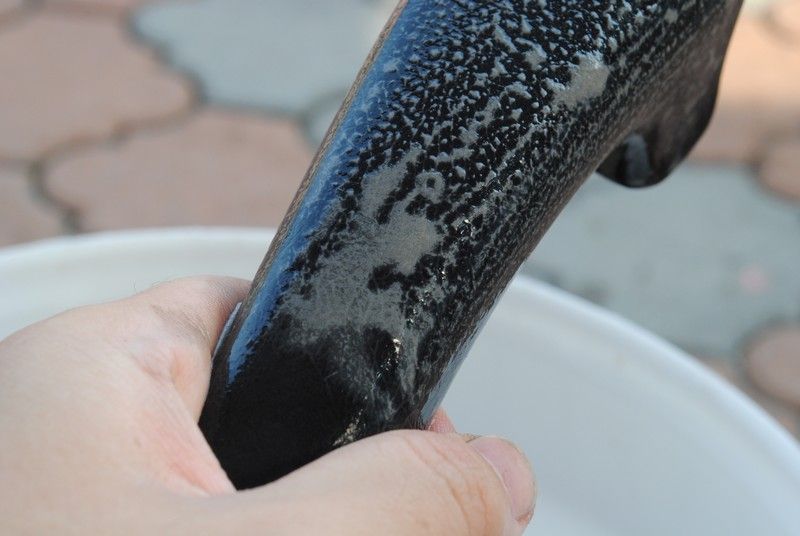
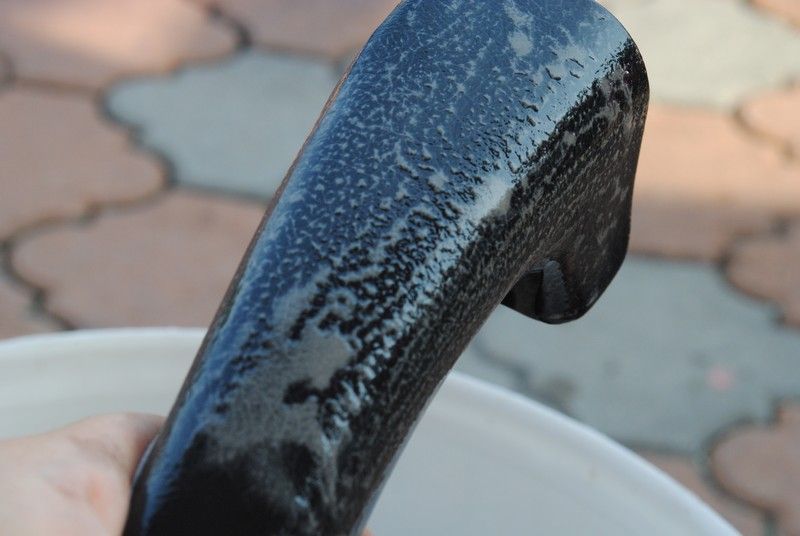
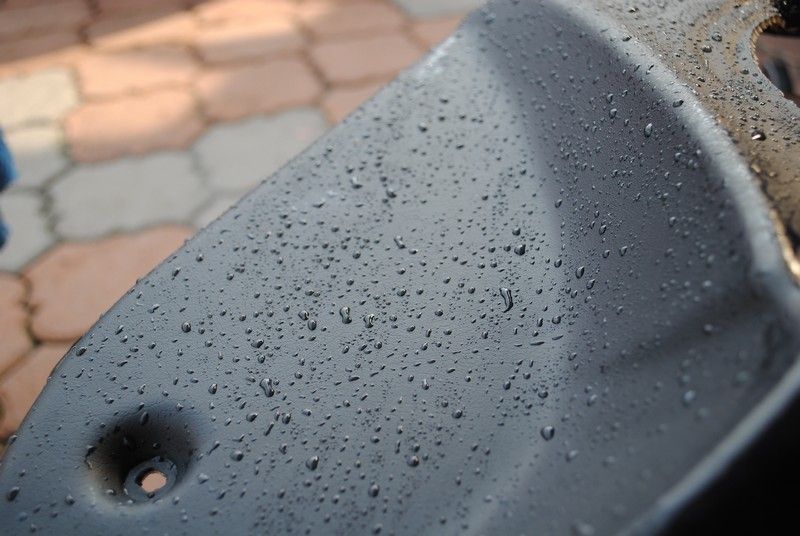
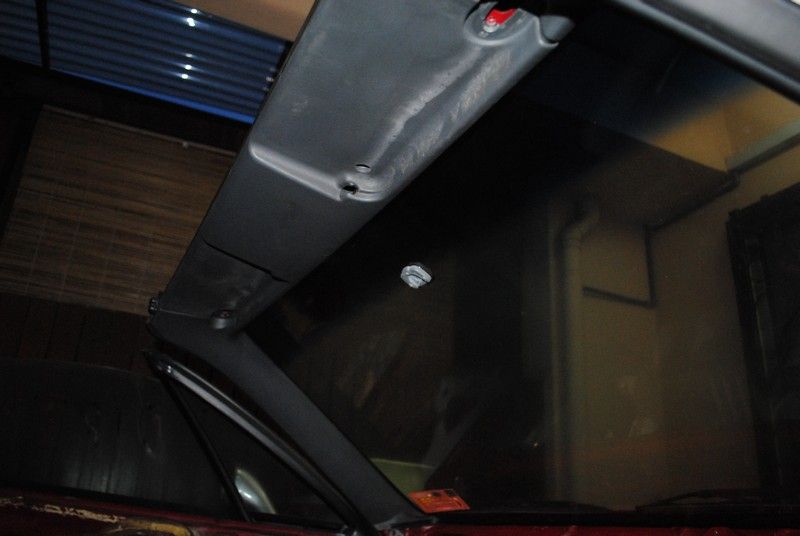
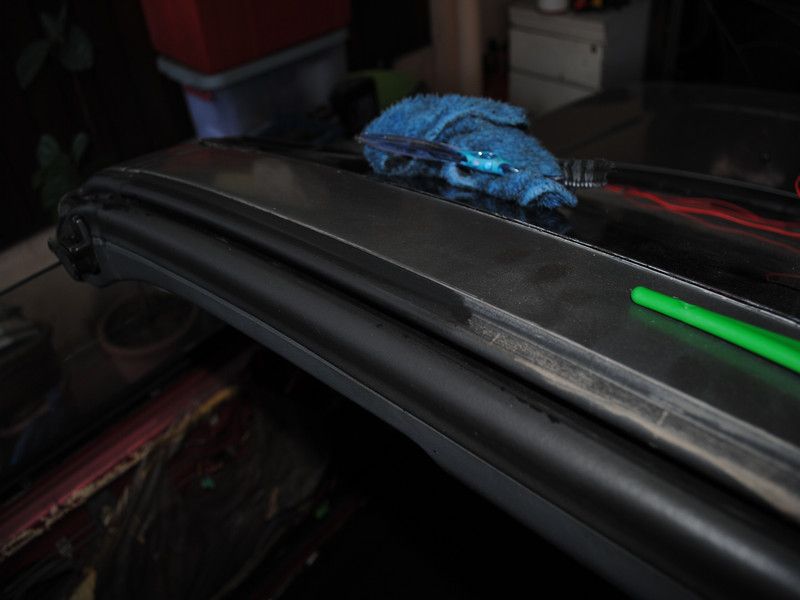
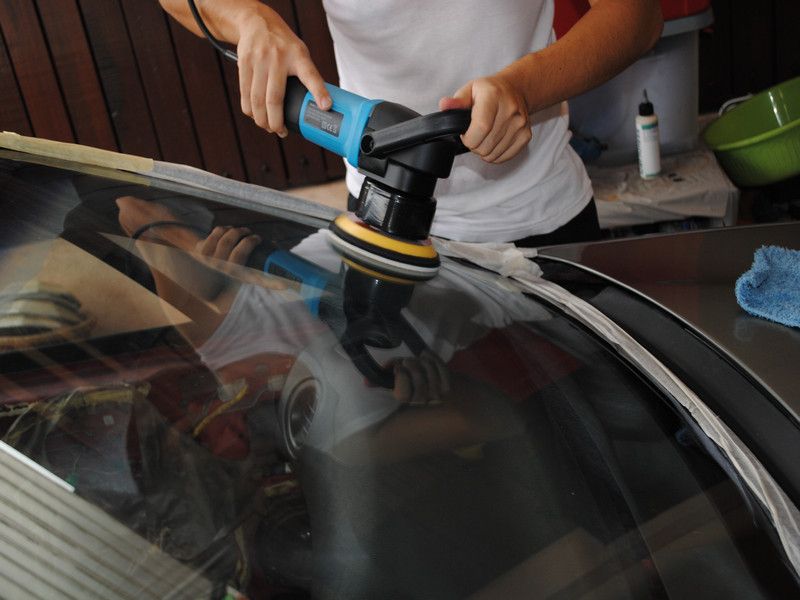
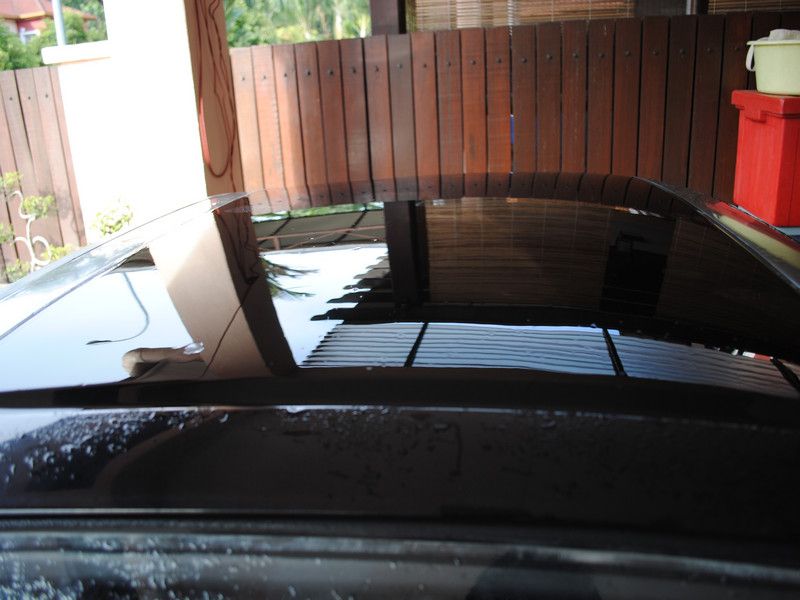
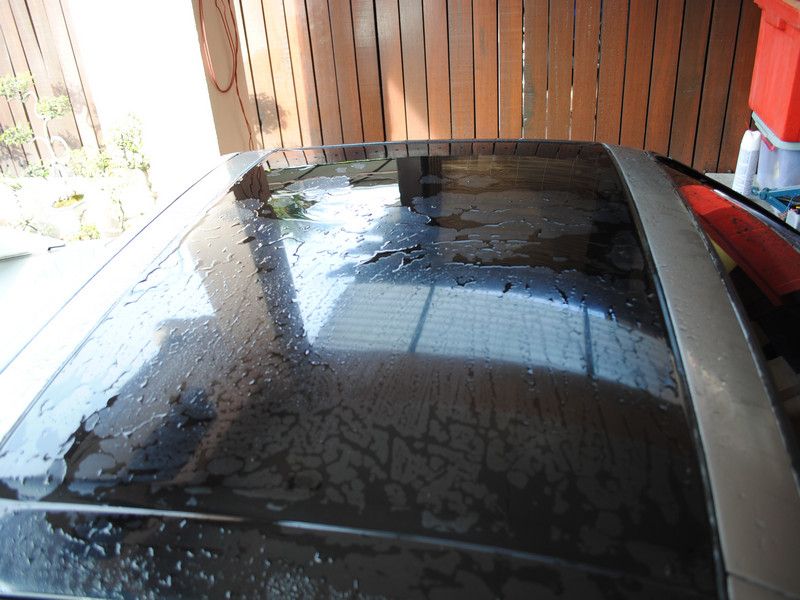
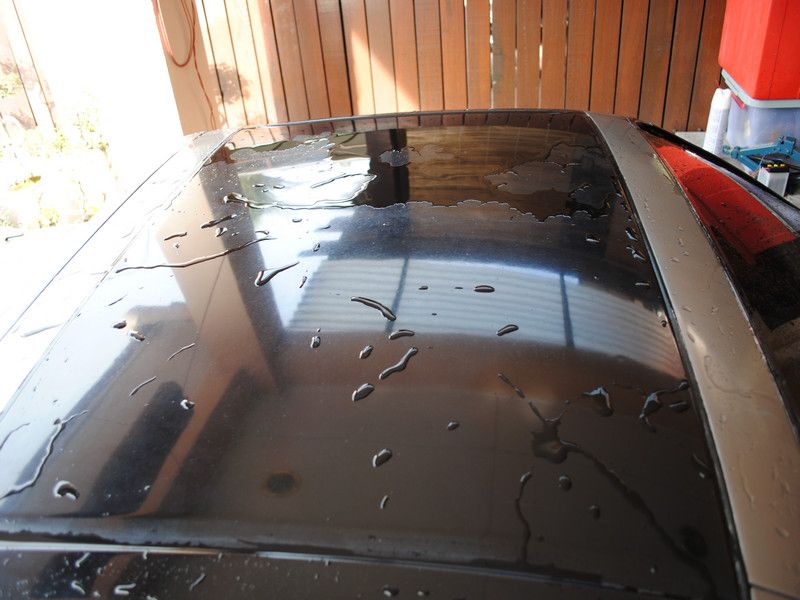
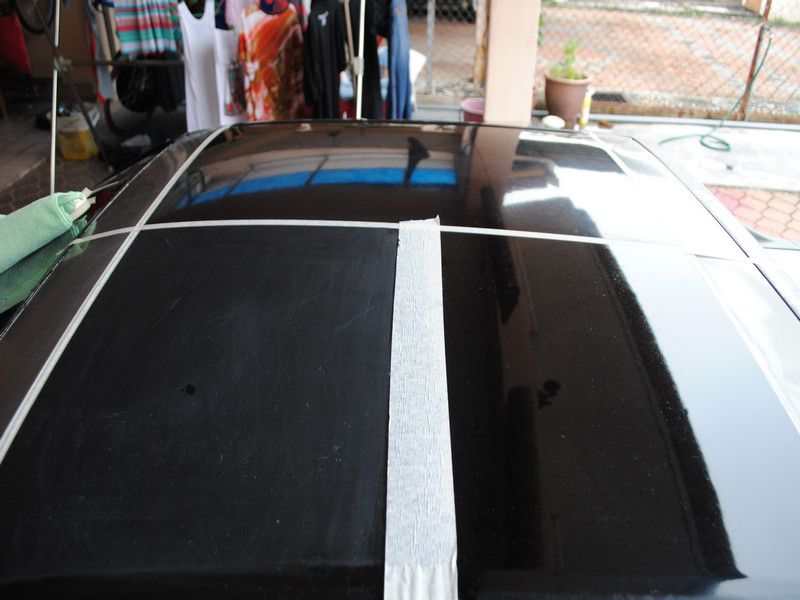
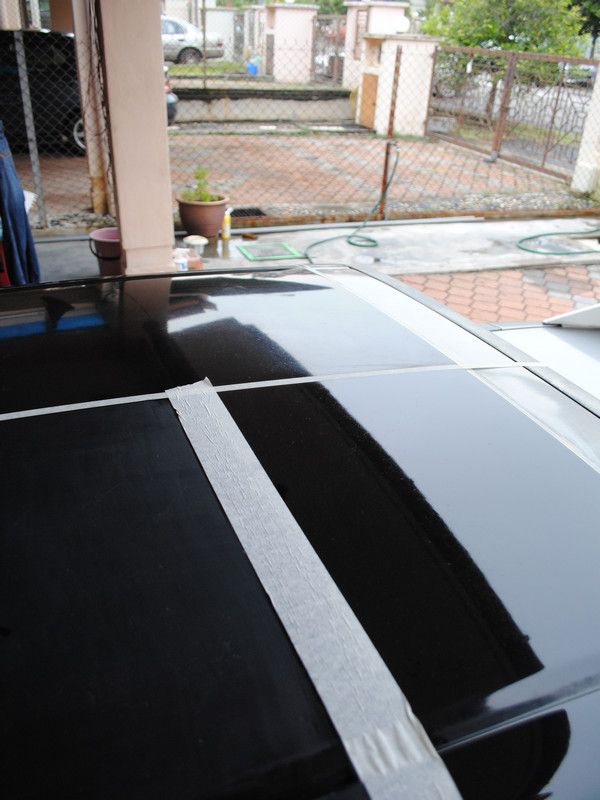
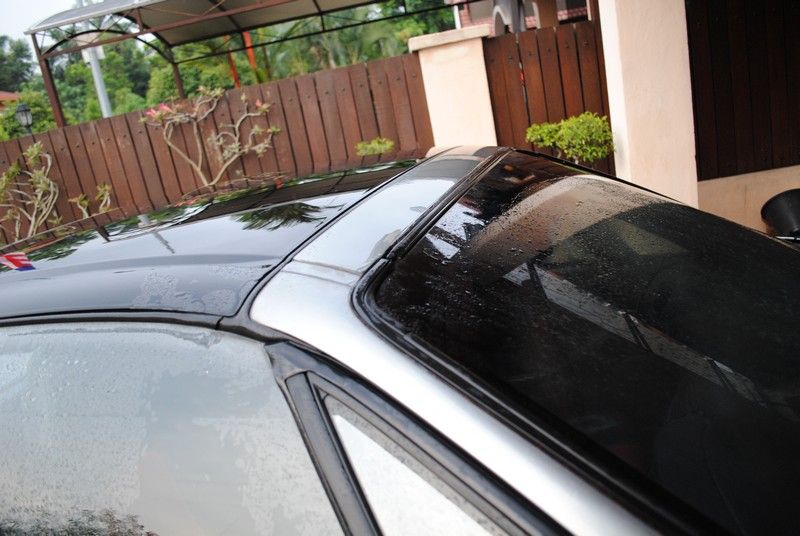
Glass and roof has totally no beading and feels rough like sand paper....
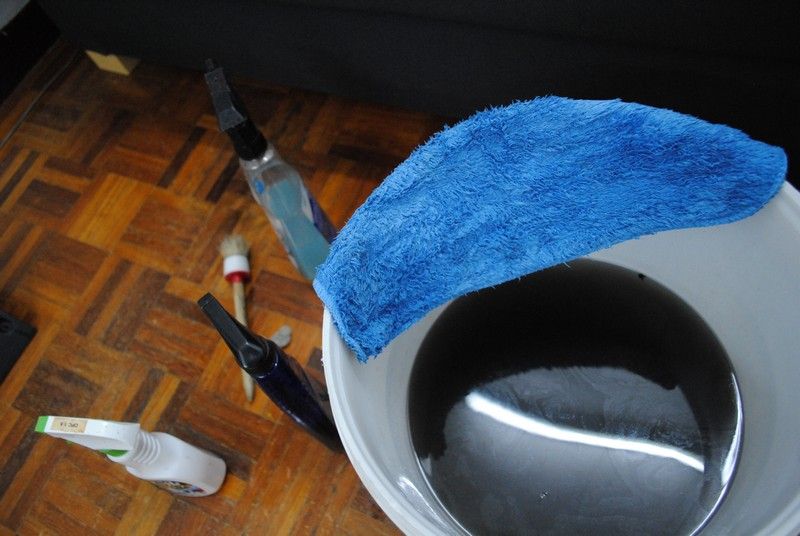
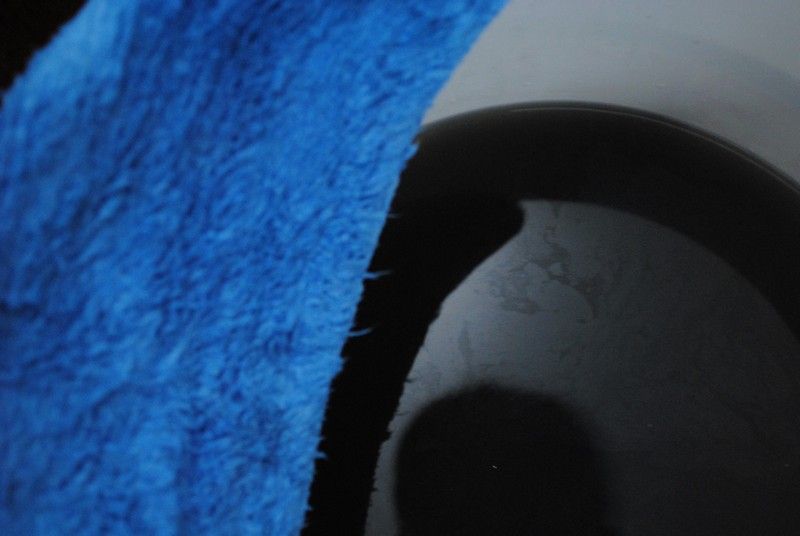
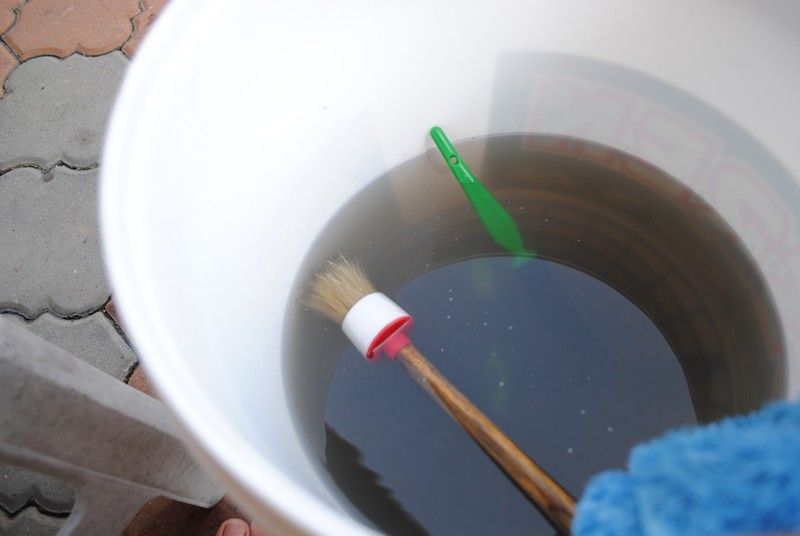
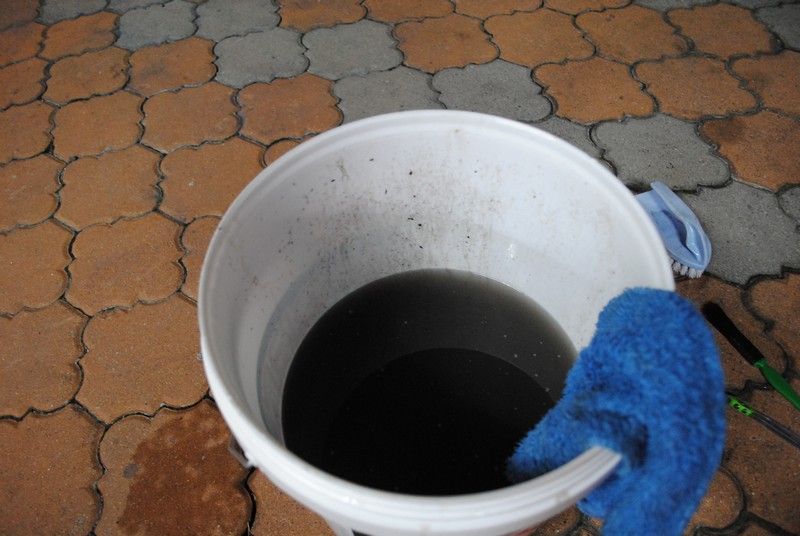
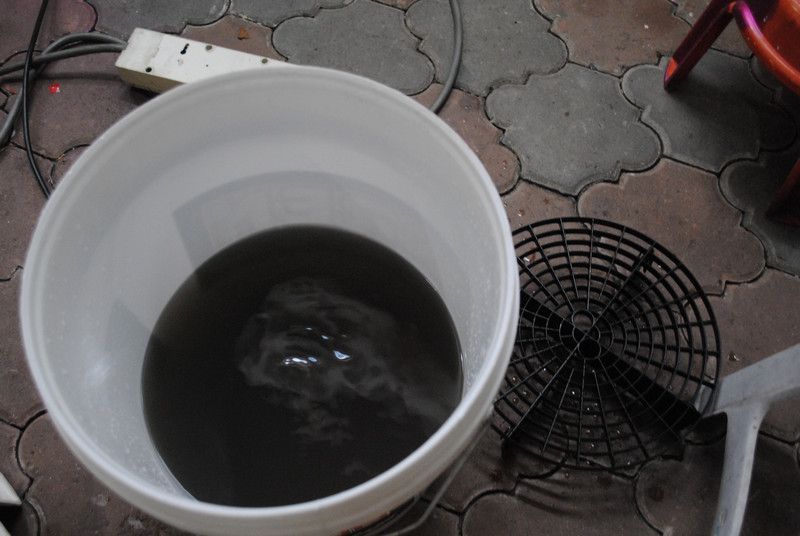
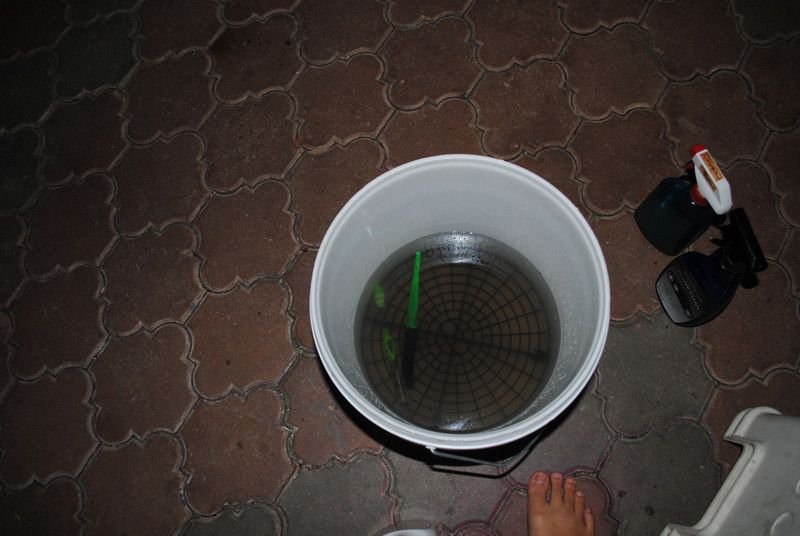
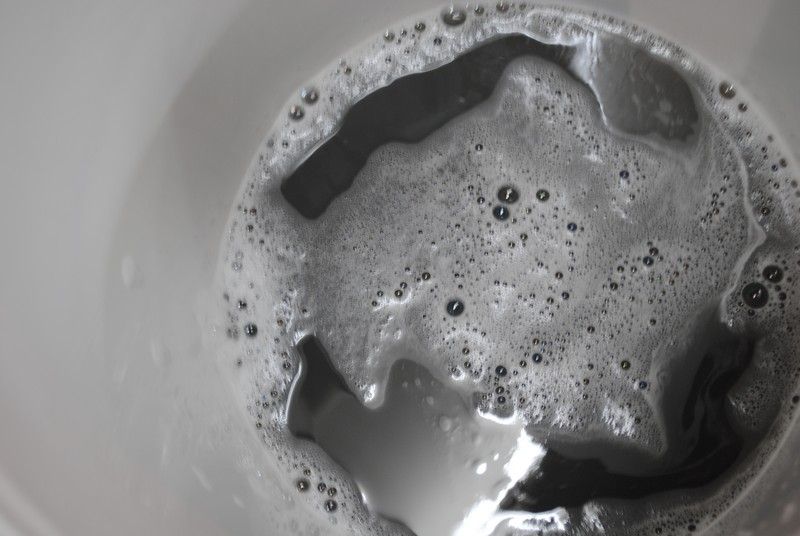
How black the water is after the quick wash.....
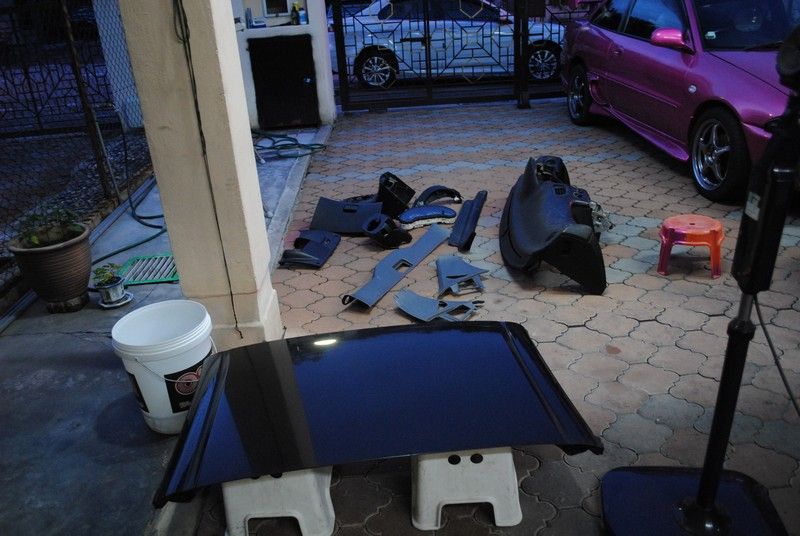
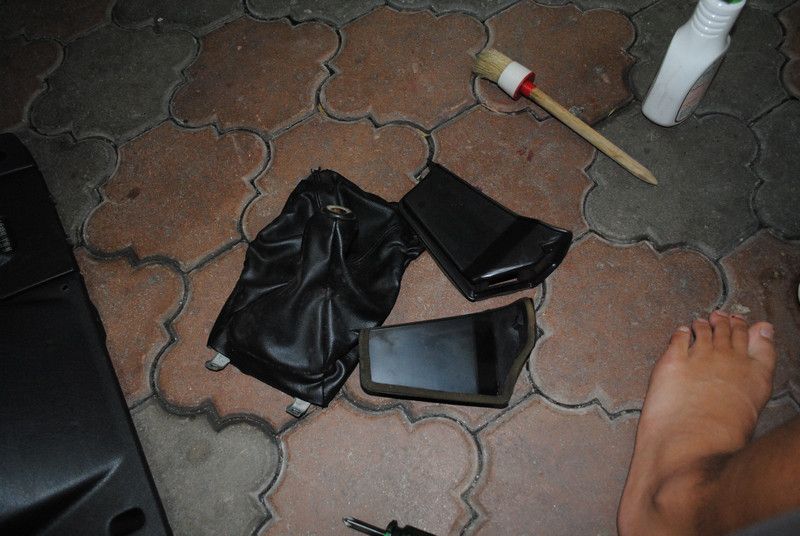
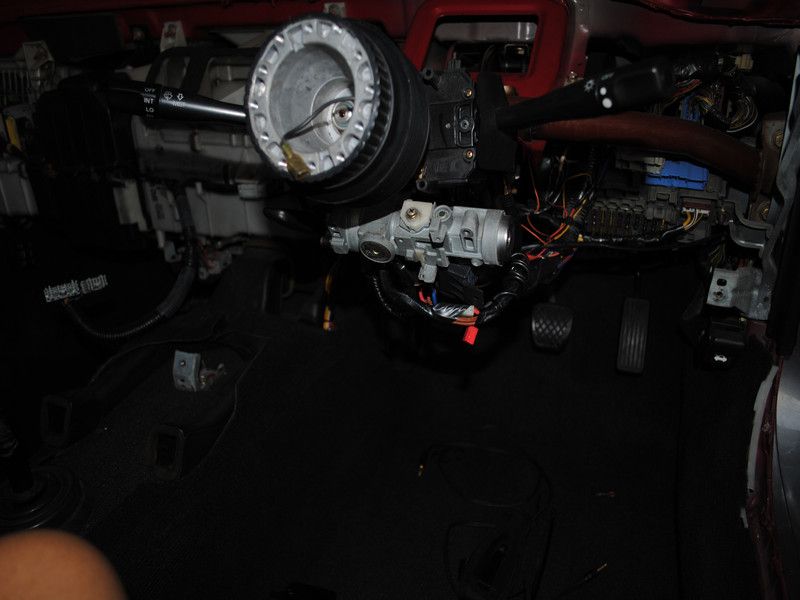
Now, I shall start stripping the car from the inside.
Seats out. *This is a 2 door, 2 seater car.... so only got two seats ya*

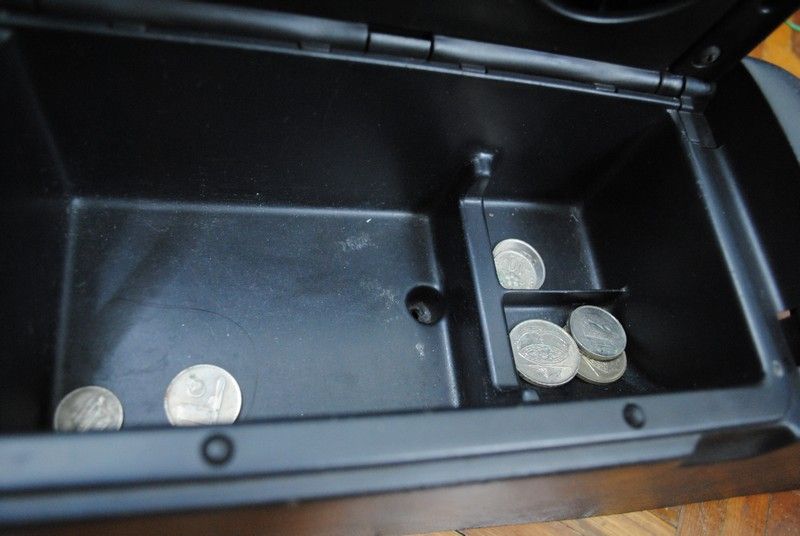
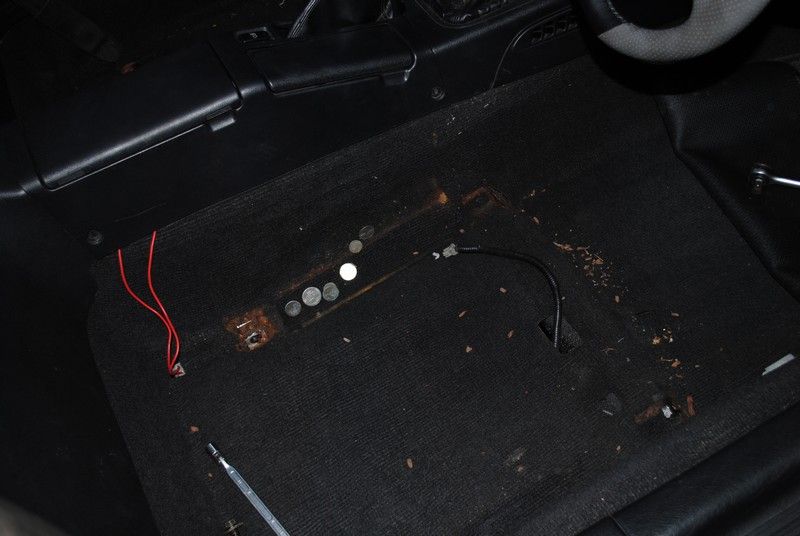
Unexpected treasure found.... I shall take these coins as my payment.... hopefully the owner does not ask for it back. KAKAKA
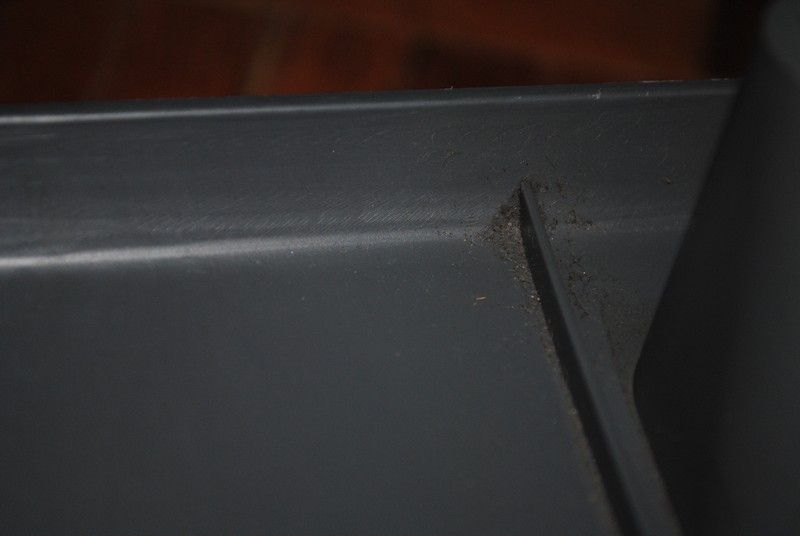
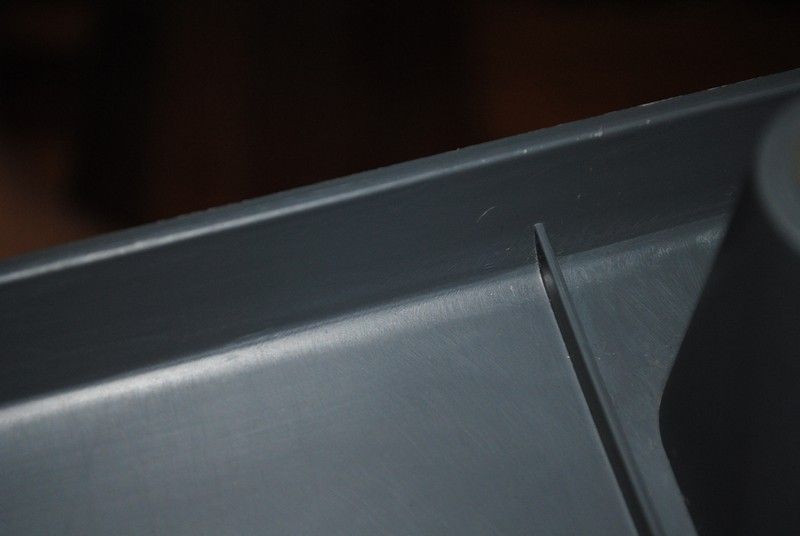
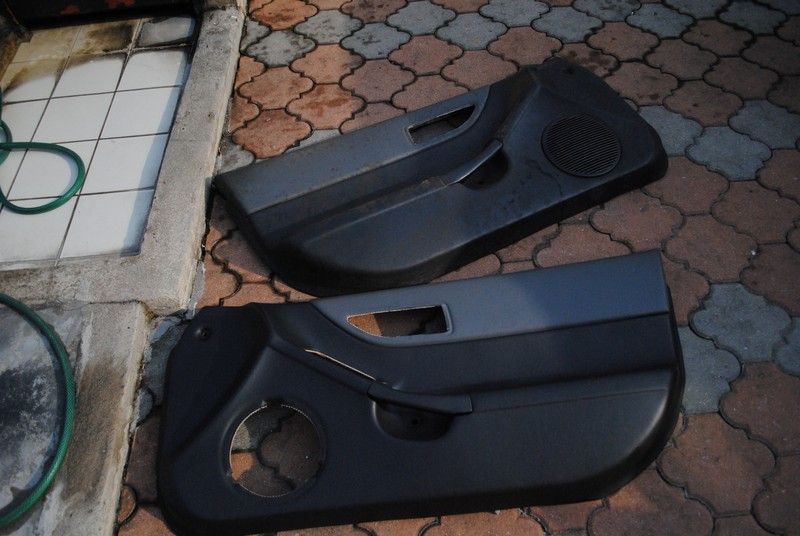
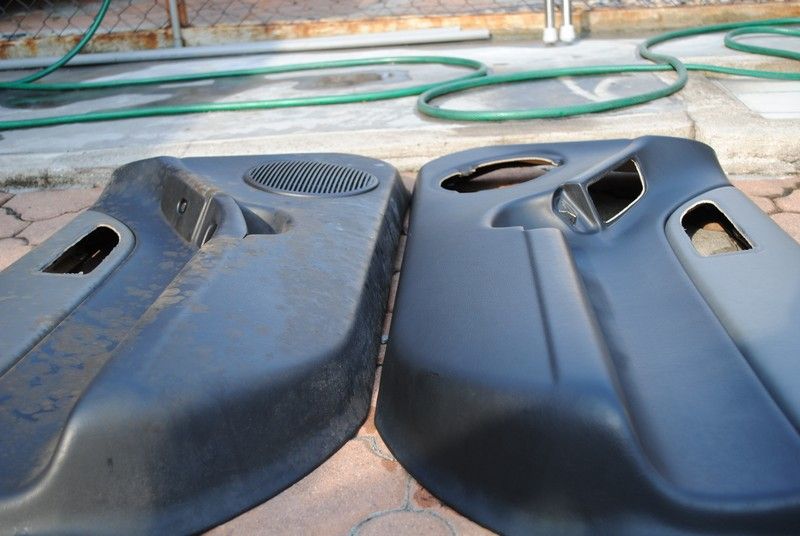
Fungus on the rear panels too....

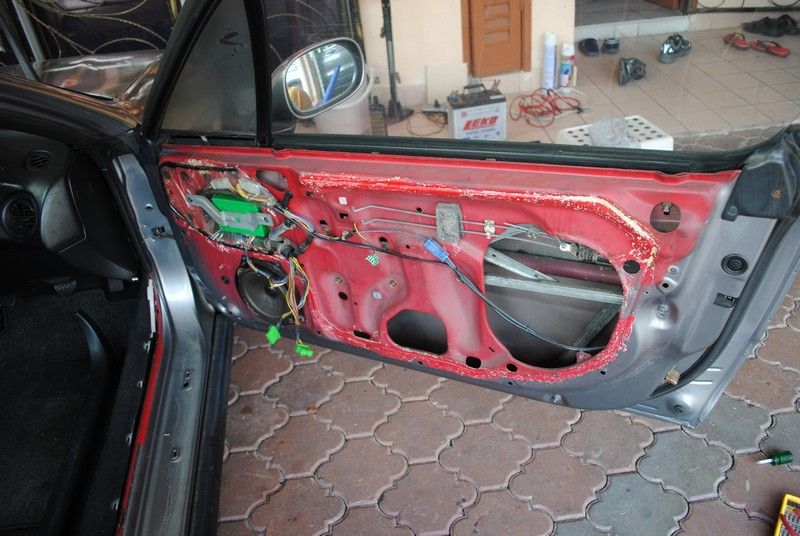
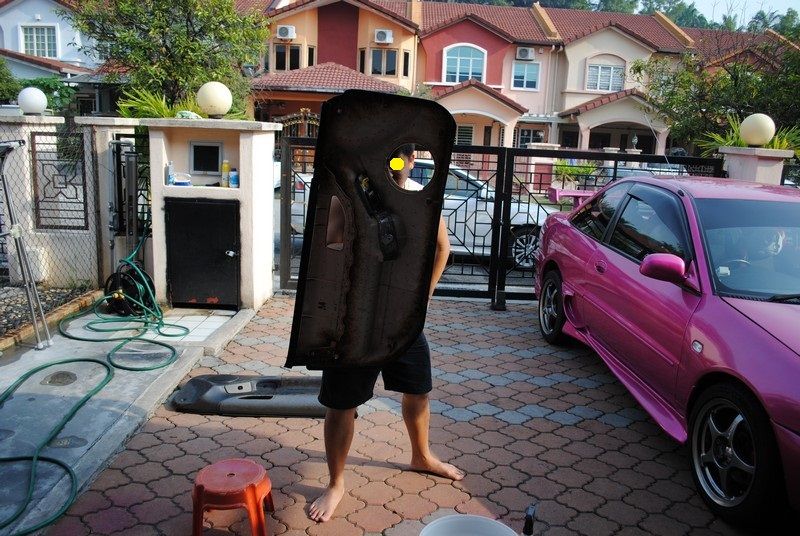
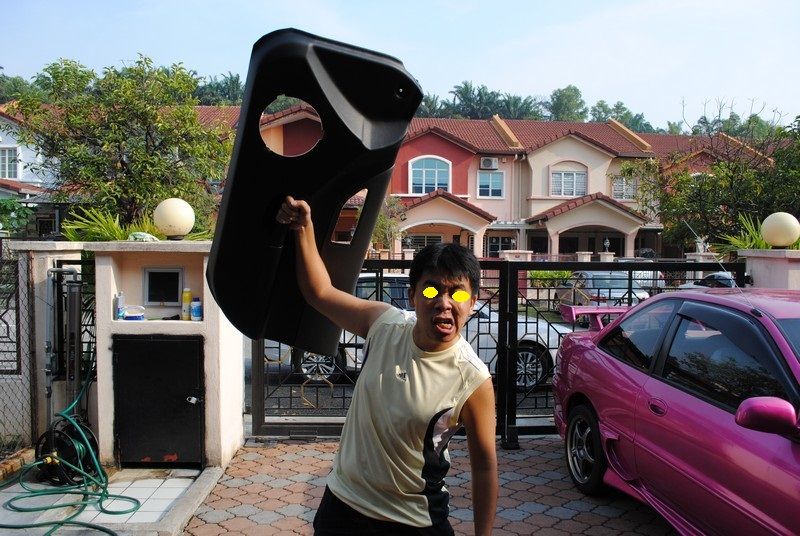
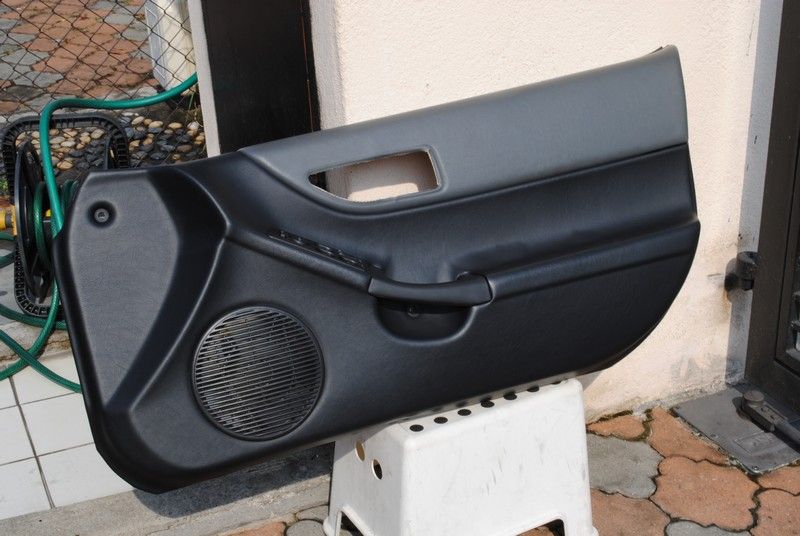
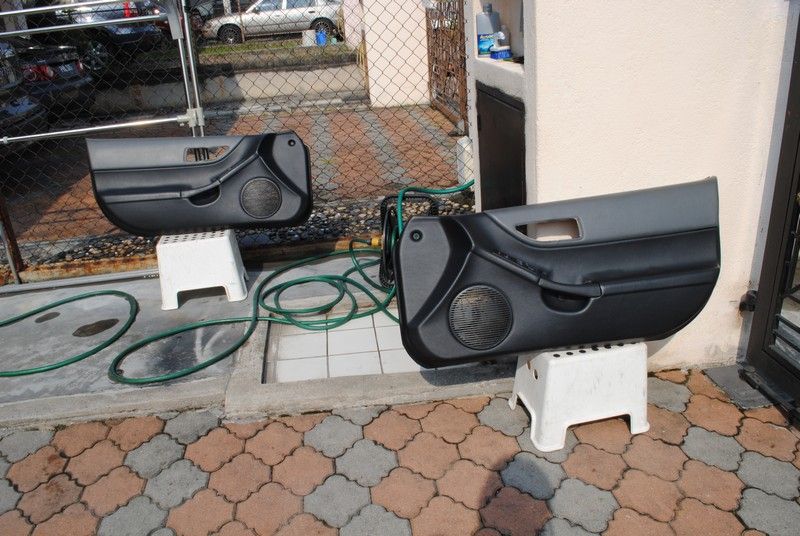
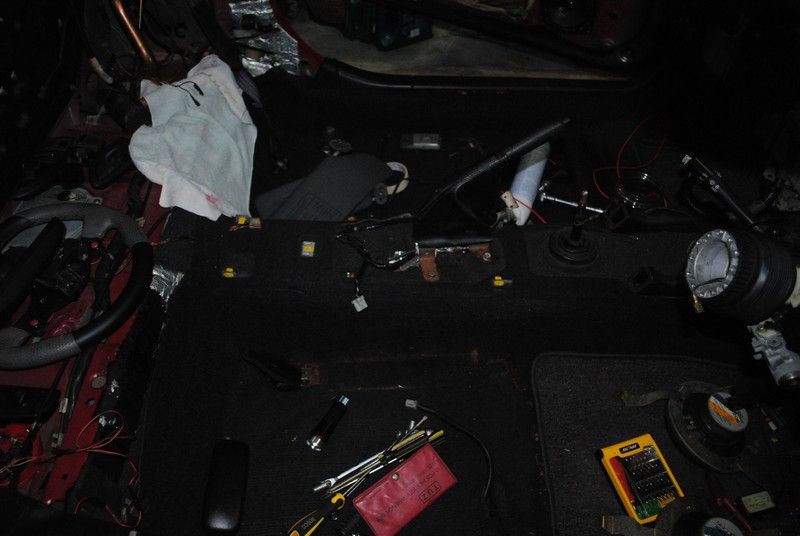
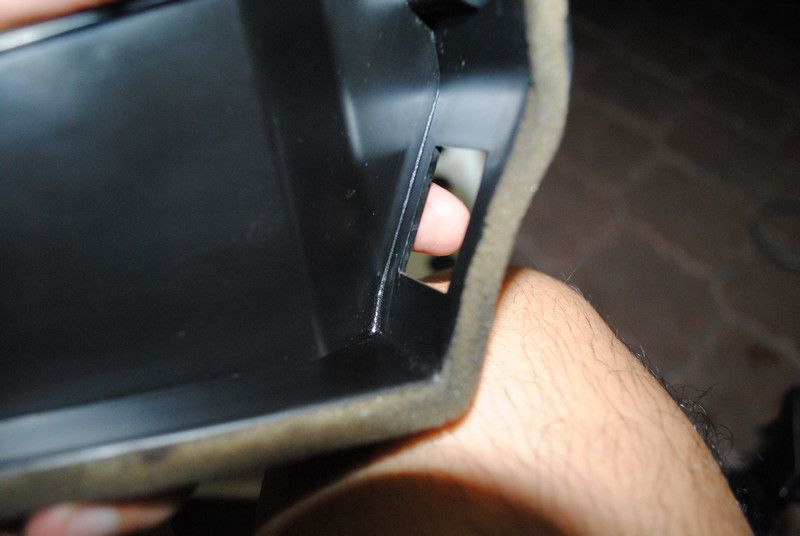
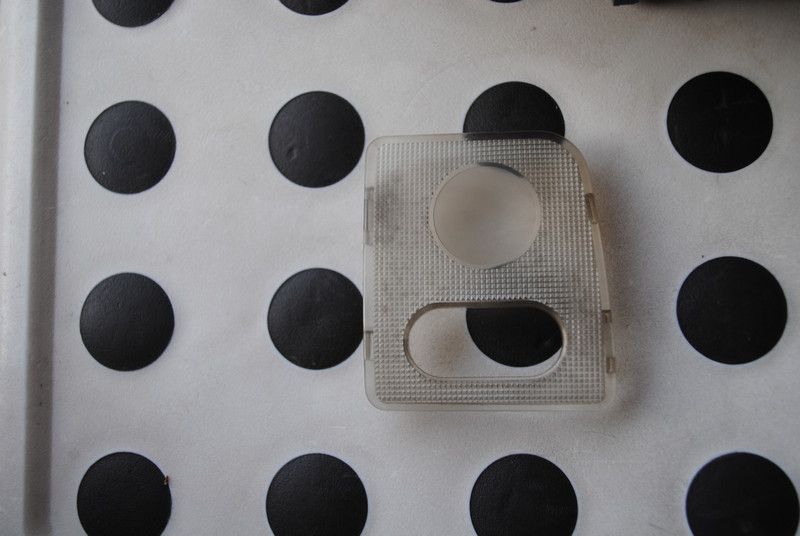
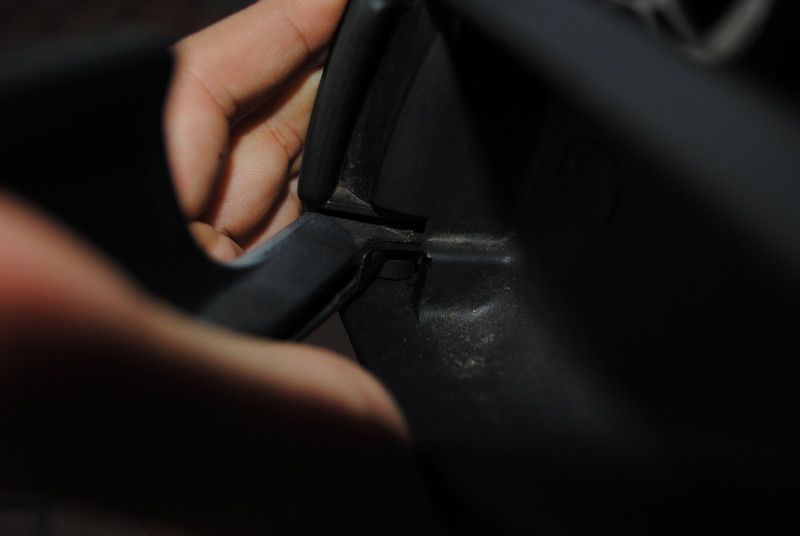
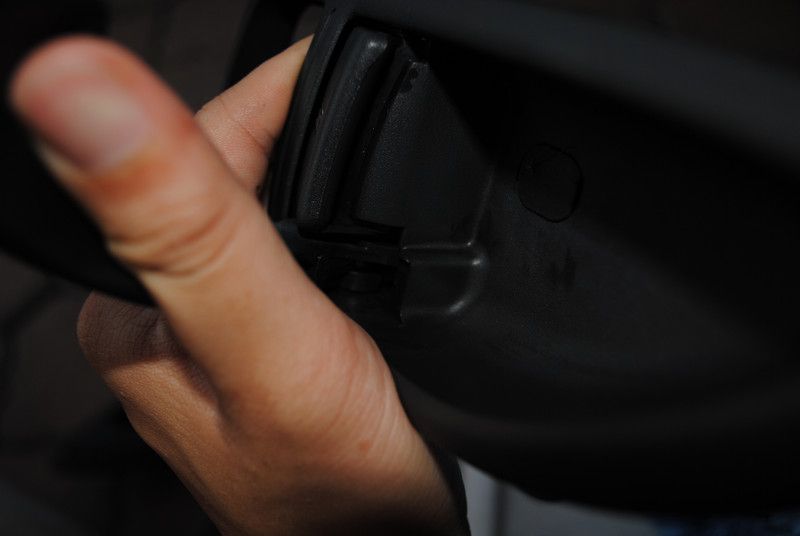
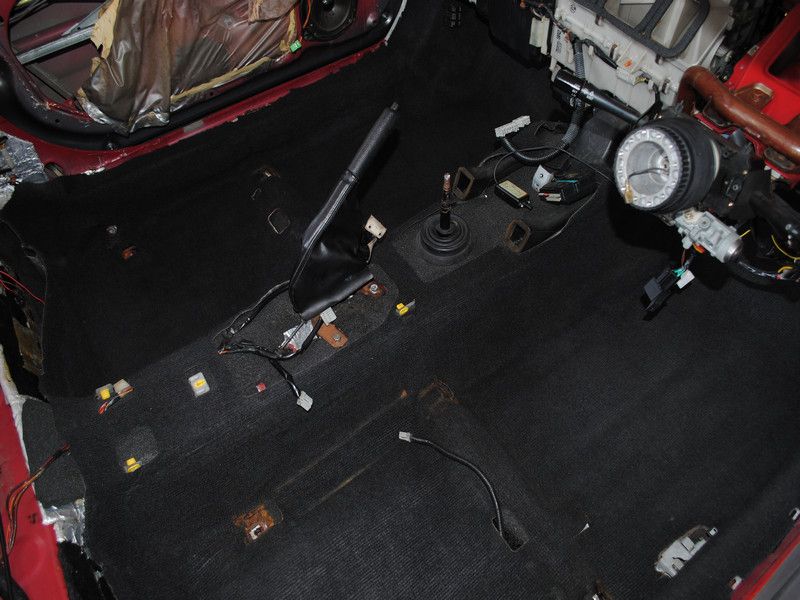
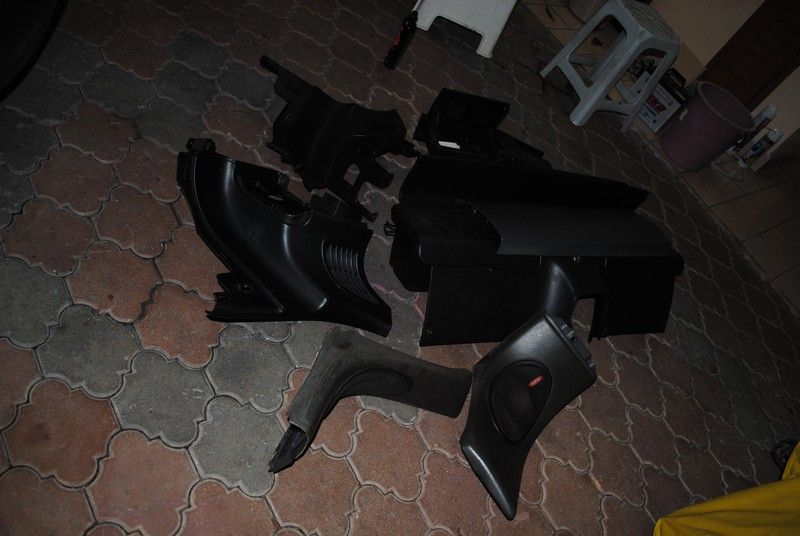
All must come out.... in order to clean it properly.
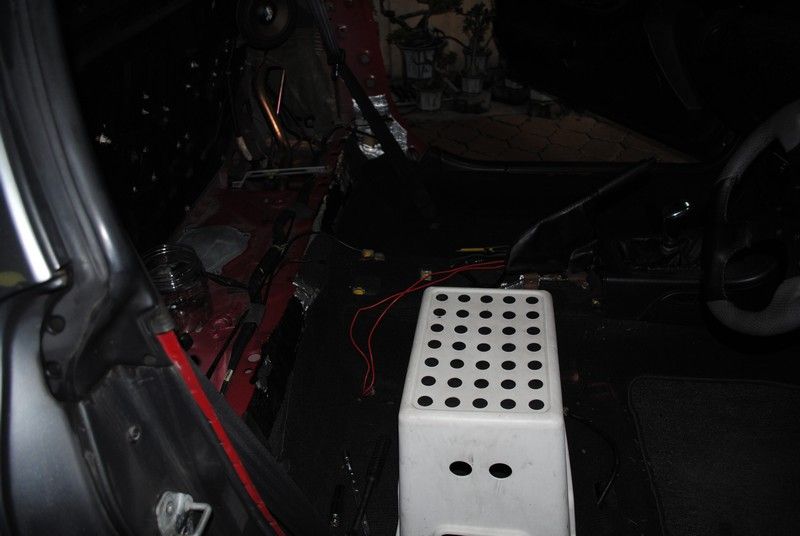
Since the seats are out, I installed a new seat brand IKEARO.
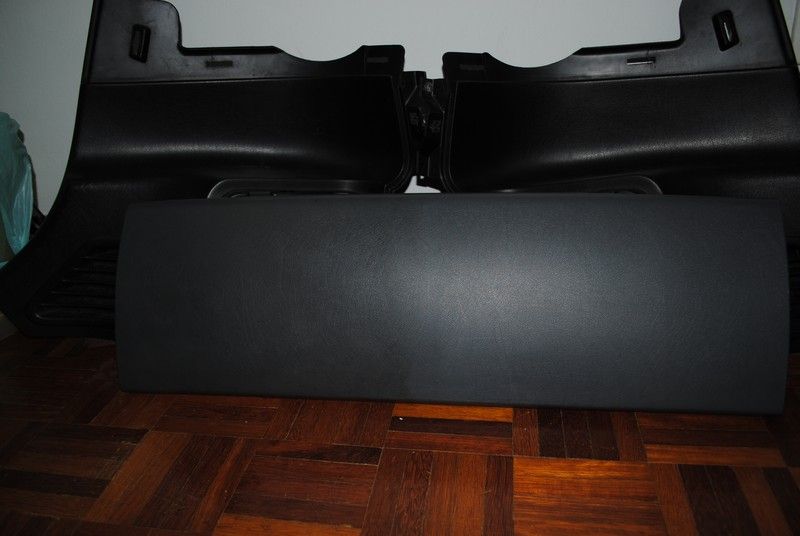
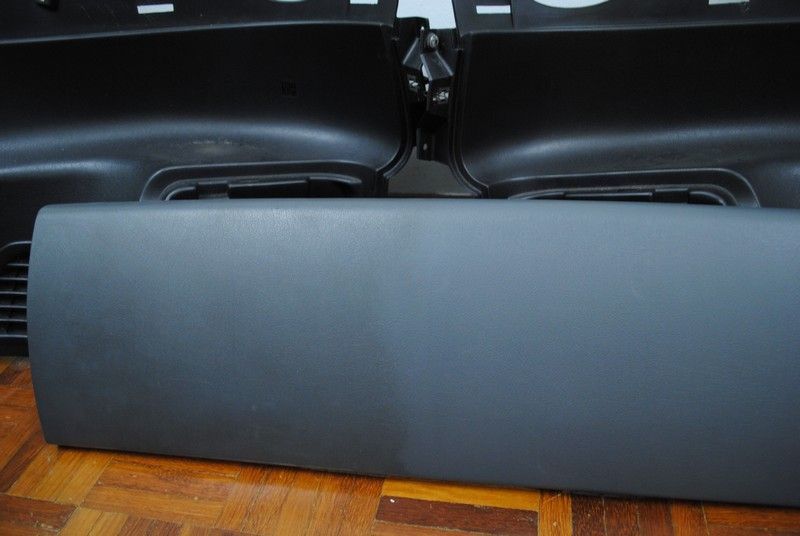
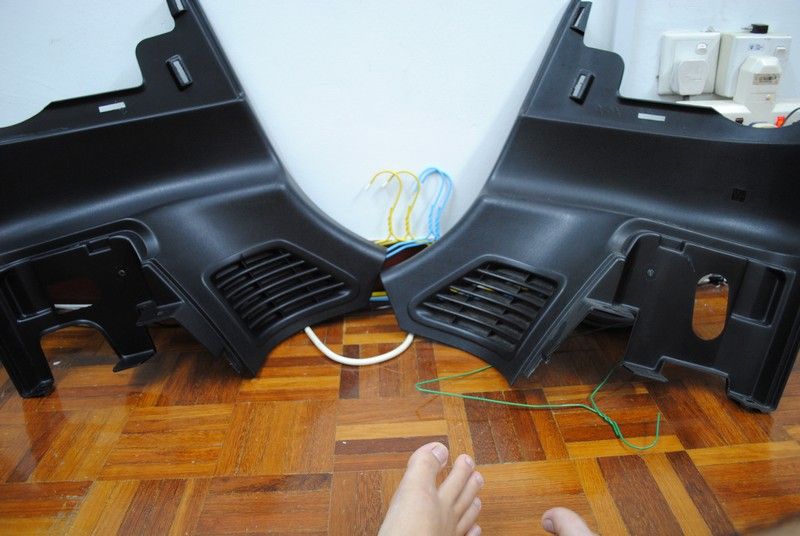
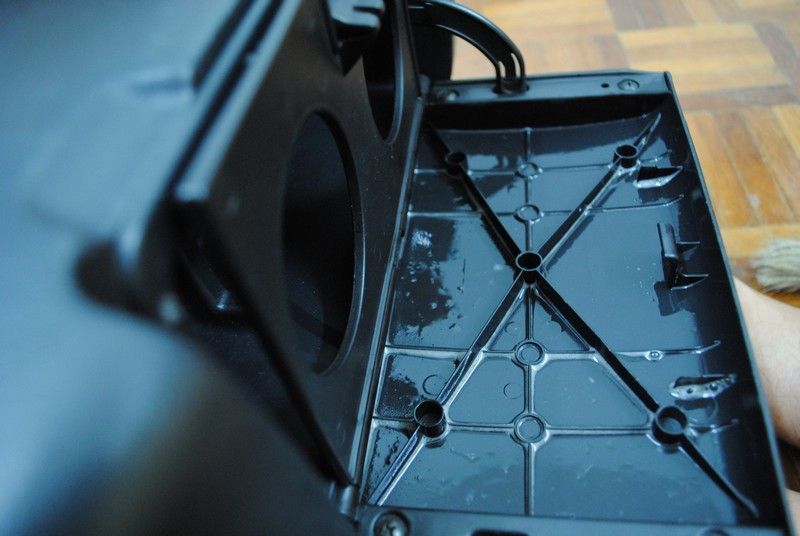
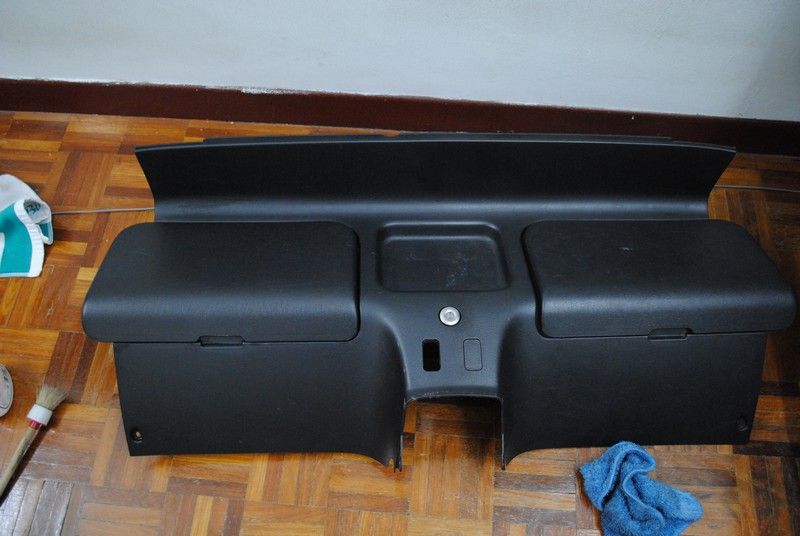
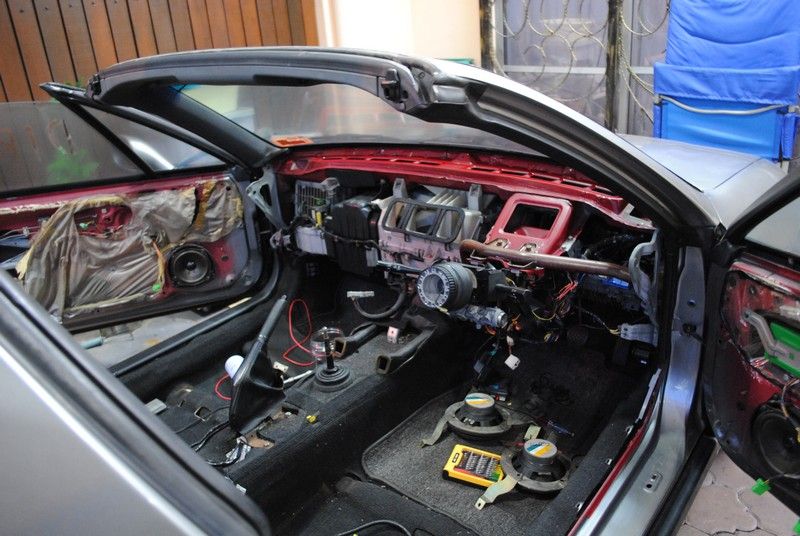
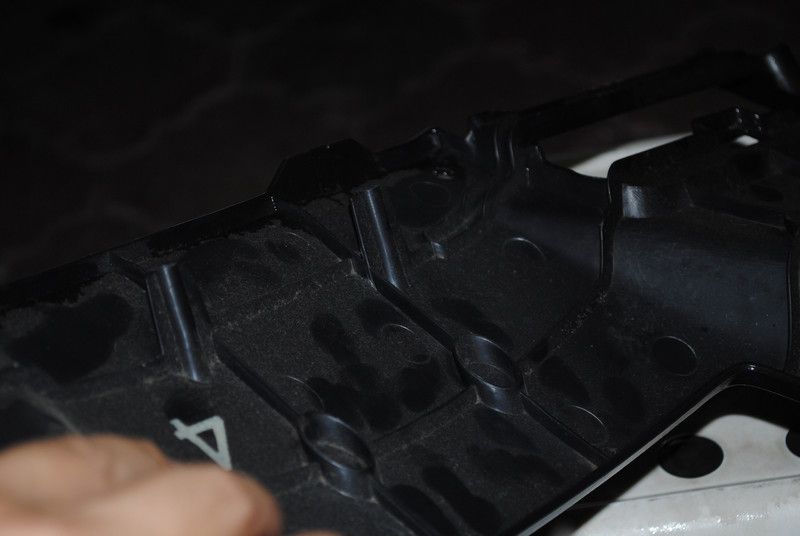
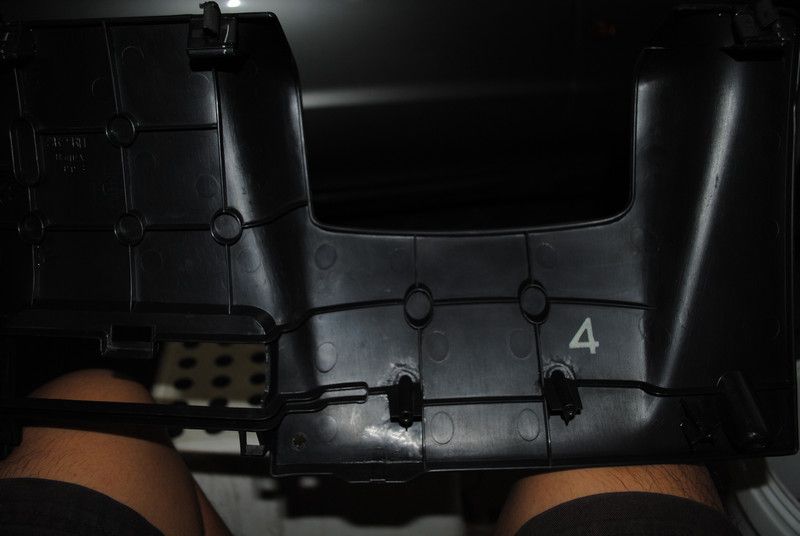
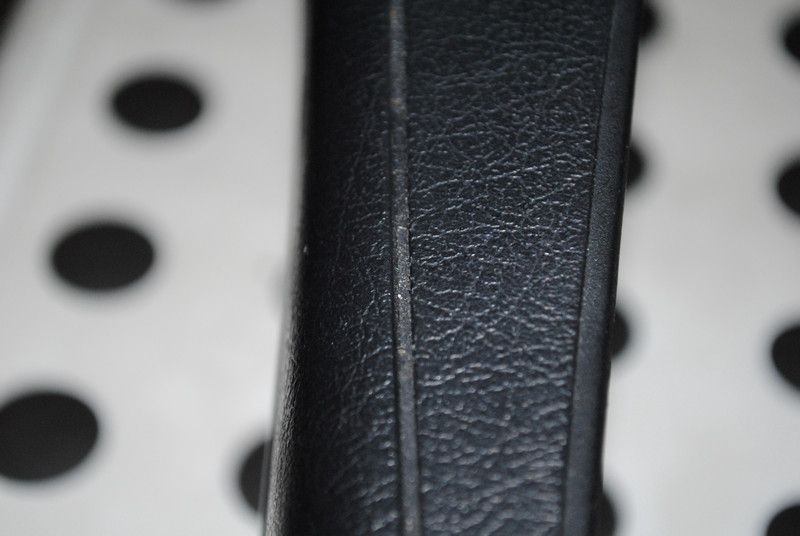
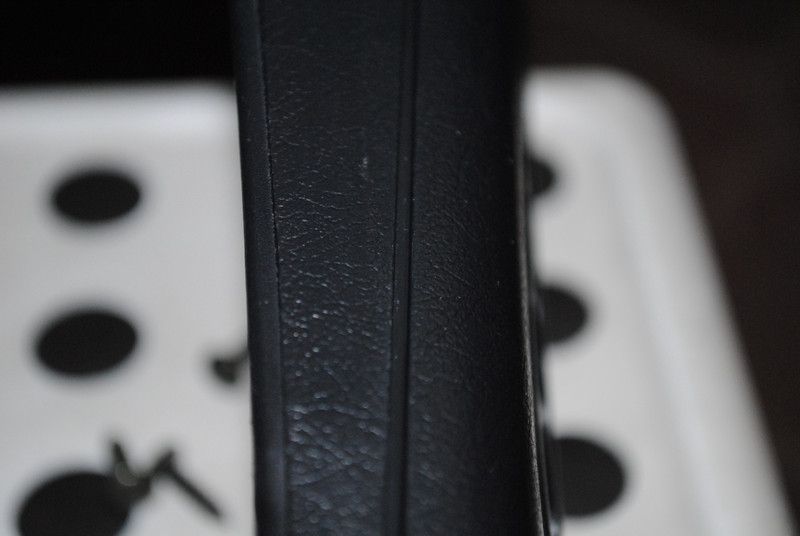
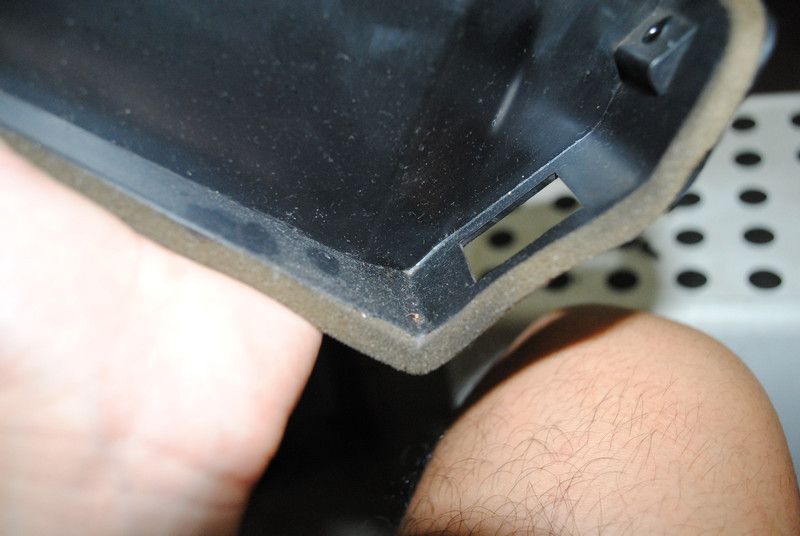
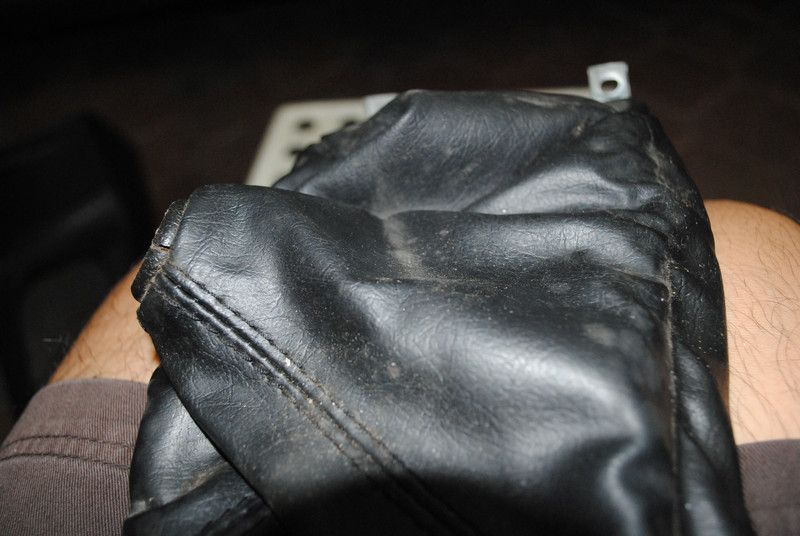
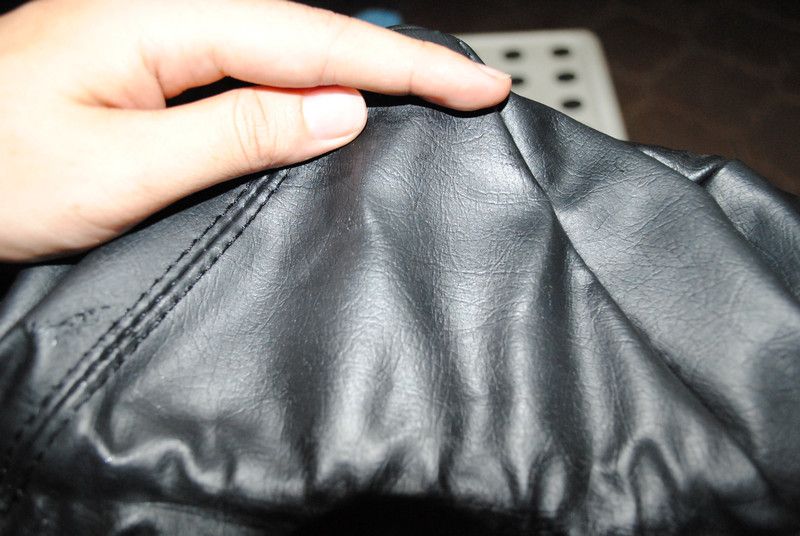
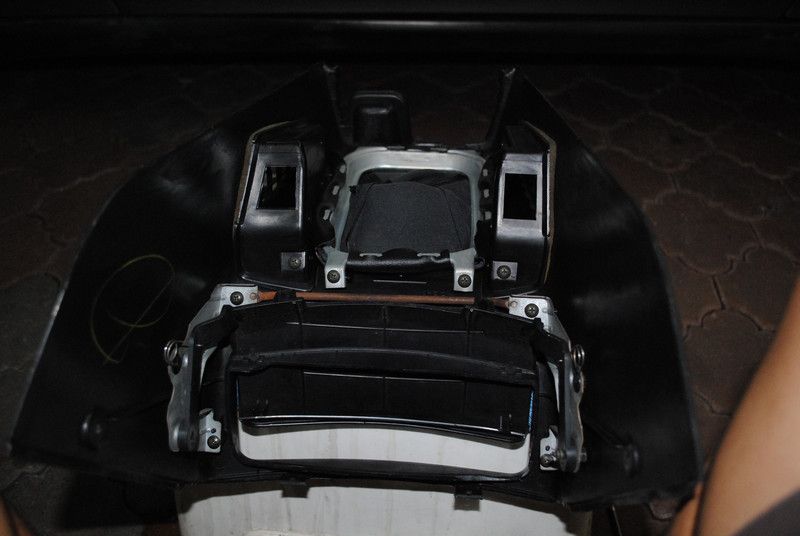
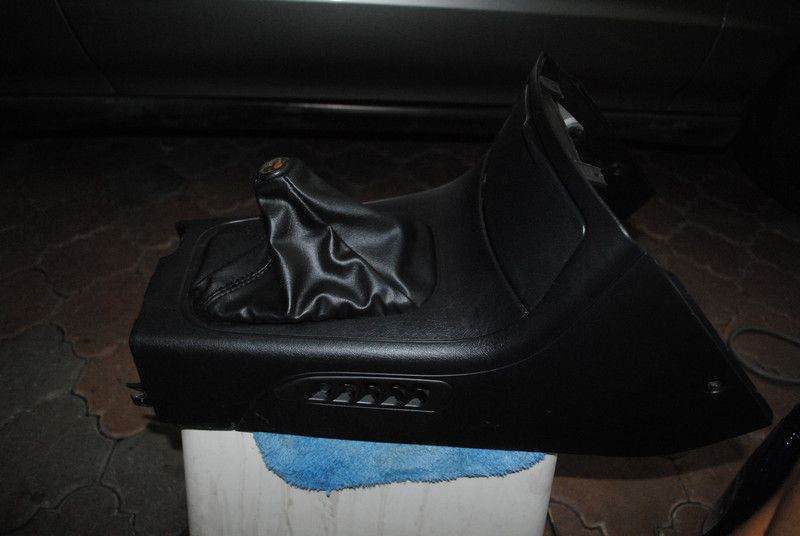
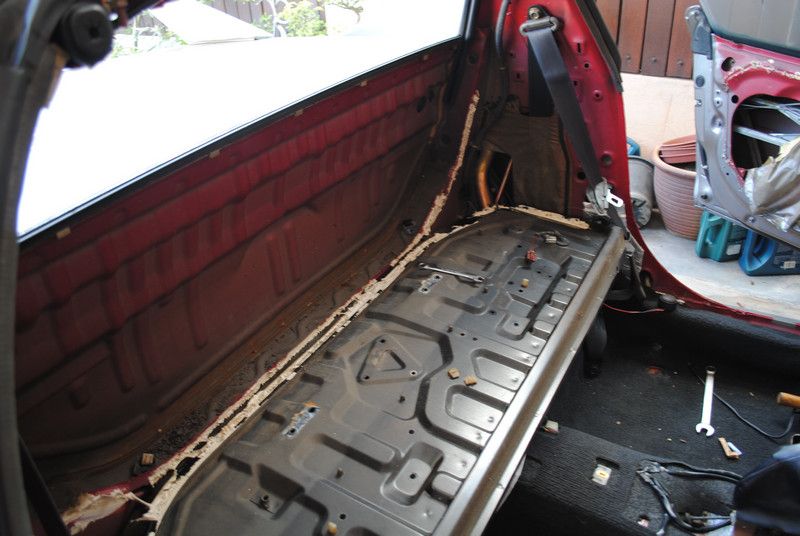
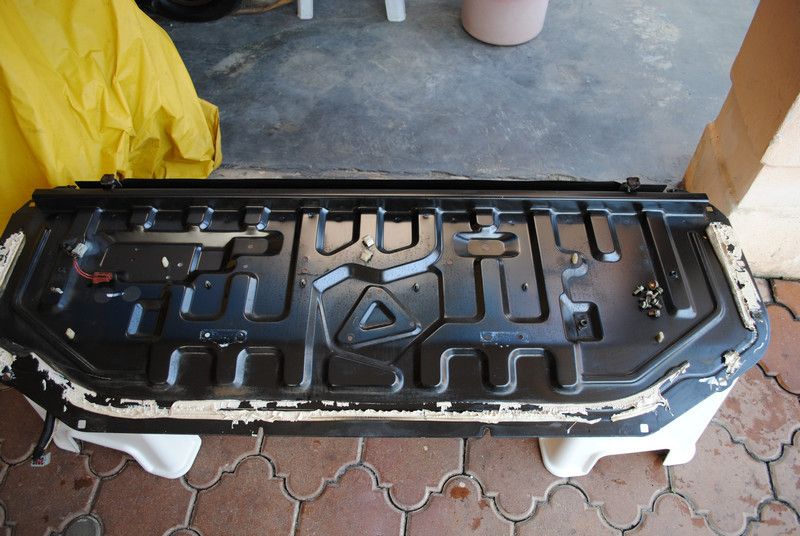
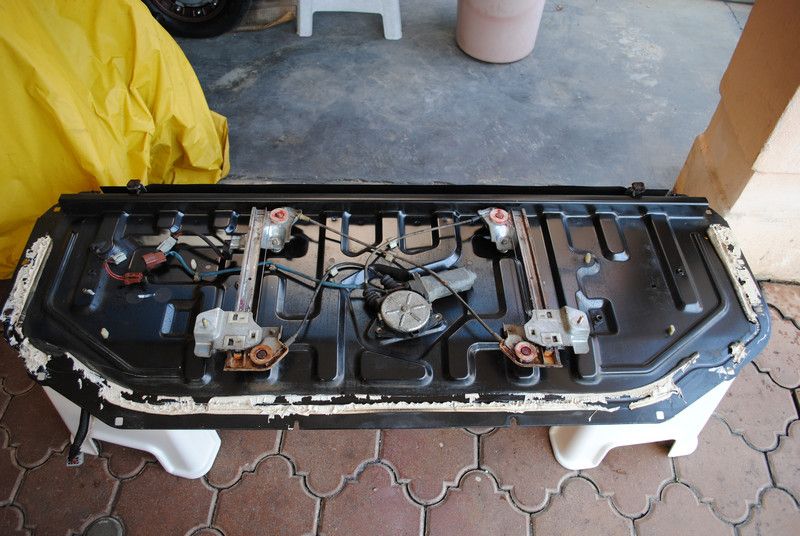
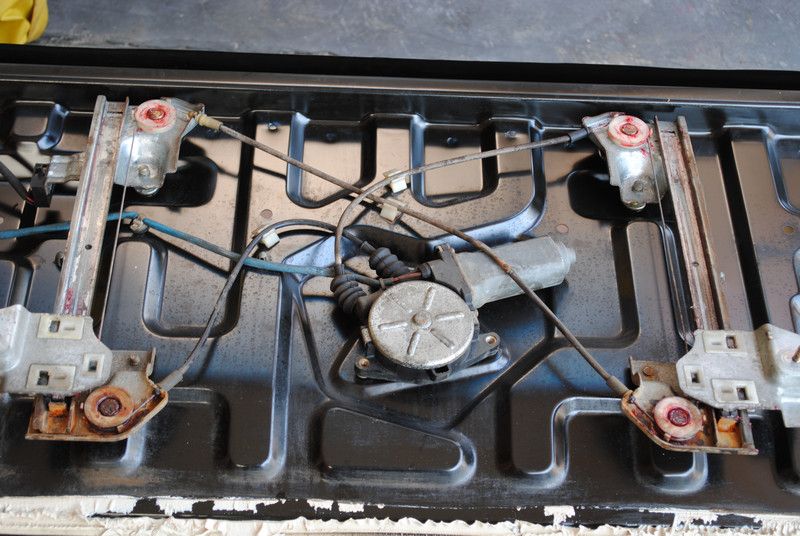
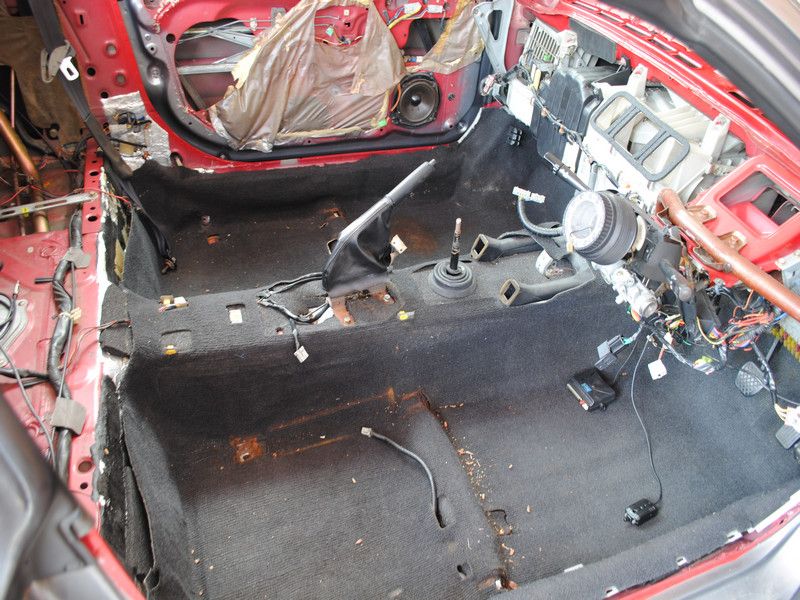
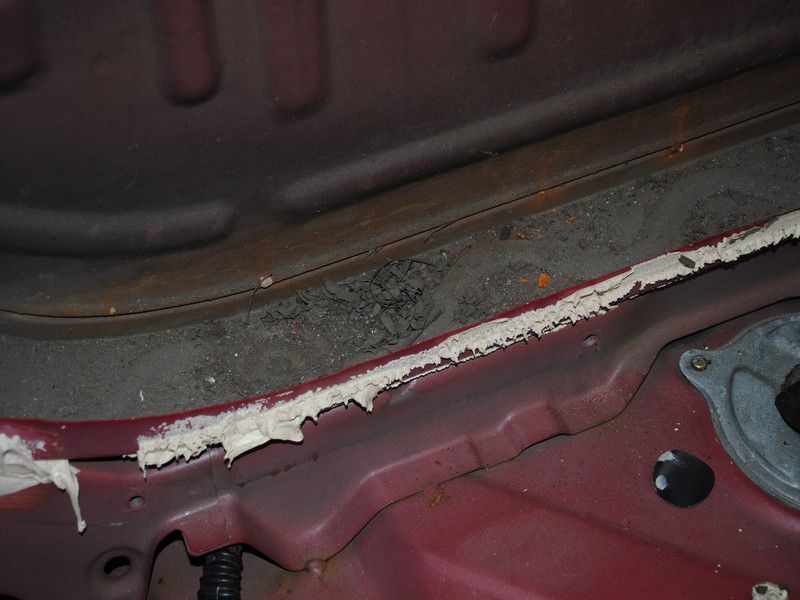
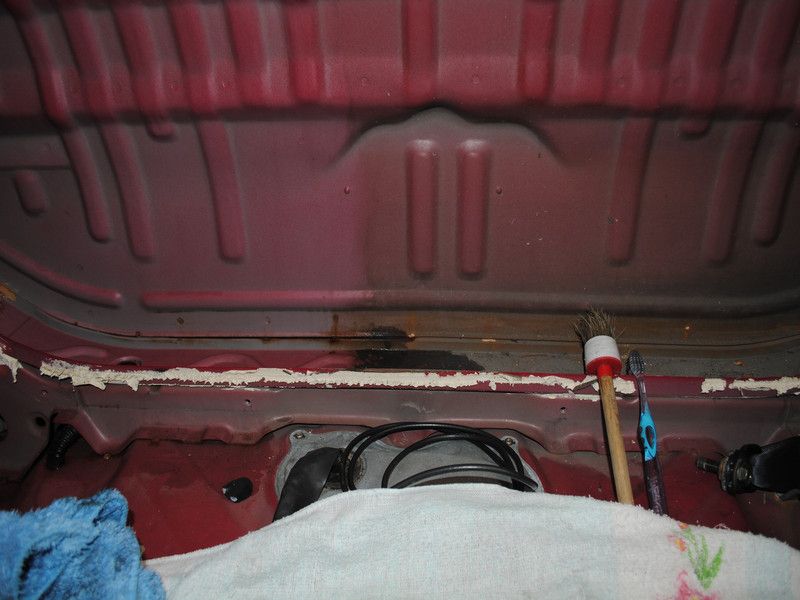
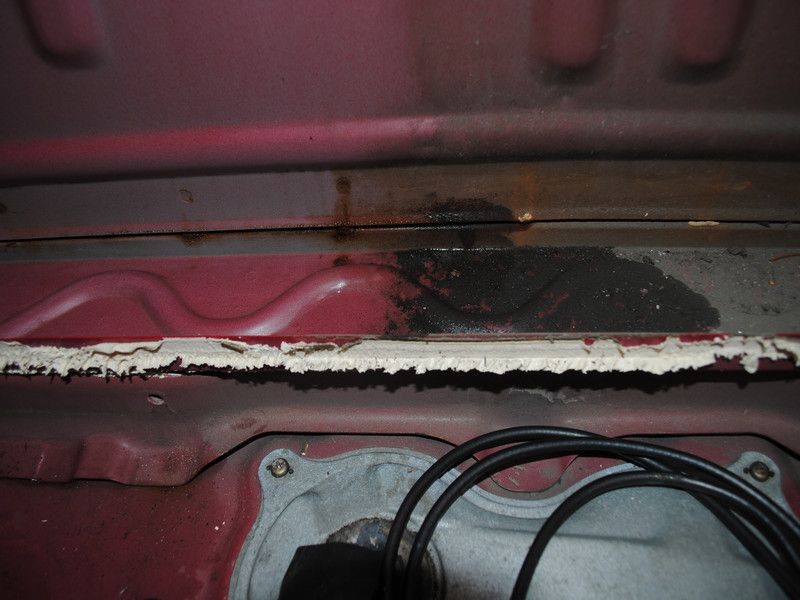
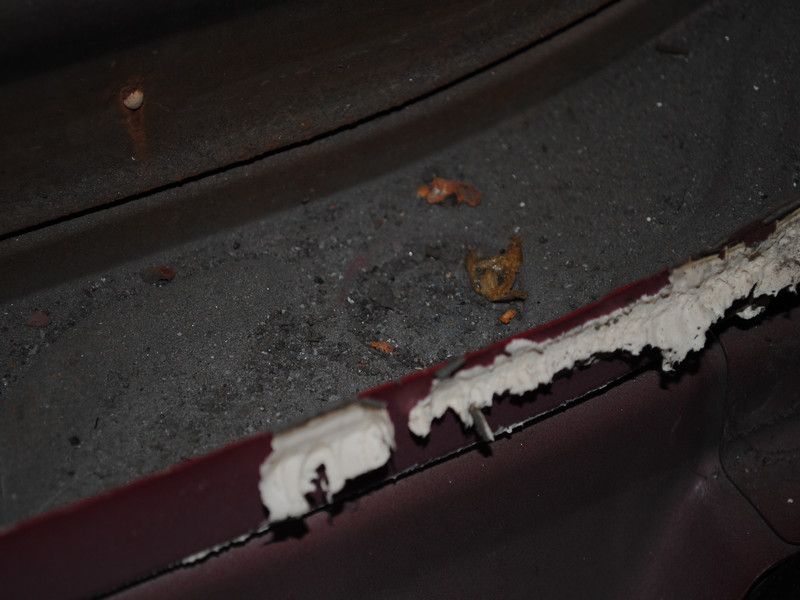
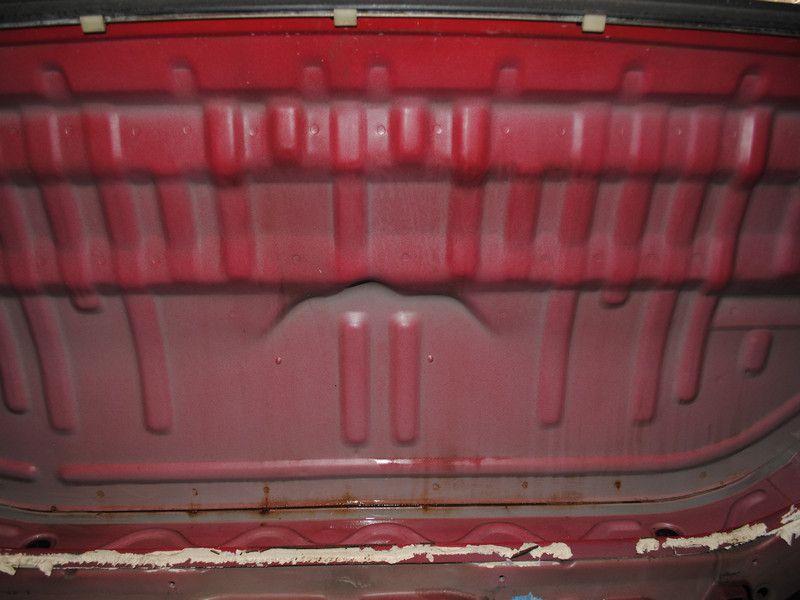
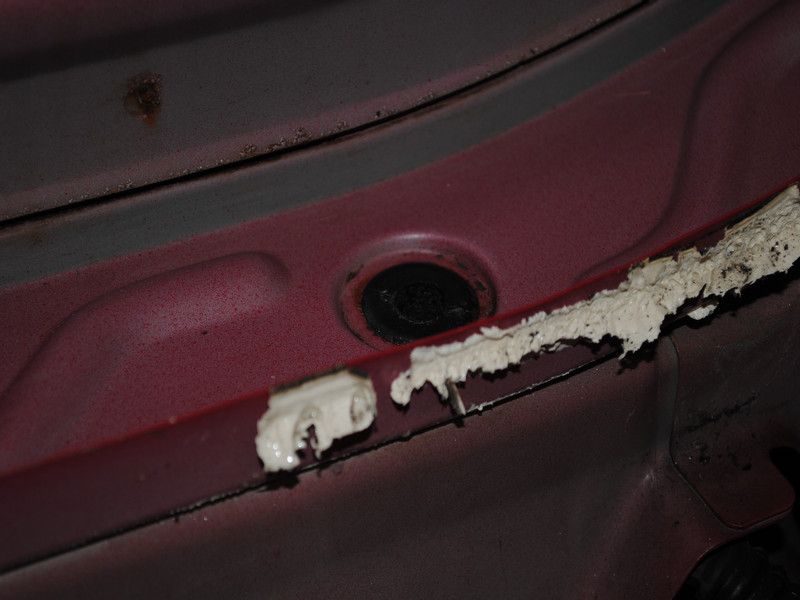
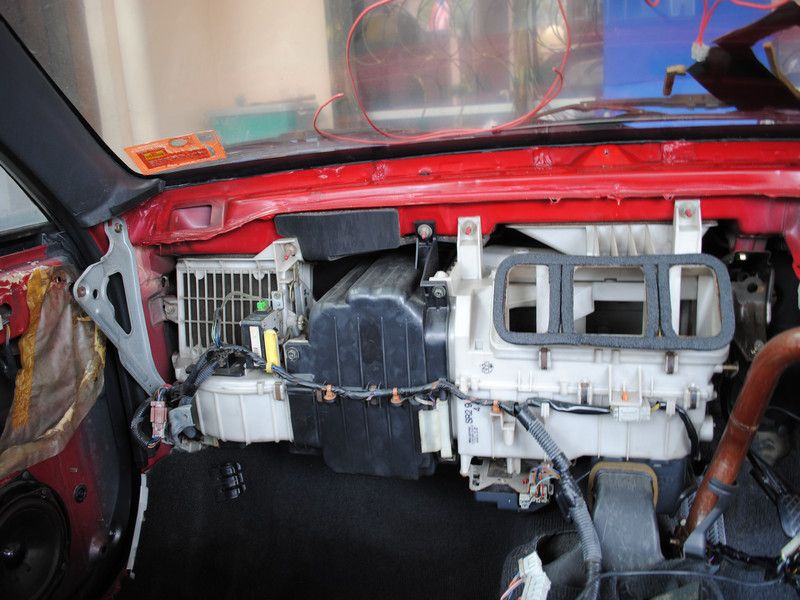
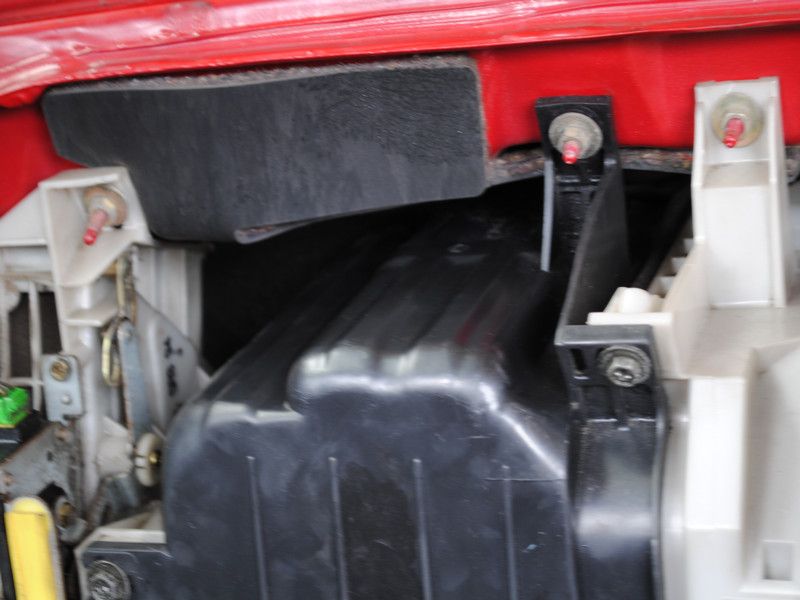
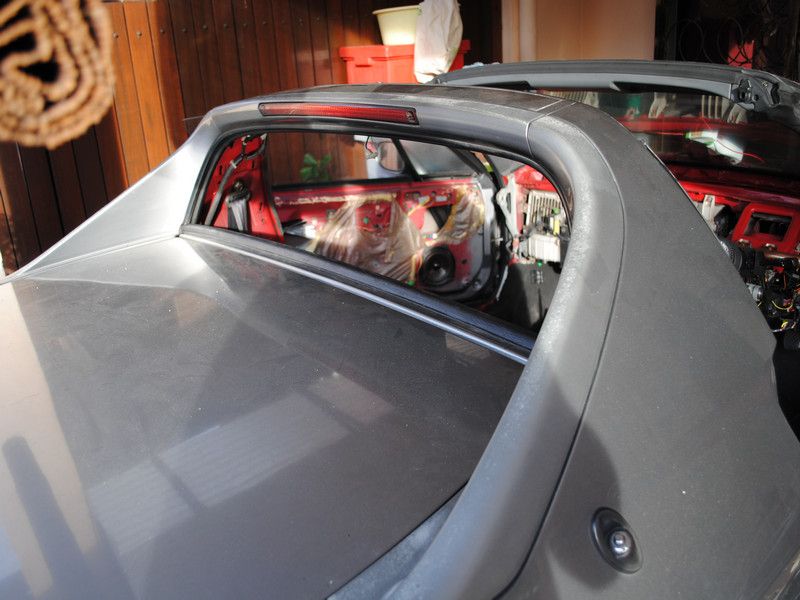
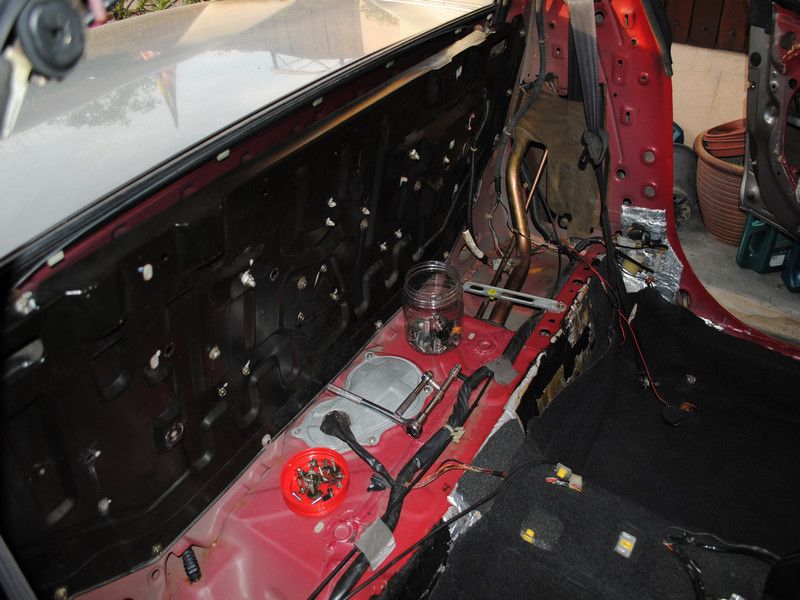
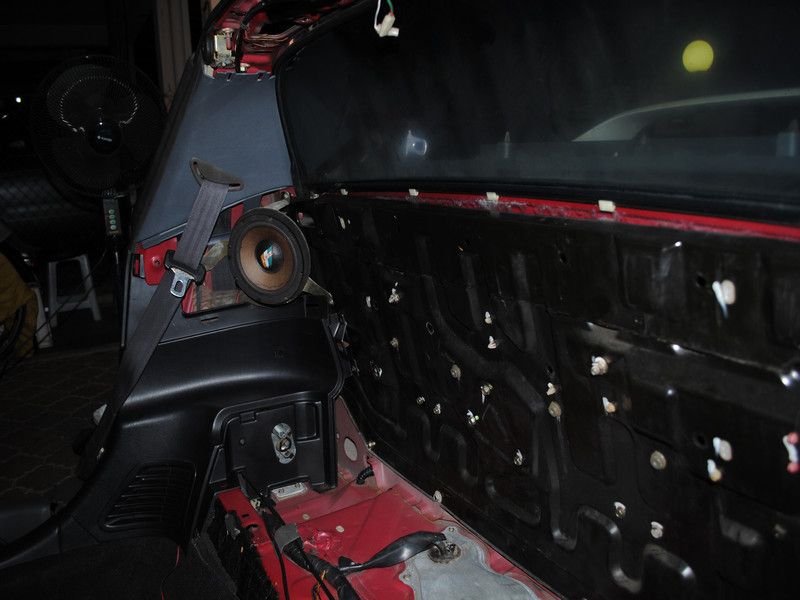
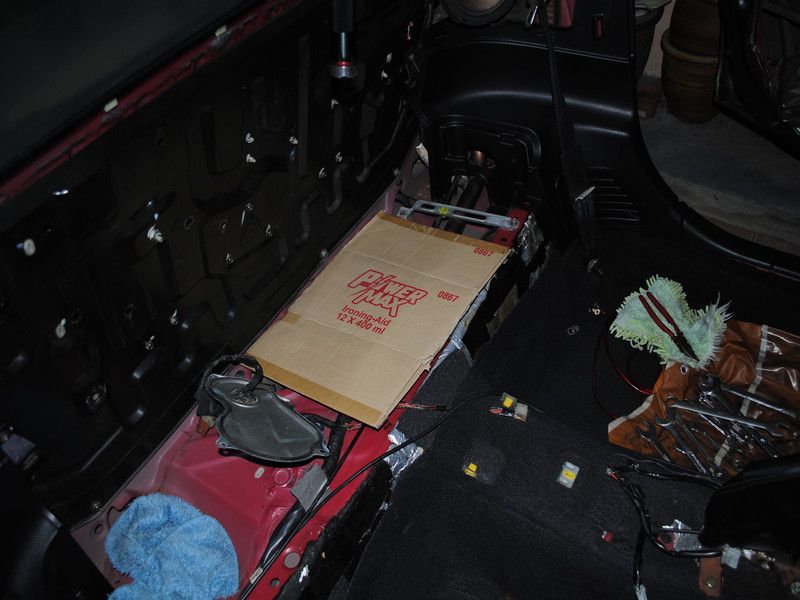
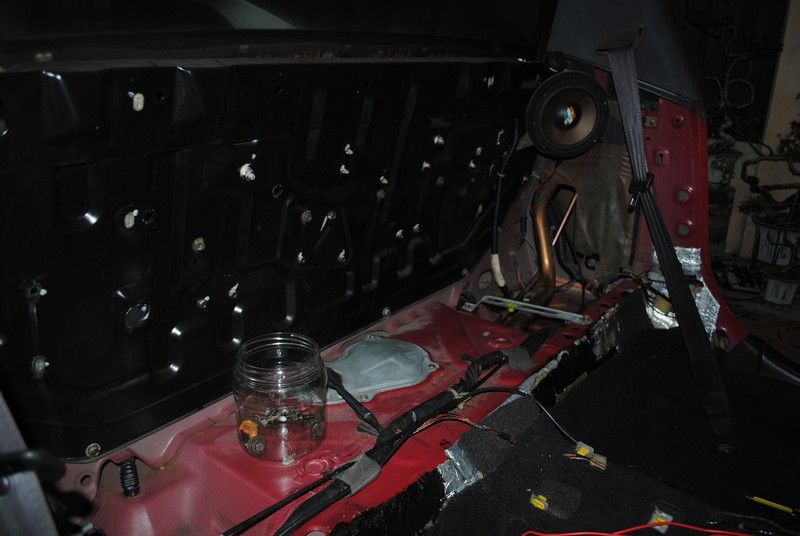
This is how the rear firewall looks like...
I am dead serious when I said I drove the car with this IKEARO seats...

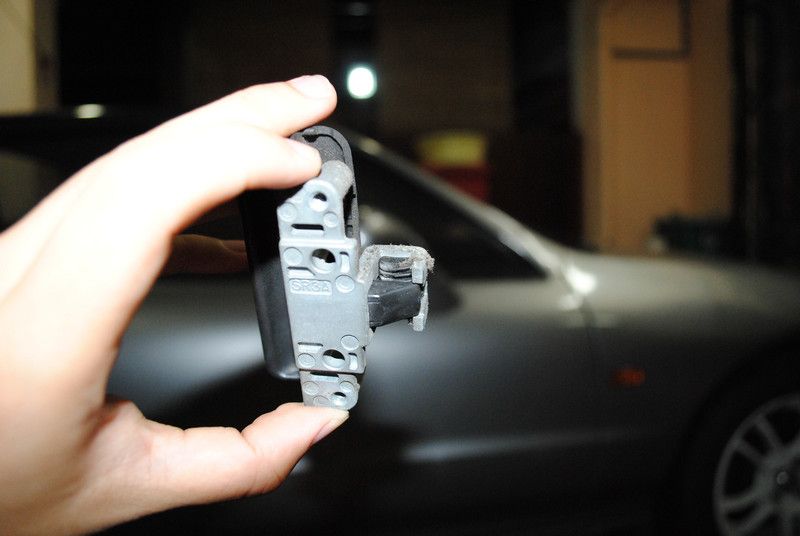
Some of the things found inside the panels.... rusted like mad test pen..
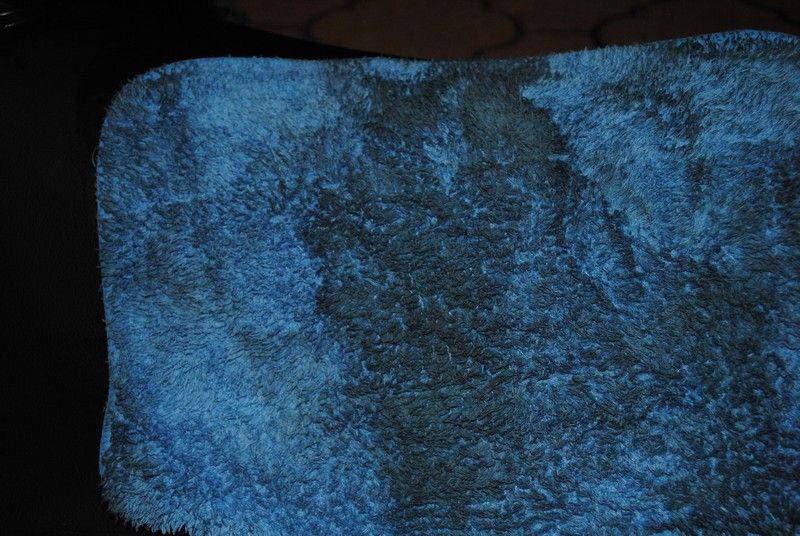
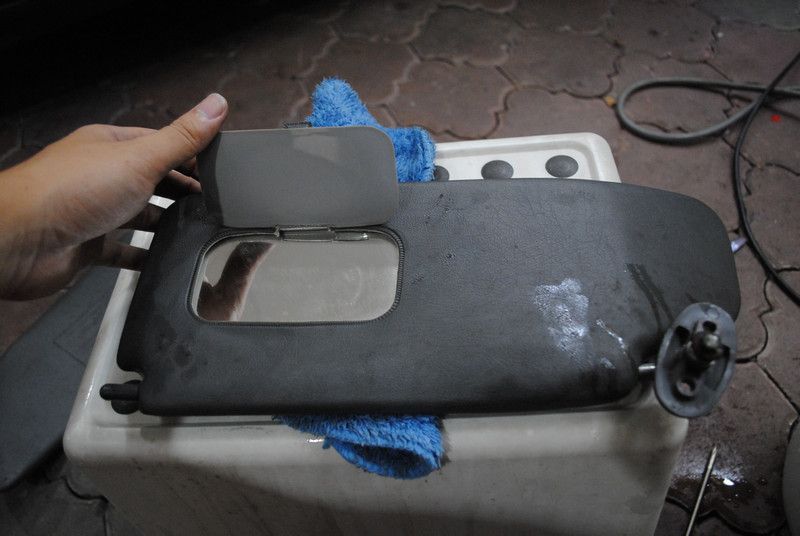
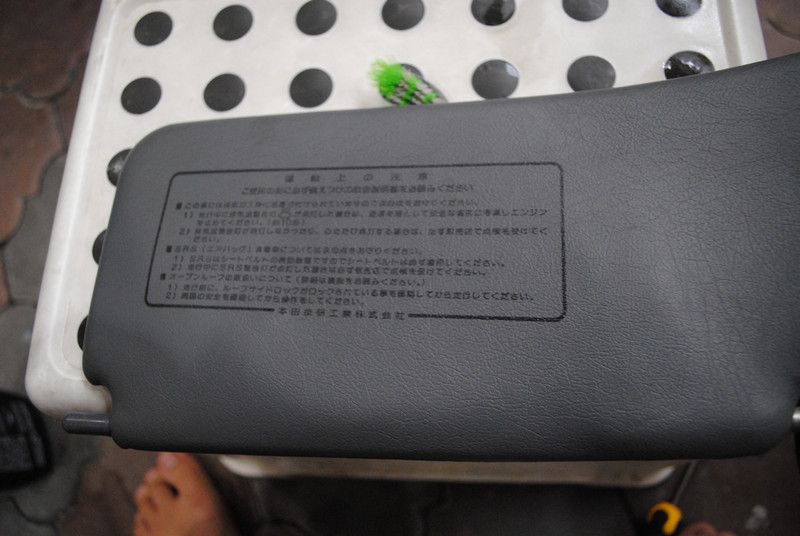
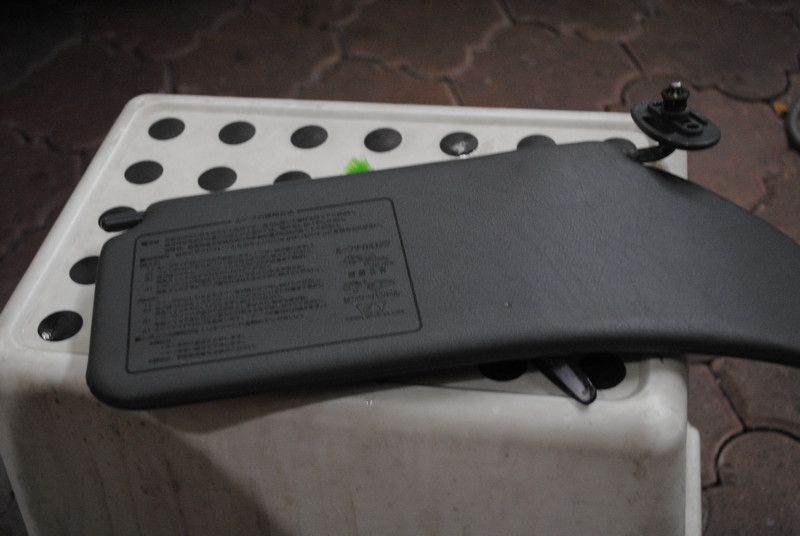
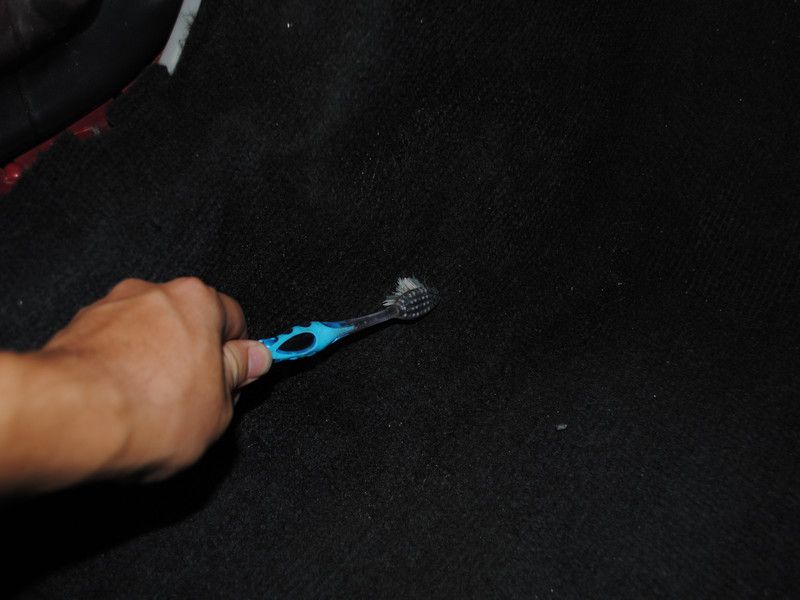
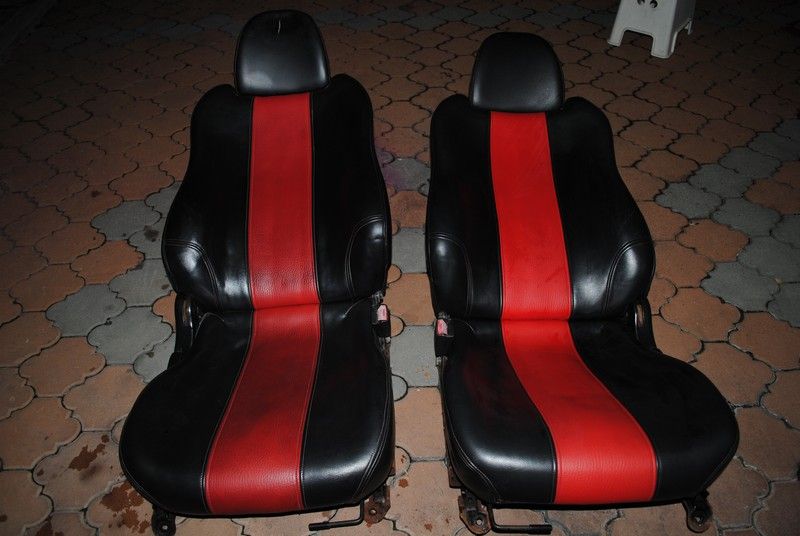
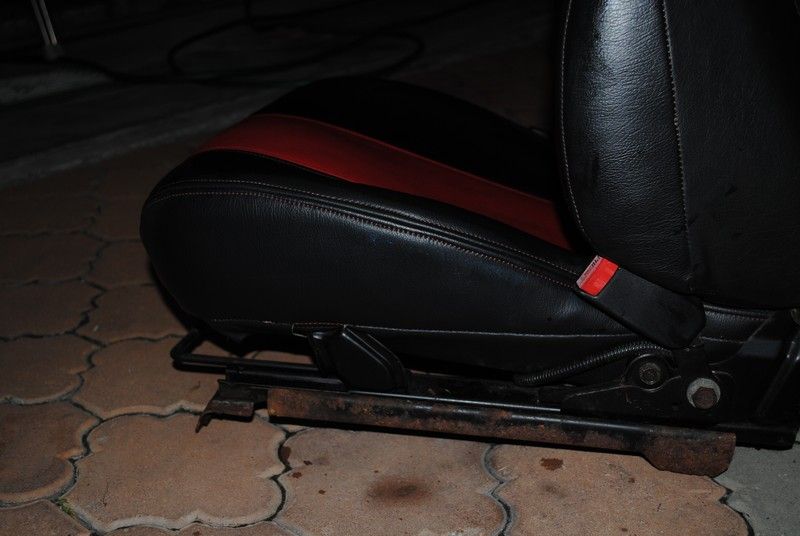
Let's start detailing the seats.... since its out.
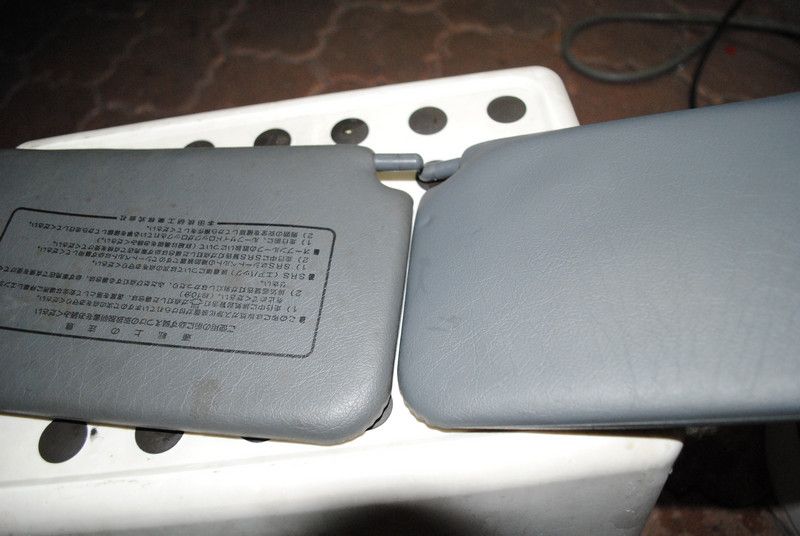
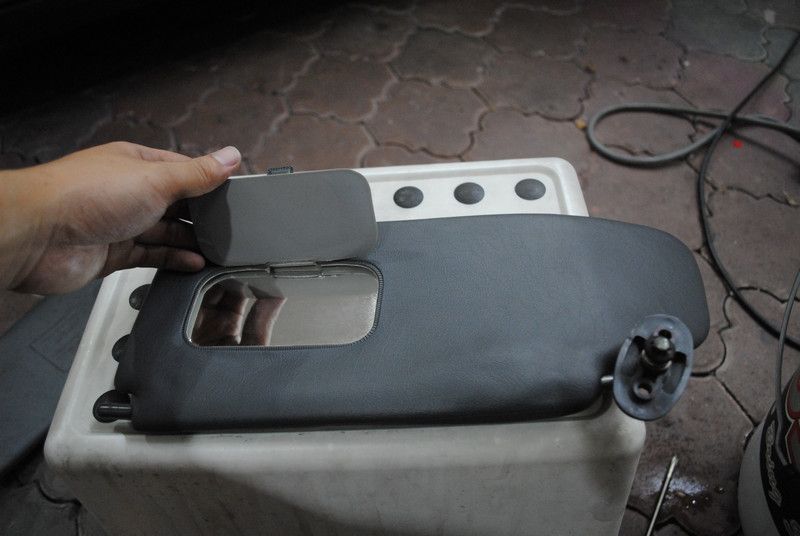
Can you see which side was detailed after one pass of OPC 1:5?
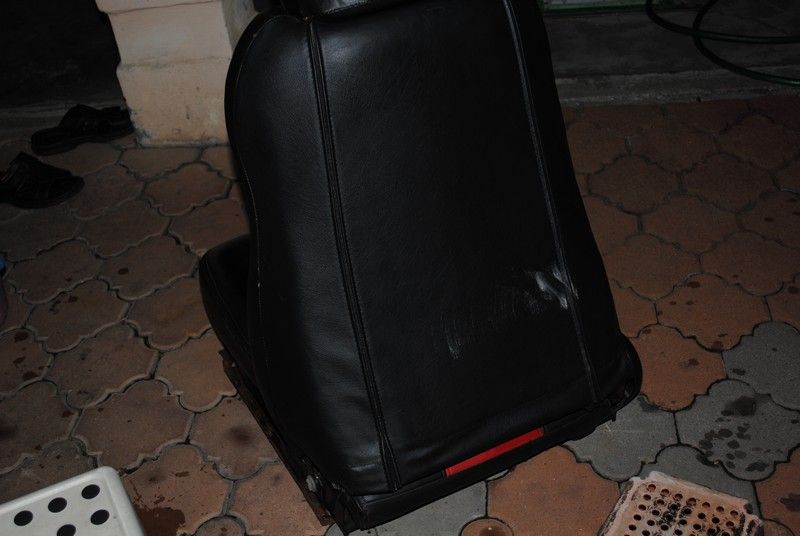
Now whole seats gets OPC 1:5
Can you see the difference?
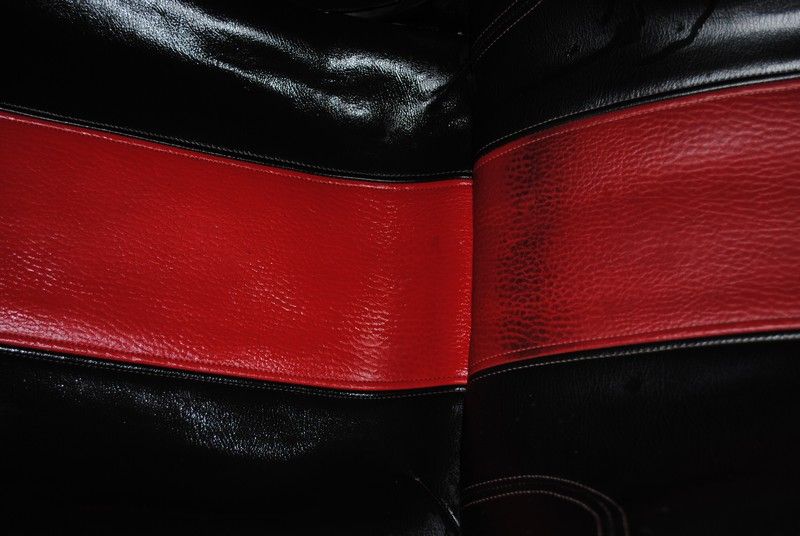
Still cannot, then compare both seats, which is detailed and which isn't?
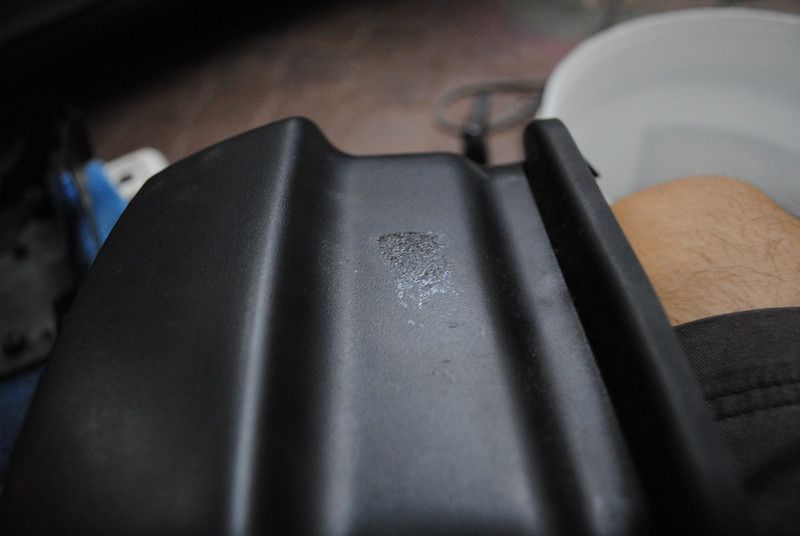
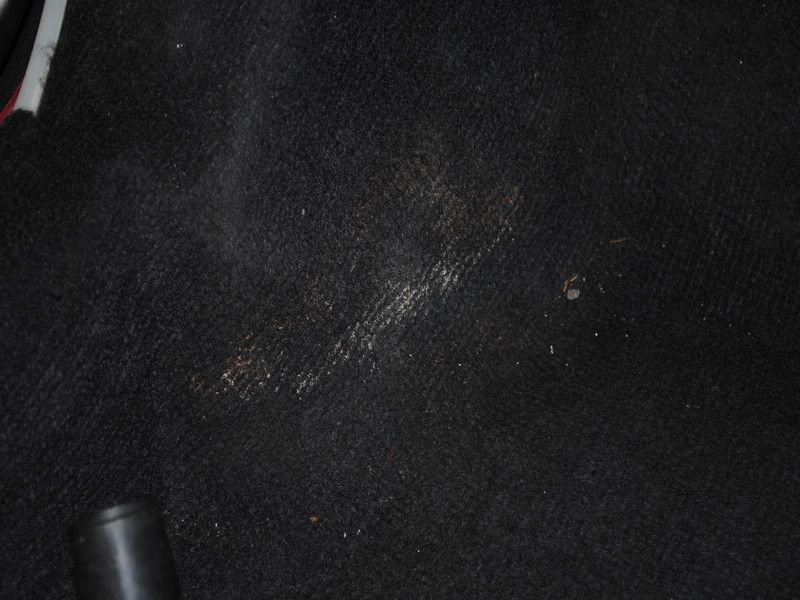
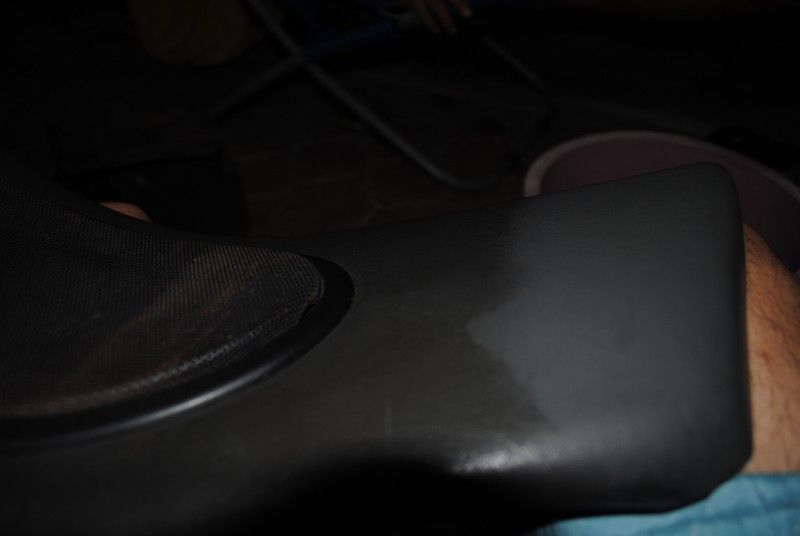
Hmm, some weird stains....
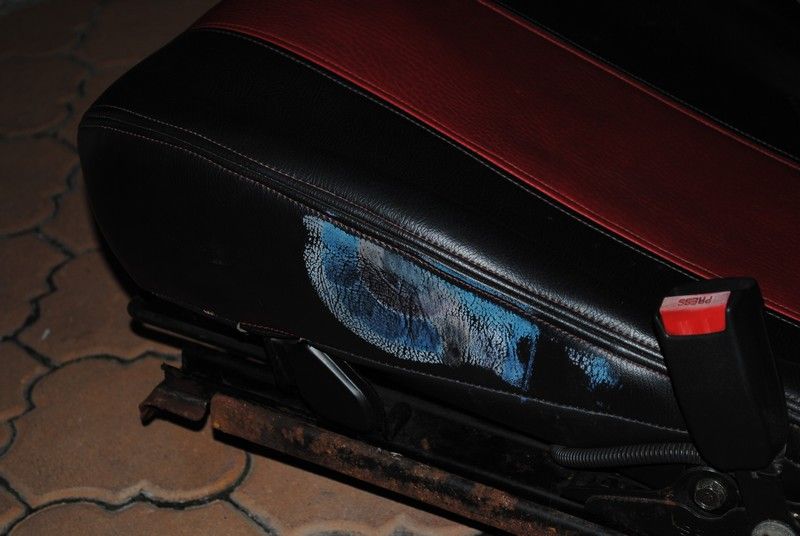
Tested a small part with OPC 1:3 and it came out....
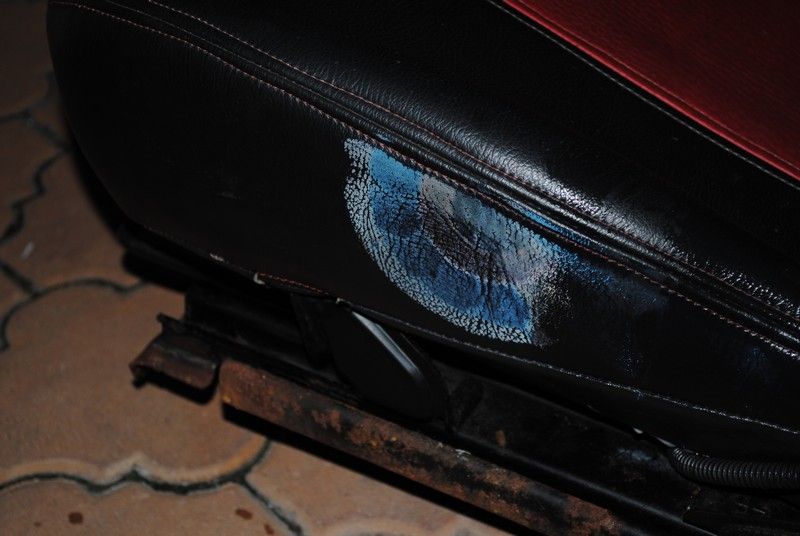
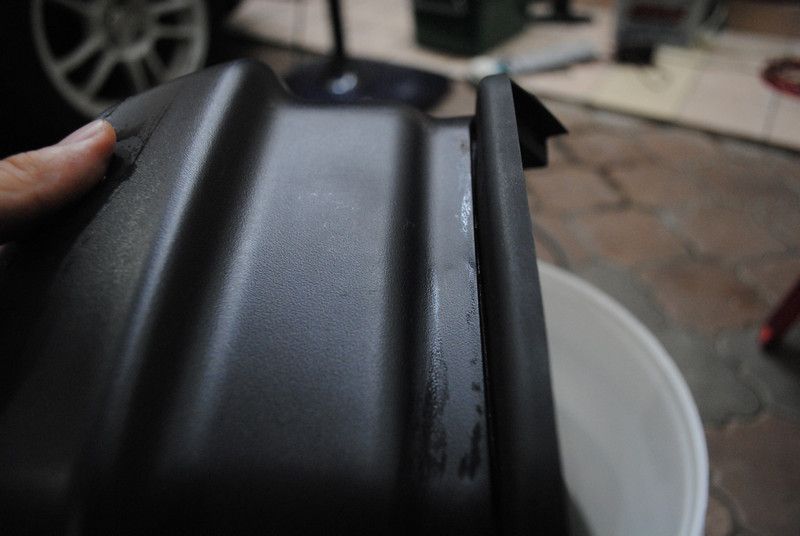
So I did it to the entire mark and its mostly gone... more work needed on it.
Rear seats as well....
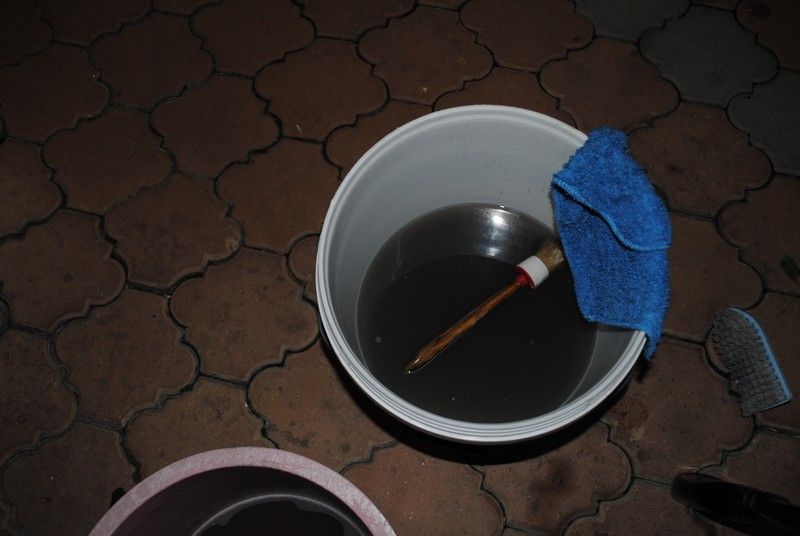
Yes, this is what was lifted out from ONE of the seats. 20 years of..... butt sweat.
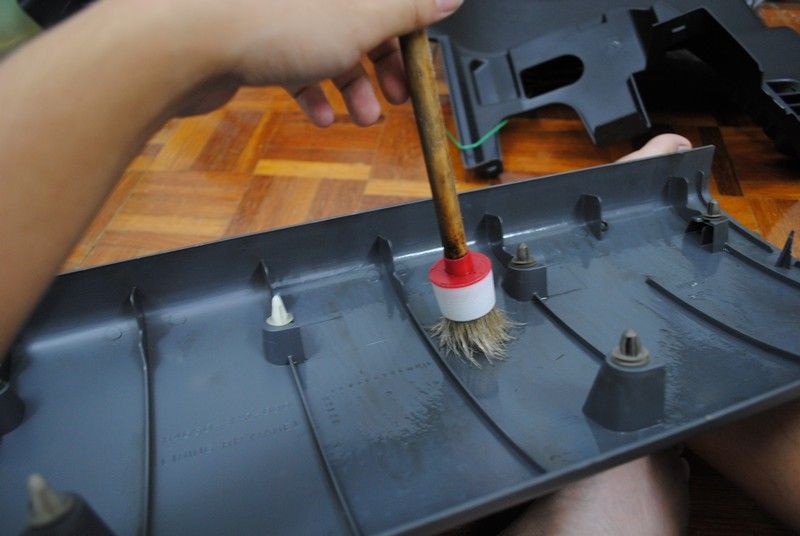
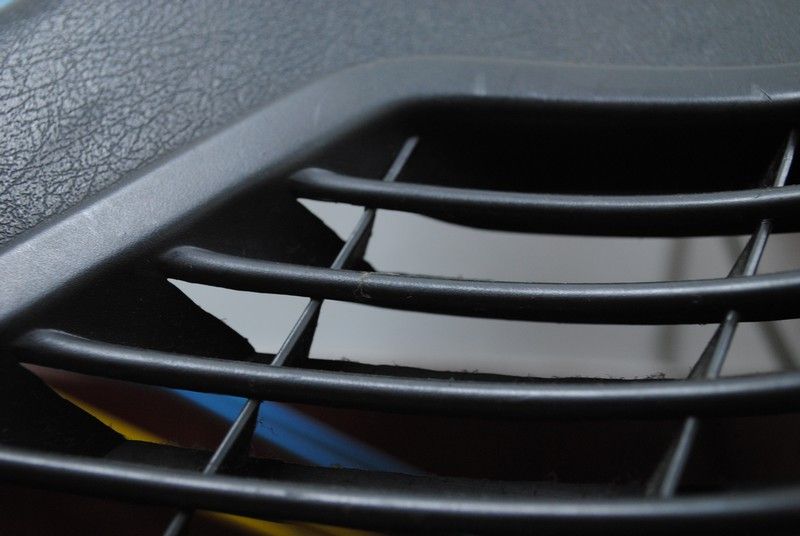
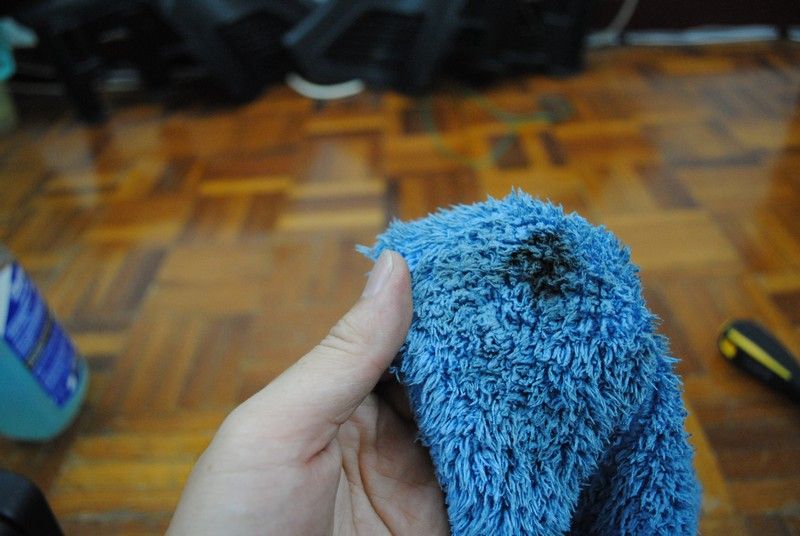
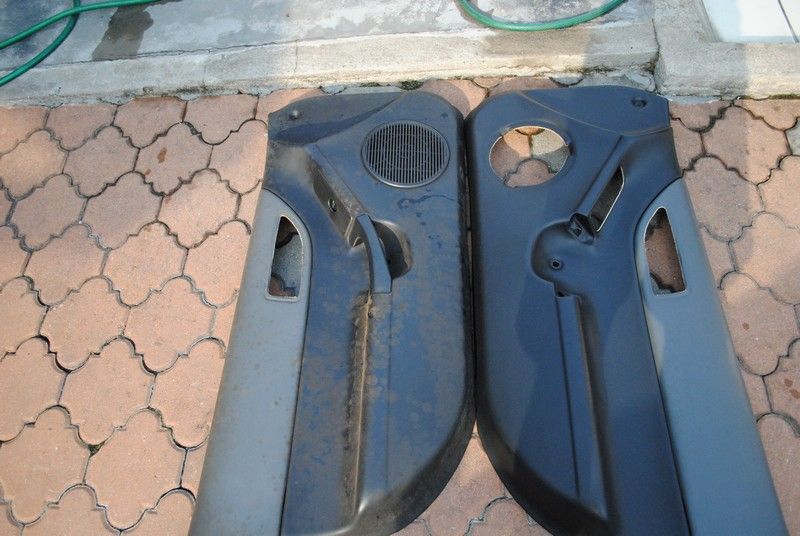
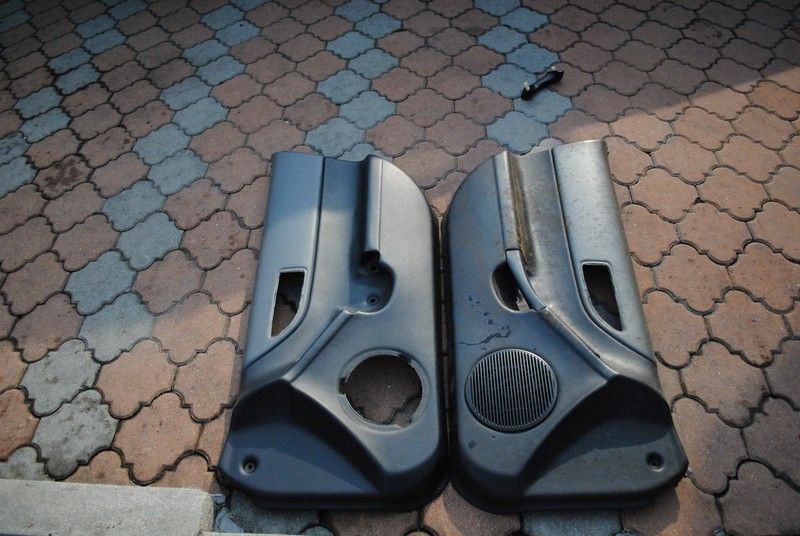
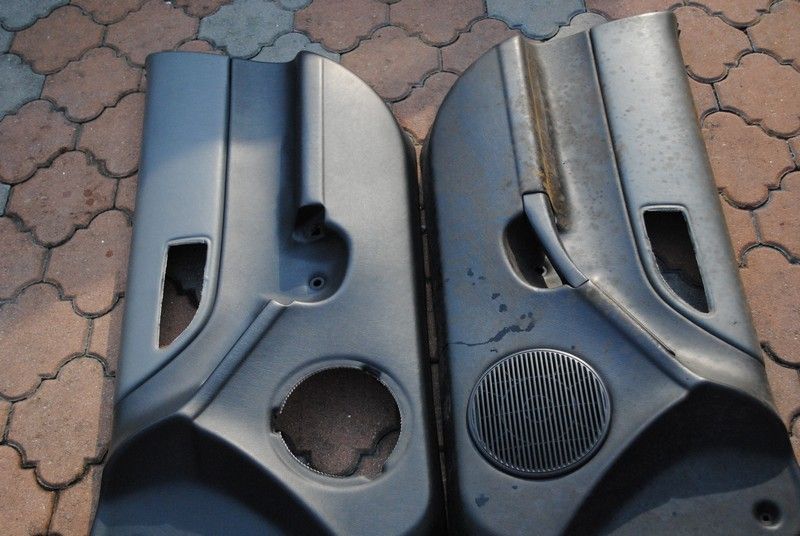
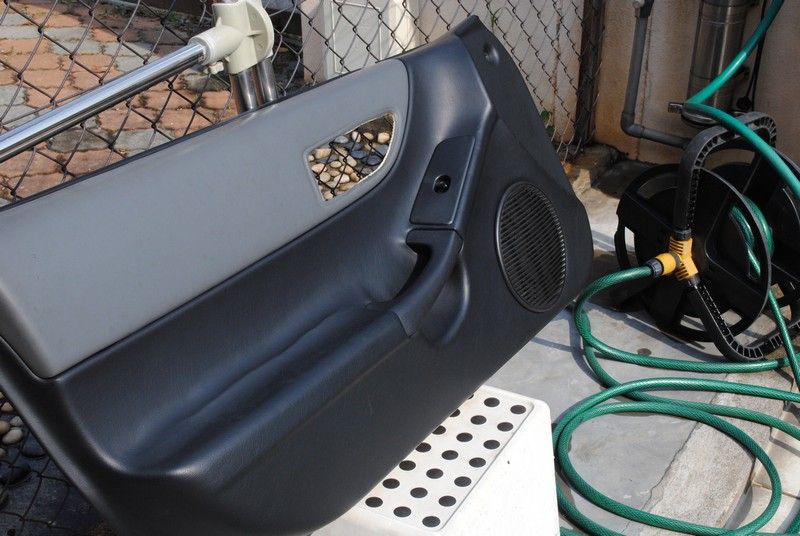
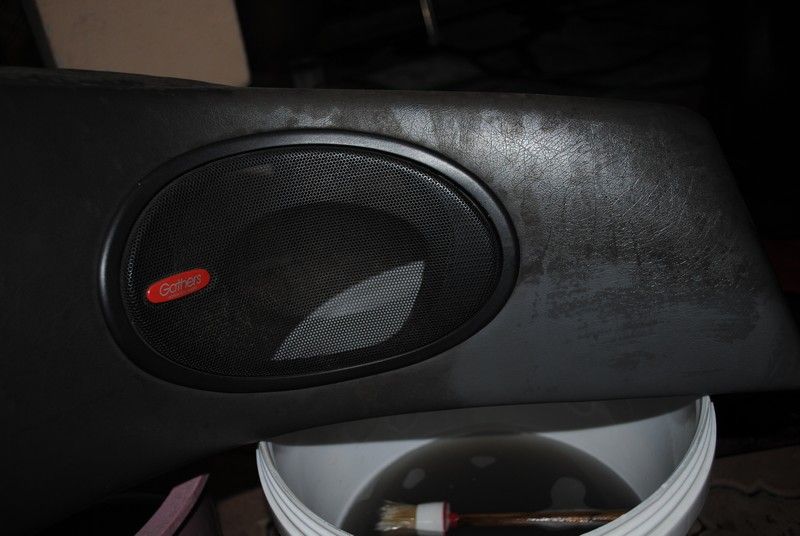
Remember the rear panel that I spoke earlier with fungus.... HALF HALF should convince you on the power of knowledge and Optimum Power Clean.
Comparing it with another side that is not done
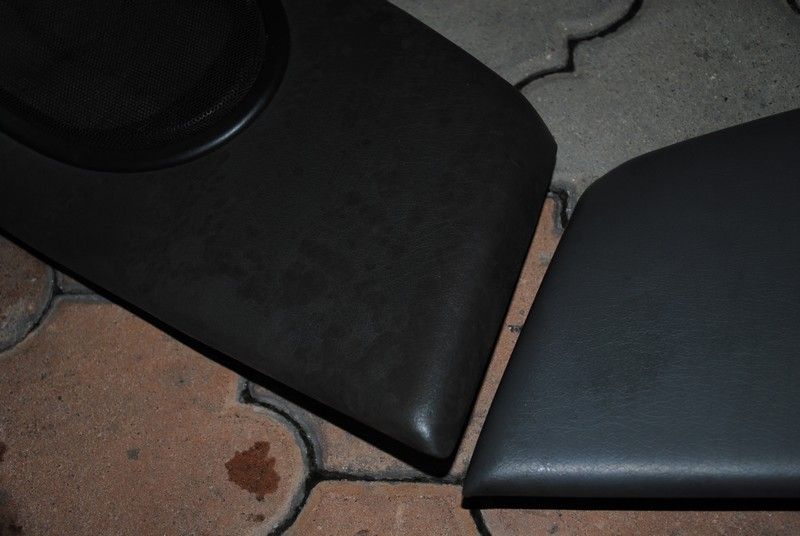
Another comparison so you can tell that there is really a difference and not just lighting or camera trick

50/50 of the other panel
That is all for today. Look forward to more updates as the project continues.
Product used today: OPC 1:3, OPC 1:5, Osren Bubble and Wax, Muscle Power, Screw Drivers, Ratchet size 12.
A full restoration project (estimated to take about 2 to 3 months or more.). So updates will be done progressively. Do remember to check back once a while for more updates.
History lesson:
My project involves a Honda CRX Delsol 1992. A 20 year old car that has gone thru thick and thin with me and his owner. We were young back in those days and we did had a lot of fun with this car.
But I guess no one is interested in knowing my old time stories. So I will stick to the car. Car was bought 2nd hand by my best buddy from secondary school around 2004. It was freshly re-painted back then. He used the car for a good few years but later due to other commitments and in need of a bigger space car, he has sort of abandon the car for more than 3 years in his car porch which is.... open air...
I had asked, begged him to let me restore this car to its glory days as I find it as a really really good challenge. As I am not taking any payment nor have any monetary commitment to this project, it shall be slow paced and rest assured.... very very detailed.
Lets start off with some shots of the car upon arrival (actually its been sitting under my porch for a good week before i started.)
The dirt inside the glass is so thick that you can draw on it.
So is the dirt outside....
Dust on the top of the car.....
Really bad clear coat failure.....
The dirt inside the window was so thick and hard that i had to use water and cloth to write this....
Can you see the spots on the bonnet.... caked up dirt from 3 years or more of no washing
Broken pieces from the windscreen mold...
Dried and cracked window rubber mold.
Pretty thick dirt...
Rear window rubbers have seen way better days...
Rear view of the car..... pretty dirty.
Following pictures are not for the faint hearted.....
Interior photos of fungus infested car.
Oh yeah, fungus man was indeed here.
This side is more severe as this is the part of the car that was exposed to moisture most
Even the dash is not spared....
Poorly prep paint job = paint starts to flick off on its own...
After a quick wash with Osren Bubble and Wash + Optimum Power Clean
Inspection time..... clear coat failing on the bonnet..... i will worry bout this later as exterior restoration will be done last.
Glass and roof has totally no beading and feels rough like sand paper....
How black the water is after the quick wash.....
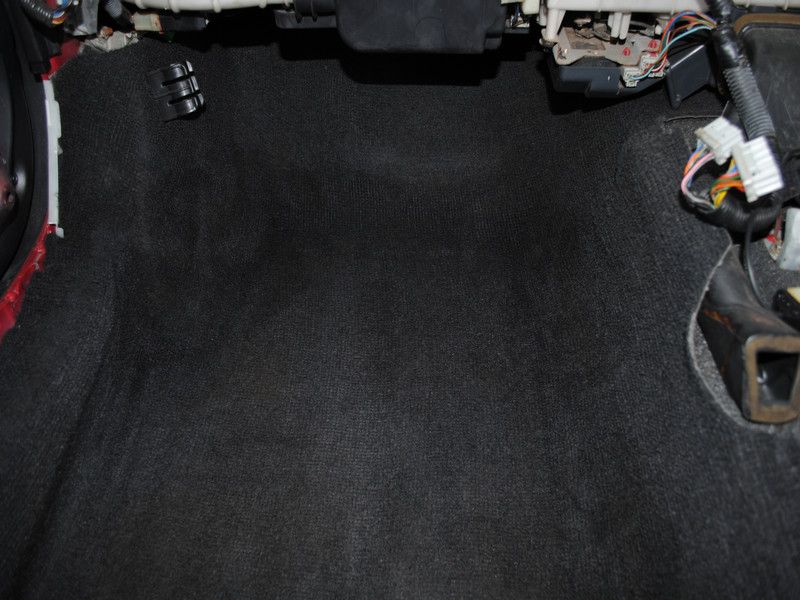
Now, I shall start stripping the car from the inside.
Seats out. *This is a 2 door, 2 seater car.... so only got two seats ya*
Unexpected treasure found.... I shall take these coins as my payment.... hopefully the owner does not ask for it back. KAKAKA
Fungus on the rear panels too....
All must come out.... in order to clean it properly.
Since the seats are out, I installed a new seat brand IKEARO.
This is how the rear firewall looks like...
I am dead serious when I said I drove the car with this IKEARO seats...
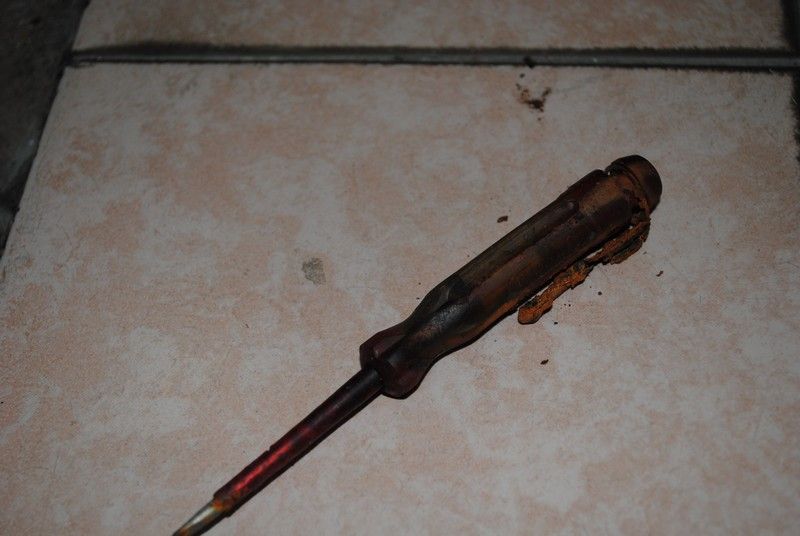
Some of the things found inside the panels.... rusted like mad test pen..
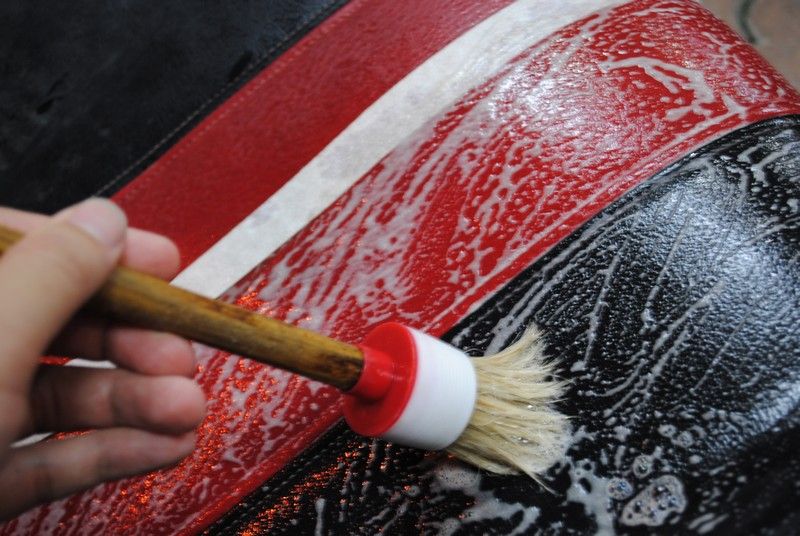
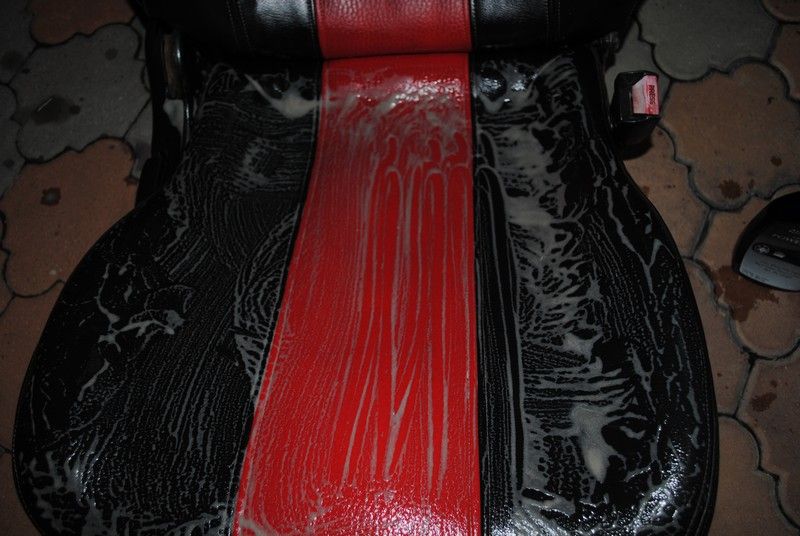
Let's start detailing the seats.... since its out.
Can you see which side was detailed after one pass of OPC 1:5?
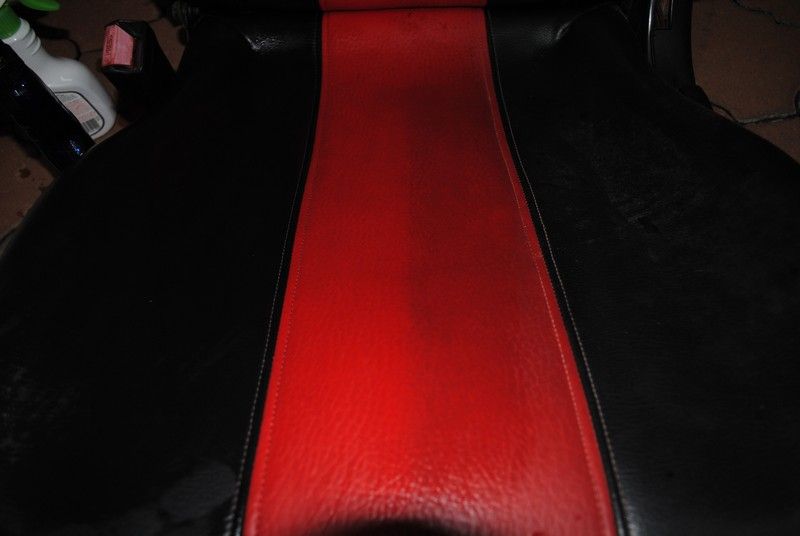
Now whole seats gets OPC 1:5
Can you see the difference?
Still cannot, then compare both seats, which is detailed and which isn't?
Hmm, some weird stains....
Tested a small part with OPC 1:3 and it came out....
So I did it to the entire mark and its mostly gone... more work needed on it.
Rear seats as well....
Yes, this is what was lifted out from ONE of the seats. 20 years of..... butt sweat.
Remember the rear panel that I spoke earlier with fungus.... HALF HALF should convince you on the power of knowledge and Optimum Power Clean.
Comparing it with another side that is not done
Another comparison so you can tell that there is really a difference and not just lighting or camera trick
50/50 of the other panel
That is all for today. Look forward to more updates as the project continues.
Product used today: OPC 1:3, OPC 1:5, Osren Bubble and Wax, Muscle Power, Screw Drivers, Ratchet size 12.