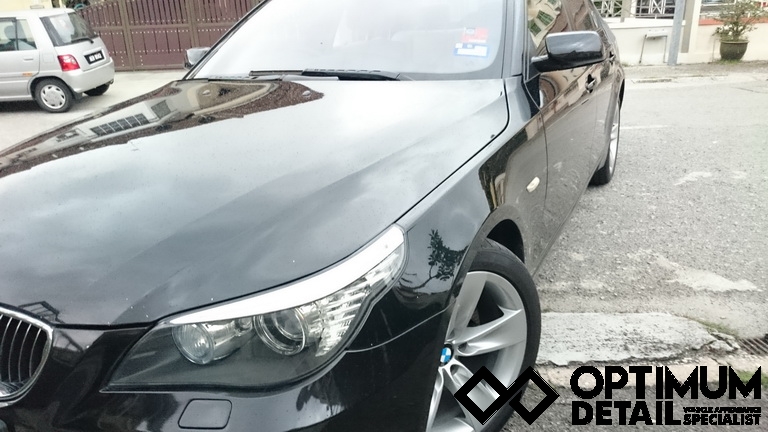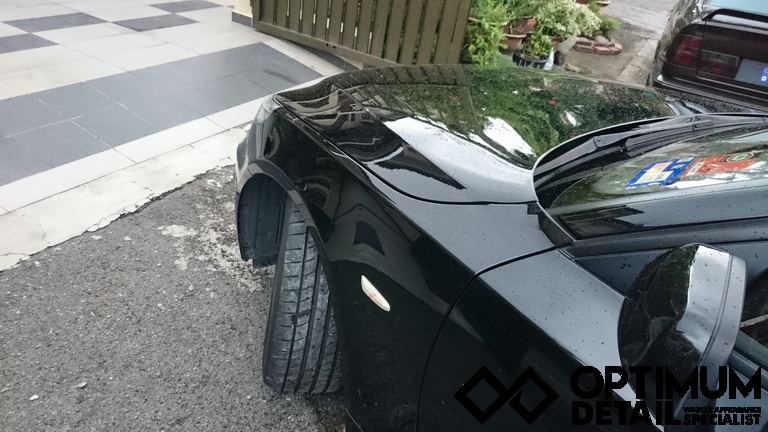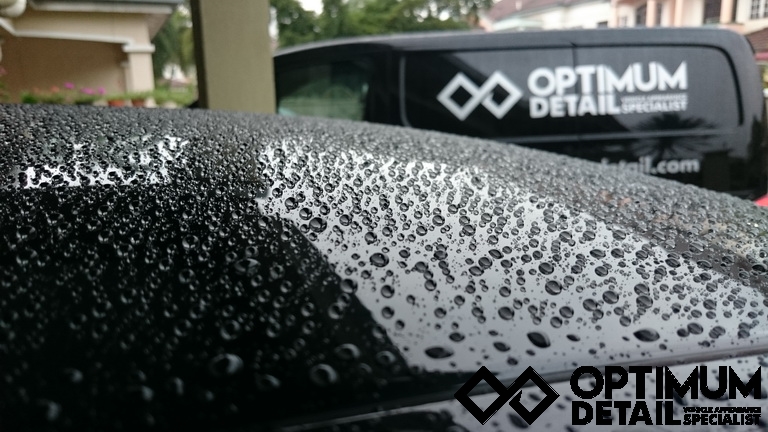
We have with us a quite aged BMW E60 5 series with us today. Being a car of at least 5 years old. It had never been detailed, never been waxed and always driven as it is. Due to some special arrangements, the owner sent the car over to us for 2 days. Read on and find out what we did.

Upon arrival, we had to let the car cool down from a 30minute drive. But this is what we found during out initial inspection.

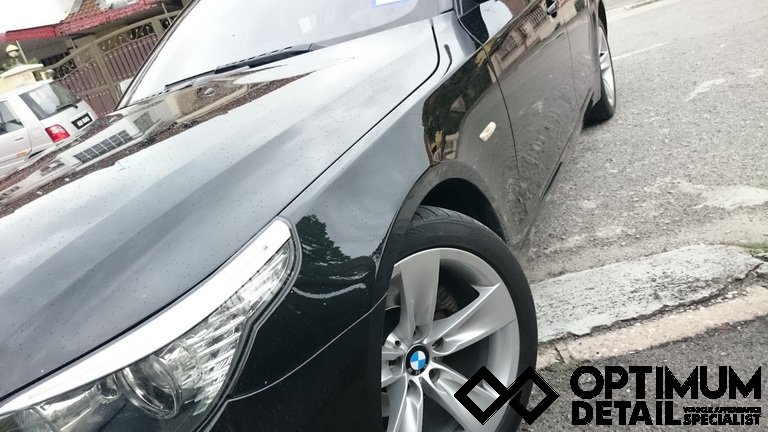
Close up, we saw that the car had severe watermark issues.

Some deep scratches were very visible.

Some finer scratch were also spotted on the hood.

As we discovered more hidden treasures. More watermarks were spotted.

Time for some proper LED lights. The watermark is visibly stained and swirls are visible.
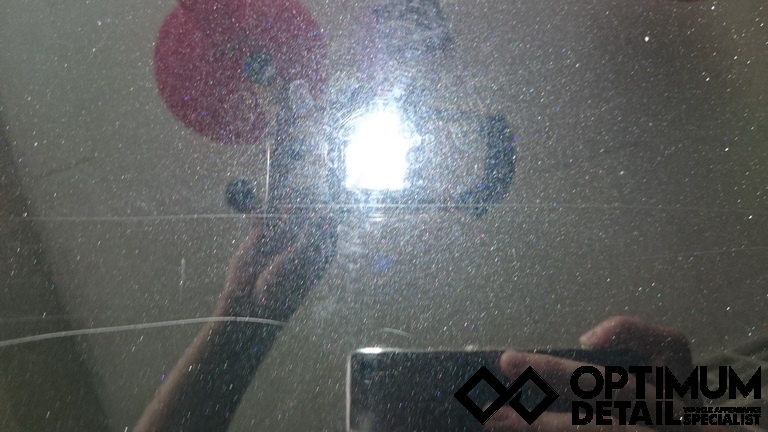
Another area shared the similar fate.

Side door panels had lesser watermark issues but was full of swirls.

Due to its severity, we check every single square inch of the car.

As for the headlights, it was not very visible from a distance but when we looked closer, the lens was yellowish.
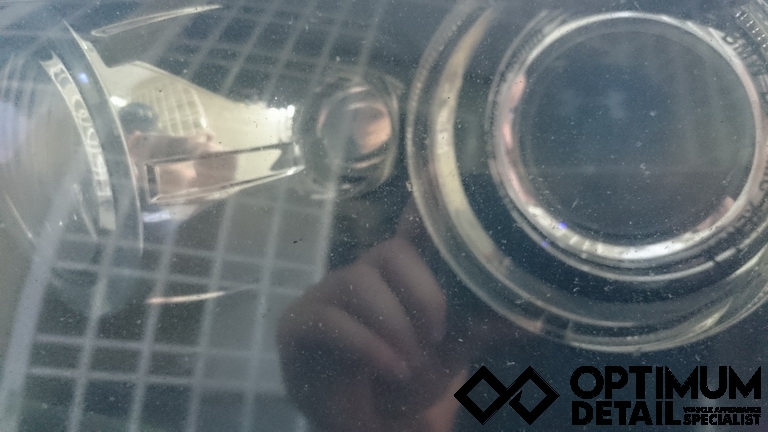
Edges of the headlight had started to oxidize. In no time, the headlight will become fully yellow and hazy


After we determined the level of damage on the car, we started with cleaning stubborn stains. This area is always a neglected part.
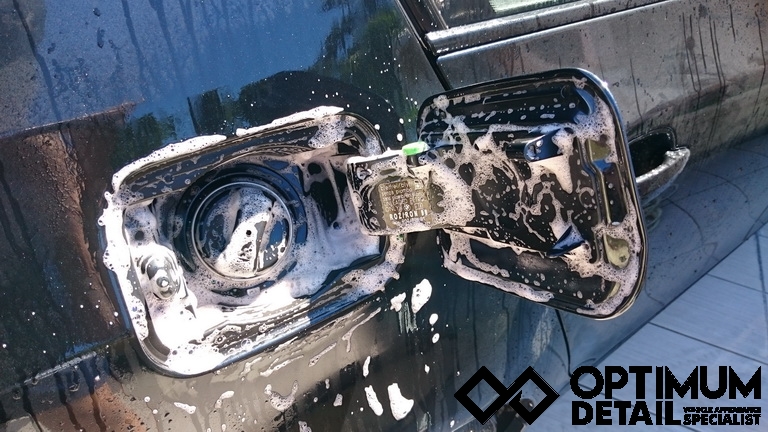
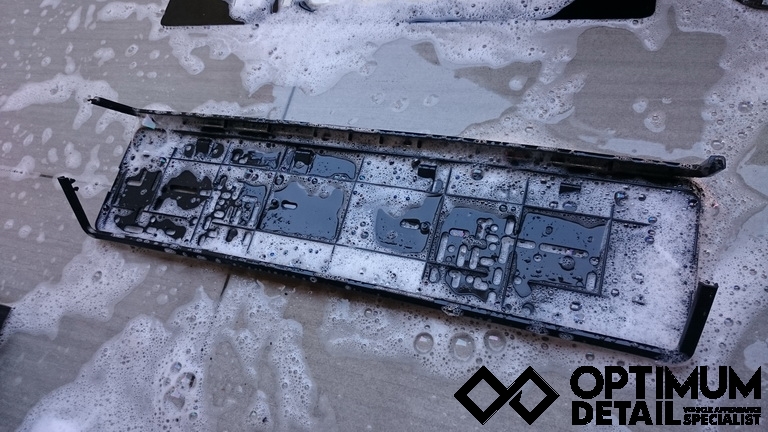
We removed the number plates and clean the plate holders.
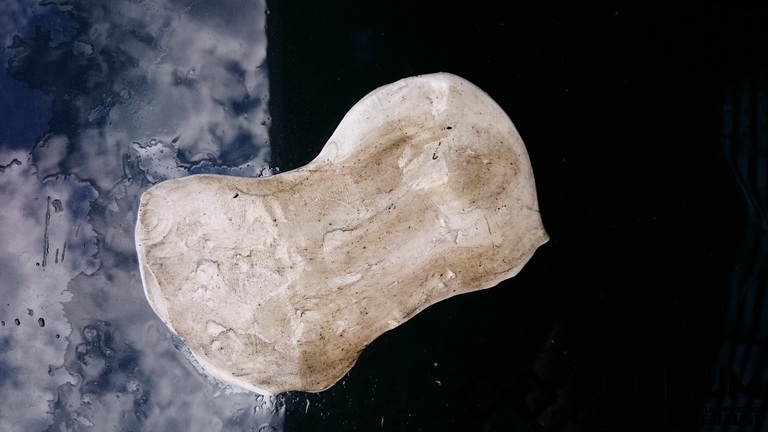
After washing the car, we used some clay lube and clayed the car. This was just from a quarter of the door.
We utilized the Rupes Correction System for this paint. Did some test panels to find the perfect combo.

After we got the combination of pads and polish, this was the outcome.
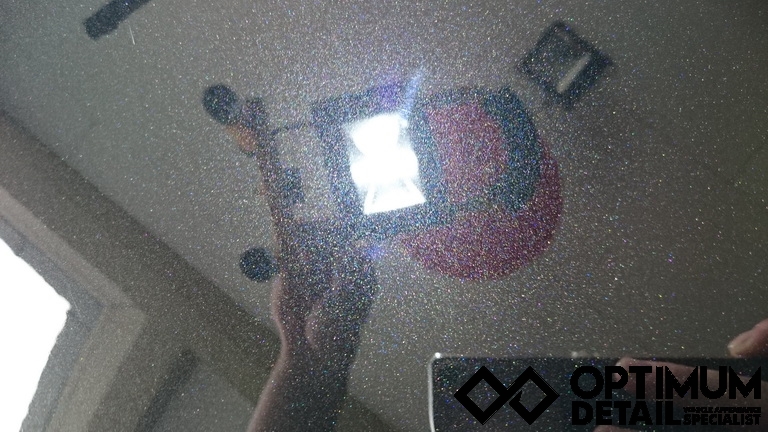
Swirls were mostly removed.
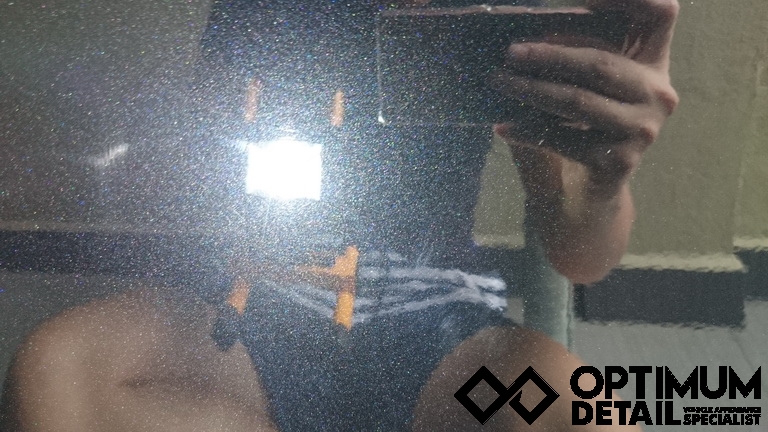
Although the remaining deep scratches was no longer visible, there were still some leftovers.
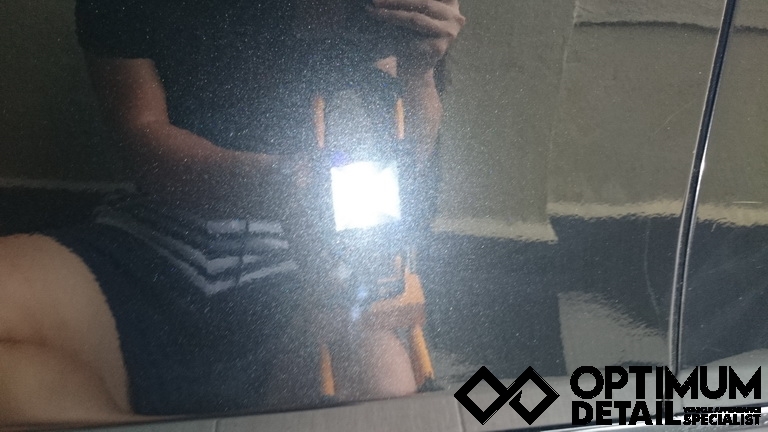
Overall, we were able to restore the shine.

Coming to the headlights. We spend a few hours sanding the headlights down, removing all yellowish oxidation.
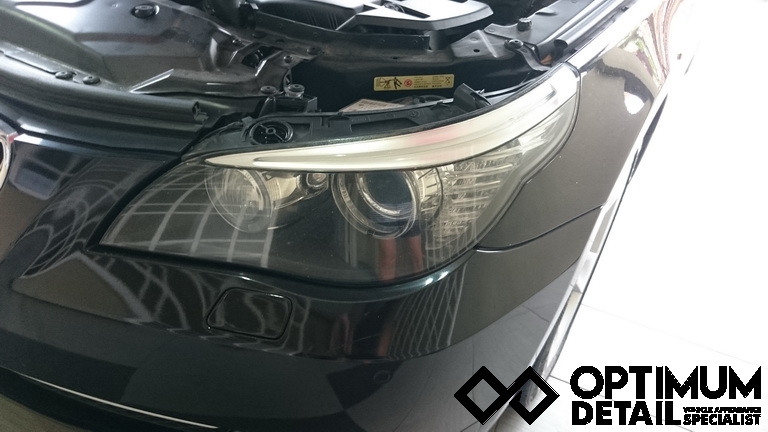
Finally, Correcting the headlights, restoring its clarity.


As for the wheels, it was 5 years old, not properly cleaned.

This brake dust level was just a week old, but the stains at the edges were way longer.
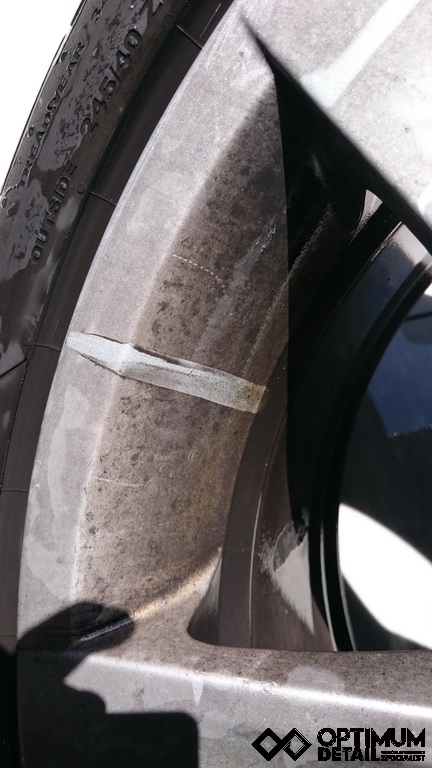
So, we decided to remove the wheels for better and easier access to the barrel.
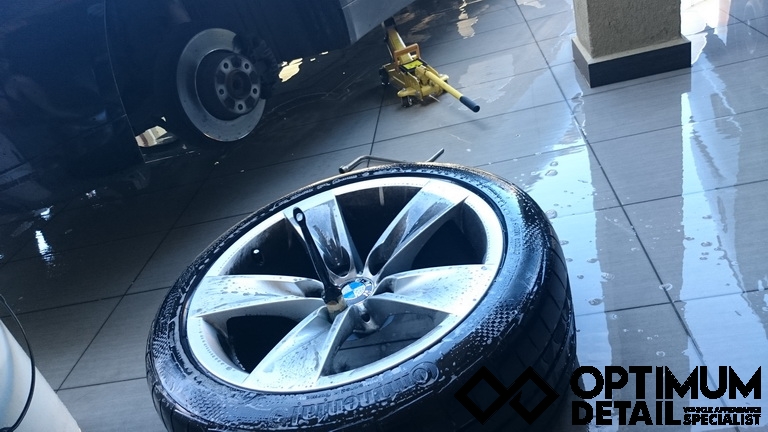
We did some intense degreasing and decontamination here to get it to this state.

After that, we polished the face, removing oxidation and the stains on the edges.
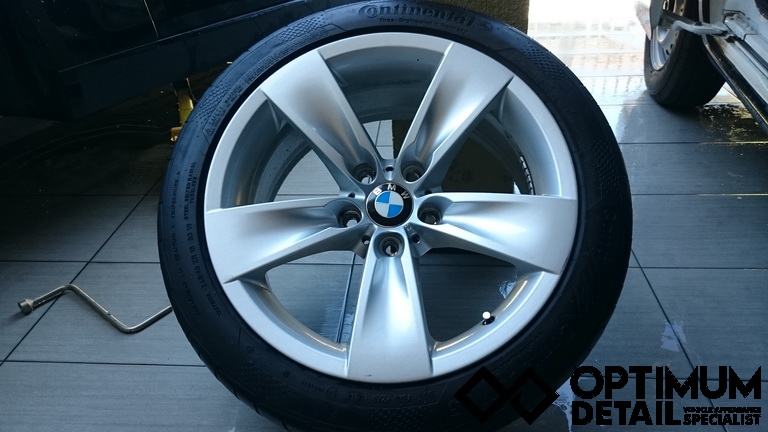
Now the shine from these original wheels are restored.
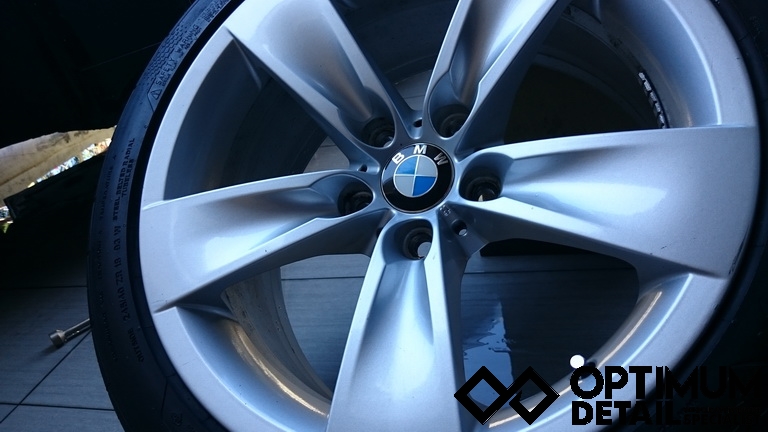
There were a minimal amount of leftover stains that were stained for way too long.

Up to now, we had spent 13 hours on the cleaning, decontamination, stain removals, watermark removals, and paint correction.

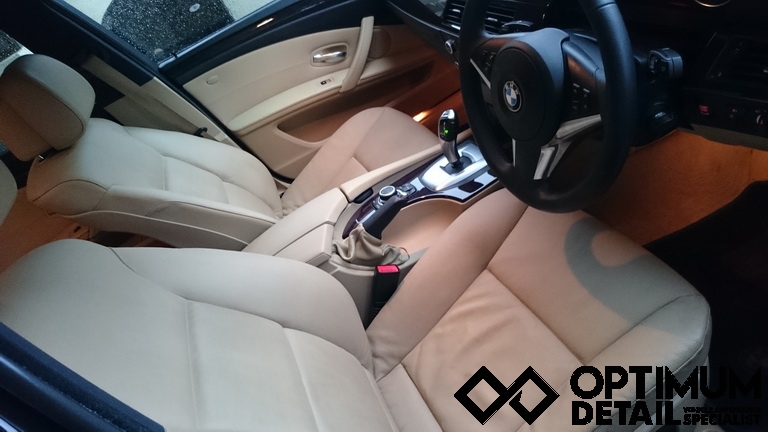
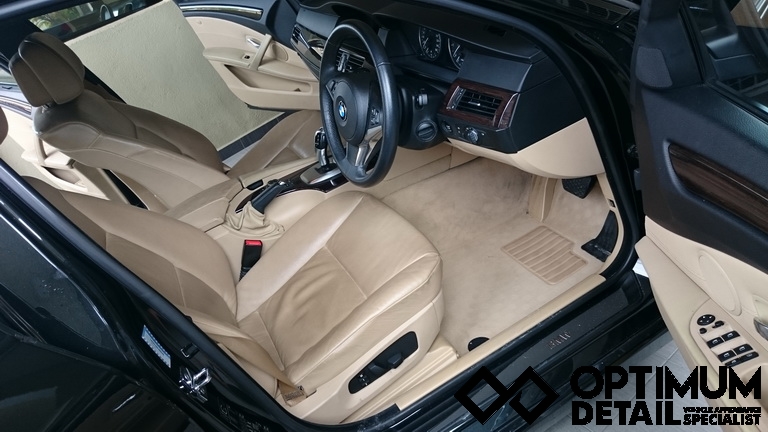
The next day, we started work on the interior. This is how the interior looked before. From a distance, you still see a cream coloured interior.
The steering looked "normal" to most car owners.

But when we looked closer. Stains are obvious.

As we observe the leather closer, it doesn't look very cream colour anymore.

At this point, we did some testing on the cleaner's dilution ratio.
We usually use a 1:9 ratio for normal leather cleaning but this way a special case. Intensiveness had to be increased.
Here is a 50/50 from our testing on the arm rest.

50/50 on the driver's seat.
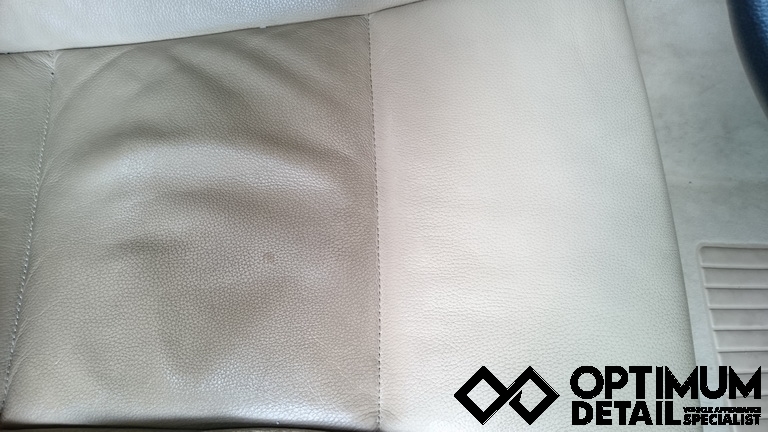
A closer look on the stains on the passenger seat.
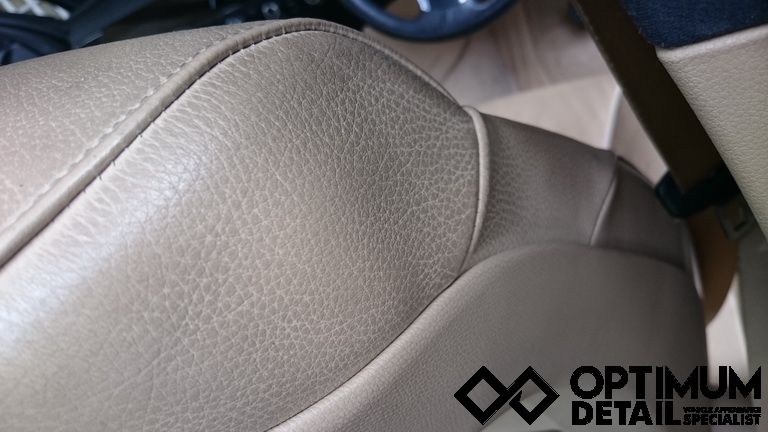
And a 50/50 comparison of the true colour.
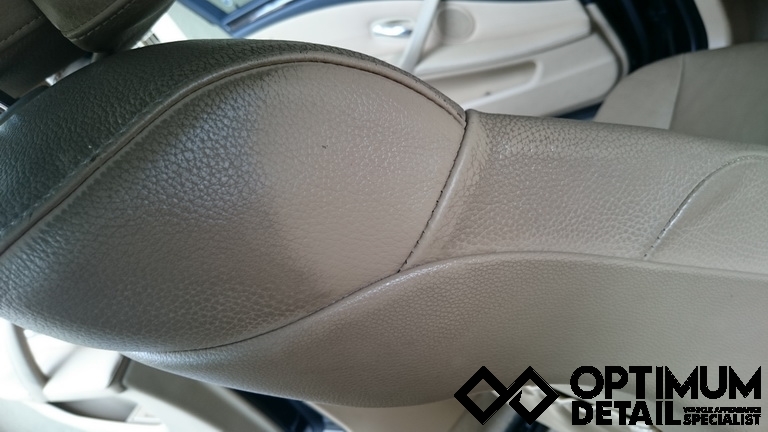
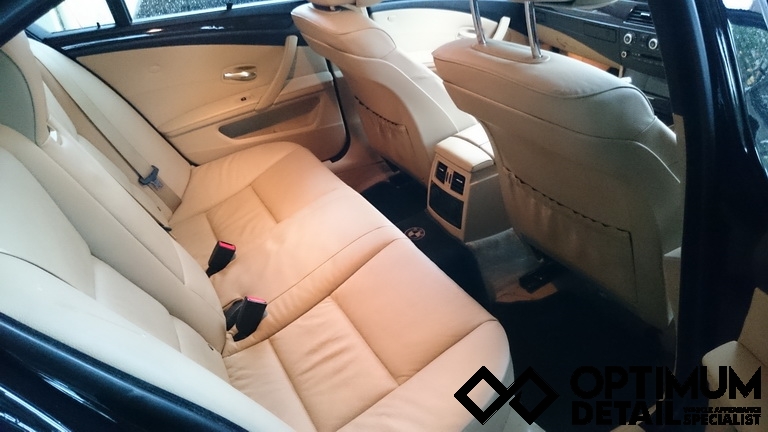
Here is a 50/50 of the back seat.
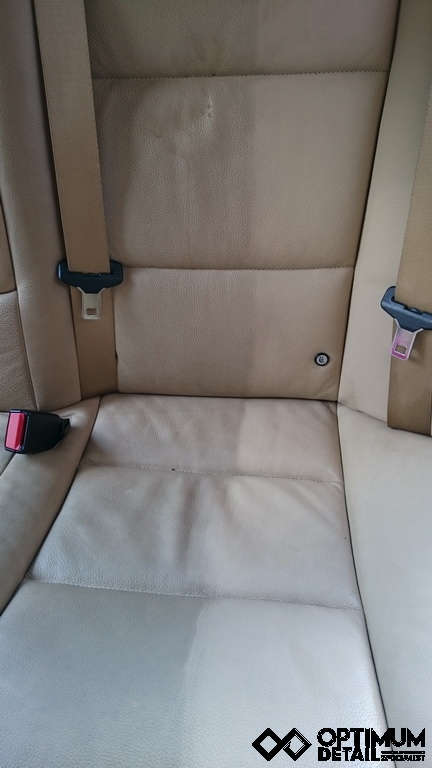
After cleaning all the seats, we moved on to the steering. Here is a 50/50 comparison on the steering. On the left, it is stained and greasy, hence the shiny outlook. On the right, its natural matte finish.
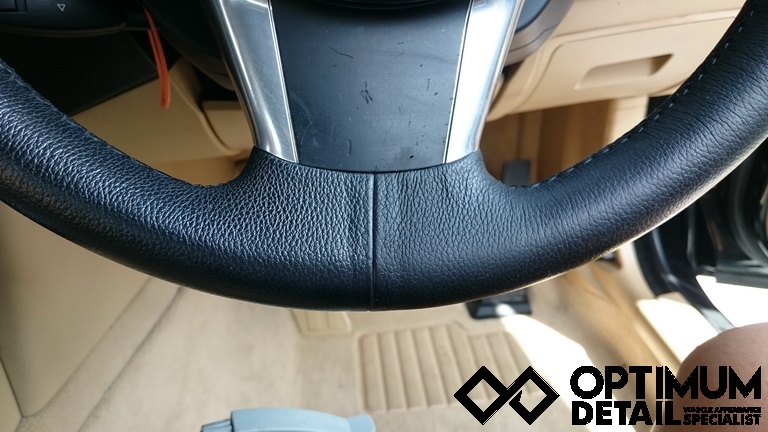
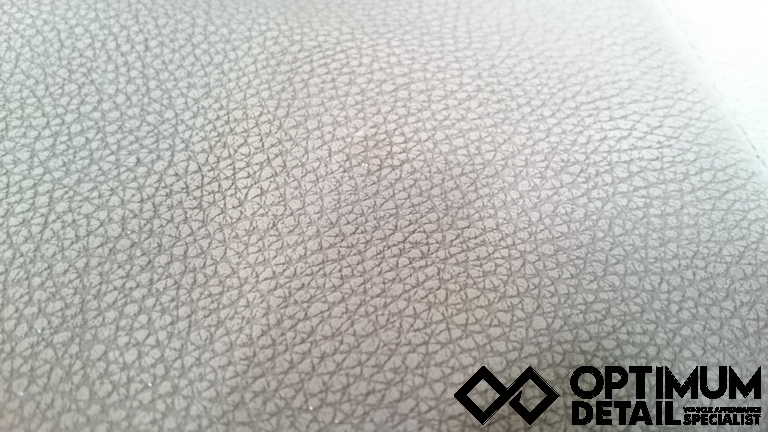
This is the leather's texture before cleaning.
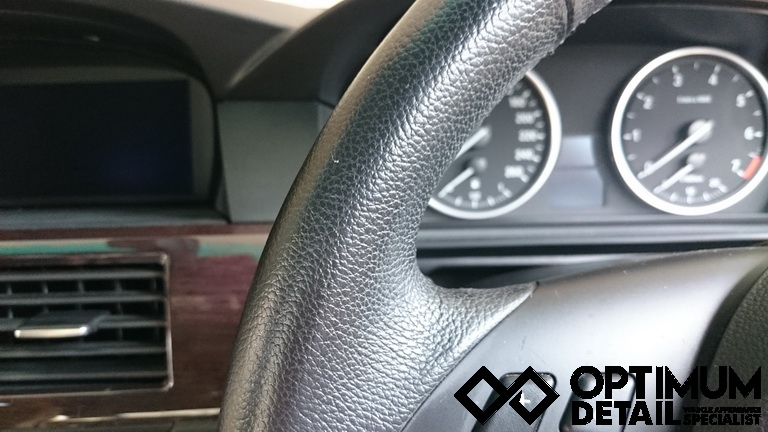
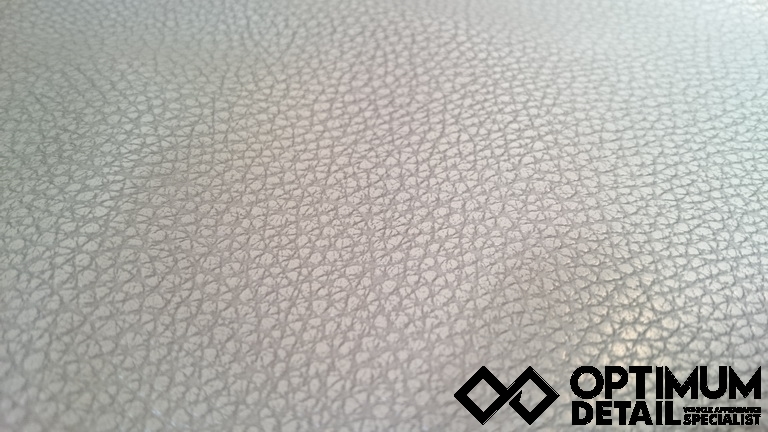
This is the leather's texture after cleaning.

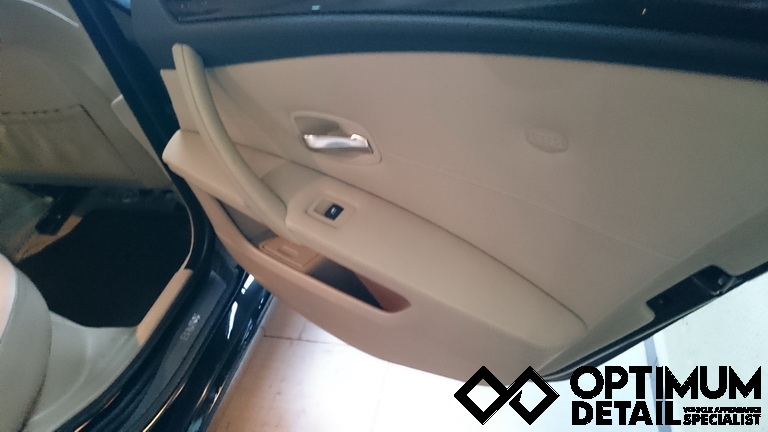
Finally, after 6hours, we completed the interior cleaning and restoration.

As the LSP (Last Step Product) We applied Mother's Leather Conditioner for its natural soft touch, matte finish, and butterscotch scent
