

For those whose interested in diy spraying, heres some tutorials for u.. this technic could be apply on wood, metal, plastic n fiberglass..
Items needed:
- sand paper (grid 240)
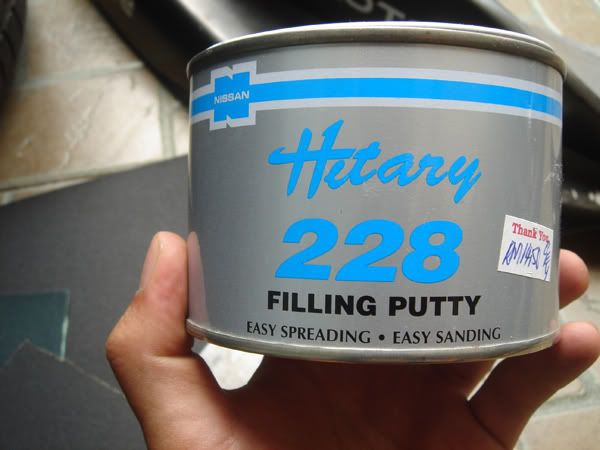
- filling putty for metal/fiberglass
- scraper
- Primer (look for 'Matahari'brand spray can) coded '5 - P/S Grey'
- 2K color spray (depending wat color u like)
- Clear spray
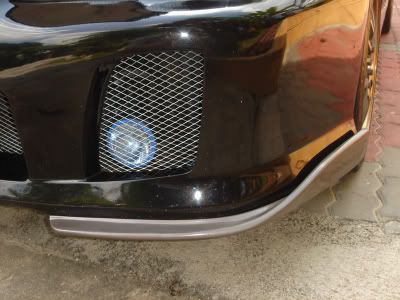
OK, for this project i chose to respray the diffusers/splitters from my bumper.. hope u guys could keep up..
Heres the look of a 'fine work' from the shop dat get this bumper done which i got last December..
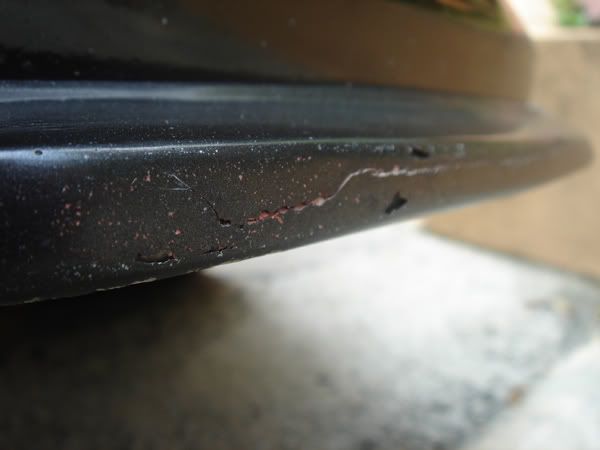
geez.. didn't know dat even termites loves fiberglass... lol
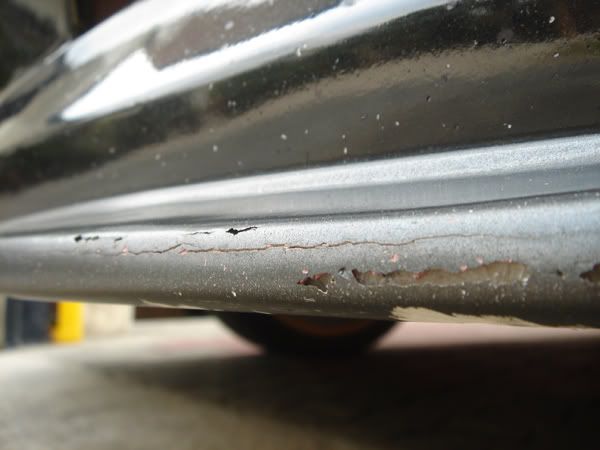
juz getting eye soar seeing my car like this...
Step 1 : Took of the parts from the bumper to make life easier..

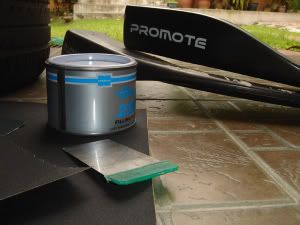
Get every stuff ready..
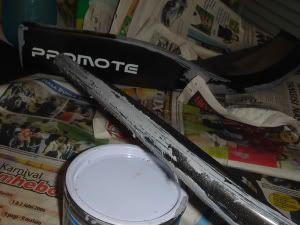
here are the putty, scraper(the green thingy) ,sand paper and spray paint..

Step 2 : Applying the putty by using the scraper. This is to cover any holes or cracks.
Step 3 : Leave it for about half n hour than start sanding.. add abit of water during the sanding process, this basically to make the dust doesnt spread everywhere n end up in yr lungs also to make the sand paper lasts and easy sanding.. (ignore the red putty, dats d work of previous paintjob)
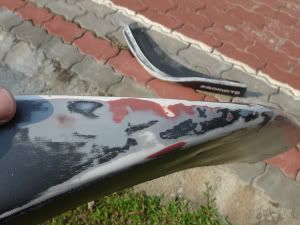
NOTE: repeat Step 2 & Step 3 few times if until the surface is smooth
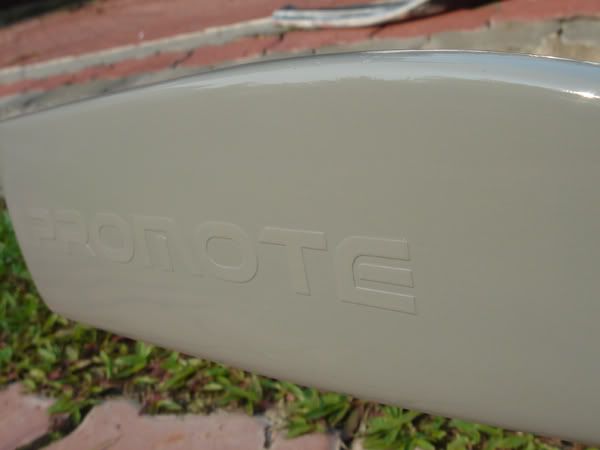
Step 4 : Spraying the Primer. Make sure that the surface is totally DRY & CLEAN b4 applying the spray. Spray about 2 thin layers with half an hour intervals. (this goes for most quick drying paint jobs)
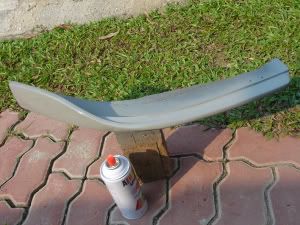
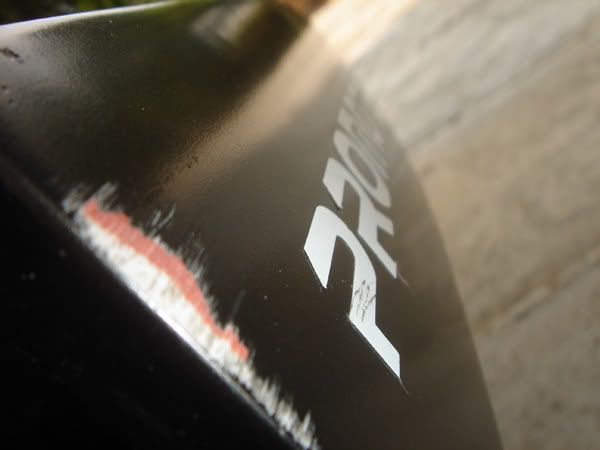
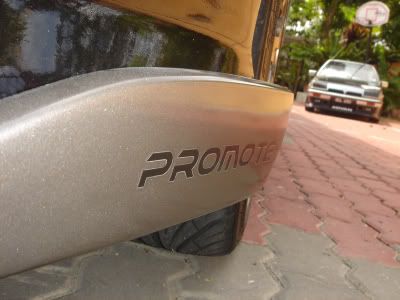
i chose to leave the stickers on to acts as a masking for the wordings (u'll get wat i mean later)
Step 5 : Spraying the color. If ure happy enough with the Primer, then u can proceed to color paint.. This is the one of the most critical stage of the process and i like to emphasize DO MAKE SURE THE SURFACE ARE 100% DRY AND CLEAN FROM DUST AND MOST IMPORTANT IS OILS ESPECIALLY FOR YOUR HANDS. I sprayed about 3 layers of this juz to make sure the color stands out..
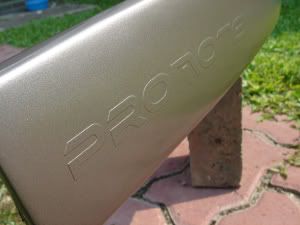
Due to the thick layers, i leave it overnite juz to make sure it dries properly.
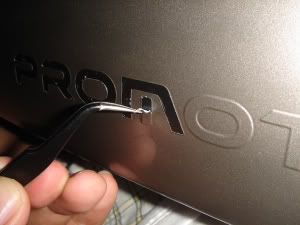
Step 6 : Peeling of the maskings. I did abit of extra job, so i need time to take off the masking.. Ignore this Step for those who didn do them.
Step 7 : FINAL coat. Lastly i sprayed 2 thin layers of Clear coat to make the paint job last longer and to protect it from weather.. (didn't manage to take pics for this step cuz forget)
Heres the BEFORE and AFTER
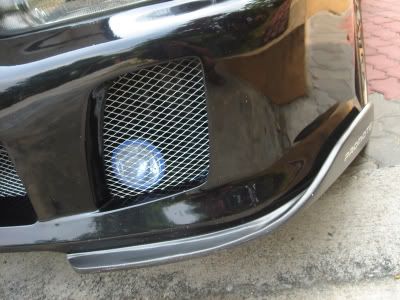
Not dat great of a job but it'll do.......
Apologize for d different sizez of images, i did resize them, but dunno y didn came out all even..
ANYWAY happy diying zthians... :tongwink:
Items needed:
- sand paper (grid 240)
- filling putty for metal/fiberglass
- scraper
- Primer (look for 'Matahari'brand spray can) coded '5 - P/S Grey'
- 2K color spray (depending wat color u like)
- Clear spray
OK, for this project i chose to respray the diffusers/splitters from my bumper.. hope u guys could keep up..
Heres the look of a 'fine work' from the shop dat get this bumper done which i got last December..
geez.. didn't know dat even termites loves fiberglass... lol
juz getting eye soar seeing my car like this...
Step 1 : Took of the parts from the bumper to make life easier..
Get every stuff ready..
here are the putty, scraper(the green thingy) ,sand paper and spray paint..
Step 2 : Applying the putty by using the scraper. This is to cover any holes or cracks.
Step 3 : Leave it for about half n hour than start sanding.. add abit of water during the sanding process, this basically to make the dust doesnt spread everywhere n end up in yr lungs also to make the sand paper lasts and easy sanding.. (ignore the red putty, dats d work of previous paintjob)
NOTE: repeat Step 2 & Step 3 few times if until the surface is smooth
Step 4 : Spraying the Primer. Make sure that the surface is totally DRY & CLEAN b4 applying the spray. Spray about 2 thin layers with half an hour intervals. (this goes for most quick drying paint jobs)
i chose to leave the stickers on to acts as a masking for the wordings (u'll get wat i mean later)
Step 5 : Spraying the color. If ure happy enough with the Primer, then u can proceed to color paint.. This is the one of the most critical stage of the process and i like to emphasize DO MAKE SURE THE SURFACE ARE 100% DRY AND CLEAN FROM DUST AND MOST IMPORTANT IS OILS ESPECIALLY FOR YOUR HANDS. I sprayed about 3 layers of this juz to make sure the color stands out..
Due to the thick layers, i leave it overnite juz to make sure it dries properly.
Step 6 : Peeling of the maskings. I did abit of extra job, so i need time to take off the masking.. Ignore this Step for those who didn do them.
Step 7 : FINAL coat. Lastly i sprayed 2 thin layers of Clear coat to make the paint job last longer and to protect it from weather.. (didn't manage to take pics for this step cuz forget)
Heres the BEFORE and AFTER
Not dat great of a job but it'll do.......
Apologize for d different sizez of images, i did resize them, but dunno y didn came out all even..
ANYWAY happy diying zthians... :tongwink:
 You want to paint your whole front bar with spray can?
