

This is my first head lamps restoration. After seeing so many notable works i.e. from KC, Josh, Fishbonez... And since I have everything needed, I thought oh well, let's give it a try! This nice car belongs to my gf's dad.
As usual with most JDM and UDM imports, the headlmaps get yellowish, micro cracks and blurrish due to our relentless tropical sun blasting UV rays. This not only makes the car looks old and unattractive, but when driving at night, will reduce light output on the road and cause dangerous glare to oncoming traffic due the the scattered beam.
Let the pictures do the talking....
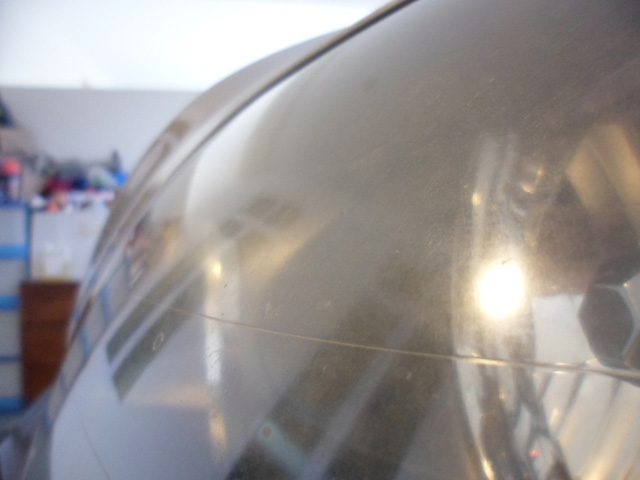
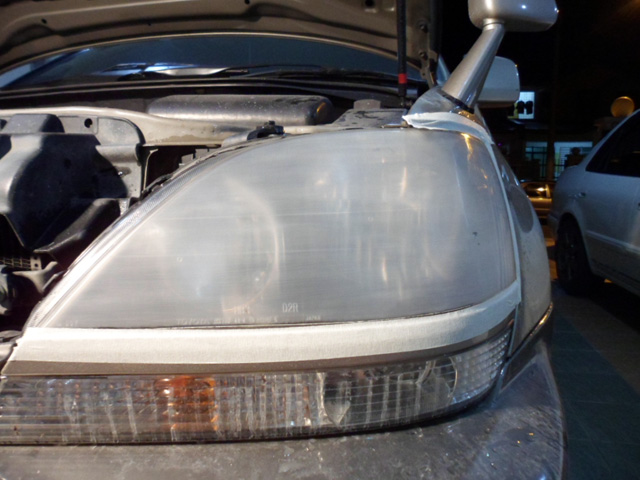
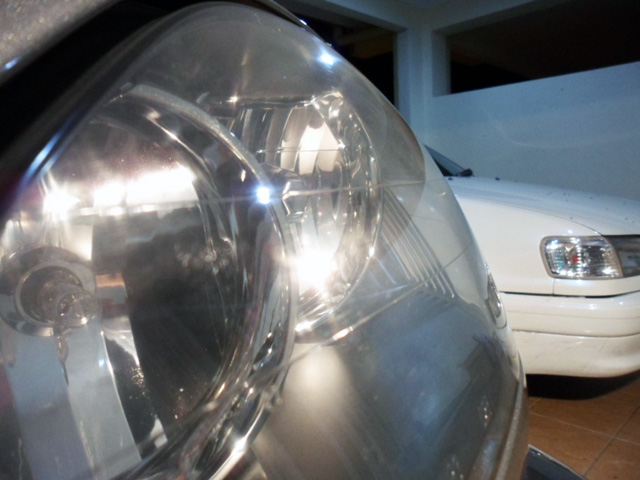
Look at the hazy colour of the headlamp housing... When zoomed in, it actually consist of many micro-cracks.
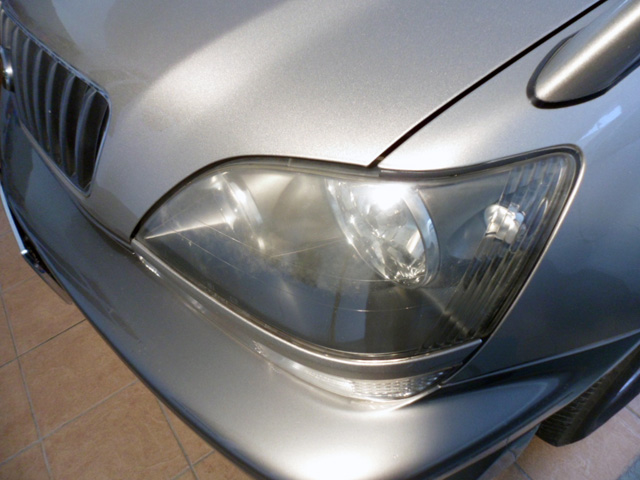
From the top to the middle is most obvious due to the fact that this part is being impacted by the sun most of the time.
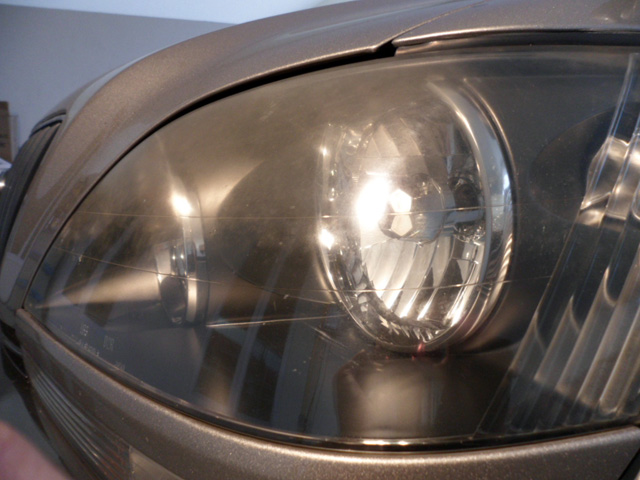
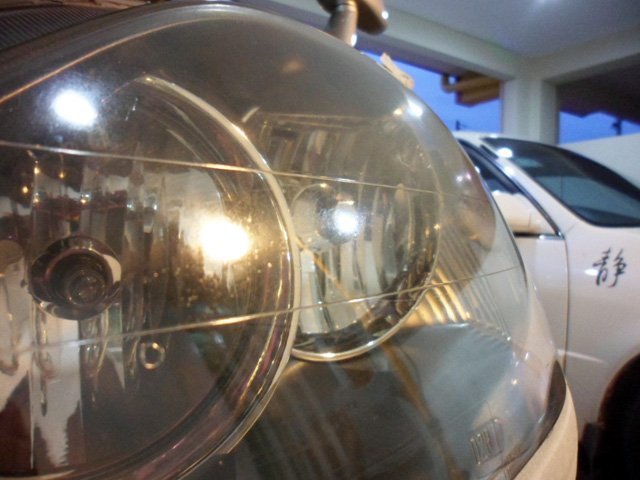
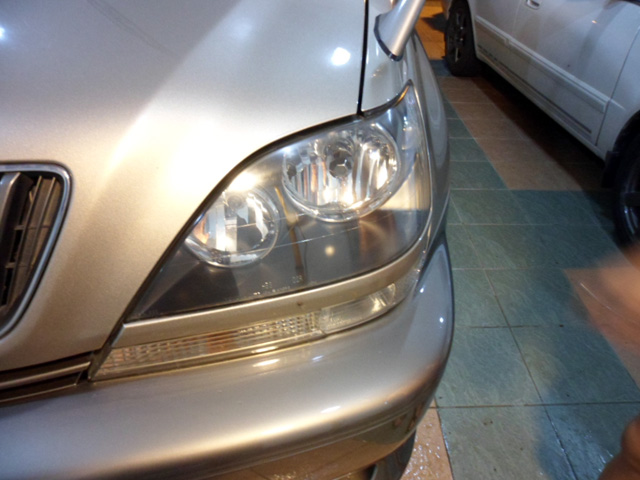
Hazy...
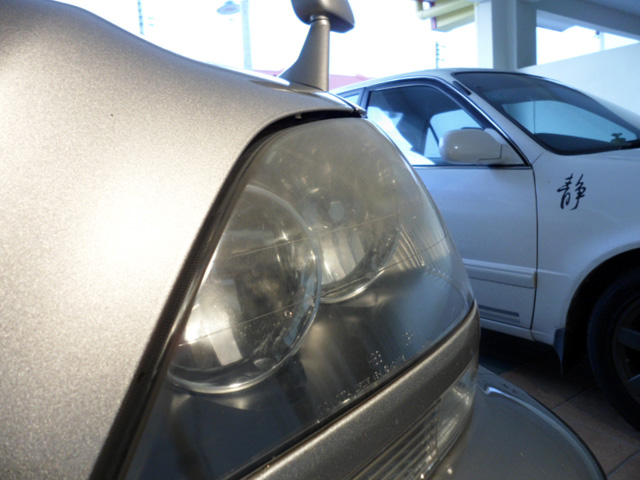
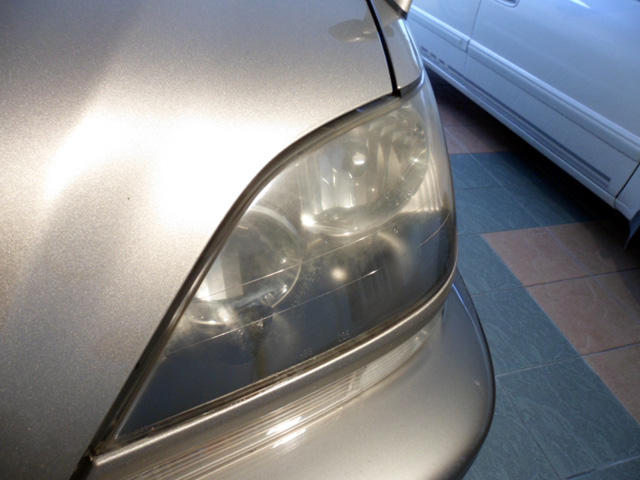
Close up... If you can see the micro cracks... Camera limitation.
I resorted to compound with wool pad and OHC. Tada! People say "Wow"... Not just yet! When I zoom in...
This is not the effect I am looking for. The micro cracks are beyond where it can be rescued by compounding. I have resorted to wet sanding...
Start with 800 grit. Wet sanded with plenty of ONR Lube... For the lack of an electric sander, I hand sanded this down. It ended up in a uniform hazy texture like this...
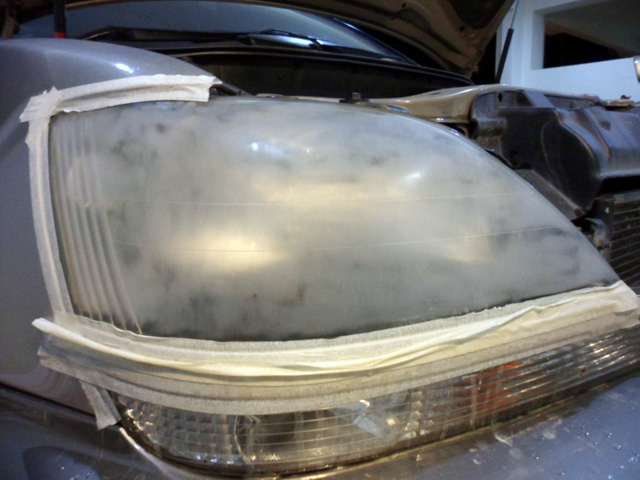
Then proceeded to 1000 grit, then 1500 grit, then at last 2000 grit. Look at the sky's colour... Wet sanding itself took about 3.5 hours for both sides... Did it super slow and gentle as I did not want to risk anything.
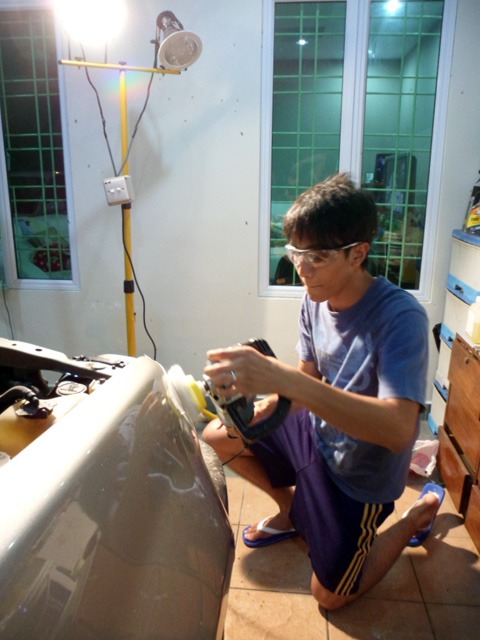
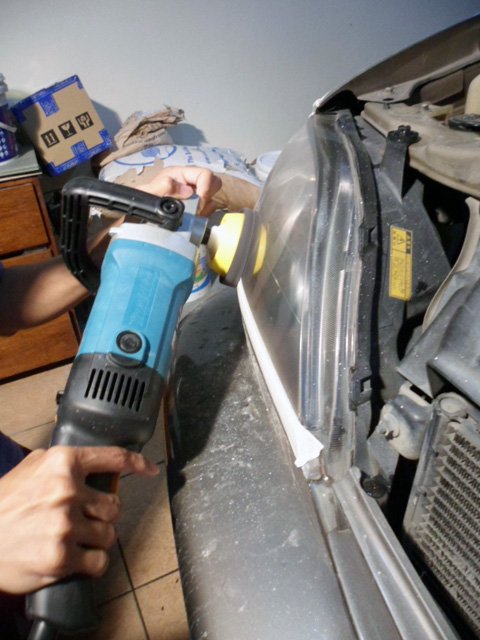
After sanding, I washed with ONR and clayed to remove any sanding residue. Compounding starts... So kind of my gf to take a picture of her bf while working. Trust me, it is really not nice to work under a halogen lamp blasting heat at you... Optimum Hyper Compound on 3" wool pad. Speed 1 - 2.5 - 1 on rotary.
Polished and finished with Optimum Hyper Polish on 3" Lake Country CCS black Finishing Pad. Speed 1 - 2.5 - 1 on rotary.
Headlamps then washed with Optimum Power Clean to remove any polishing residue and then sealed with Opti-Seal for that long lasting protection! There you go...
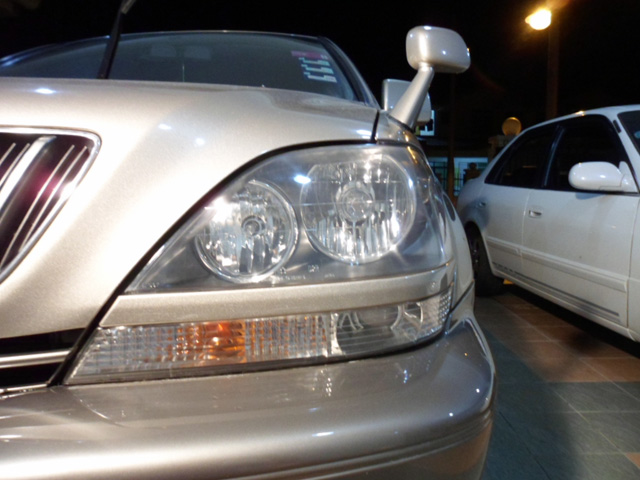
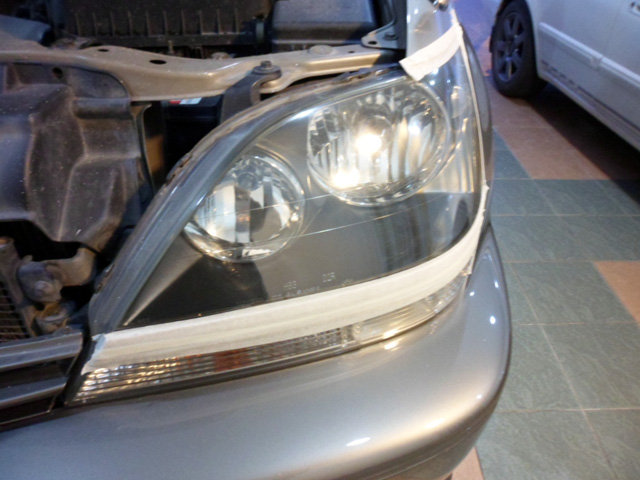
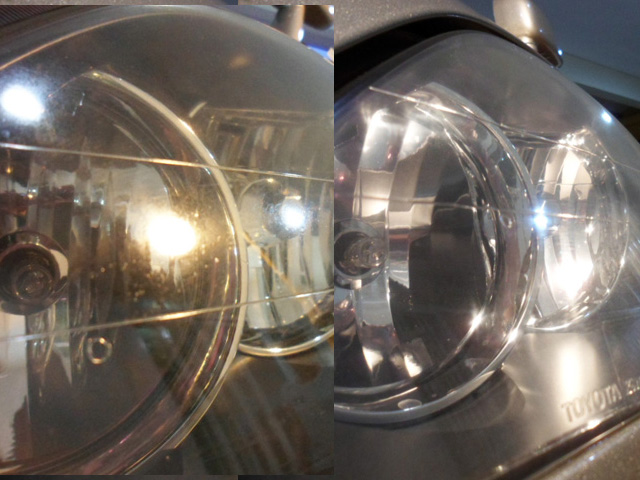
A close up... This is what I am looking for... Micro cracks removed...
Haziness gone. Clarity restored again... Factory condition restored as on it's first day out from Toyota's factory. Of course, given more time, I would love to spend more time on finishing and make it better. But given the time constraint, I am quite pleased with this.
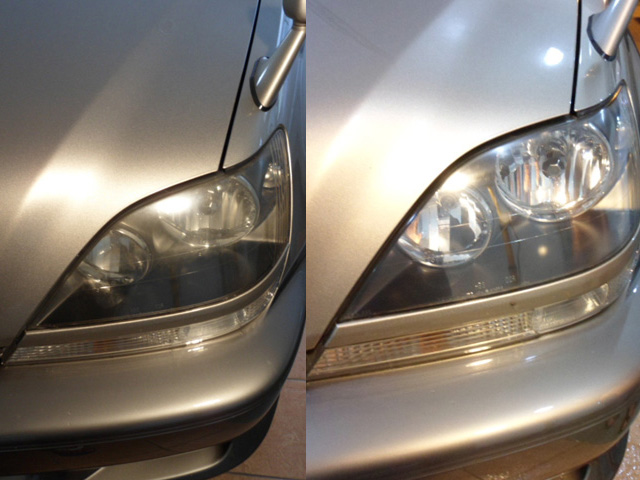
Some quick before-after pics for comparison...
Just did a quick inspection on the paint. I am shocked to find swirl free condition. The owner loves his car thus wash and wax frequently. Just a minor enhancement will do to give it that sharpness. But that will be another time.
Treatment for the day:
- Wash with ONR
- Wet sanded with 800, 1000, 1500, 2000 grit with "plenty" of ONR as lube
- Clayed with ONR as lube
- Compound with Optimum Hyper Compound on 3" wool pad. Speed 1 - 2.5 - 1.
- Polished and finished with Optimum Hyper Polish on 3" Lake Country CCS black finishing pad. Speed 1 - 2.5 - 1.
- Washed with Optimum Power Clean
- Sealed and protected with Opti-Seal
How much is a set of original Harrier headlamps?
- RM 3+ k
What it takes to restore your original headlamps?
- 6 hours
- A sore arm.
Satisfaction = priceless
Thank you for viewing another detailing journey...
As usual with most JDM and UDM imports, the headlmaps get yellowish, micro cracks and blurrish due to our relentless tropical sun blasting UV rays. This not only makes the car looks old and unattractive, but when driving at night, will reduce light output on the road and cause dangerous glare to oncoming traffic due the the scattered beam.
Let the pictures do the talking....
Look at the hazy colour of the headlamp housing... When zoomed in, it actually consist of many micro-cracks.
From the top to the middle is most obvious due to the fact that this part is being impacted by the sun most of the time.
Hazy...
Close up... If you can see the micro cracks... Camera limitation.
I resorted to compound with wool pad and OHC. Tada! People say "Wow"... Not just yet! When I zoom in...
This is not the effect I am looking for. The micro cracks are beyond where it can be rescued by compounding. I have resorted to wet sanding...
Start with 800 grit. Wet sanded with plenty of ONR Lube... For the lack of an electric sander, I hand sanded this down. It ended up in a uniform hazy texture like this...
Then proceeded to 1000 grit, then 1500 grit, then at last 2000 grit. Look at the sky's colour... Wet sanding itself took about 3.5 hours for both sides... Did it super slow and gentle as I did not want to risk anything.
After sanding, I washed with ONR and clayed to remove any sanding residue. Compounding starts... So kind of my gf to take a picture of her bf while working. Trust me, it is really not nice to work under a halogen lamp blasting heat at you... Optimum Hyper Compound on 3" wool pad. Speed 1 - 2.5 - 1 on rotary.
Polished and finished with Optimum Hyper Polish on 3" Lake Country CCS black Finishing Pad. Speed 1 - 2.5 - 1 on rotary.
Headlamps then washed with Optimum Power Clean to remove any polishing residue and then sealed with Opti-Seal for that long lasting protection! There you go...
A close up... This is what I am looking for... Micro cracks removed...
Haziness gone. Clarity restored again... Factory condition restored as on it's first day out from Toyota's factory. Of course, given more time, I would love to spend more time on finishing and make it better. But given the time constraint, I am quite pleased with this.
Some quick before-after pics for comparison...
Just did a quick inspection on the paint. I am shocked to find swirl free condition. The owner loves his car thus wash and wax frequently. Just a minor enhancement will do to give it that sharpness. But that will be another time.
Treatment for the day:
- Wash with ONR
- Wet sanded with 800, 1000, 1500, 2000 grit with "plenty" of ONR as lube
- Clayed with ONR as lube
- Compound with Optimum Hyper Compound on 3" wool pad. Speed 1 - 2.5 - 1.
- Polished and finished with Optimum Hyper Polish on 3" Lake Country CCS black finishing pad. Speed 1 - 2.5 - 1.
- Washed with Optimum Power Clean
- Sealed and protected with Opti-Seal
How much is a set of original Harrier headlamps?
- RM 3+ k
What it takes to restore your original headlamps?
- 6 hours
- A sore arm.
Satisfaction = priceless
Thank you for viewing another detailing journey...

