

- Feb 10, 2006
- 125
- 125
- 1,543
Hello everyone. Just thought of sharing my headlight restoration work with you guys. Inspired to share by our brother Veloc who did the restoration on his future father-in-law's ride hehe.
Enough with the talking and on to the show :)
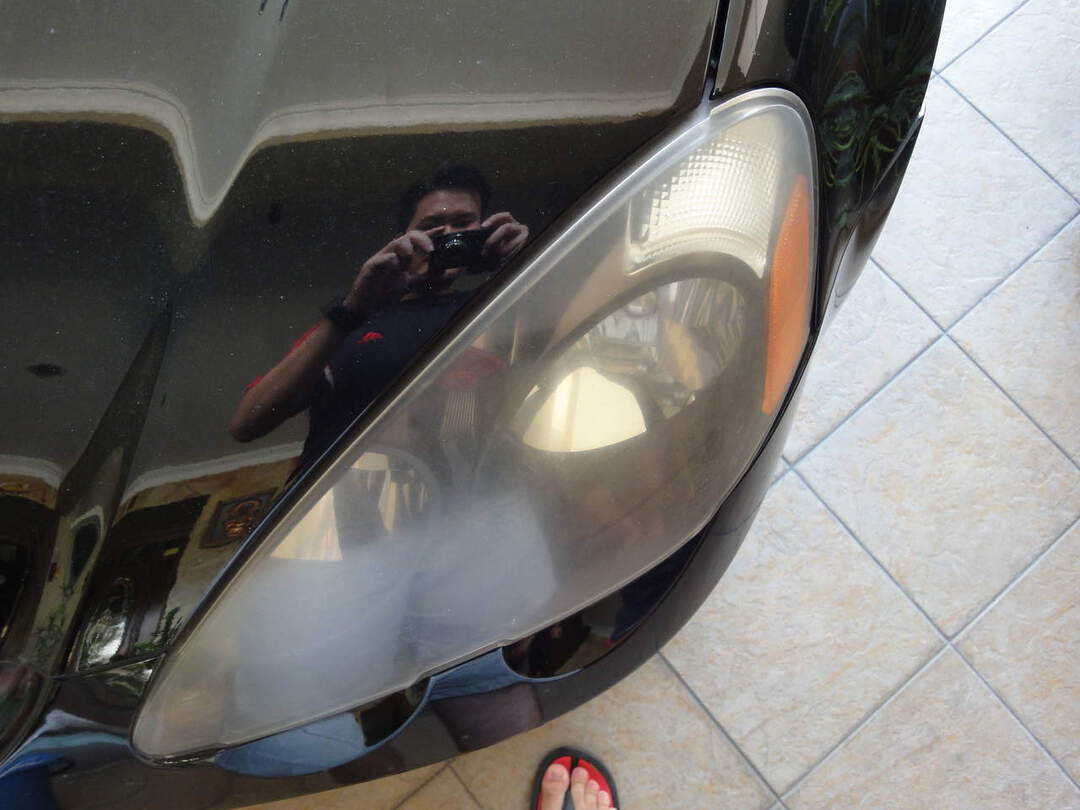
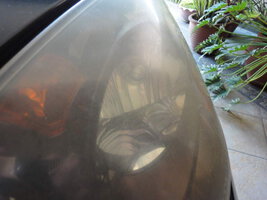
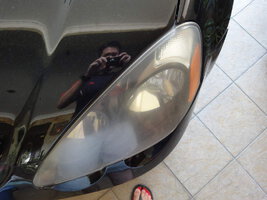
Over the weekend i got a call from a friend who needed help in clearing up his headlights. So i packed my stuff and headed over to see the condition that is was in. This was how it looked like when i arrived. As mentioned by the others, these JDM and UDM headlights are not able to endure our harsh weather conditions. And this was no walk in the park. The once clear headlights had turned yellow and cloudy.

Upon closer inspection, one side of the headlights had been opened before and perhaps the previous owner had coated the inner side of the lamp.

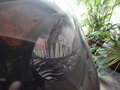
There were many micro-cracks on the lamp. Couldn't capture those with my camera. I didn't manage to take photos at each stage of the fix as i was pressed for time. I initially started wetsanding with the 800 grit sandpaper but noticed that it wasnt removing enough of the old yellowish plastic. So i moved to the 600 grit and it was much much better. Be careful not to get carried away in sanding too much than what is needed. So i moved up from 600 > 800 > 1000 > 1500 > 2000. After all that, let the compounding begin!
remember before?

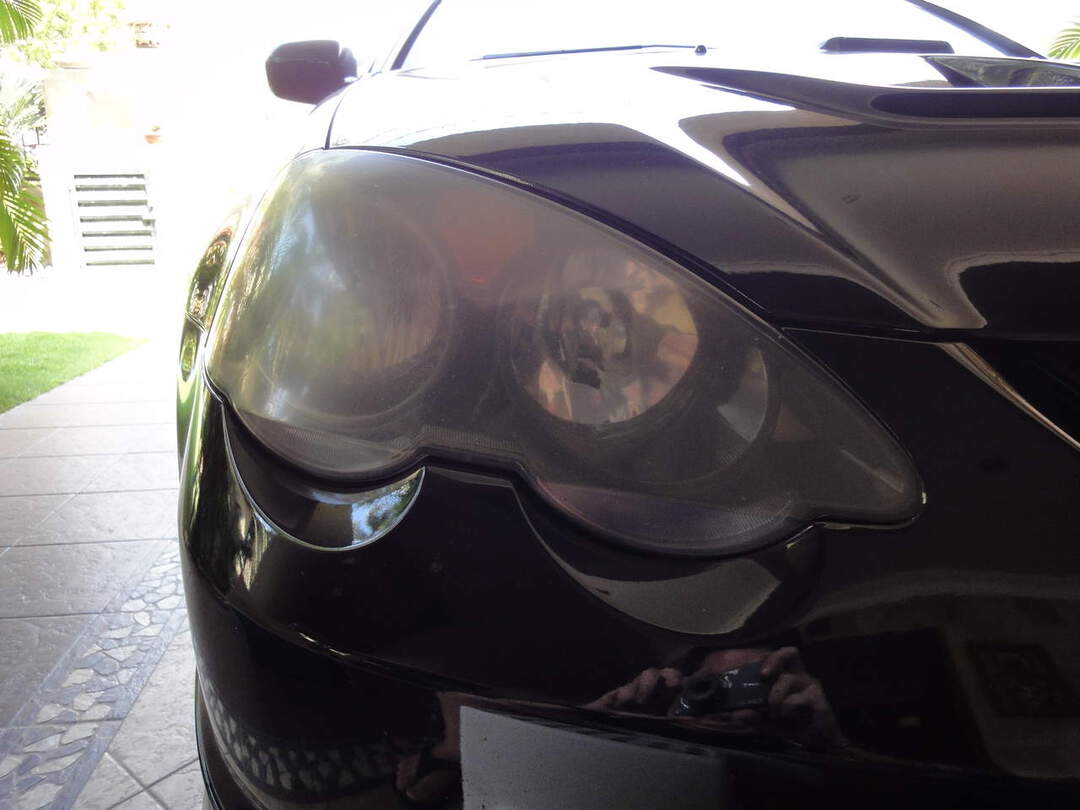
After

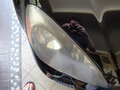
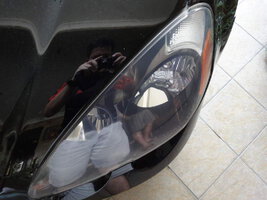
Passenger side before:
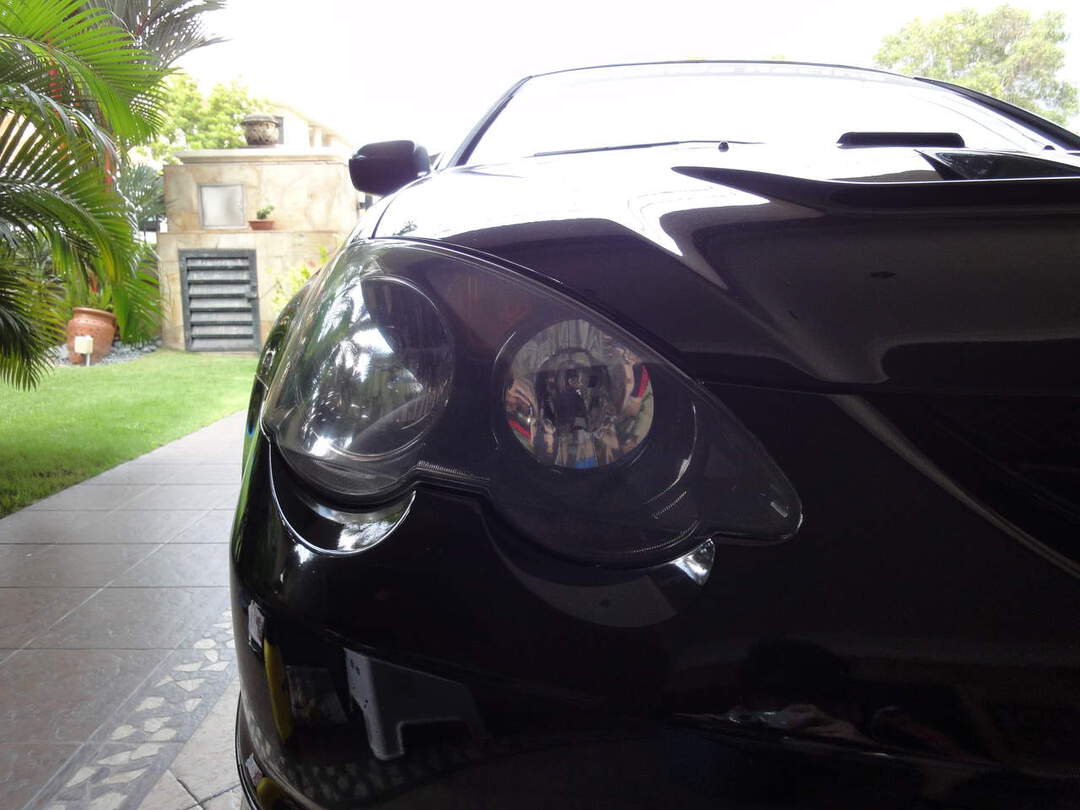
After

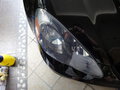
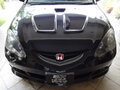
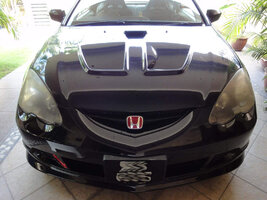
One more from the front before:
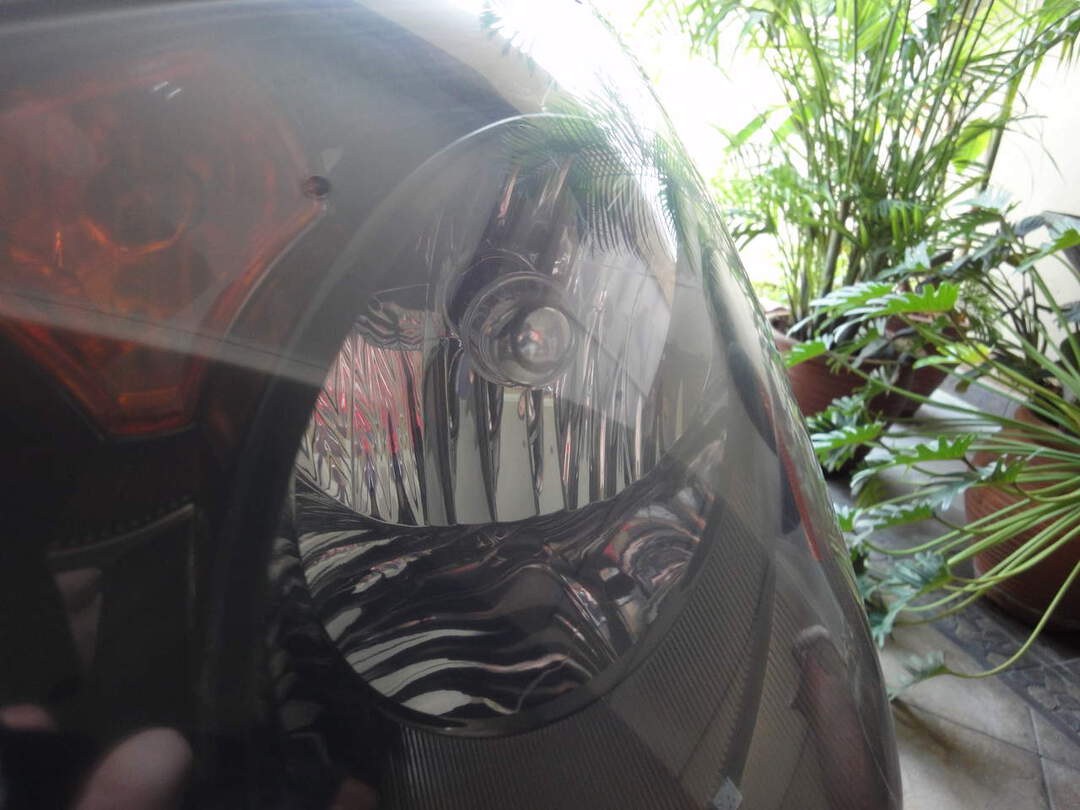
After
Finished up with a round of M205 and OPC to remove any polish residue. The final step was applying the Opti-Coat 2.0.
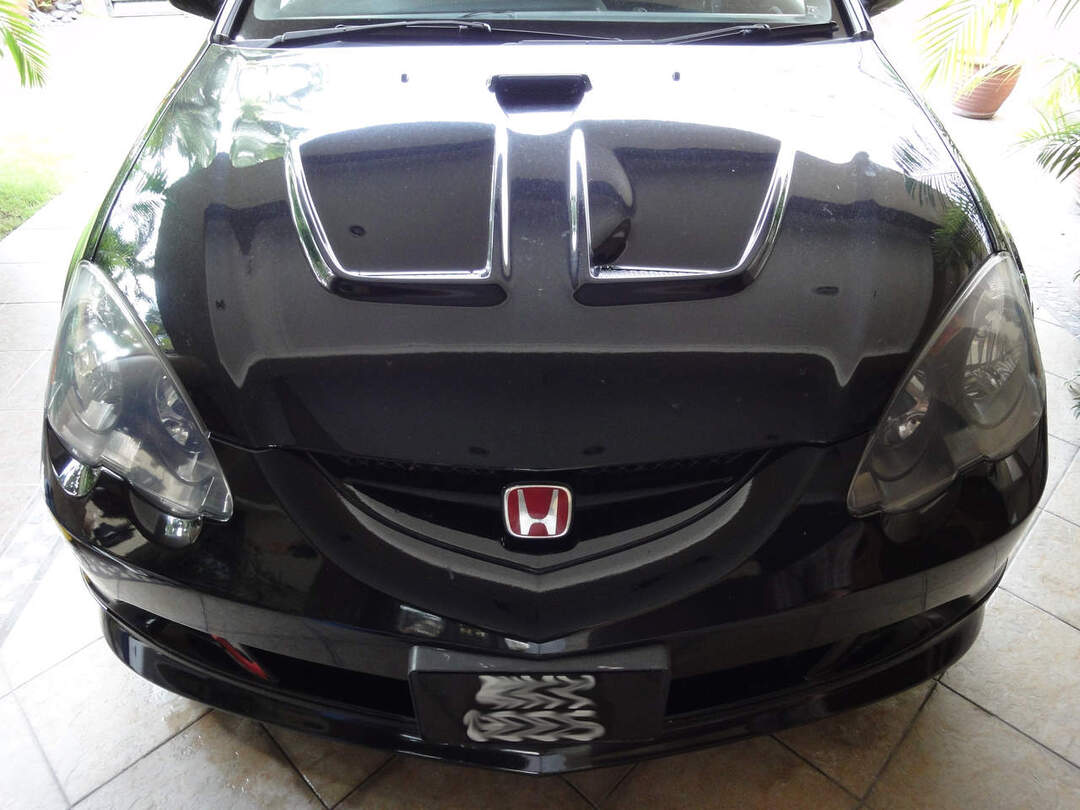
From this:
To this :)
The tools used:
- Washed with ONR
- Clayed with ONR as the lube
- Wet sanded with 600, 800, 1000, 1500, 2000 grit with ONR as lube
- Compound with Megs M105 with LC purple wool pad
- Polished and finished with Megs M205 with LC white polishing pad
- Washed/Rinsed with OPC
- Coated with Opti-Coat 2.0
Thanks for looking! Special thanks to KC, Seech and muyo too for their pointers and guidance :)
Enough with the talking and on to the show :)
Over the weekend i got a call from a friend who needed help in clearing up his headlights. So i packed my stuff and headed over to see the condition that is was in. This was how it looked like when i arrived. As mentioned by the others, these JDM and UDM headlights are not able to endure our harsh weather conditions. And this was no walk in the park. The once clear headlights had turned yellow and cloudy.
Upon closer inspection, one side of the headlights had been opened before and perhaps the previous owner had coated the inner side of the lamp.
There were many micro-cracks on the lamp. Couldn't capture those with my camera. I didn't manage to take photos at each stage of the fix as i was pressed for time. I initially started wetsanding with the 800 grit sandpaper but noticed that it wasnt removing enough of the old yellowish plastic. So i moved to the 600 grit and it was much much better. Be careful not to get carried away in sanding too much than what is needed. So i moved up from 600 > 800 > 1000 > 1500 > 2000. After all that, let the compounding begin!
remember before?
After
Passenger side before:
After
One more from the front before:
After
Finished up with a round of M205 and OPC to remove any polish residue. The final step was applying the Opti-Coat 2.0.
From this:
To this :)
The tools used:
- Washed with ONR
- Clayed with ONR as the lube
- Wet sanded with 600, 800, 1000, 1500, 2000 grit with ONR as lube
- Compound with Megs M105 with LC purple wool pad
- Polished and finished with Megs M205 with LC white polishing pad
- Washed/Rinsed with OPC
- Coated with Opti-Coat 2.0
Thanks for looking! Special thanks to KC, Seech and muyo too for their pointers and guidance :)
Attachments
-
 59.7 KB Views: 537
 -
 78.2 KB Views: 516
 -
 85.4 KB Views: 593
 -
 71.8 KB Views: 414
 -
 78.1 KB Views: 442
 -
 63.4 KB Views: 438
 -
 76.4 KB Views: 473
 -
 89 KB Views: 427
 -
 86 KB Views: 436
 -
 95.3 KB Views: 694

 btw, two thumbs up for the restoration!